BluKoo
Member
Registered: 8th Apr 02
Location: Stonehaven (Scotland)
User status: Offline
|
This is quite a big un' so go make yourself a tea or coffee first :thumb:
Hopefully by now you'll have seen our HD video giving a brief insight into this detail, if not then here it is: Enzo Ferrari Ne Plus Ultra
This post is a far more in depth write up which will hopefully give you a feel for the level of work involved. I've tried to include as much as possible to hopefully give those who haven't been as fortunate as myself to get up close with one of these fine machines an idea of what it's really like 
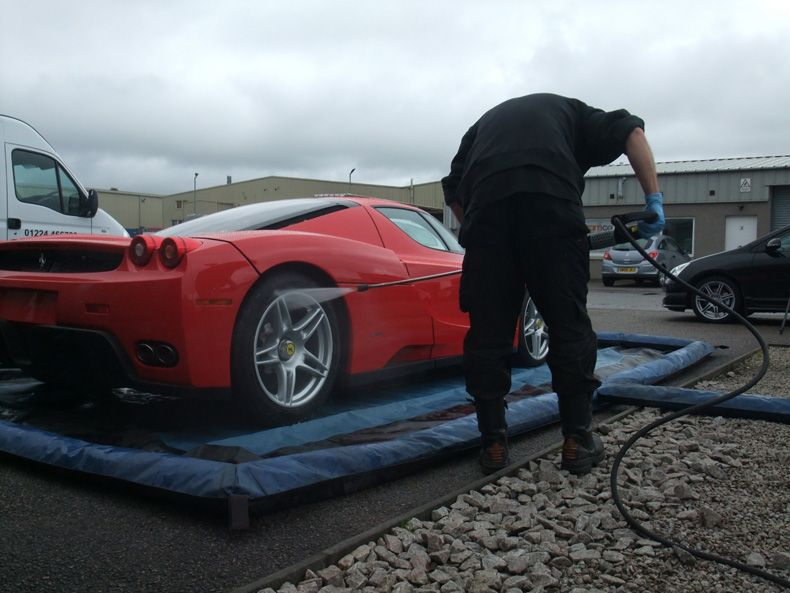
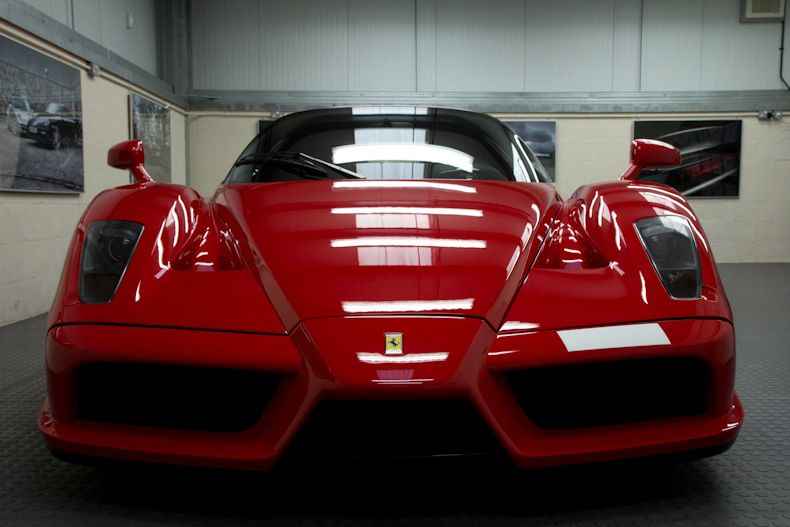
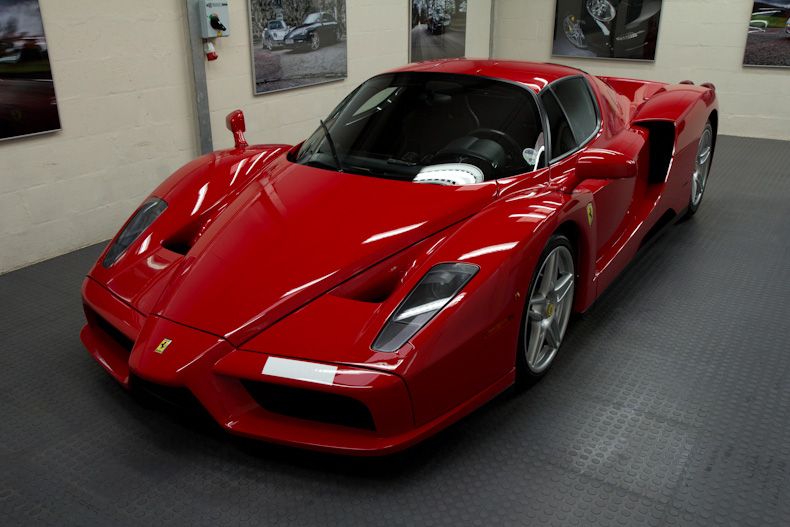
So early on the Monday morning we heard that unmistakeable Enzo rumble in the distance and a few seconds later appeared the car that would lead me to serious sleep deprivation and lack of a social life for the next 2 weeks 
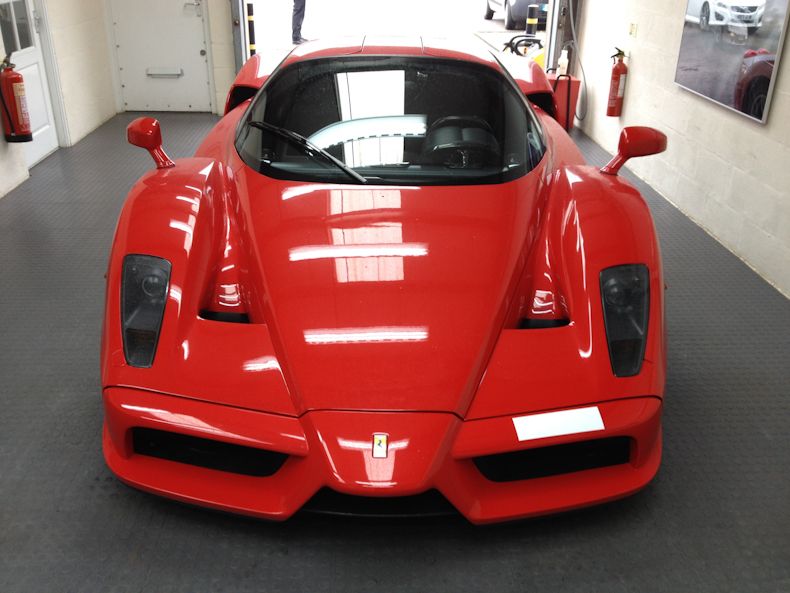
The car had a light layer of dirt and grime gathered whilst caught in a rain shower the day before - you'll be glad to learn that this is no garage queen, it gets regular use in the dry months. We'd carried out a Protection Detail on it approx 12 months ago so I was fairly hopefull that the existing protection would lead to a pretty quick and easy wash process.
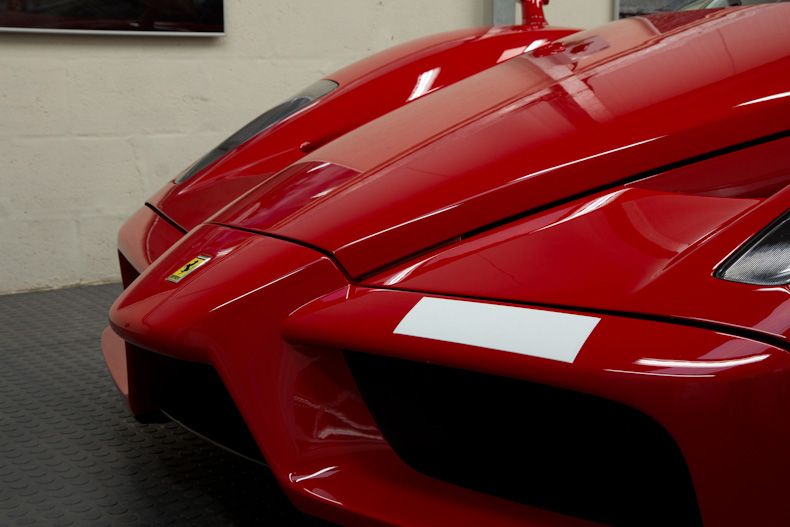
Before getting started with the detail I grabbed Pete from Vinyl Technics who is located directly across from us in the Business Park to cover up the front vinyl number plate (for privacy and also to make filming of the video easier):

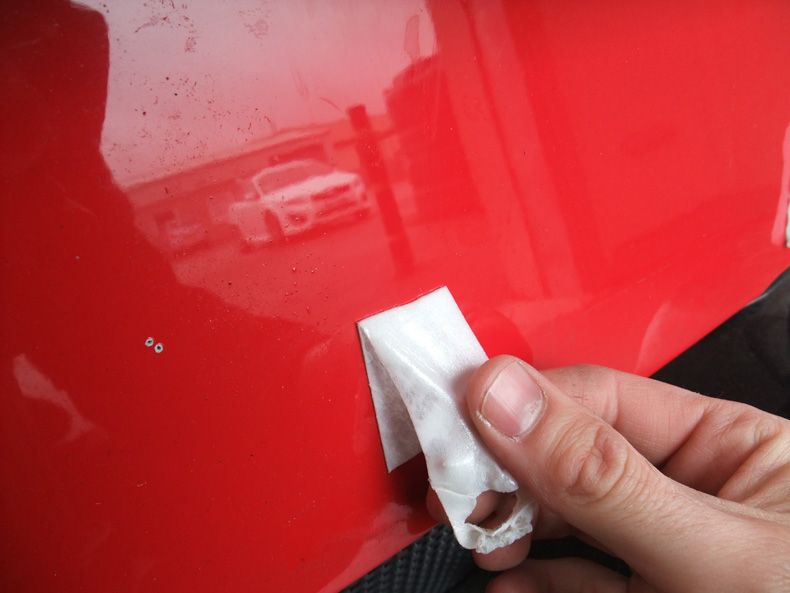
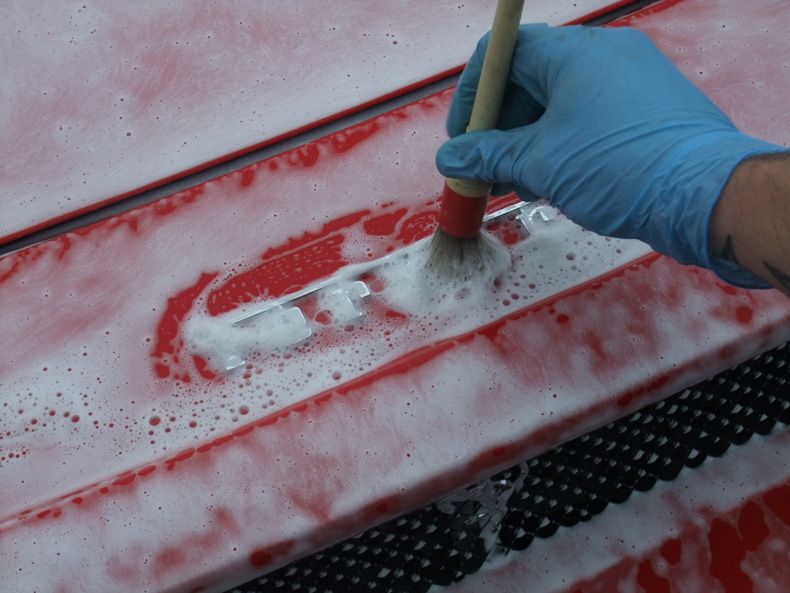
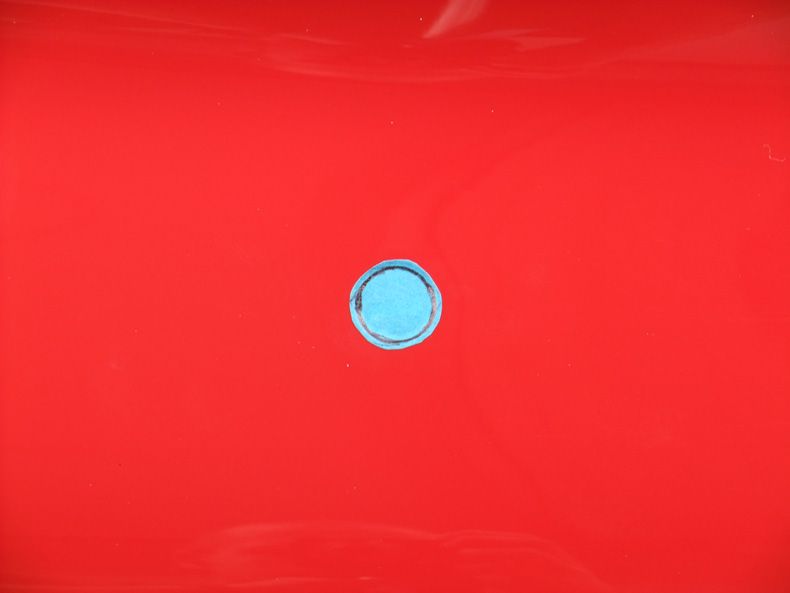
The rear plate was removed which then left loads of sticky fixers welded onto the paintwork so using some Autosmart Tardis and tissue paper they were left to soak for 5/10 minutes:
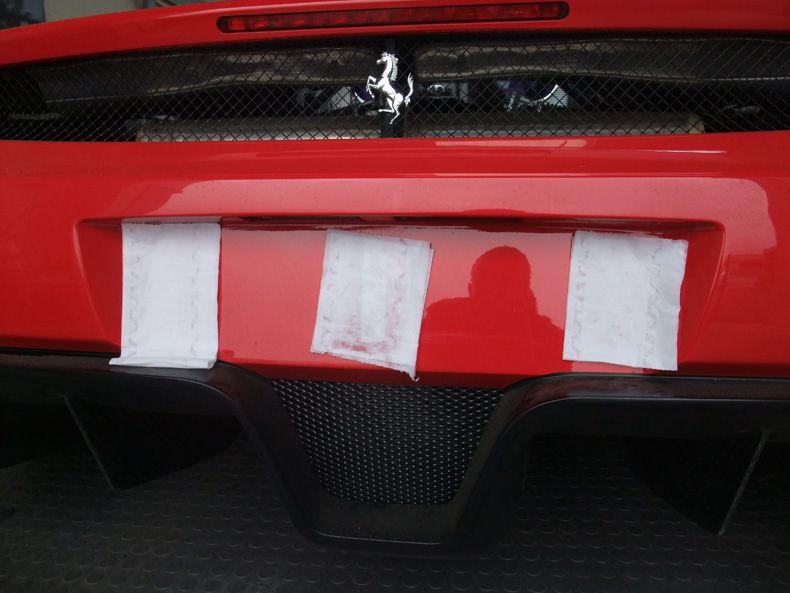
This then allowed the sticky fixers to come off cleanly in one piece:

It was then "fingers in your ears time" as the car was fired up and moved outside ready for the wash stage.
If you would like to hear what that sounded like then click here - http://soundcloud.com/polishedbliss/ferrari-enzo-starting-up
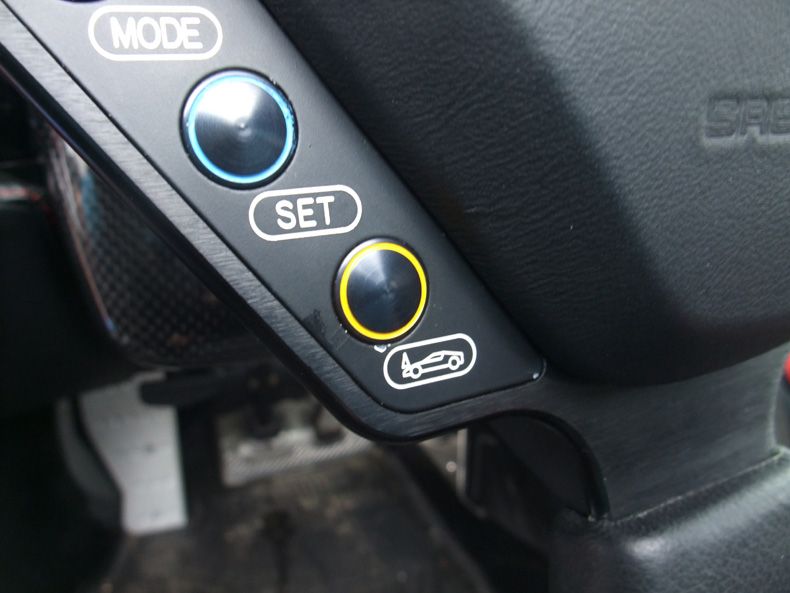
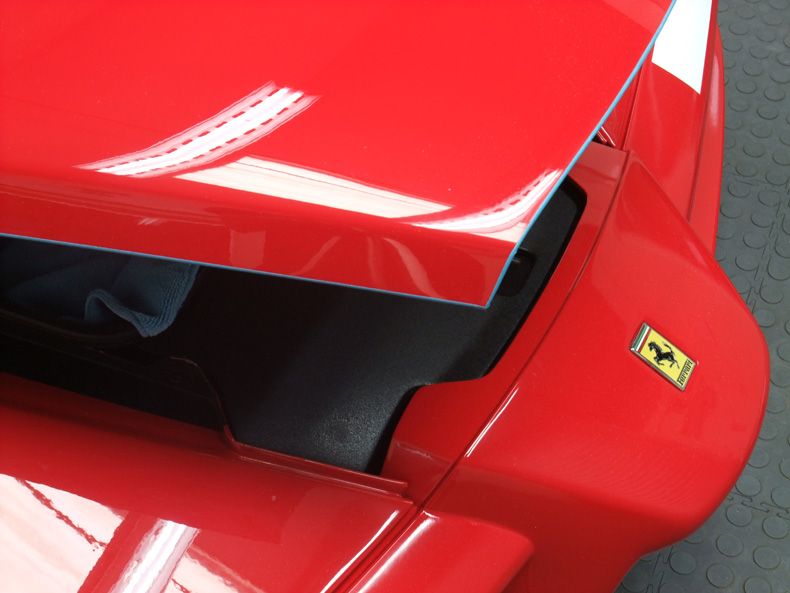
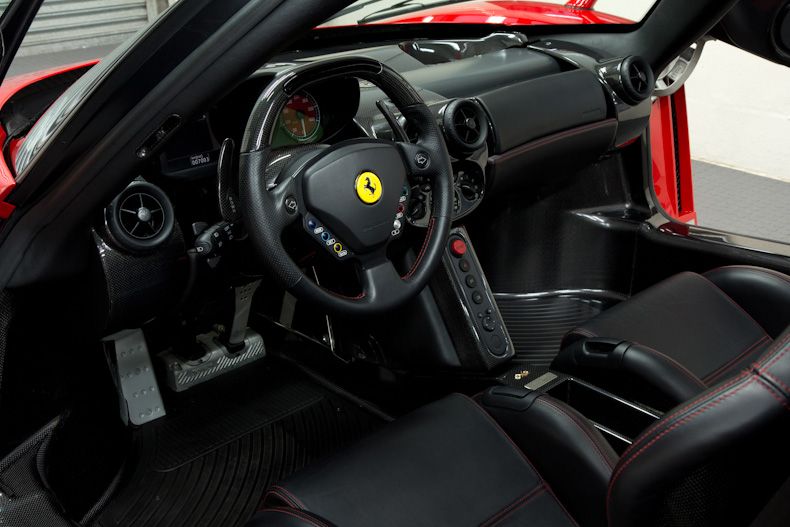
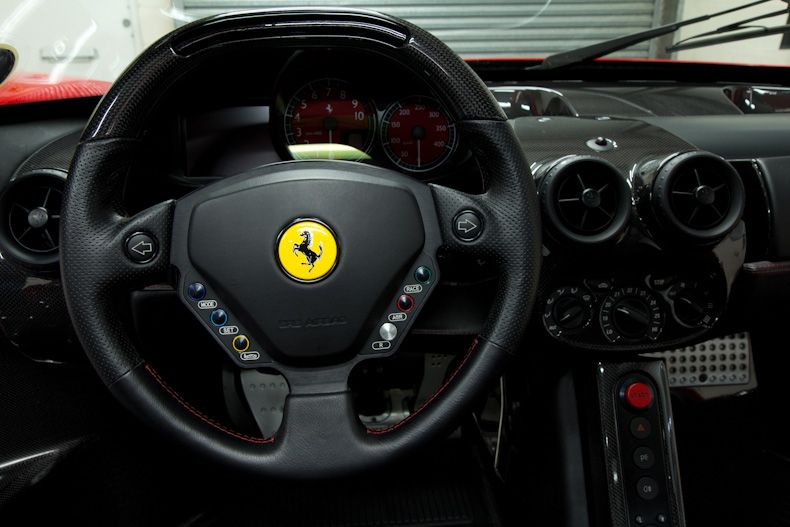
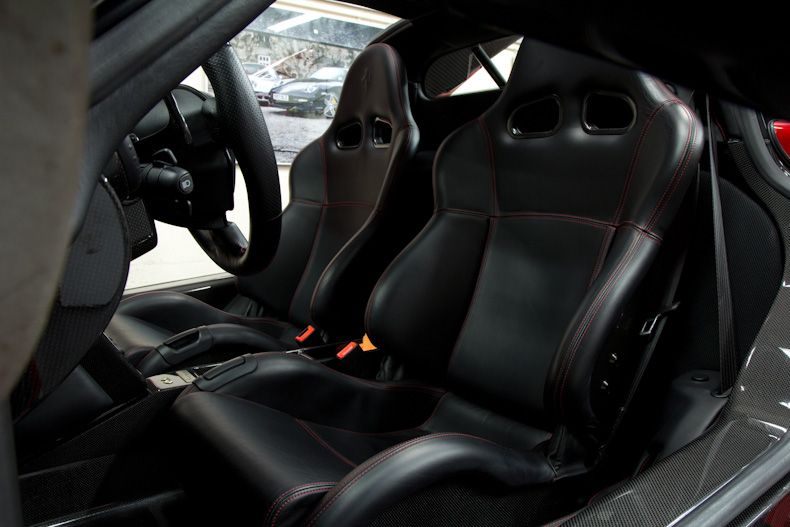
The yellow button on the steering wheel was pressed to raise the nose which gave me an extra bit of room to clean:
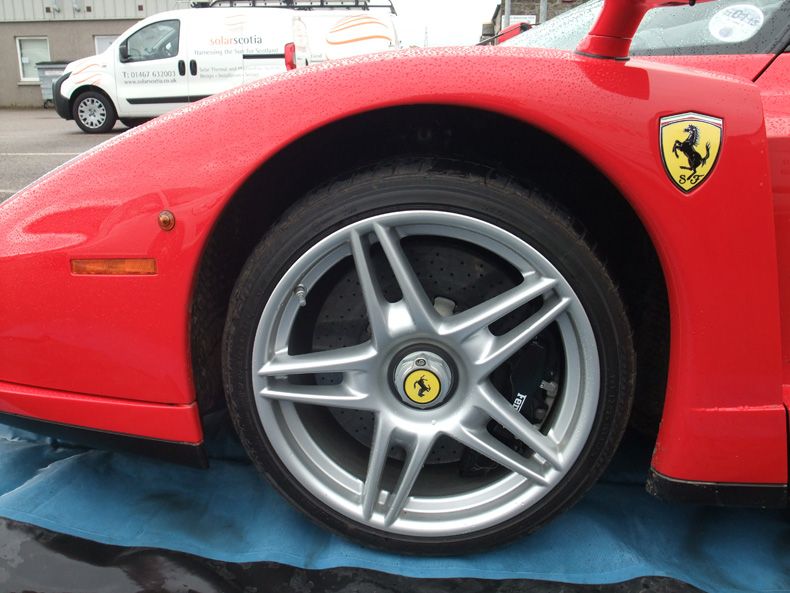
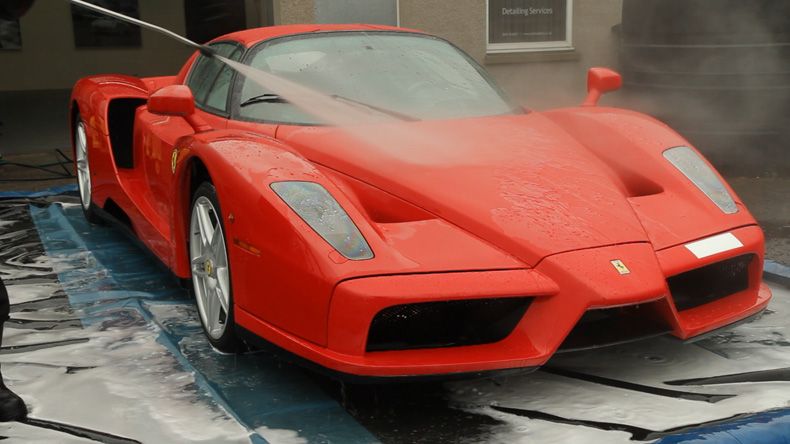
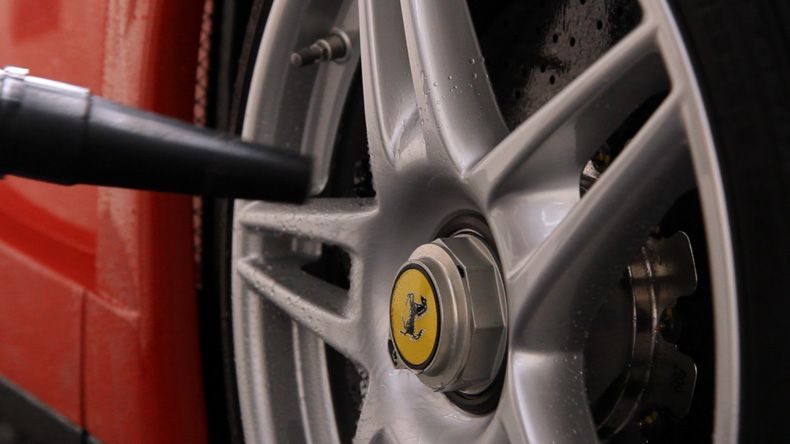
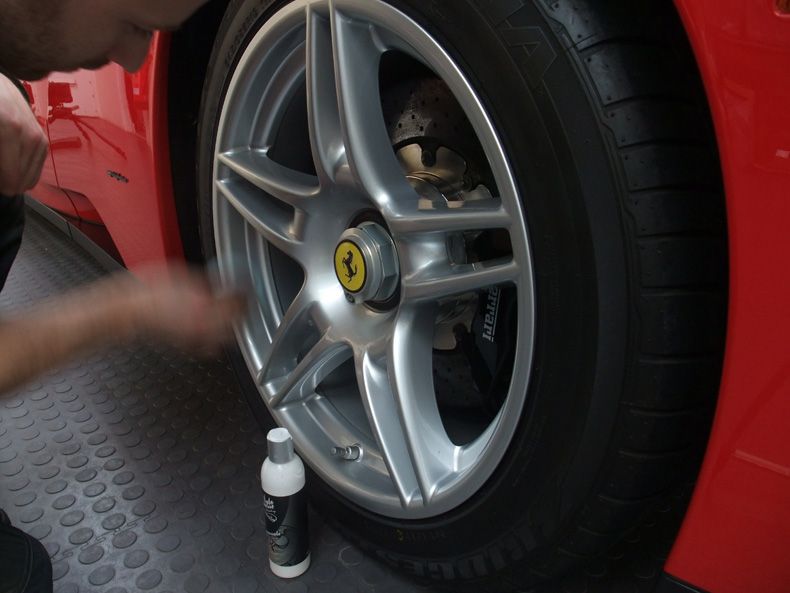
As usual I began with a pre rinse of the wheels with water at a temperature of approx 50/60 degrees:
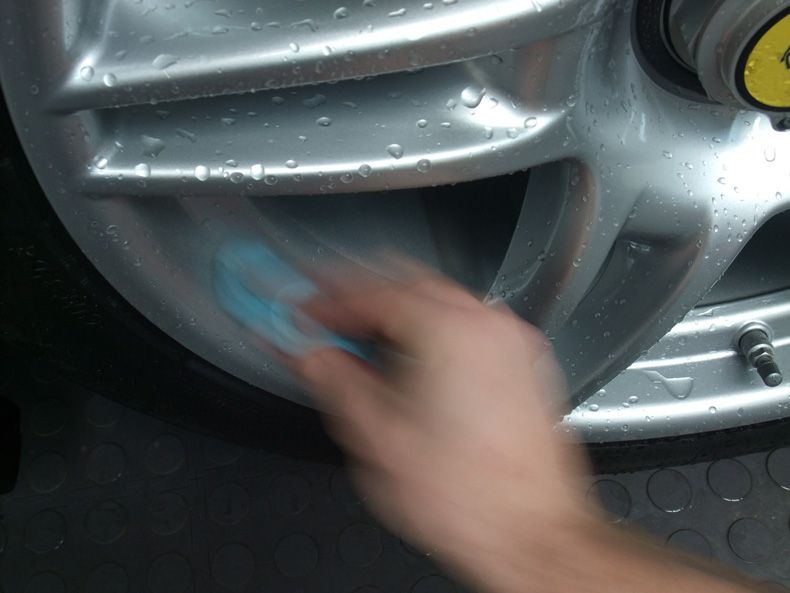
Auto Finesse Imperial was sprayed on one wheel at a time:

Wheel woolies and brushes at the ready:
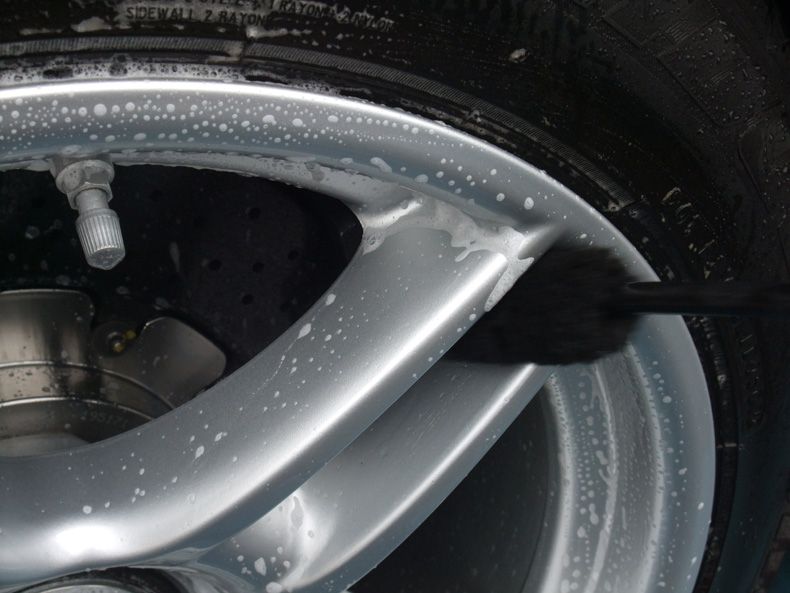
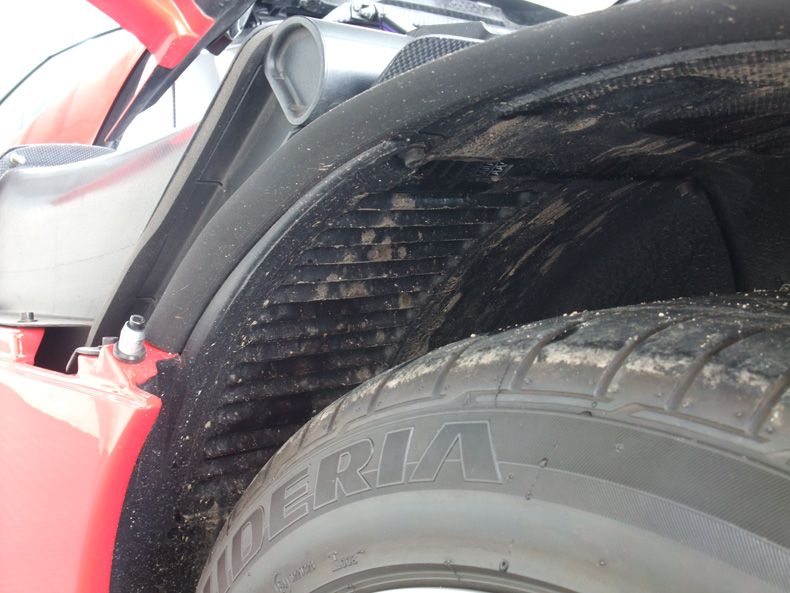
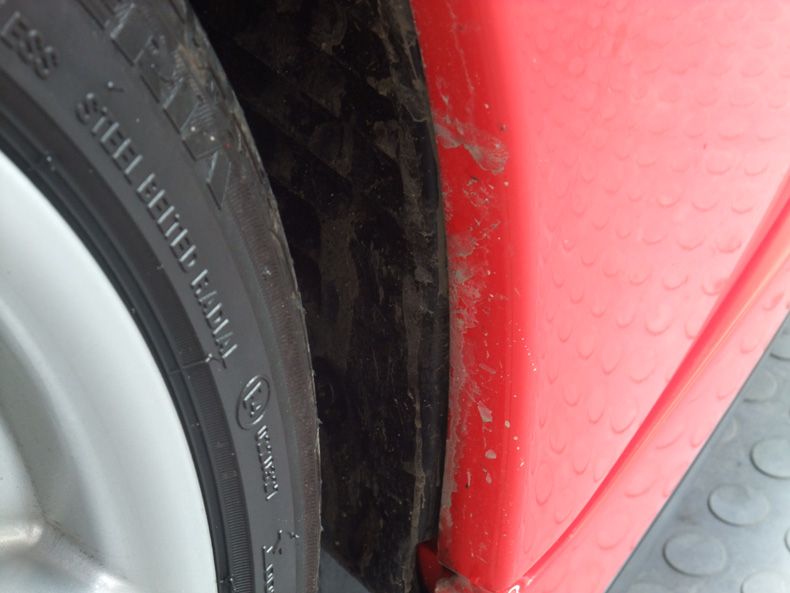
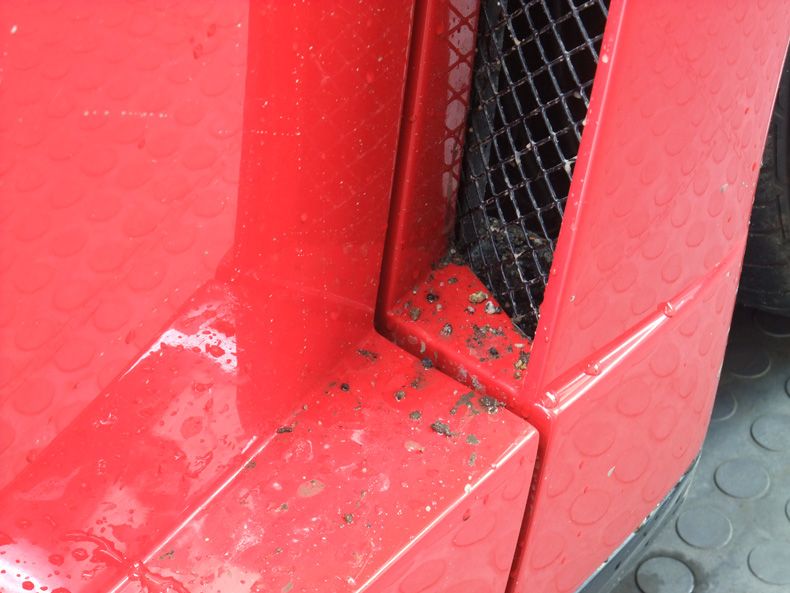
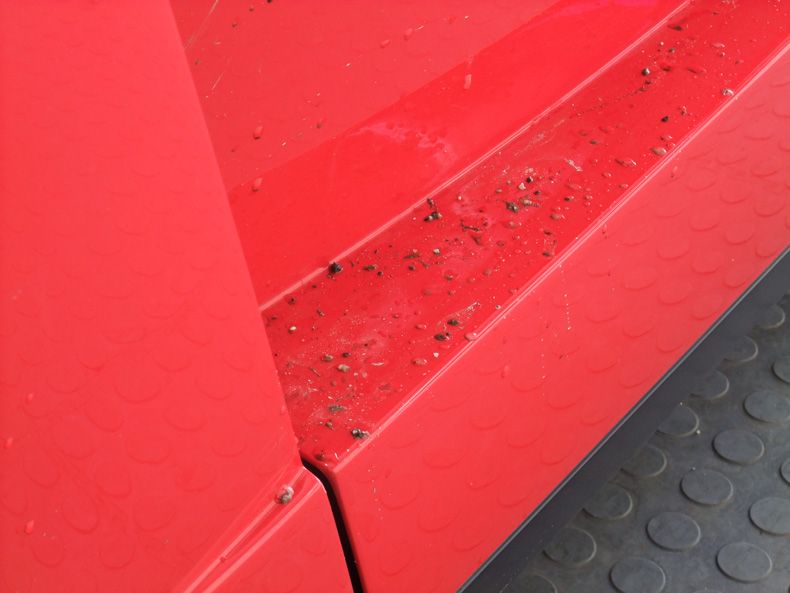
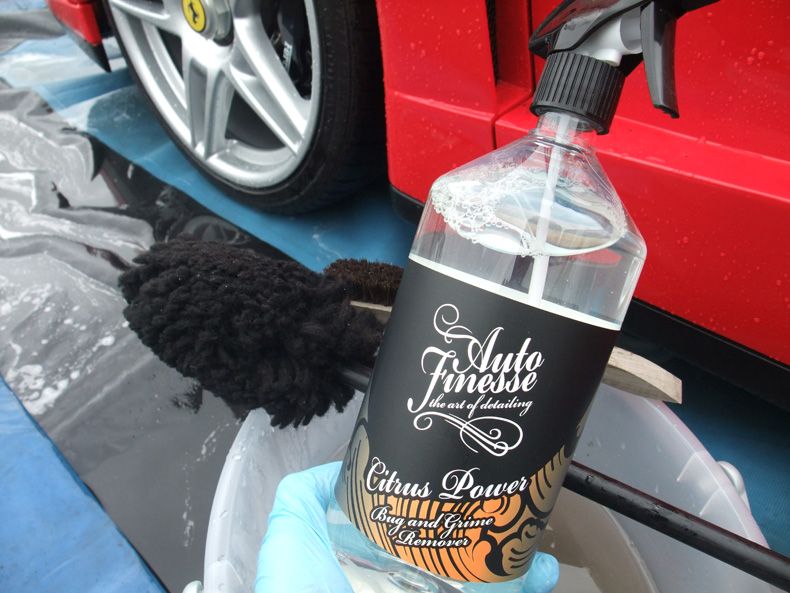
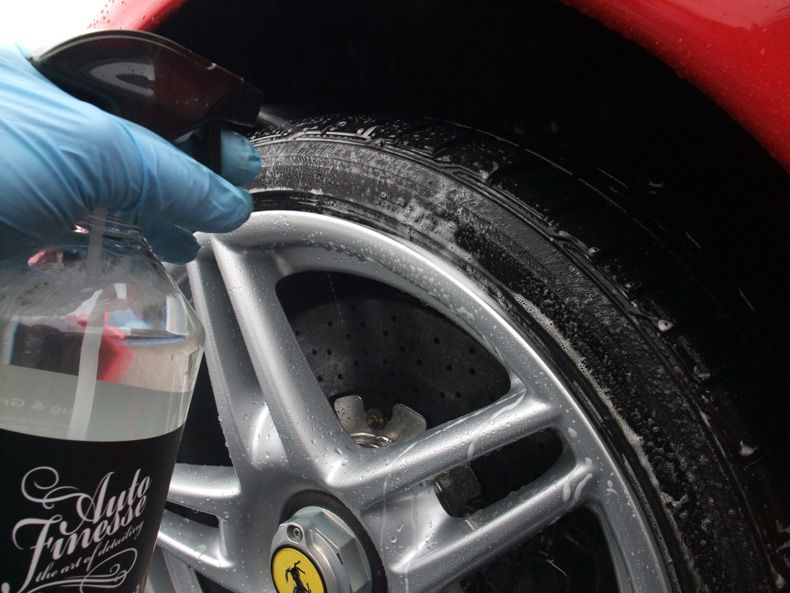
Once all 4 wheels were cleaned and a couple of minor tar spots removed with Auto Finesse ObliTARate I moved on to the tyres and arches. In my opinion there's no better product for this than Auto Finesse Citrus Power:
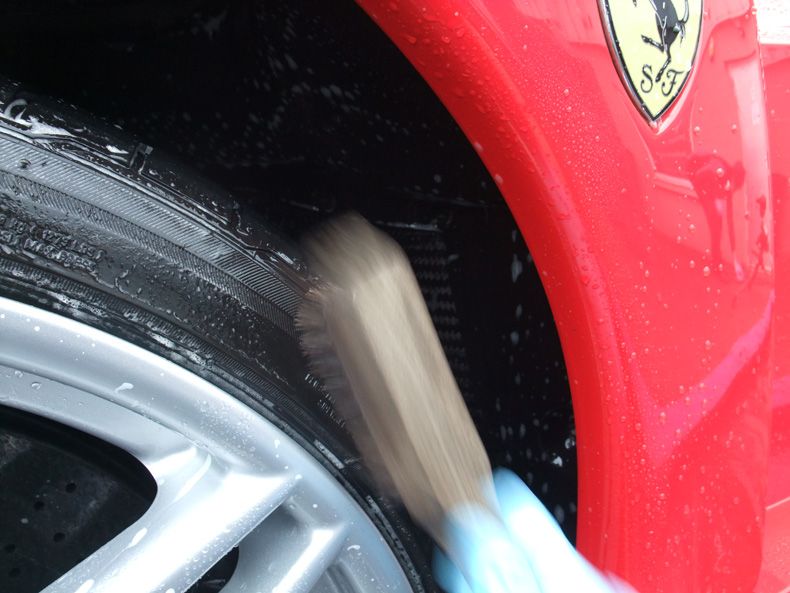
Tyres scrubbed with a stiff brush:
Arches done with an old Wheel Woolie:
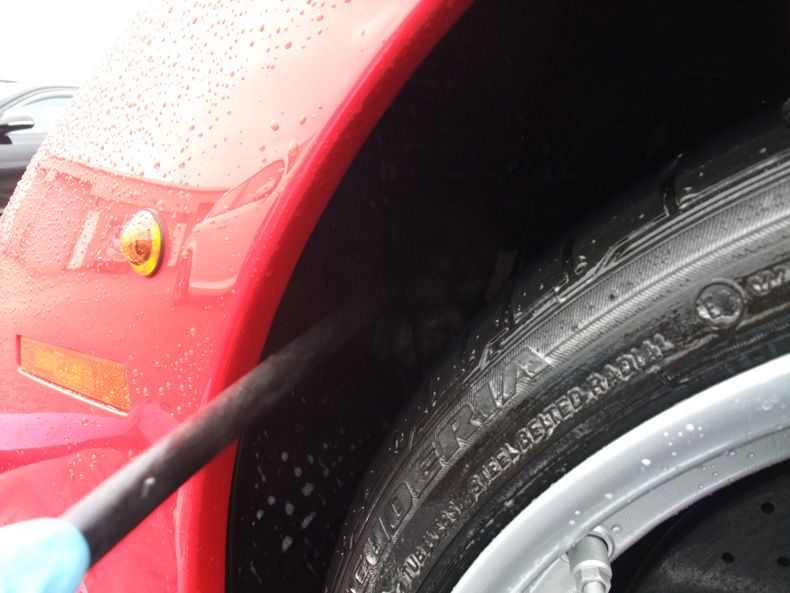
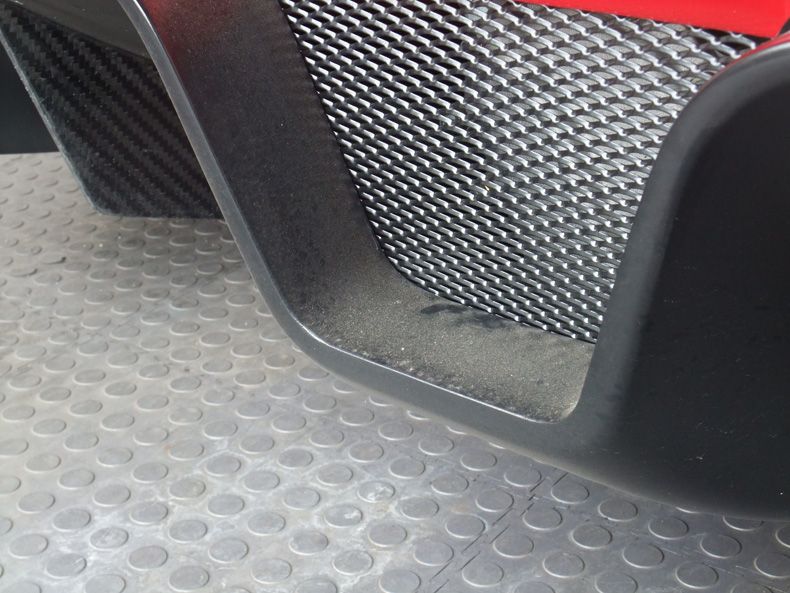
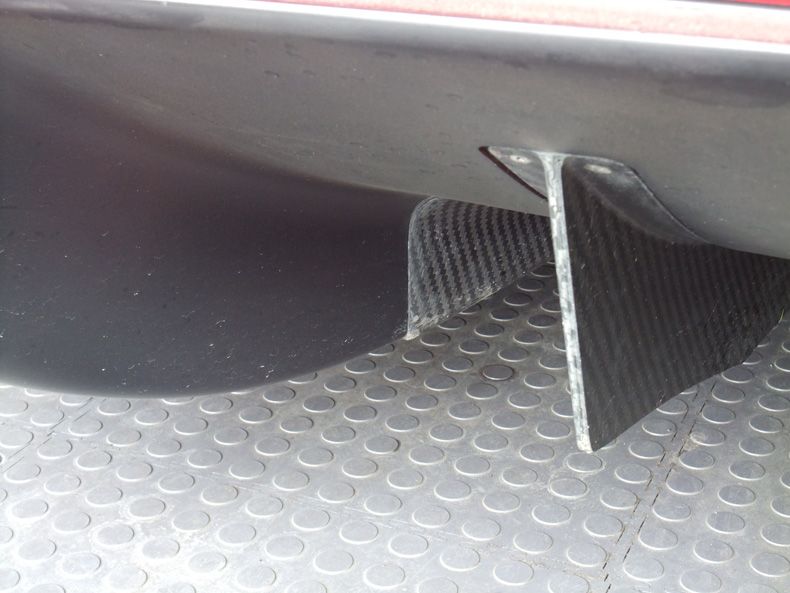
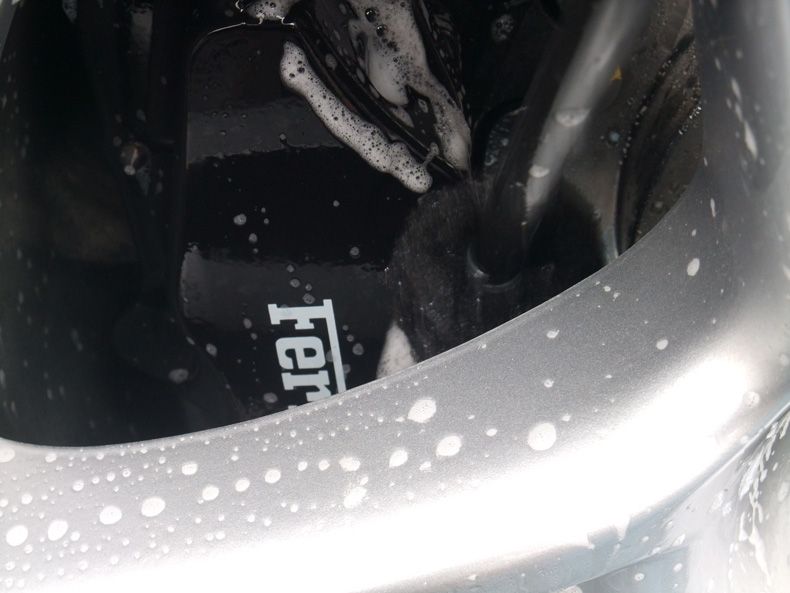
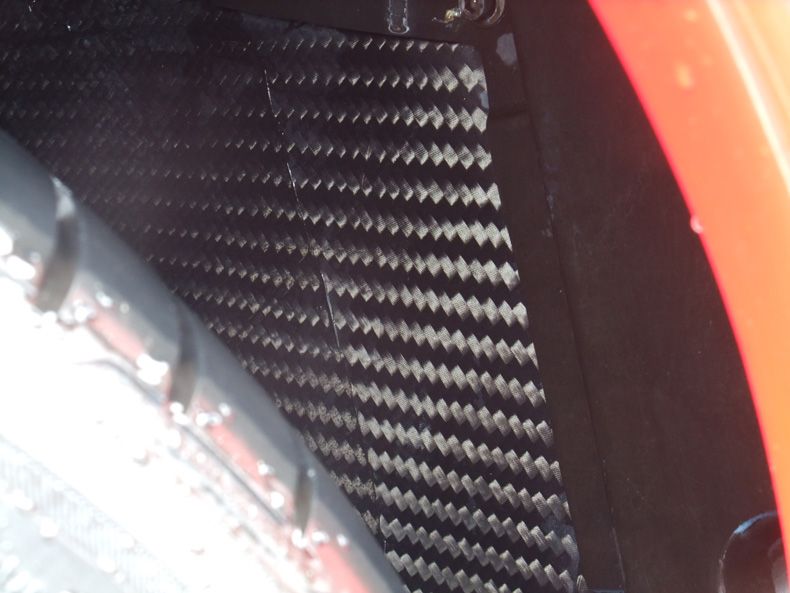
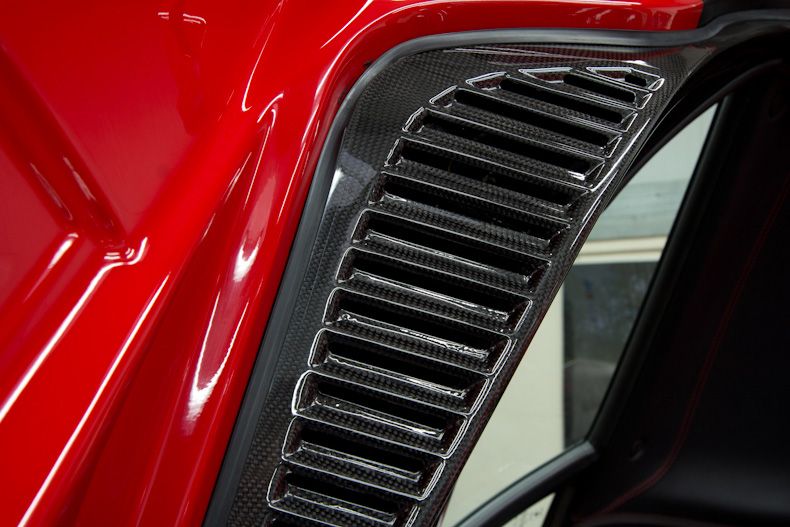
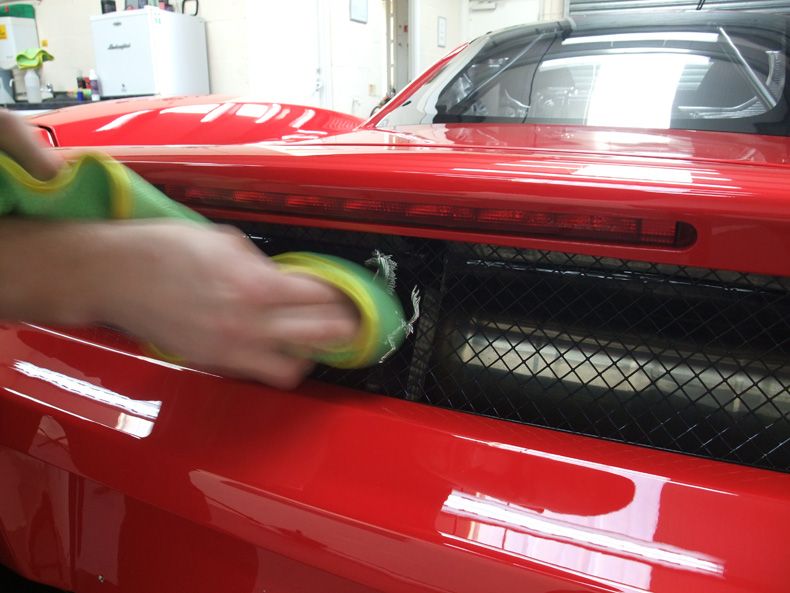
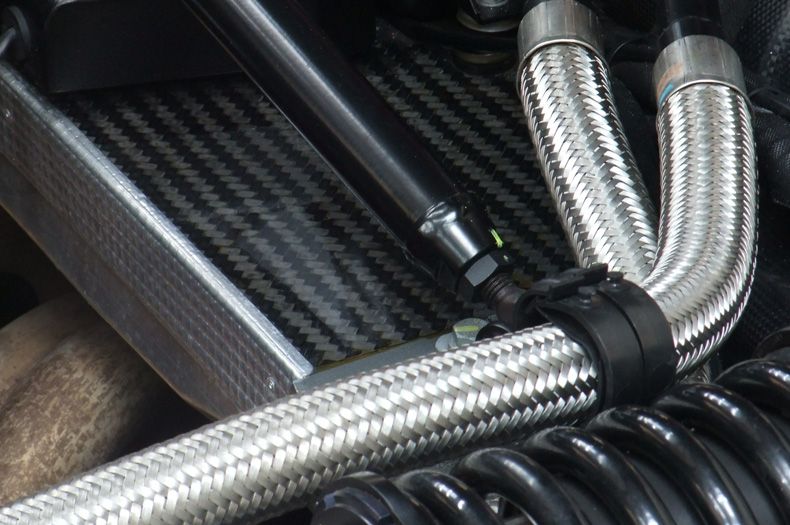
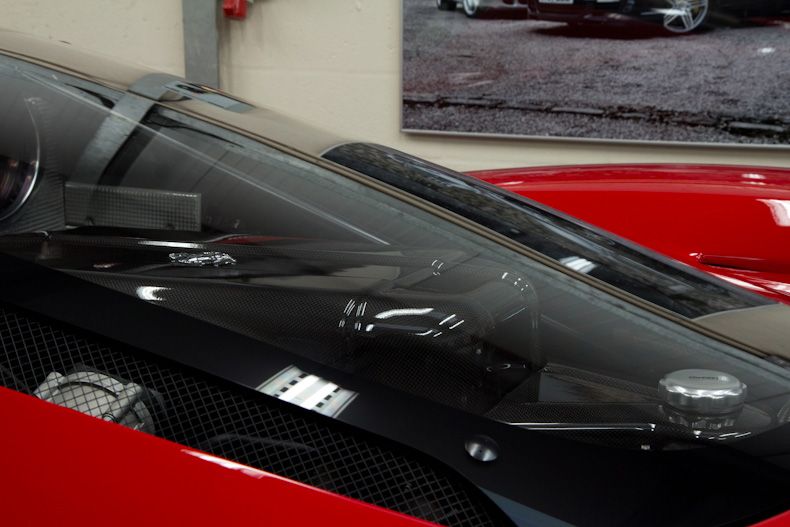
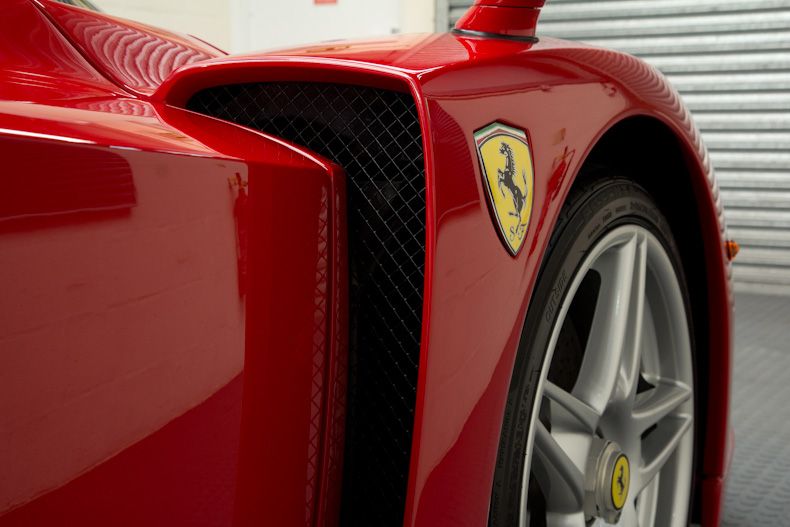
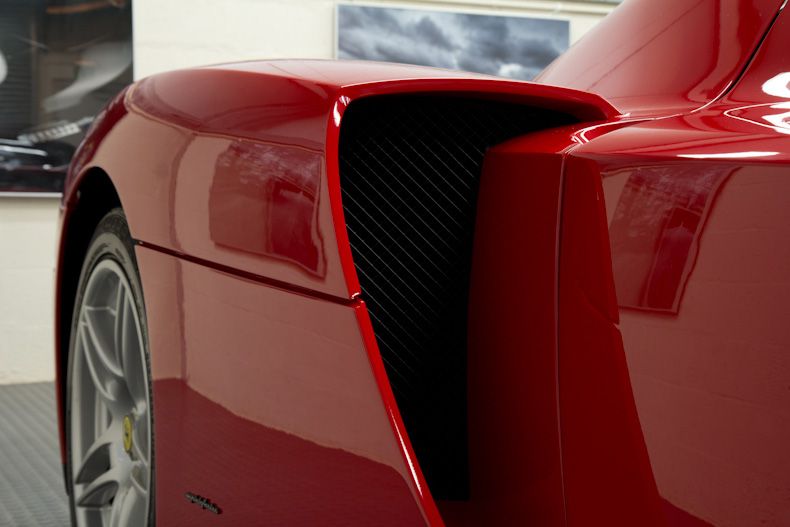
Then fully rinsed, as you'll see throughout this detail there's no end of carbon fibre on this car:
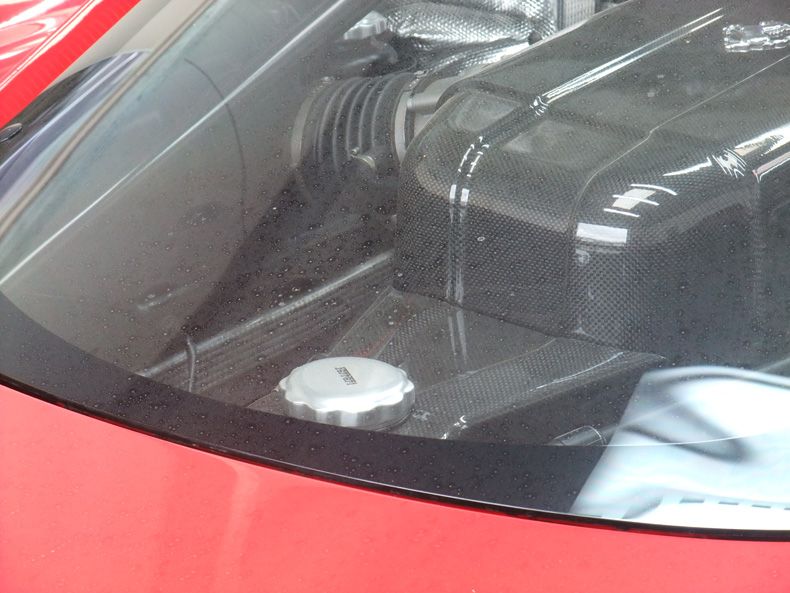
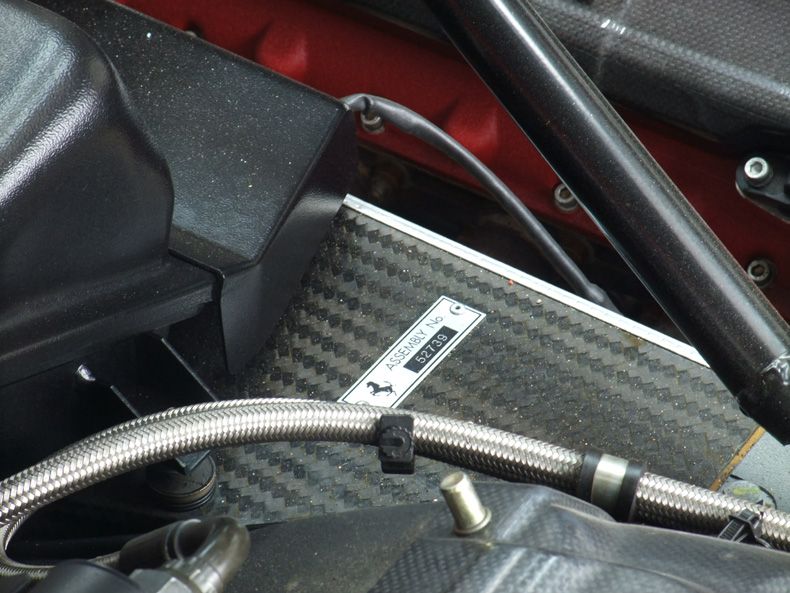
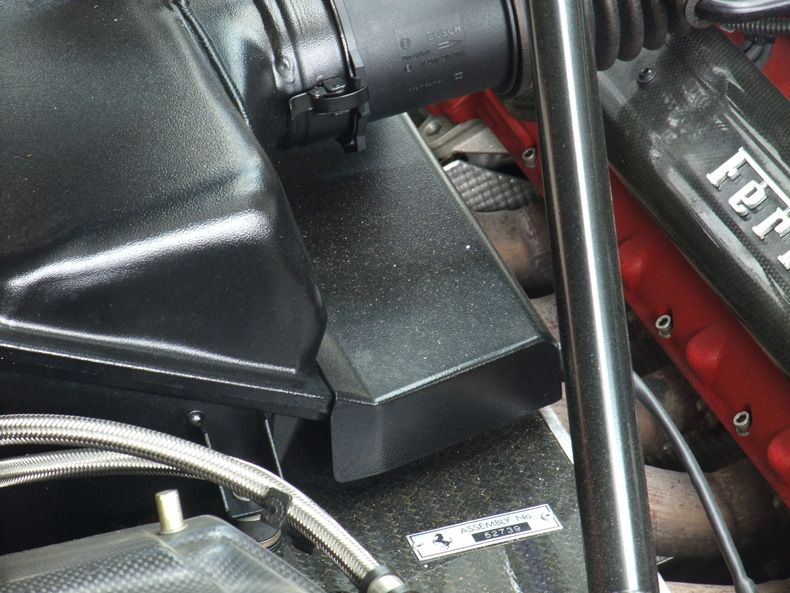
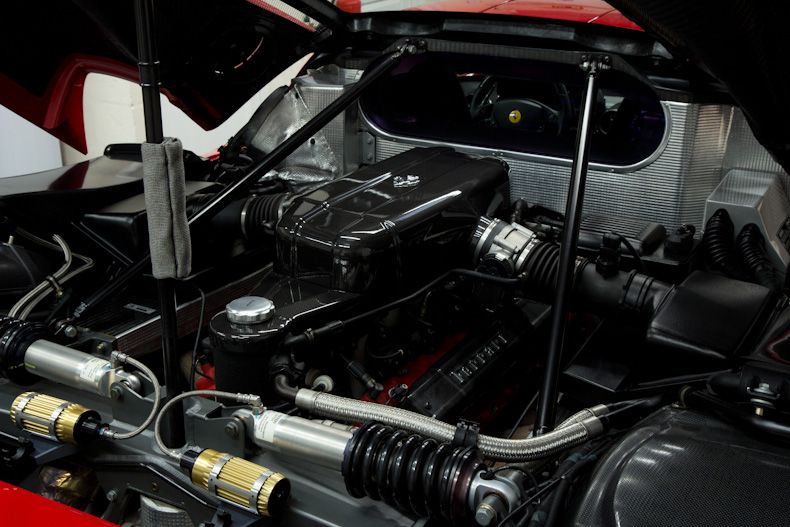
Onto the engine bay now, this was still looking pretty good after the detail we carried out on it this time last year with just a few traces of light dirt and dust:
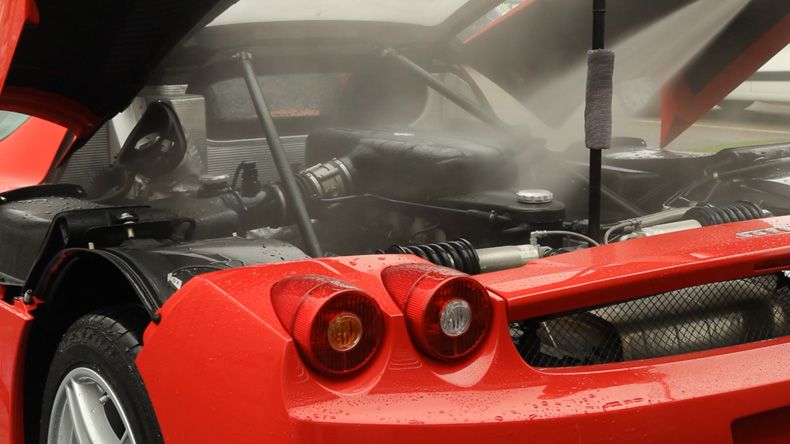
The cleaning ability of the hot water through the pressure washer was all that was needed here so I carefully rinsed it down with light pressure:
The car was then foamed a couple of times and left to dwell for a few minutes while I went round all the exterior trims etc with a brush...
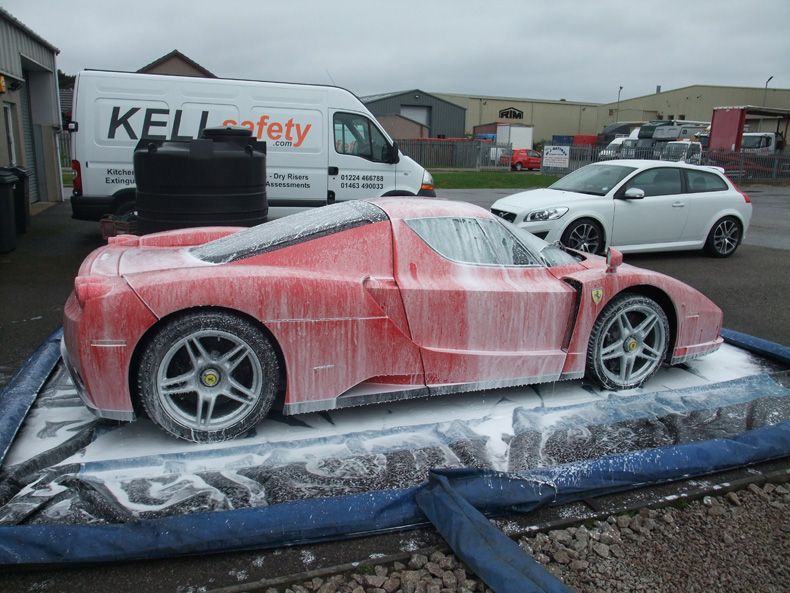
A thorough rinse followed, Swissvax Crystal Rock still beading nicely from last year:
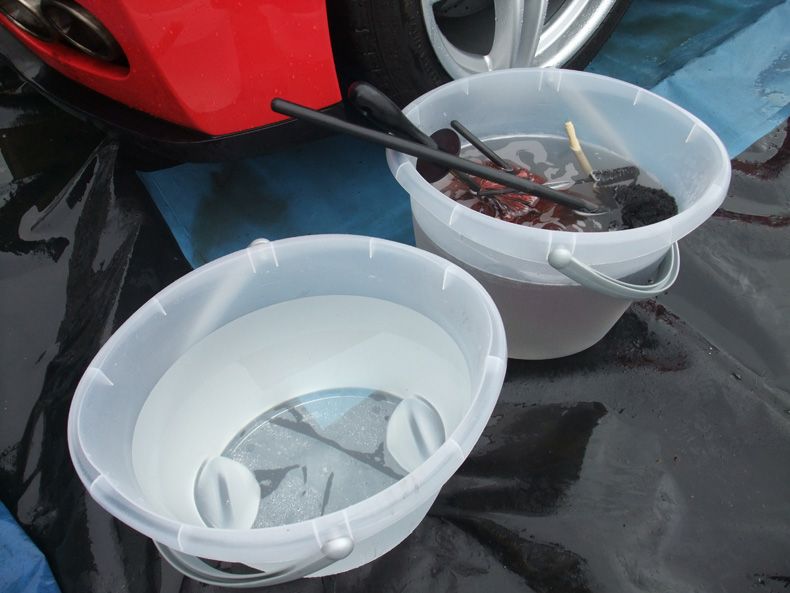
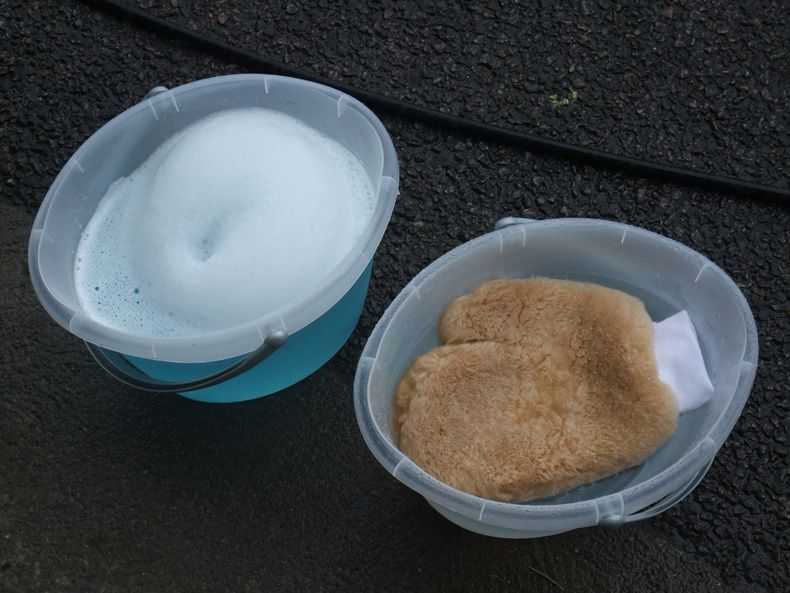
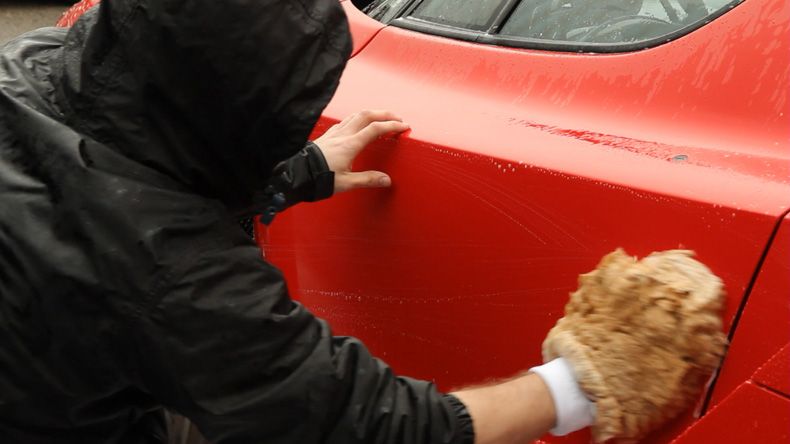
With the 2 bucket method and Meguiars Shampoo Plus I then washed the car, as you can see from my water proofs it had begin to chuck down with rain as it always seems to whenever I do any work outside! 
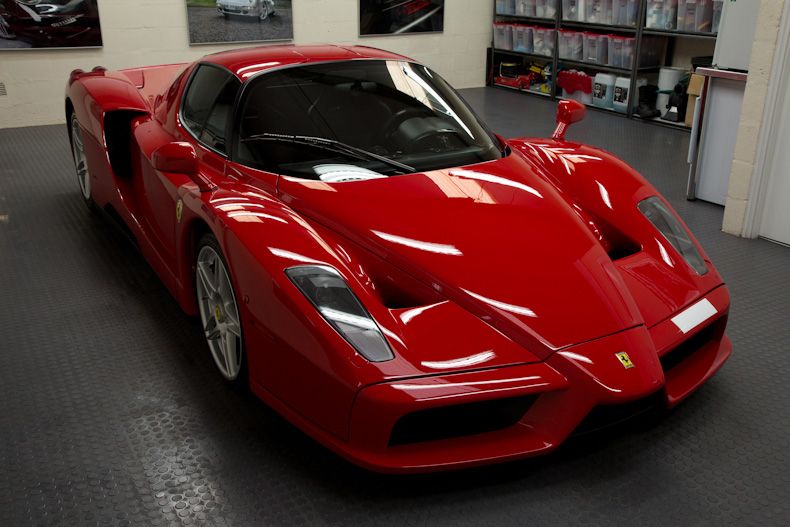
Another rinse followed and as there were no tar spots present I moved the car inside to be clayed, including the wheels:
Even the clay showed very little signs of contamination but it's always better to be sure the paint is 100% clean before any machine polishing
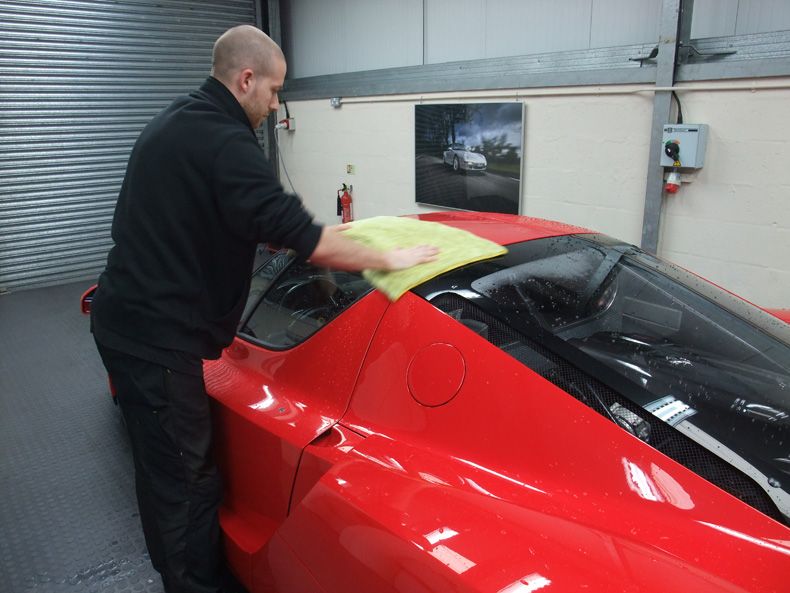
A combination of PB Luxury Drying Towels and the Metro Vac were used to fully dry the car:
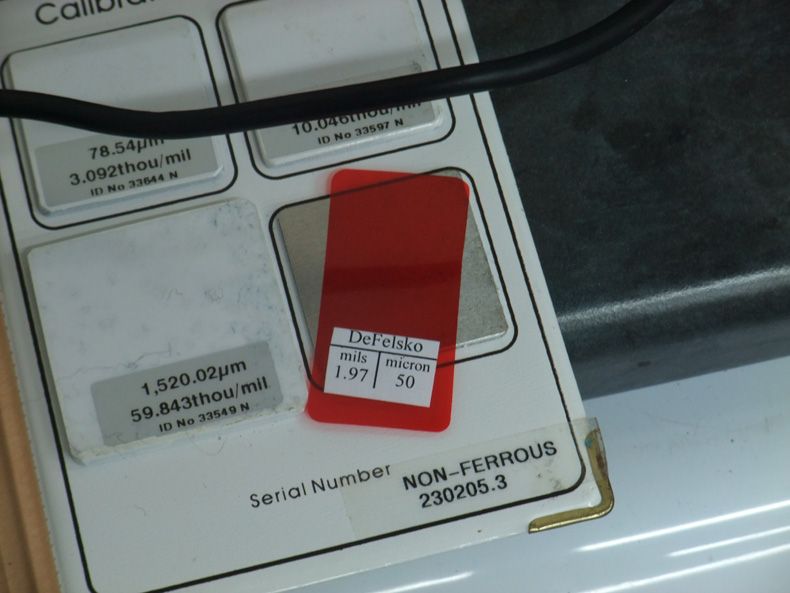
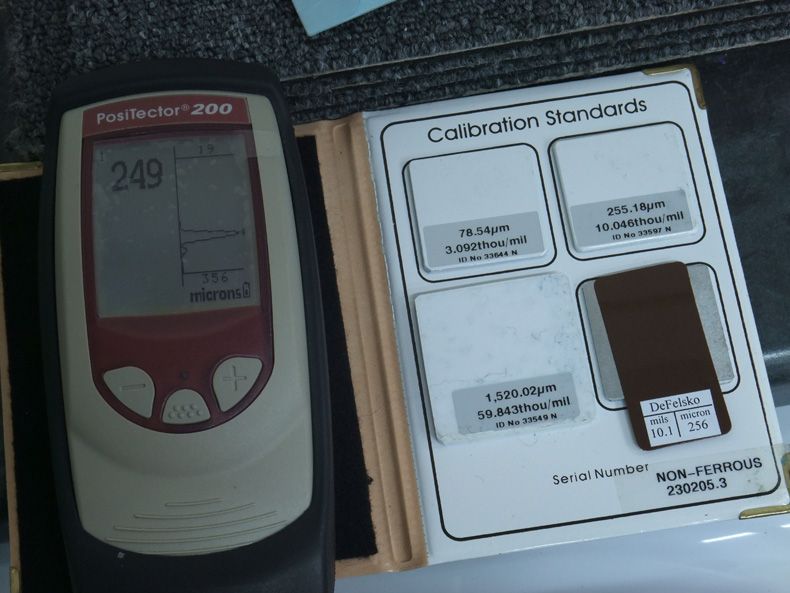
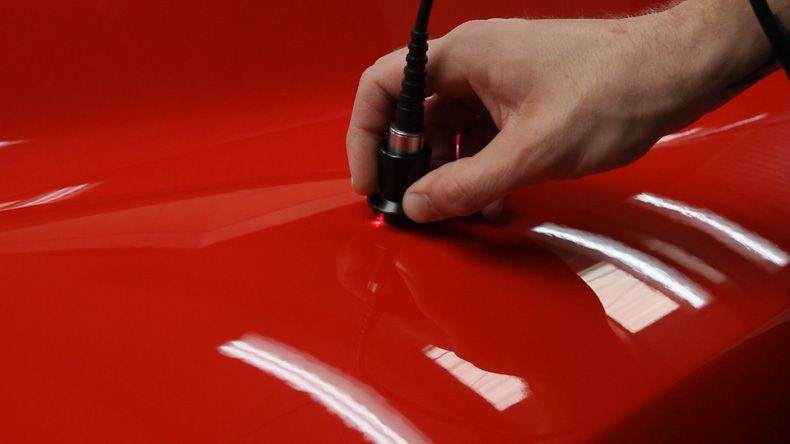
At this point the paint was ready to be polished but before that I had to check to see how much clear coat was on the car. Obviously the Enzo doesn't have a single metal panel on it so a normal paint gauge wouldn't be able to produce any readings. This is where the Positector 200 comes in to play as it has the ability to read thicknesses on composite panels including individual layers.
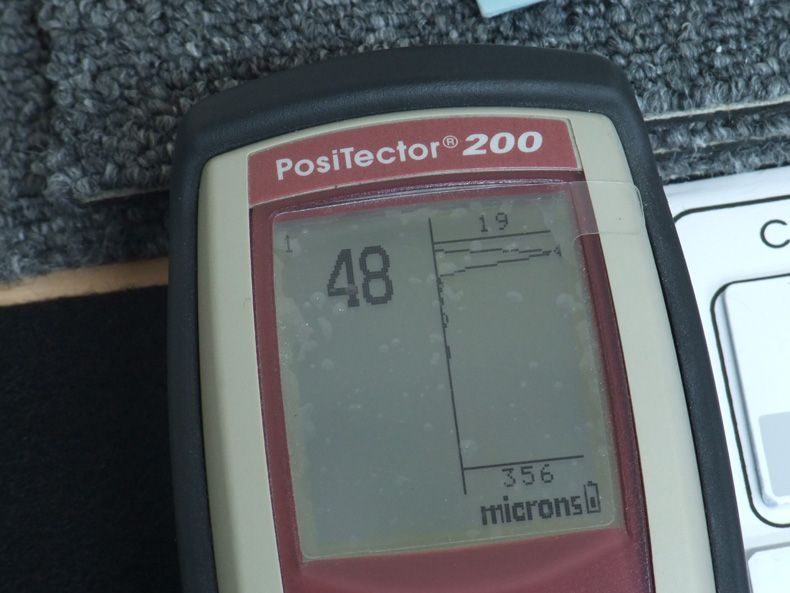
Before every car the gauge is calibrated to ensure it's reading accurately, in the first picture it's reading a thickness of approx 50 microns:
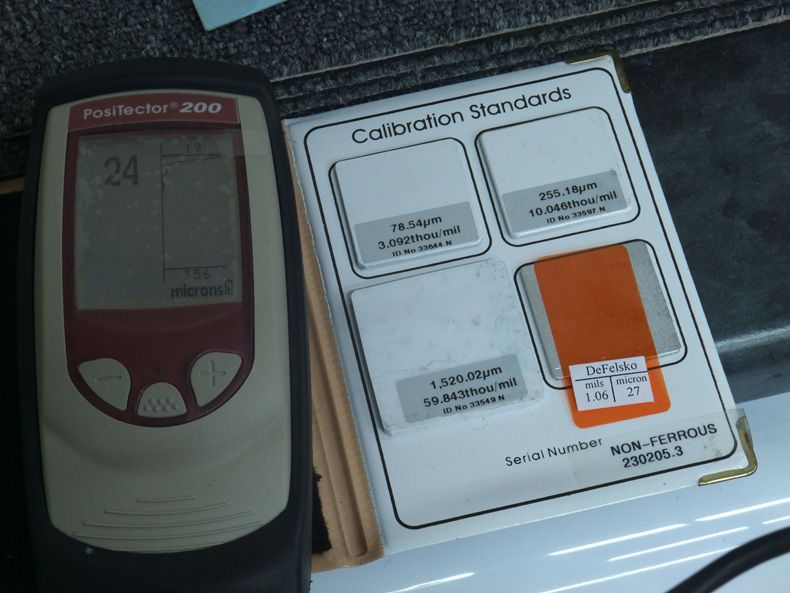
Now with 27 microns:
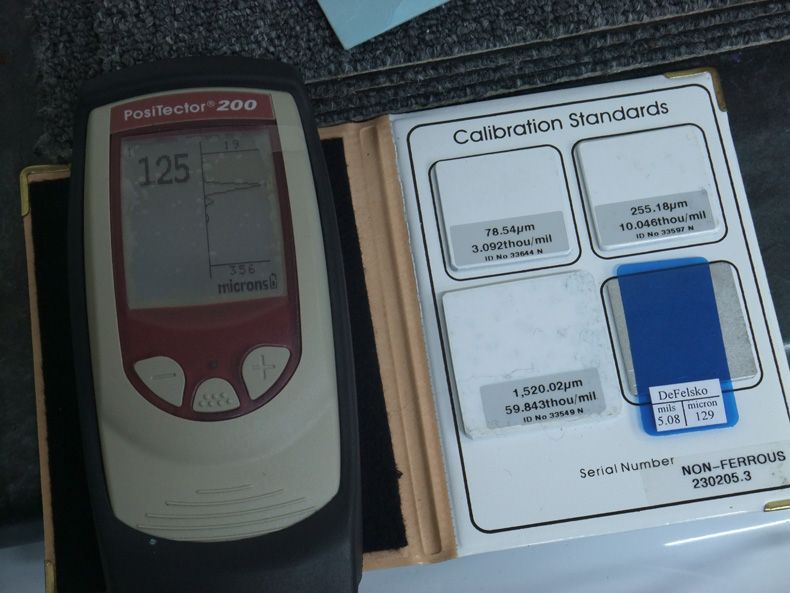
129 microns:
256 microns:
The shims won't be 100% accurate so I was happy with these readings, I generally find that the higher the number the slightly less accurate the gauge reads but as with all gauges they should be used just to give you a rough idea of what you're playing with, never take it as gospel - If a gauge tells you there's 45 microns of clear I wouldn't go removing 40 thinking it's safe
Happy that the gauge was going to be as accurate as possible I spent the next few hours taking hundreds of readings. This car was incredibly consistent, one of the most consistent cars I've ever done in fact with clear coat levels between 20-30 microns over the majority of the car:
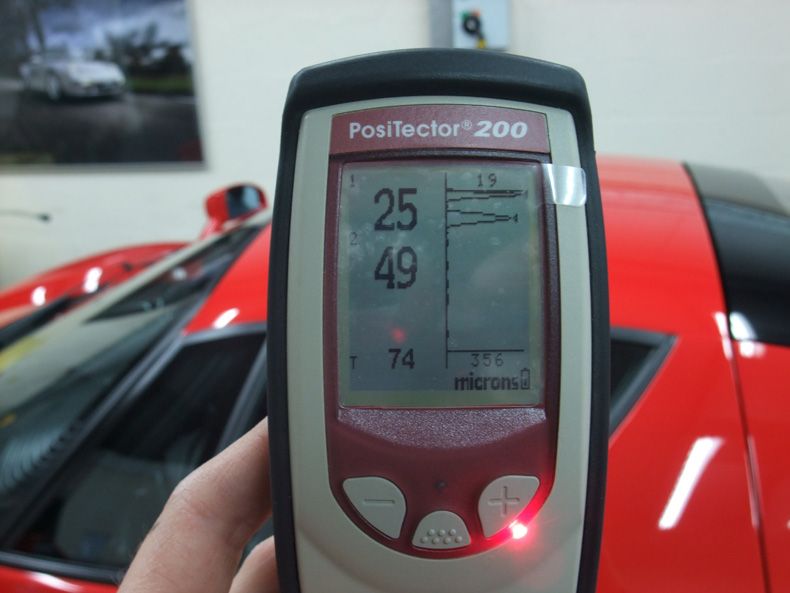
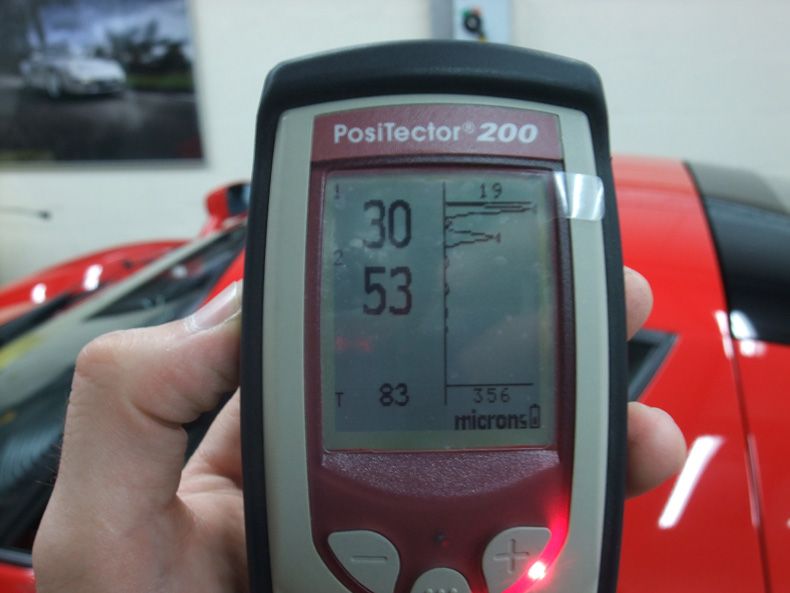
Now going by modern day cars 30 microns isn't that thick but it was more than I was hoping for to be honest
Just to give you an idea of what the clear coat thickness is, this shim is 27 microns!
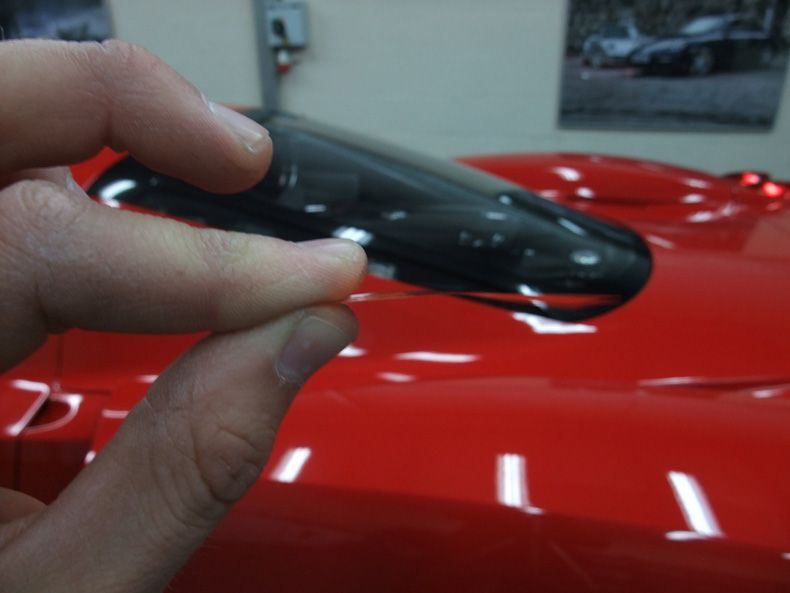
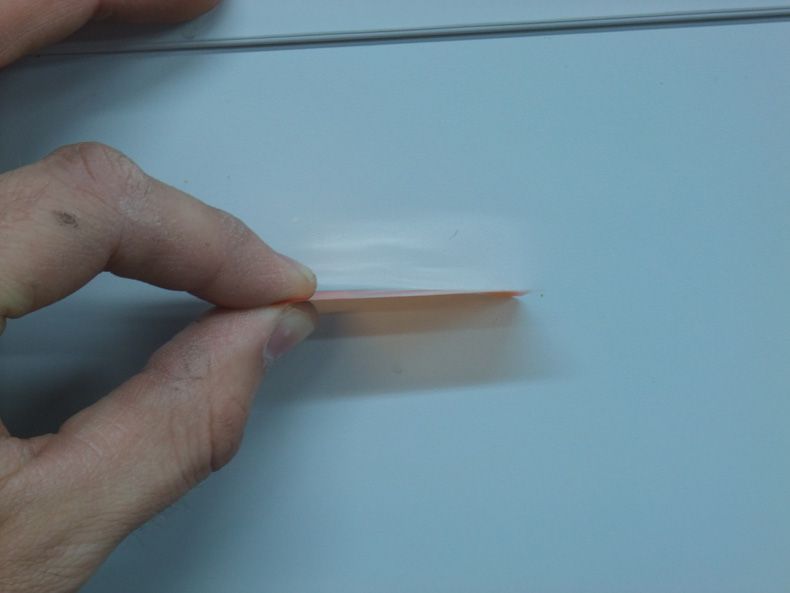
So not much thicker than a human hair, pretty amazing that you can still compound heavily and even sand away at it and not go through (well, hopefully! :lol
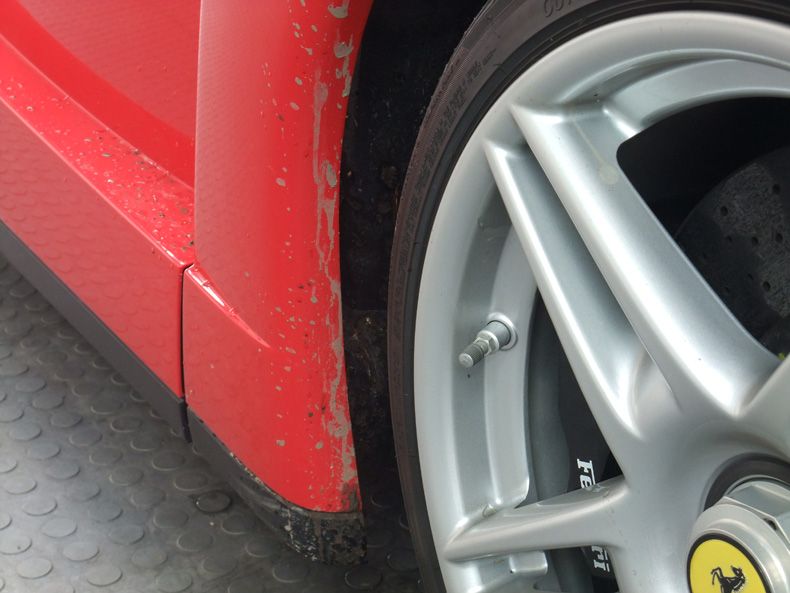
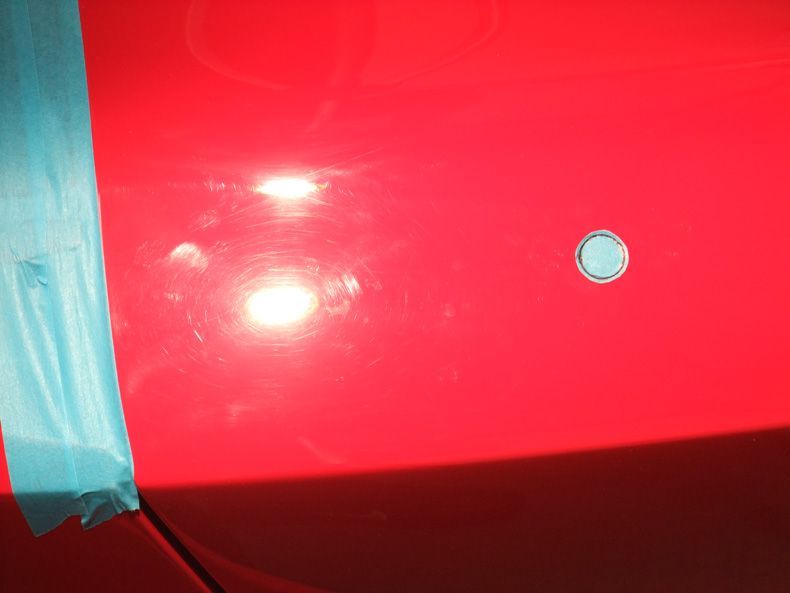
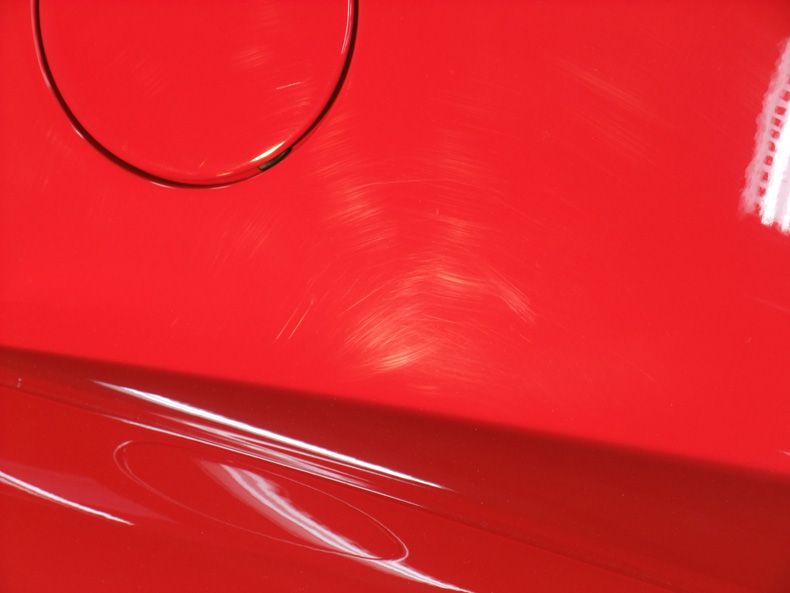
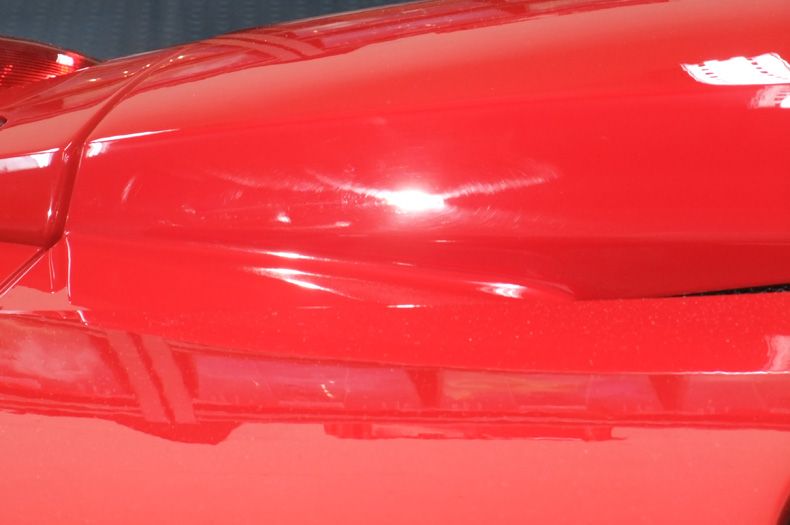
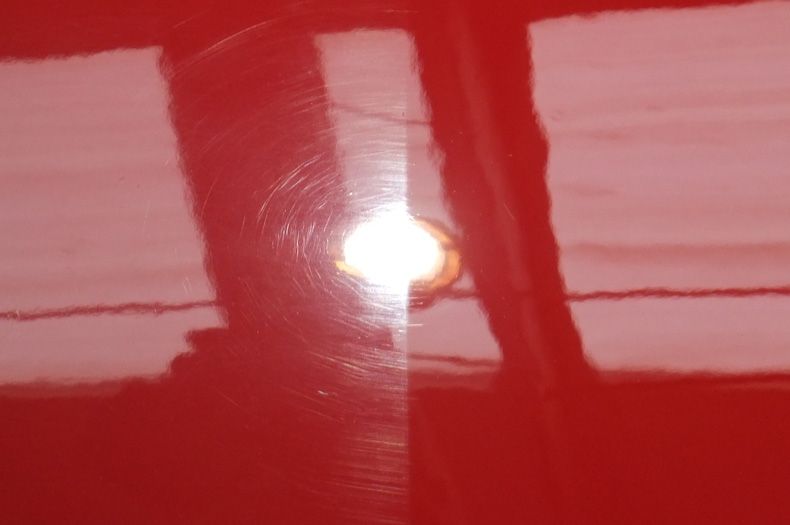
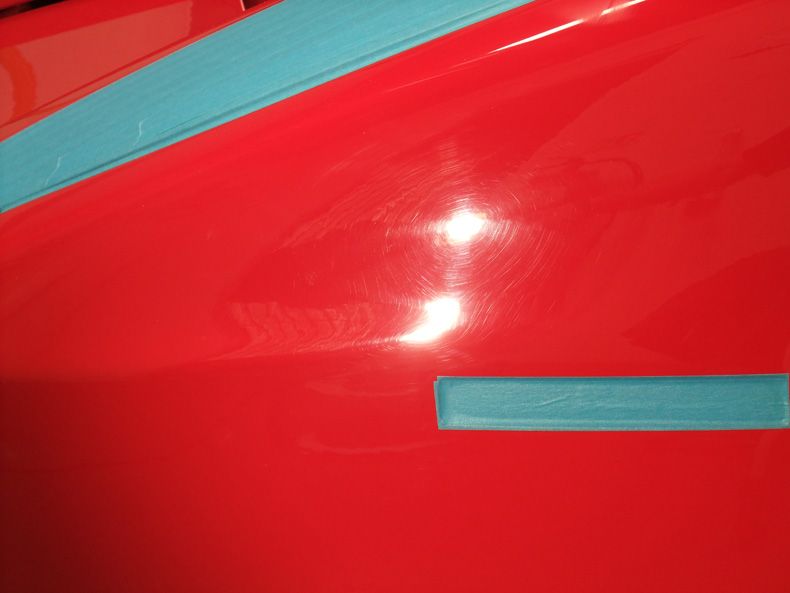
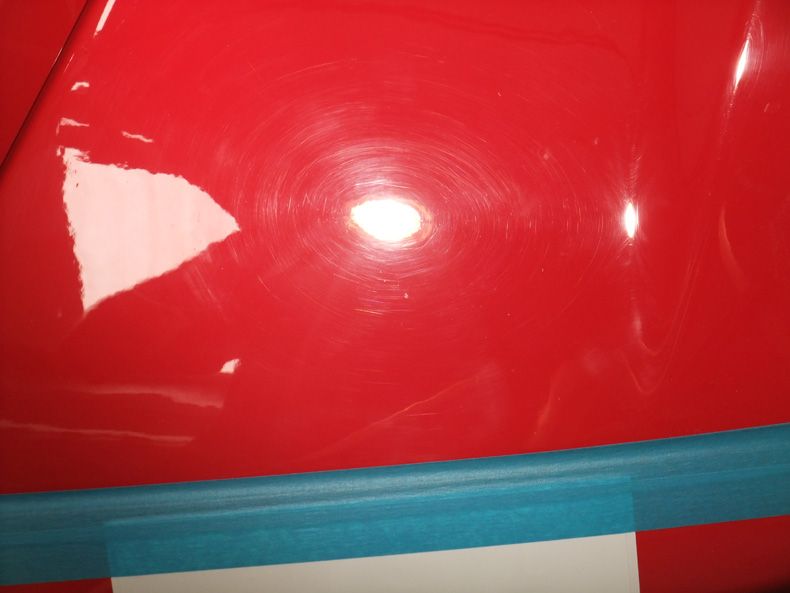
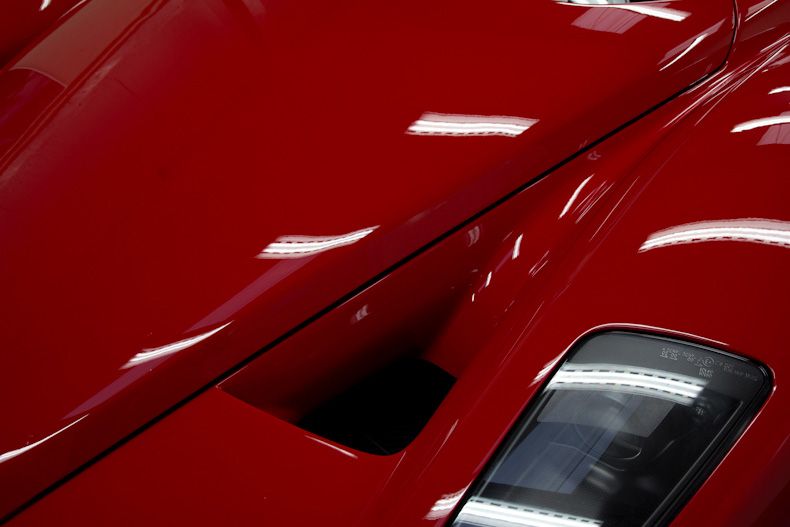
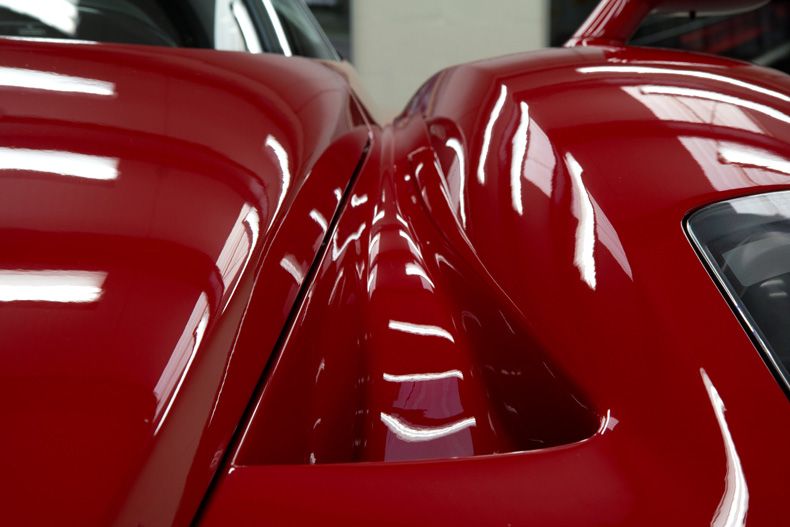
Anyways, enough of the blurb and lets see what condition the paintwork is in - I should point out now that alot of these defects will have been present from the day the car left the production line. You would expect a new car (and certainly one of this kind of value) to be perfect from day 1 but as we all know that's far from the case:
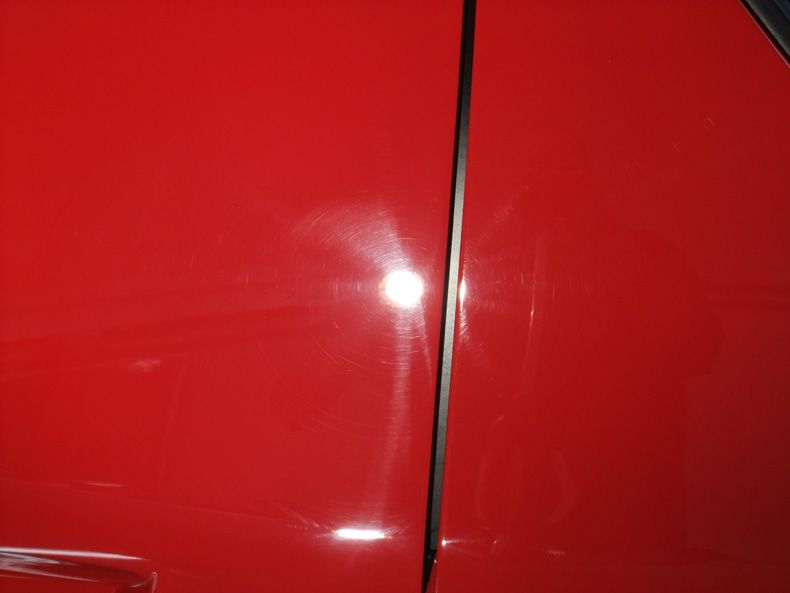
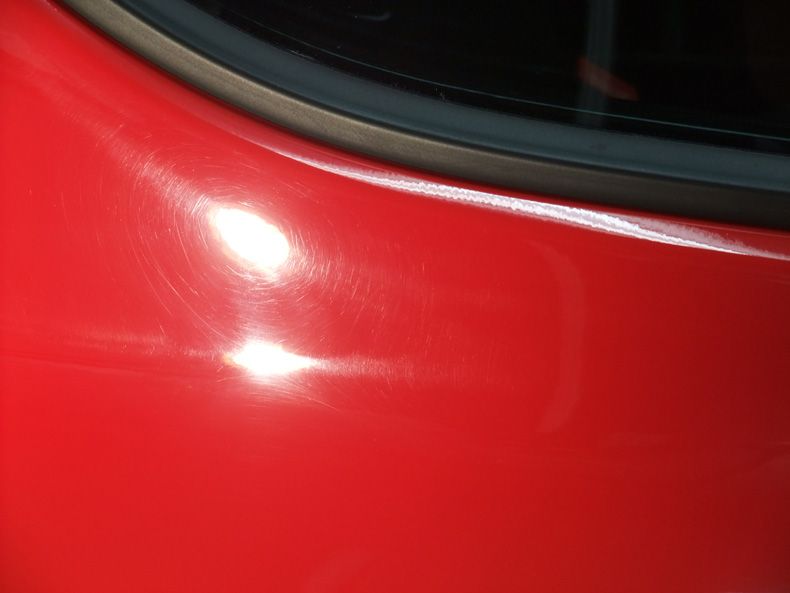
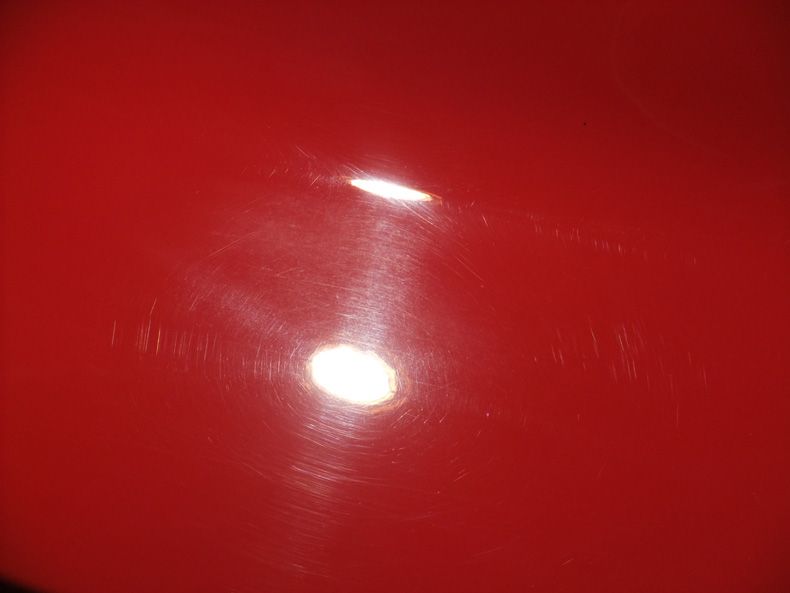
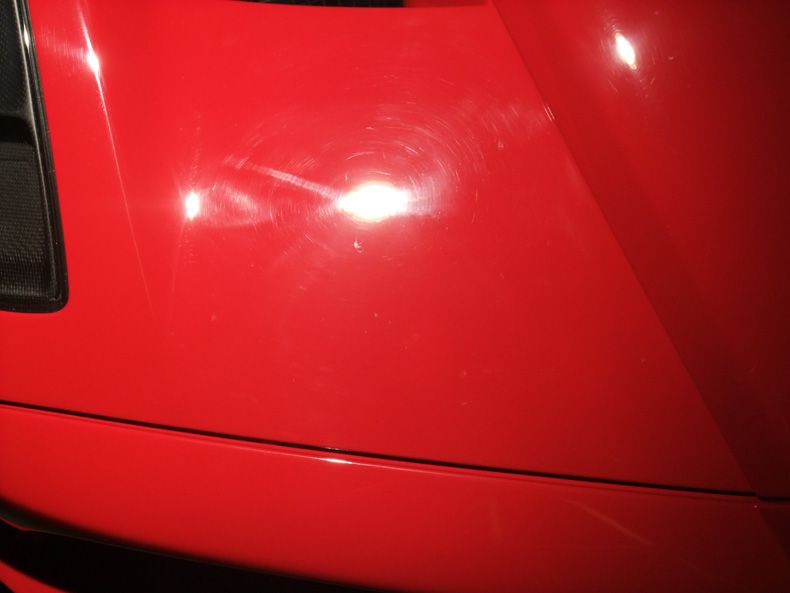
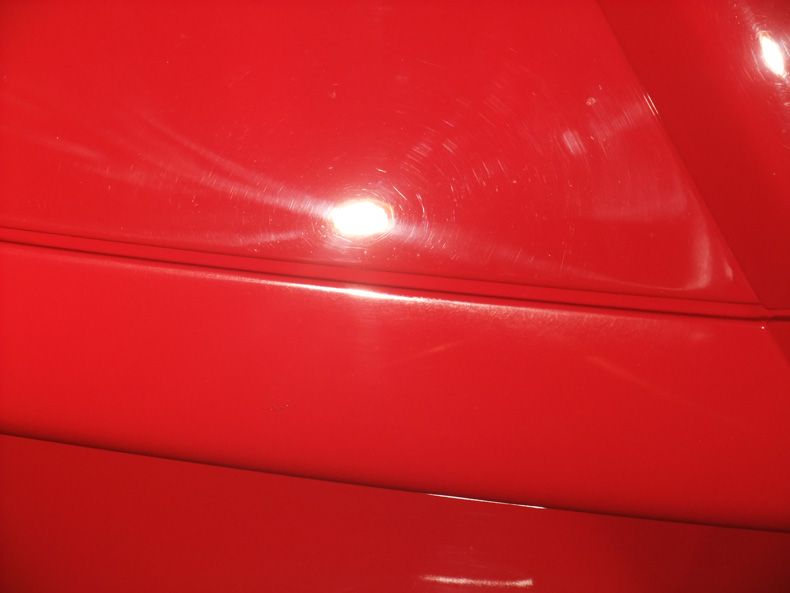
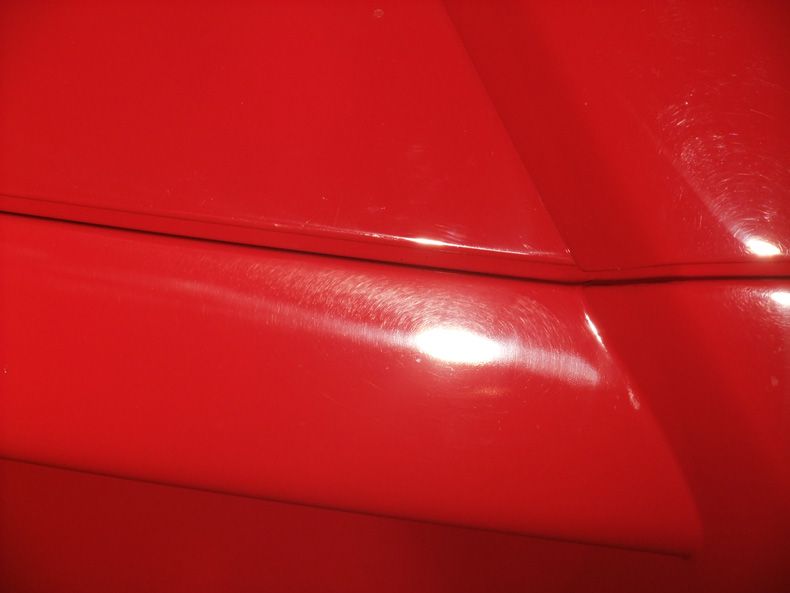
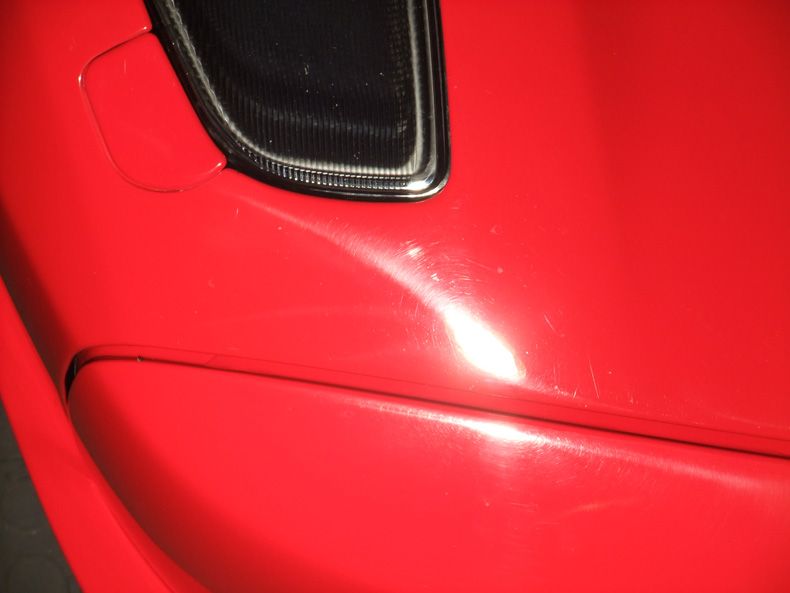
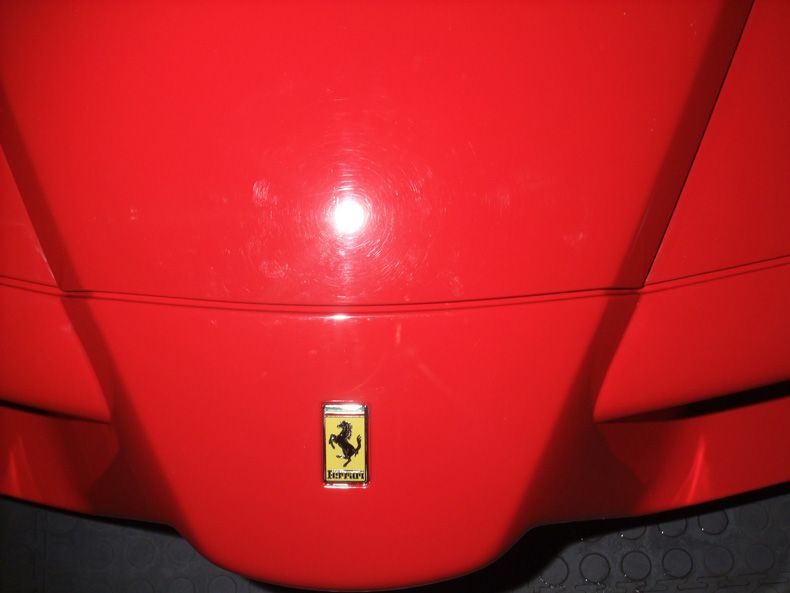
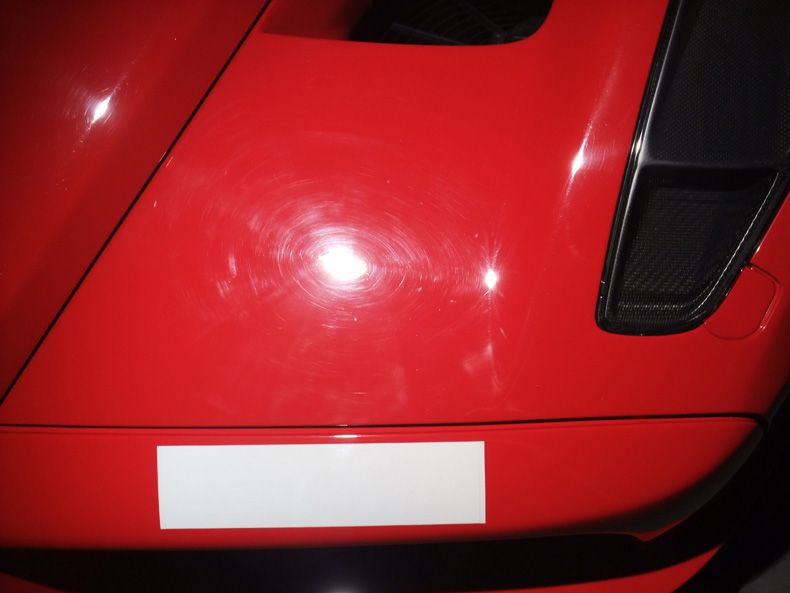
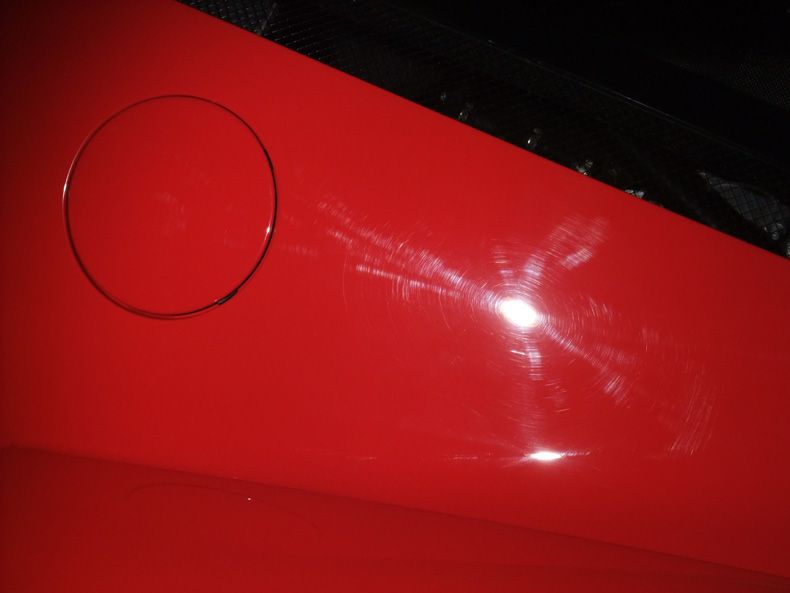
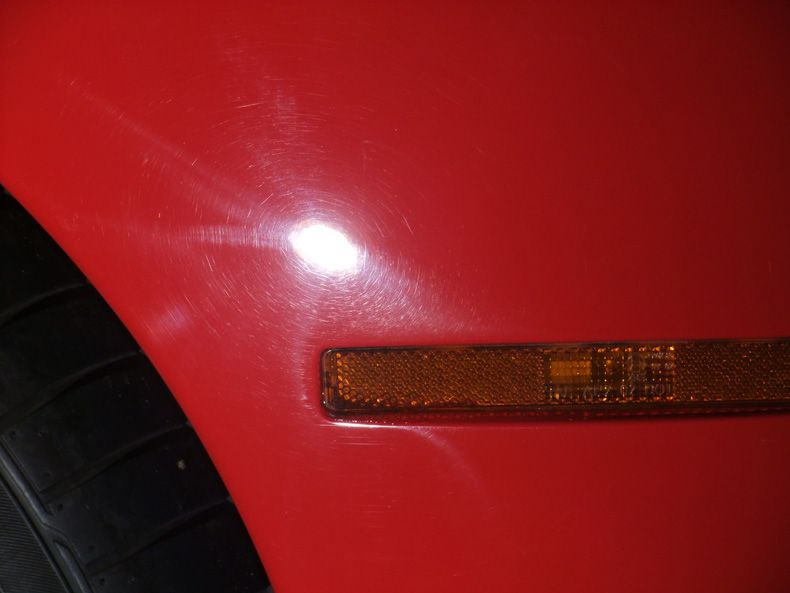
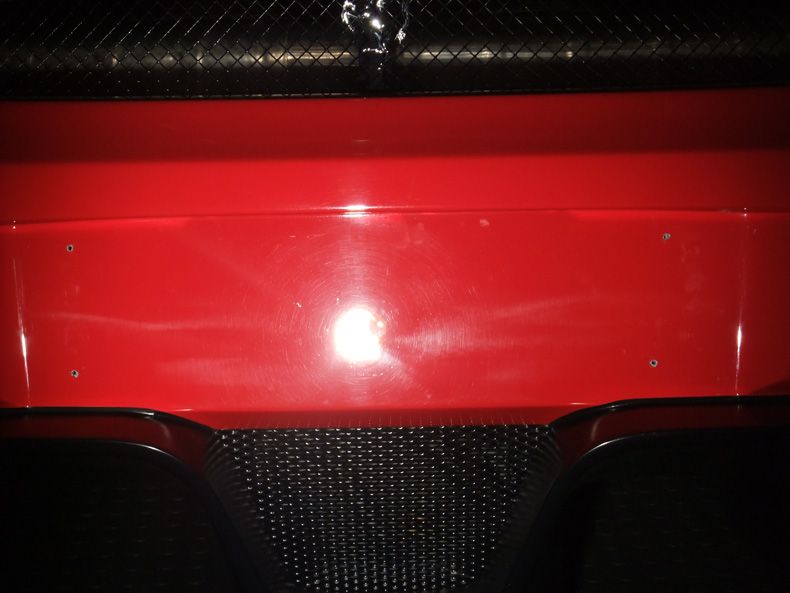
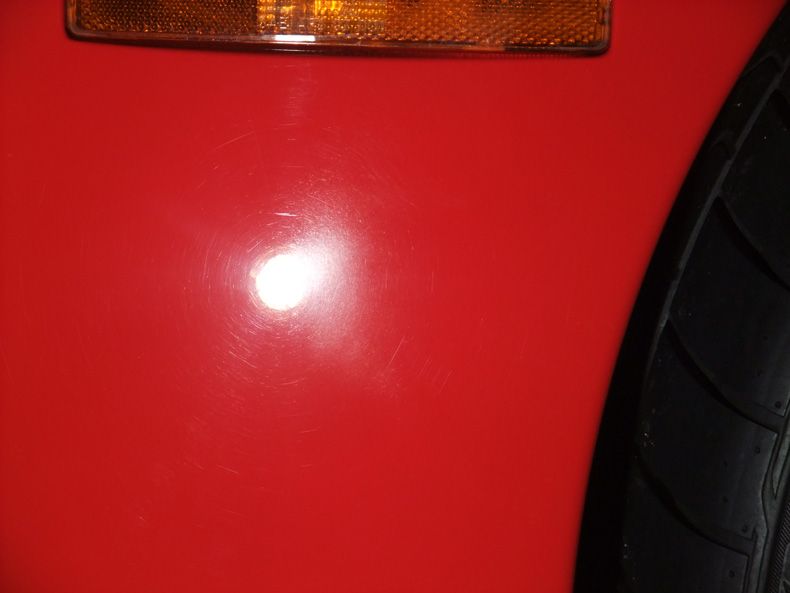
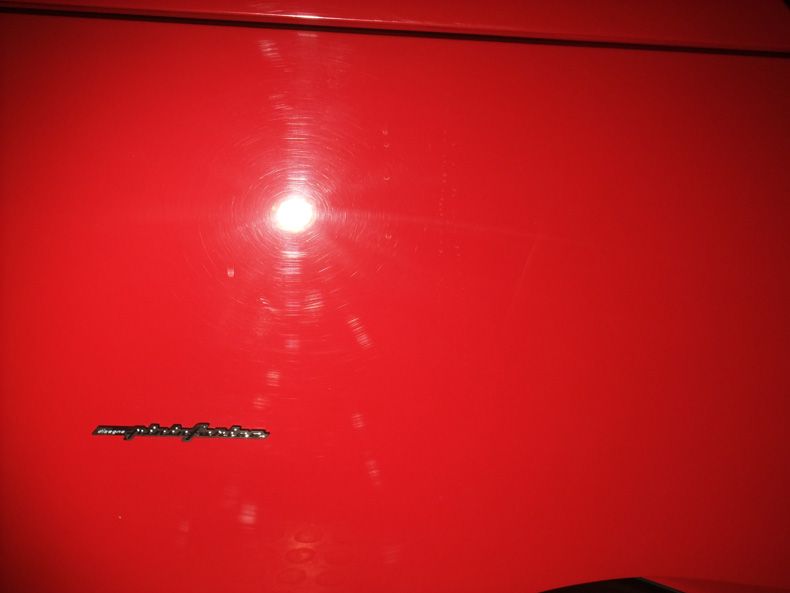
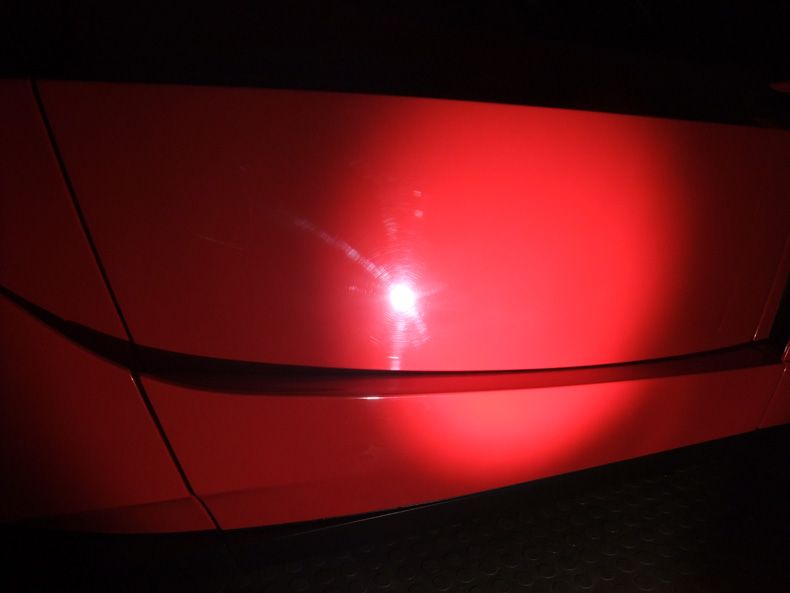

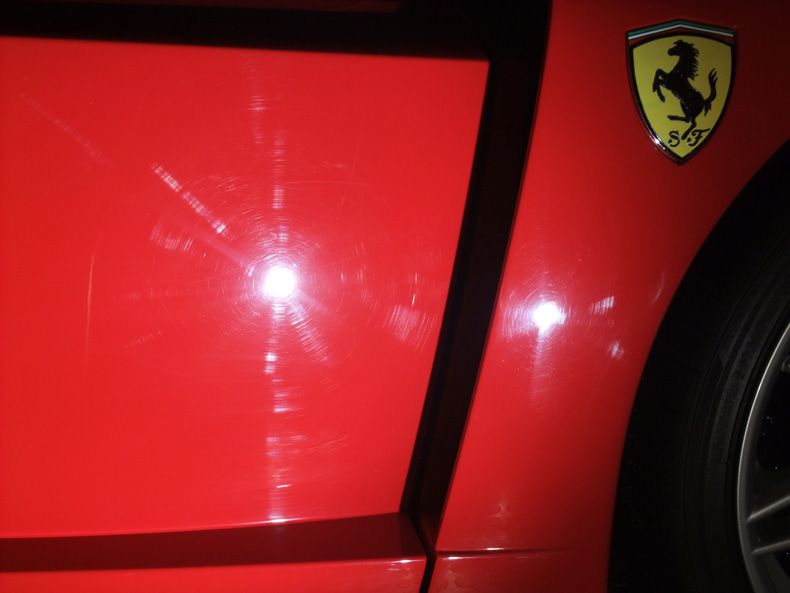
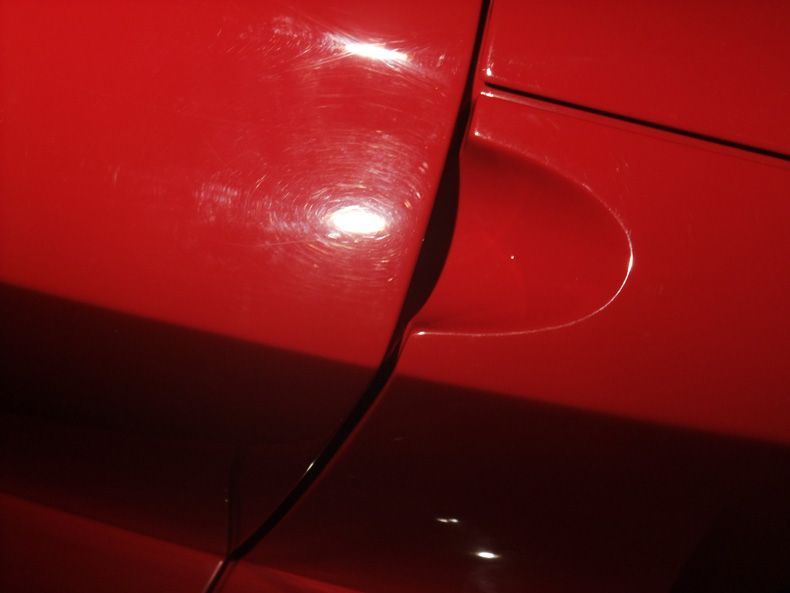
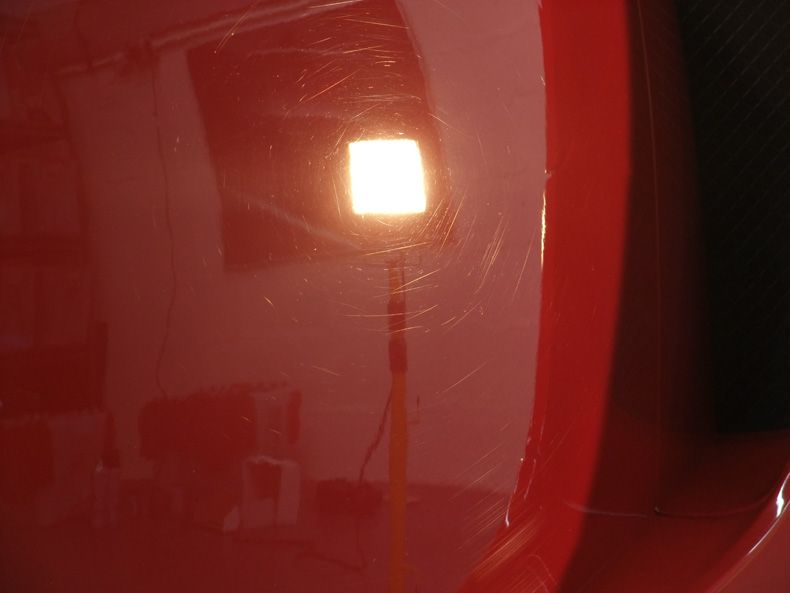
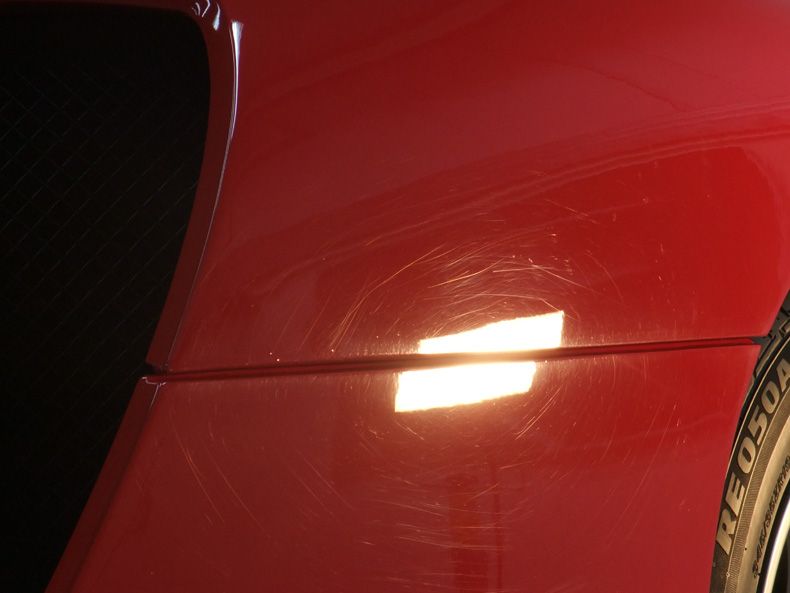
So as you can see I was faced with a mix of random scratches, scuffs, buffer trails and sanding pig tails to have fun with!
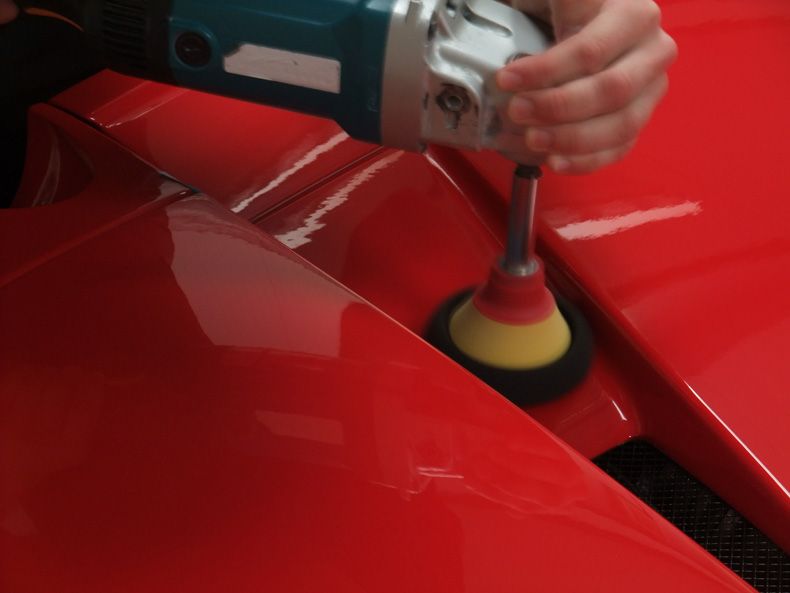
Next step was to settle on a polish and pad combination that would remove as much defects as possible whilst also removing as little clear coat as possible. I'd read previously that the Enzo's were known for having pretty hard paint and this one was no different (I'd put it along the lines of BMW hardness) as I had to eventually settle for a 3 stage approach consisting of:
1 - Menzerna 3.02 and Lake Country Foamed Wool @ approx 1800rpm's.
2 - Menzerna 2.03S and Lake Country HT/Meguiars Polishing Pads @ 1500/1800rpm's.
The 3rd stage was the refining which was to be done later on.
Using the laser method I was able to identify the same point before and after polishing (after allowing the paint to cool) to measure how much clear coat was being removed:
On average, after a couple of hits per panel with the wool and then the follow up with 2.03S only 2-3 microns were removed - if that. Perfect!
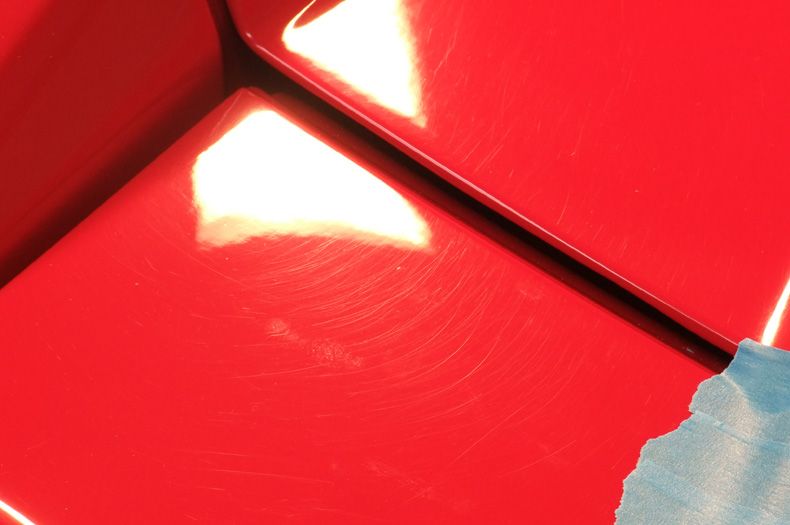
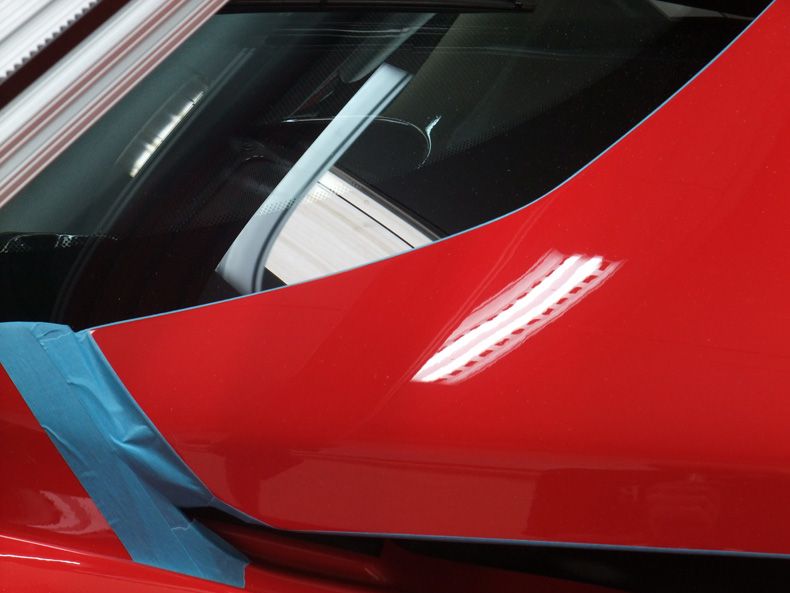
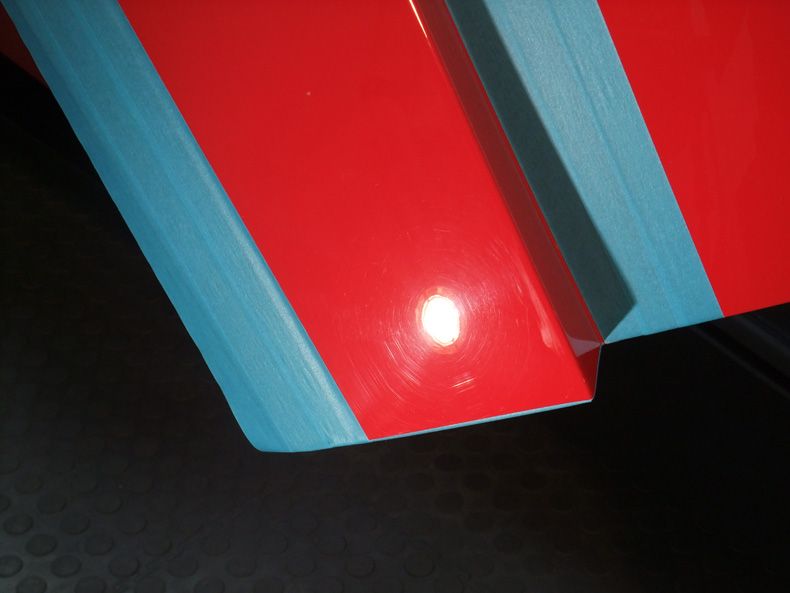
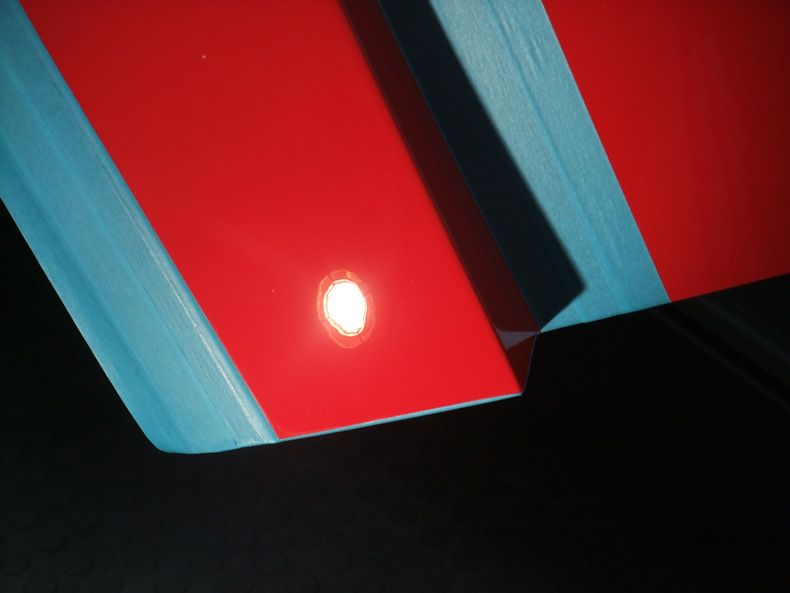
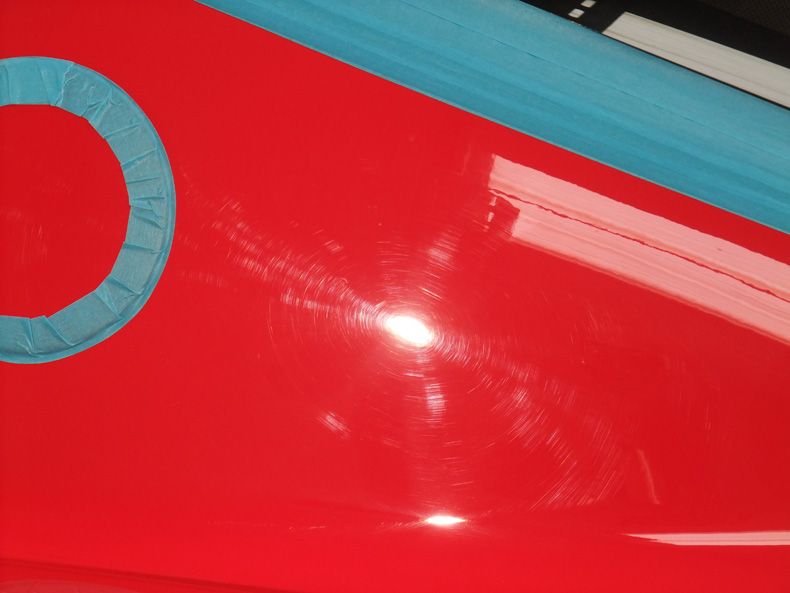
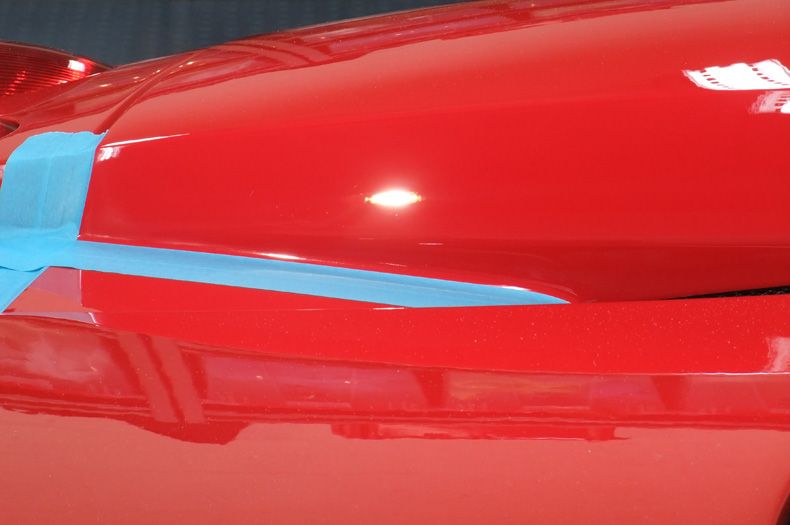
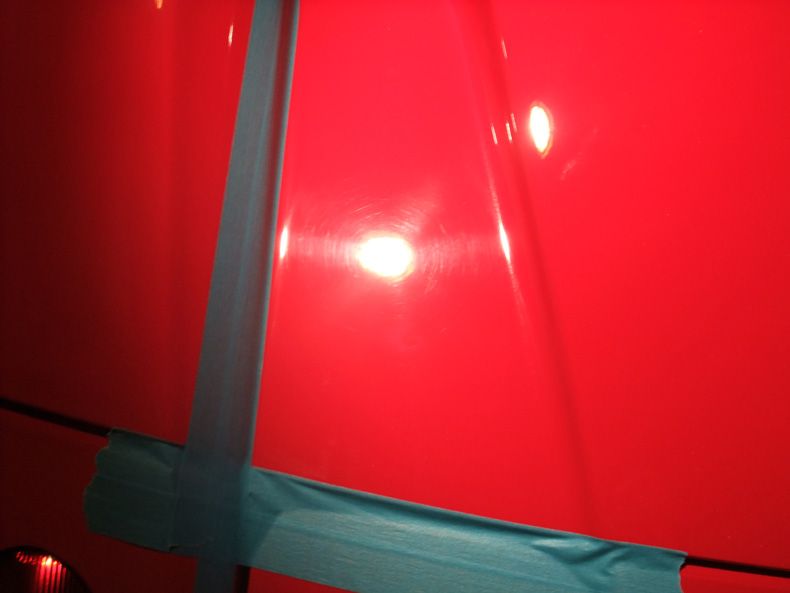
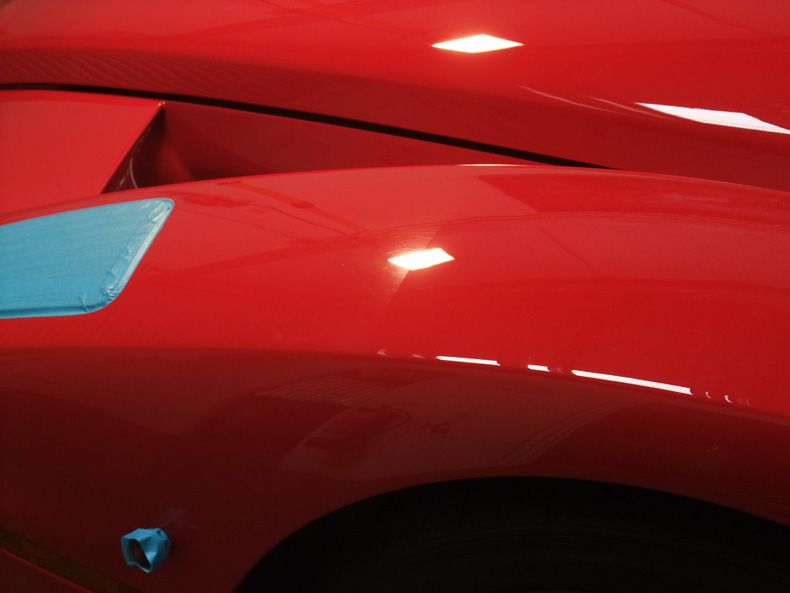
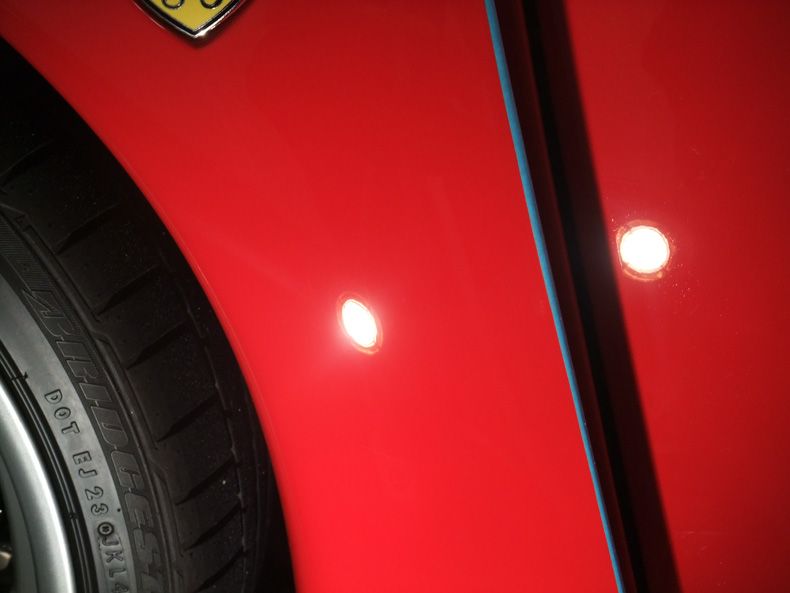
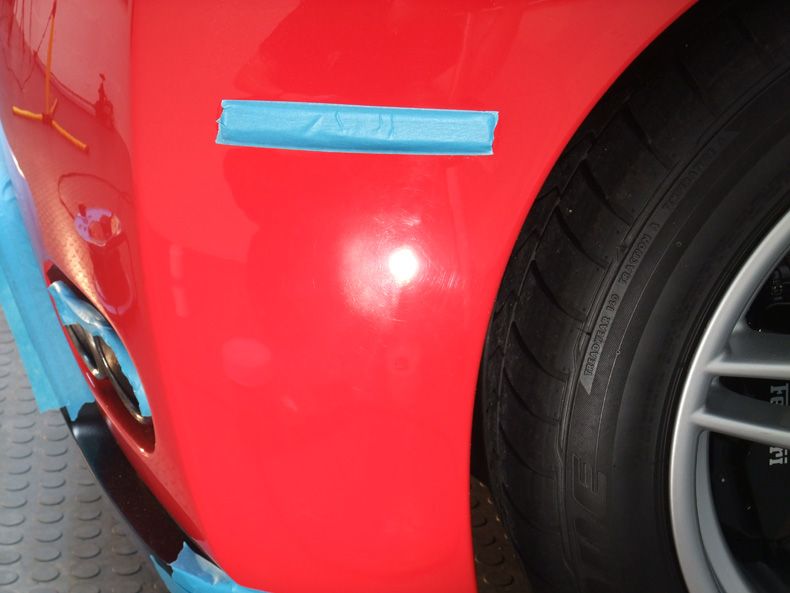
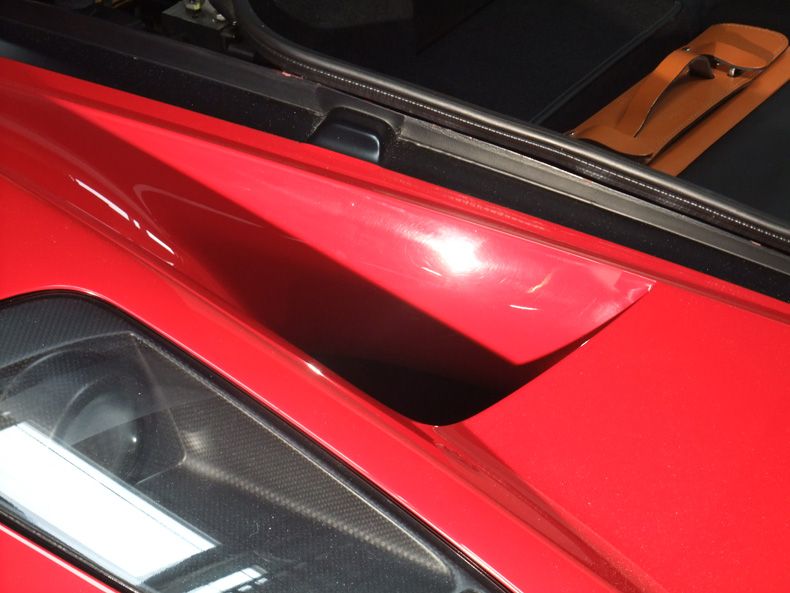
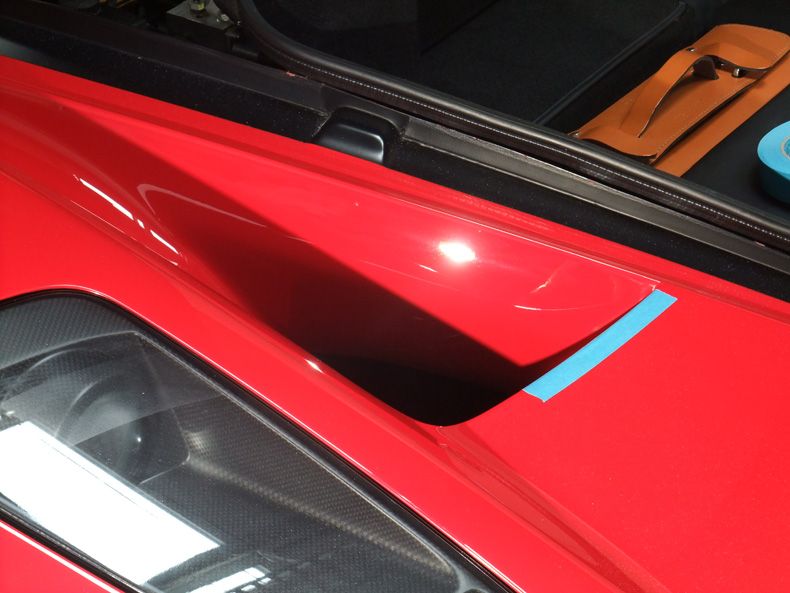
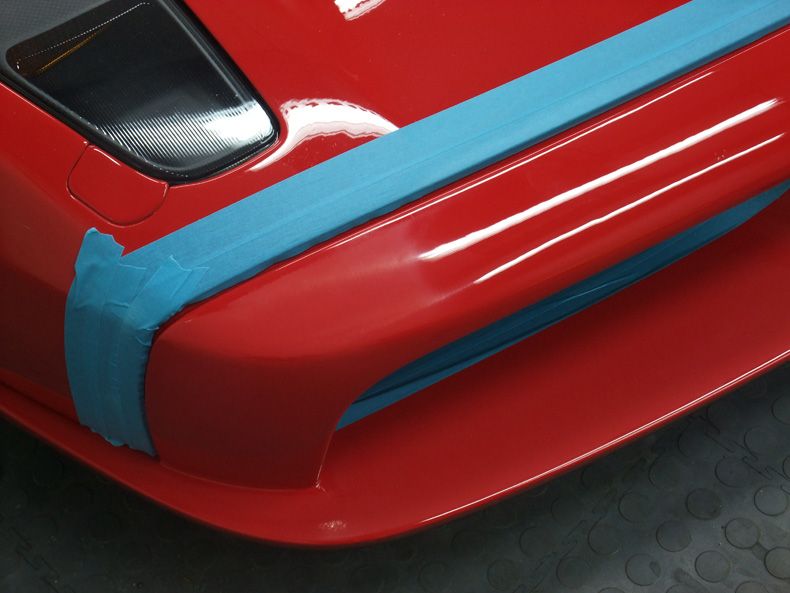
You'll notice in some of the pics that all the panel edges were taped up, this is something I generally always do on any hand painted car to prevent striking through as the edges will tend to be thinner:
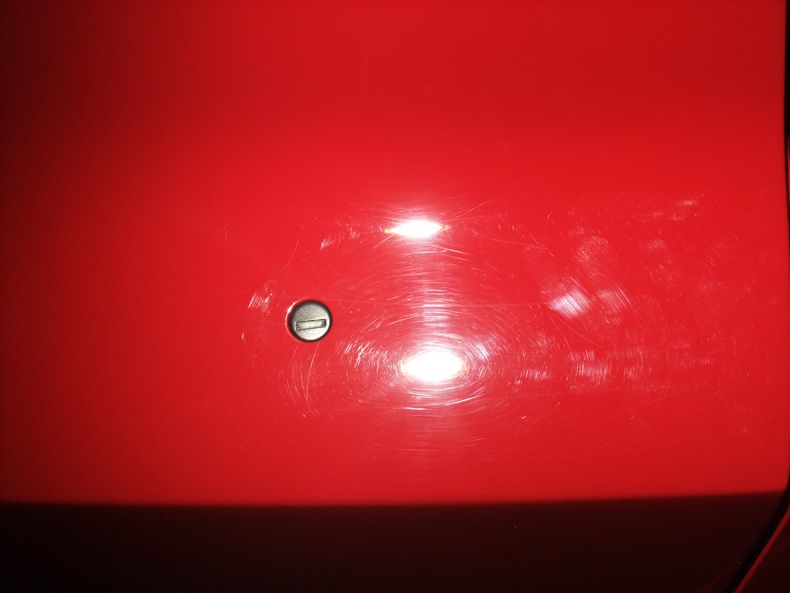
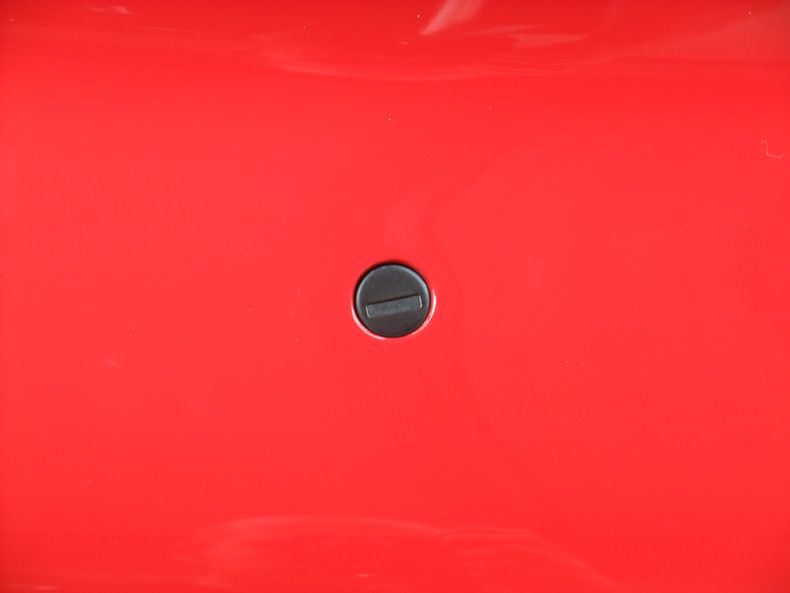
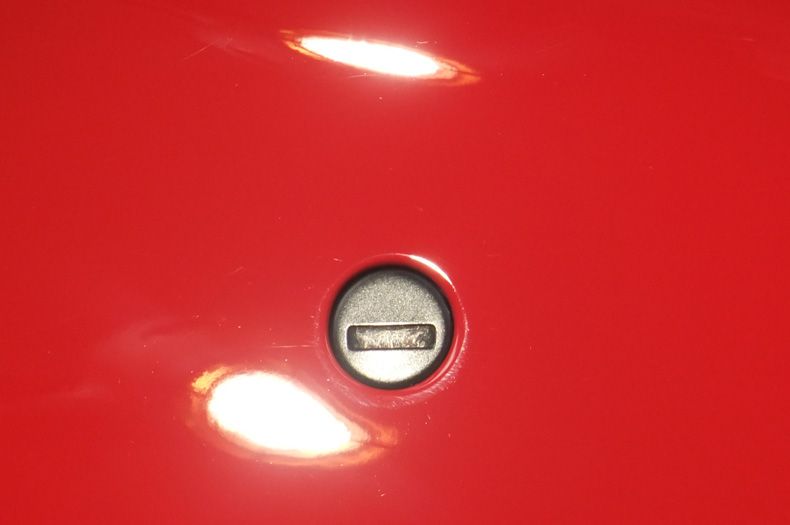
Even on something as small as the door lock I take no chances, this method is actually pretty useful for parking sensors in bumpers etc :thumb:
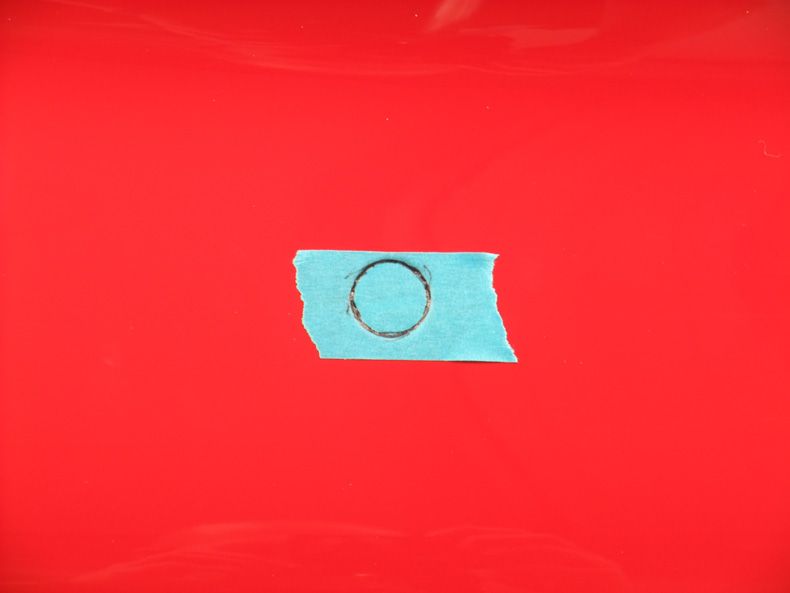
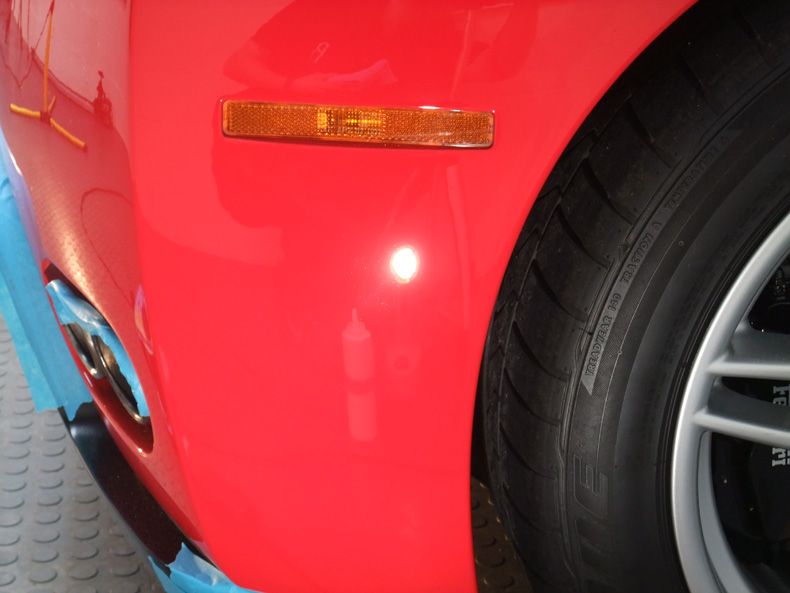
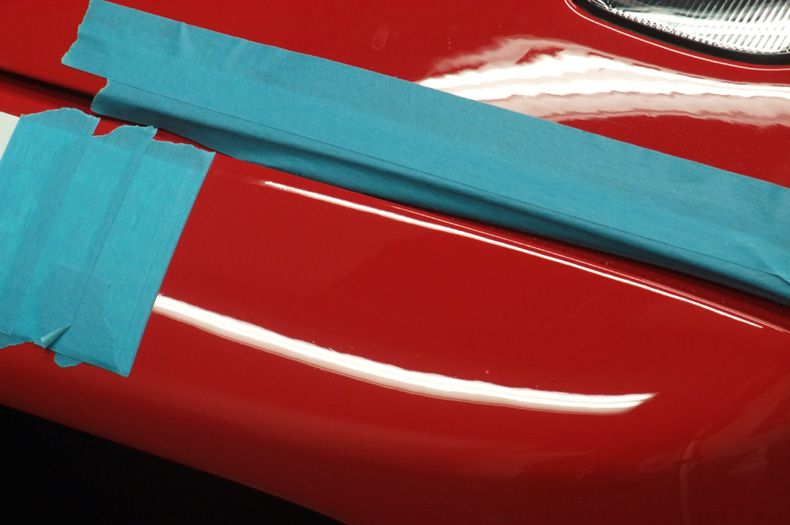
As you can see in this pic, you are left with a 1-2mm outline but this is sorted during the refining stage with a DA machine which you can use to machine over parts such as locks and badges and it's much kinder to panel edges compared to the rotary:
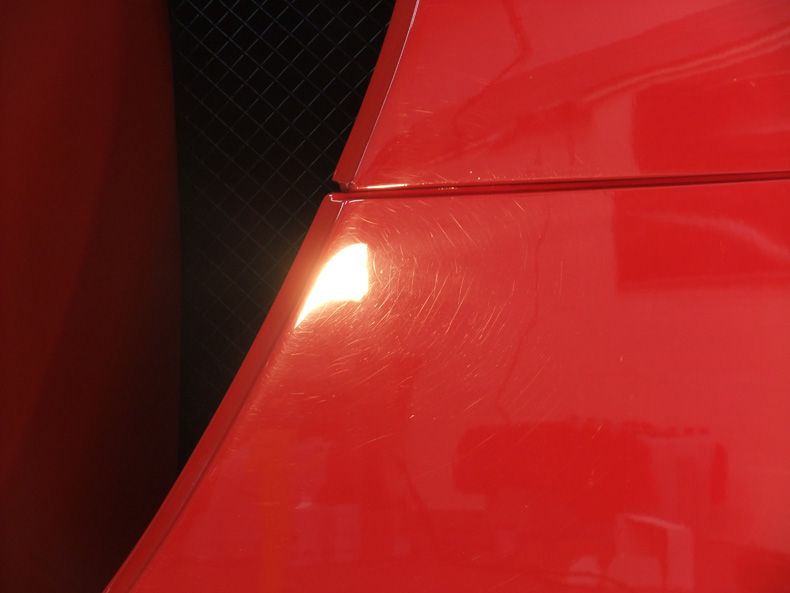
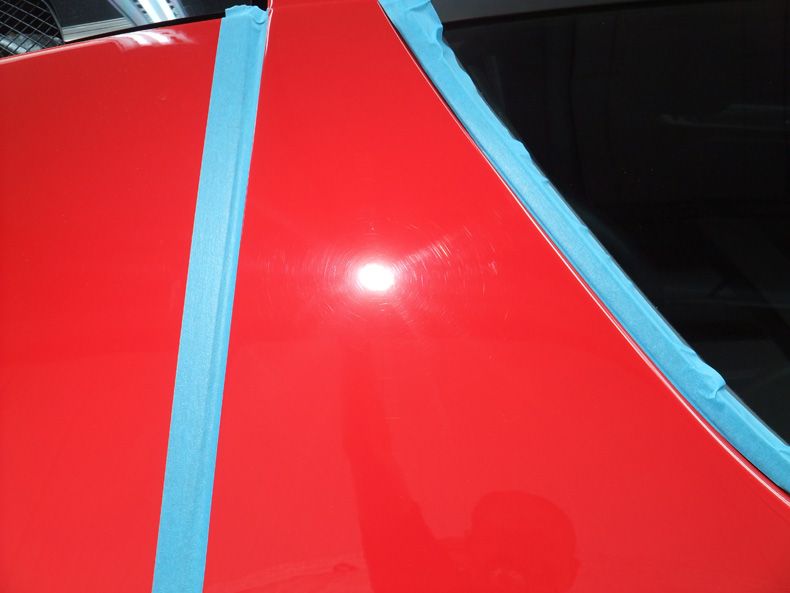
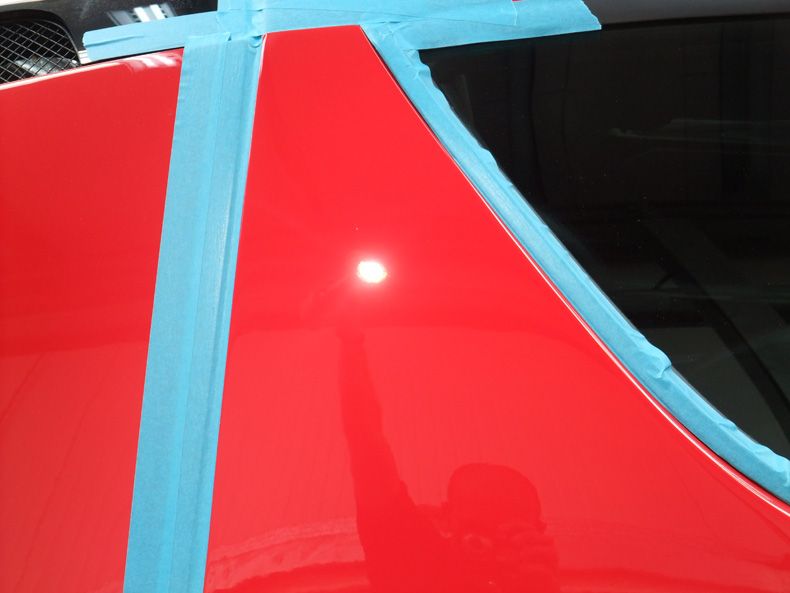
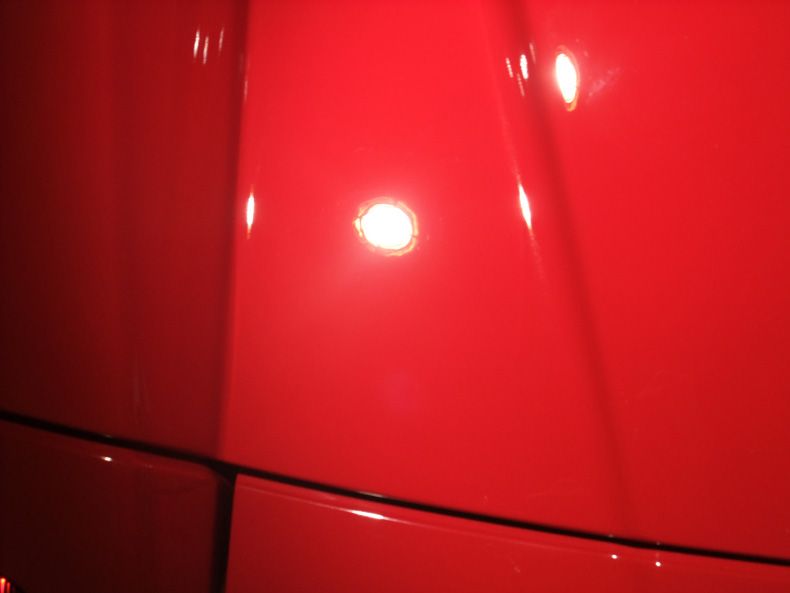
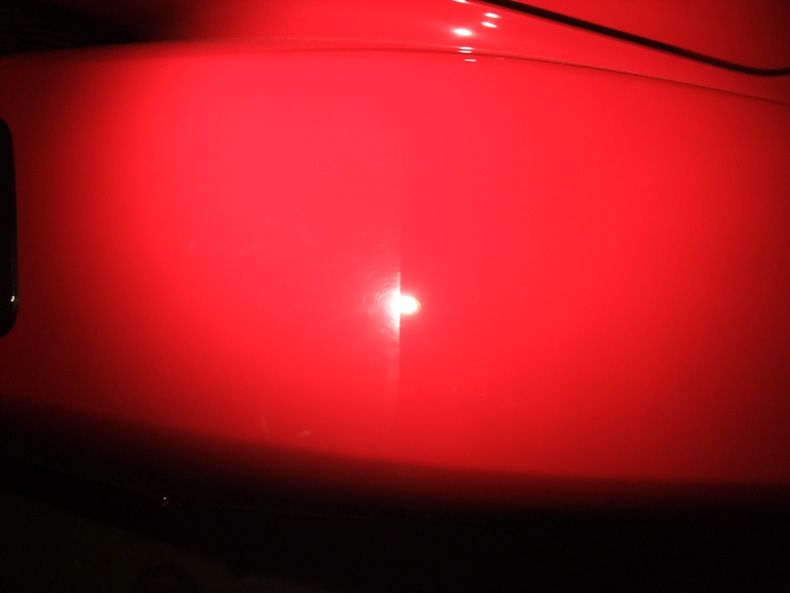
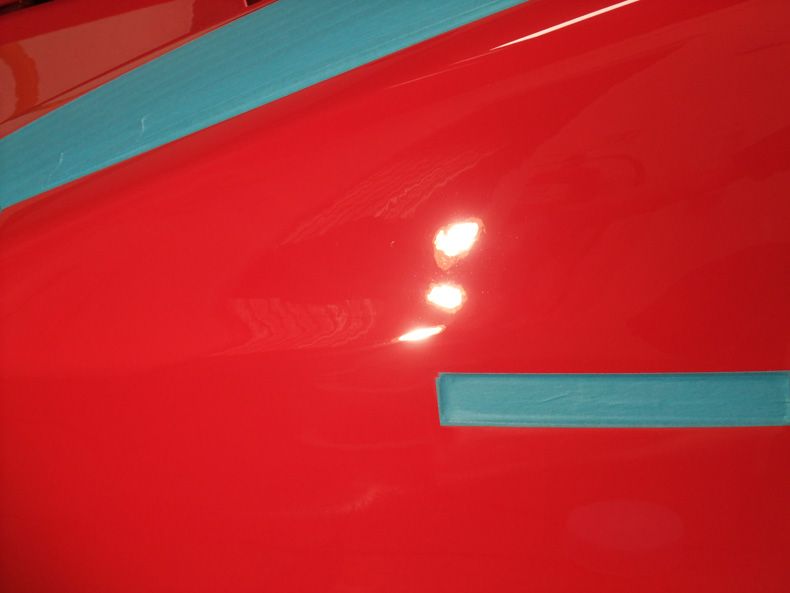
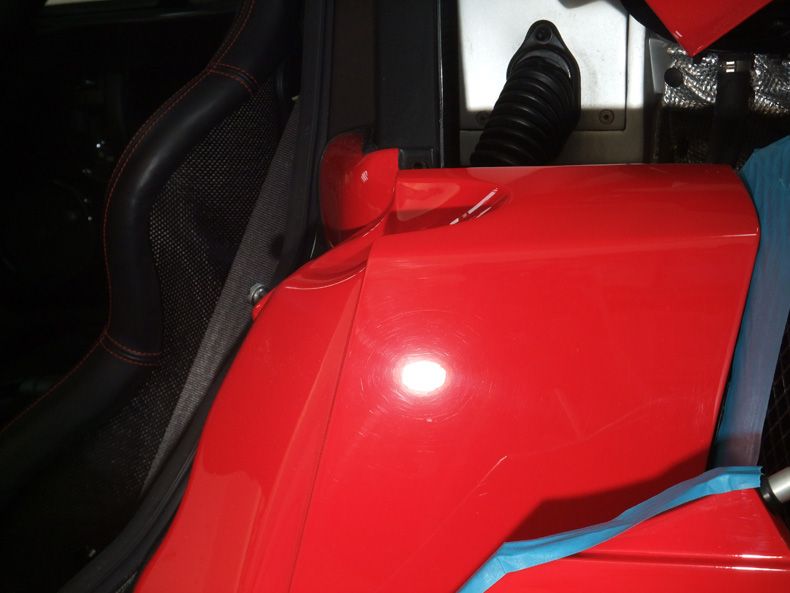
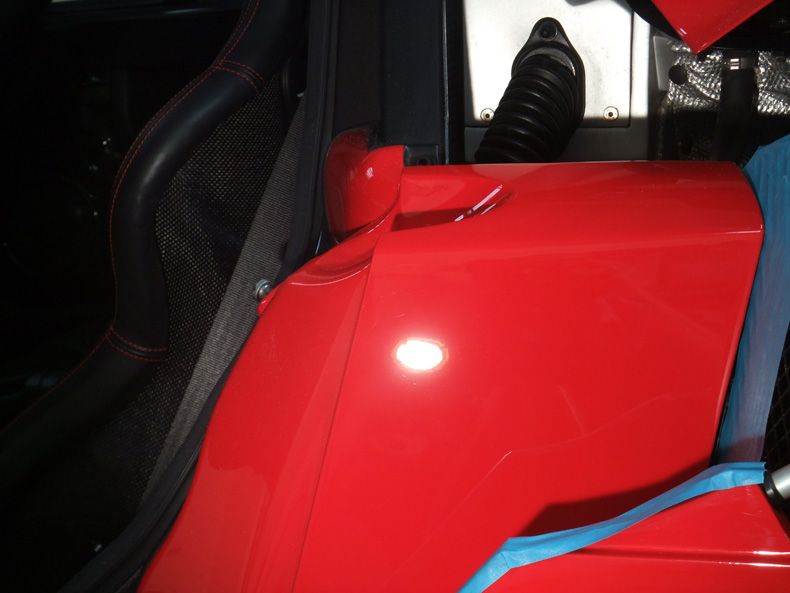
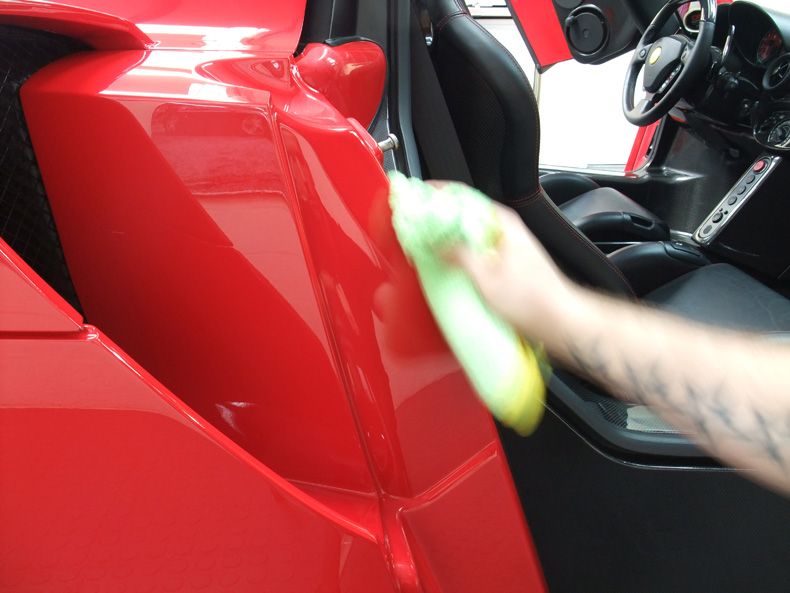
So onto some correction pictures in no particular order, these are all after the first 2 stages of correction which was firstly with the wool...
...and then foam followed by an IPA wipedown:
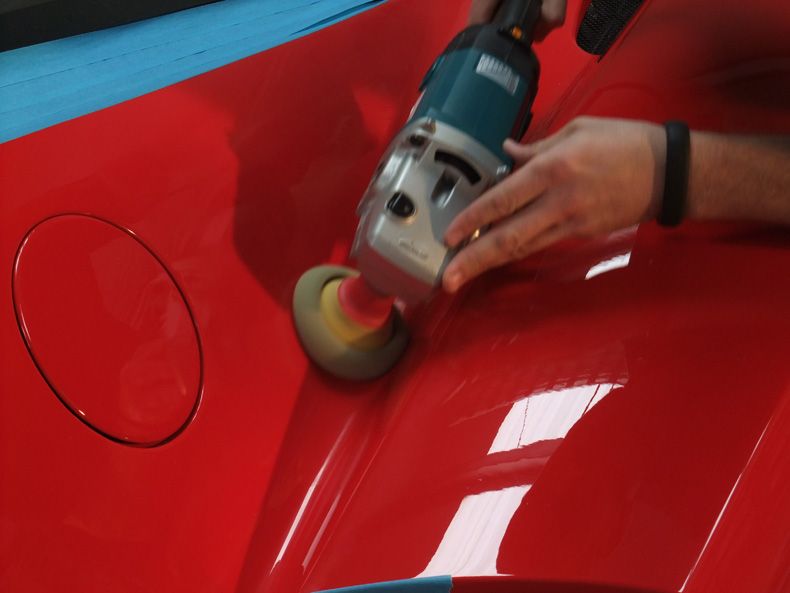
The doors were handy for polishing when opened:

Half way there:
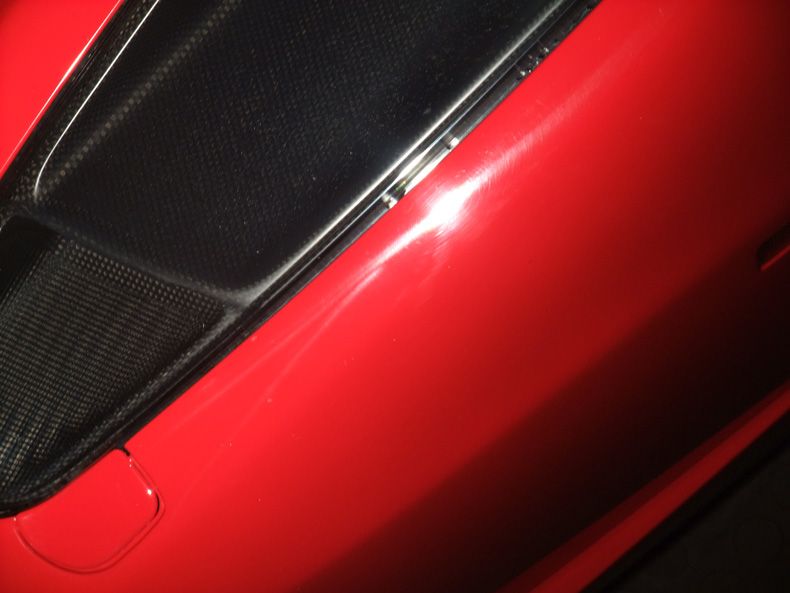
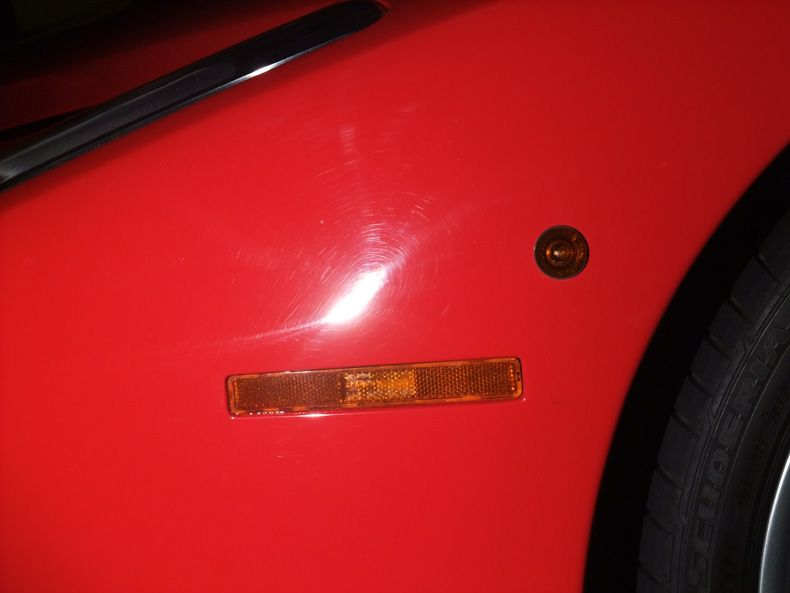
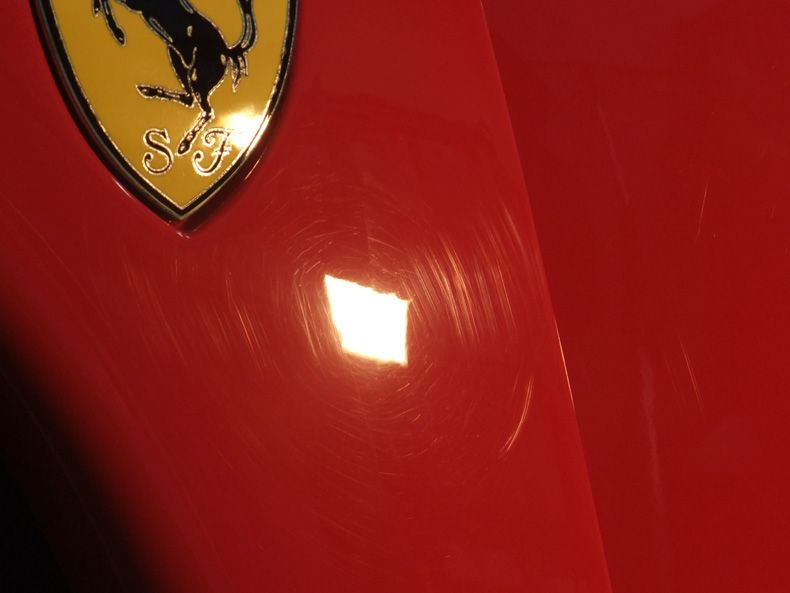
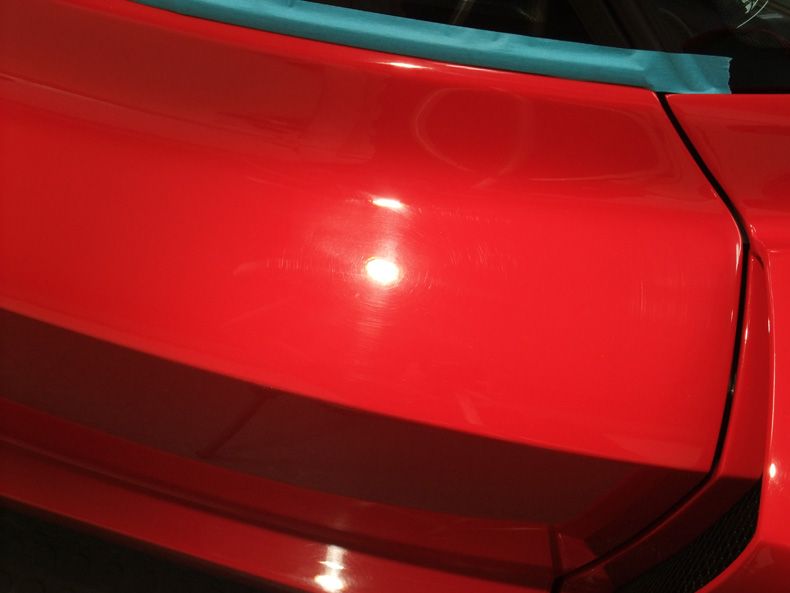
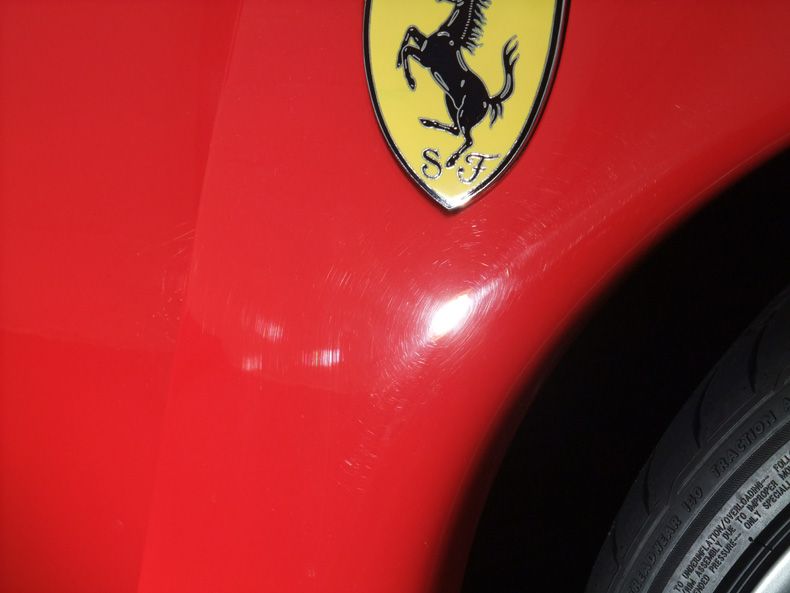
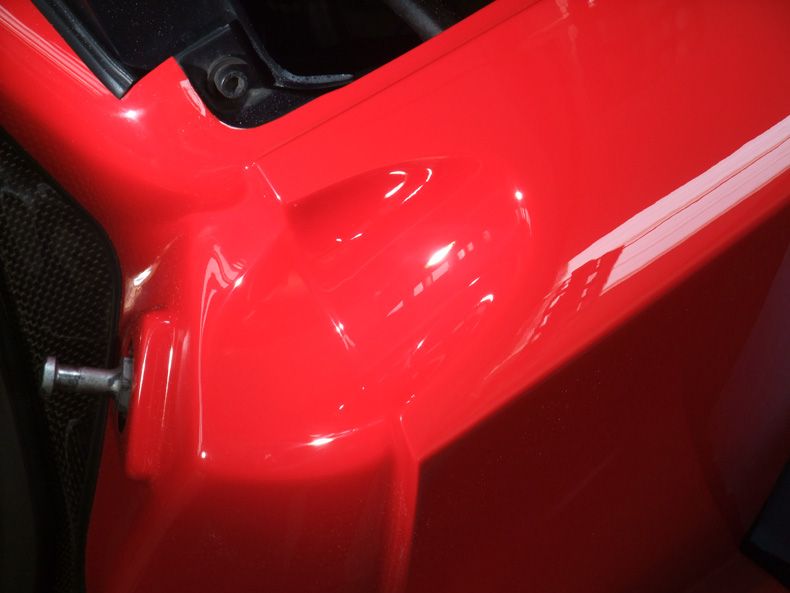
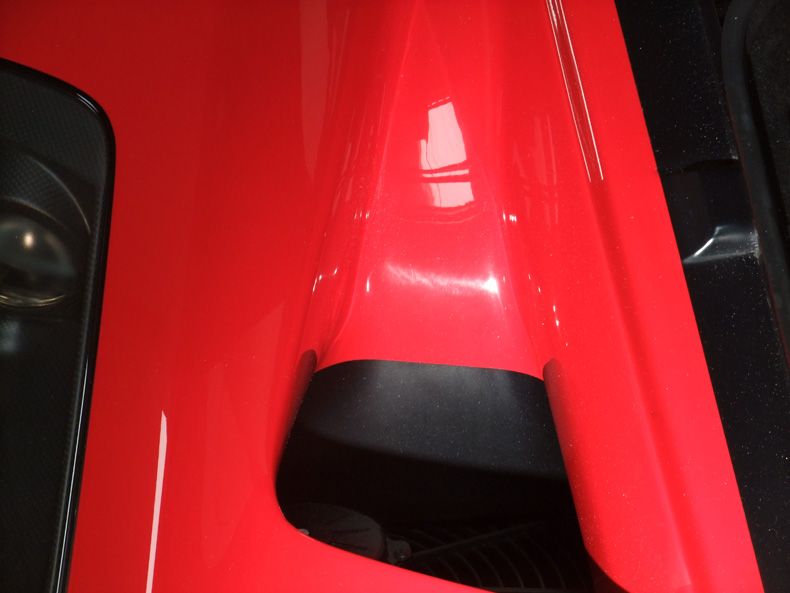
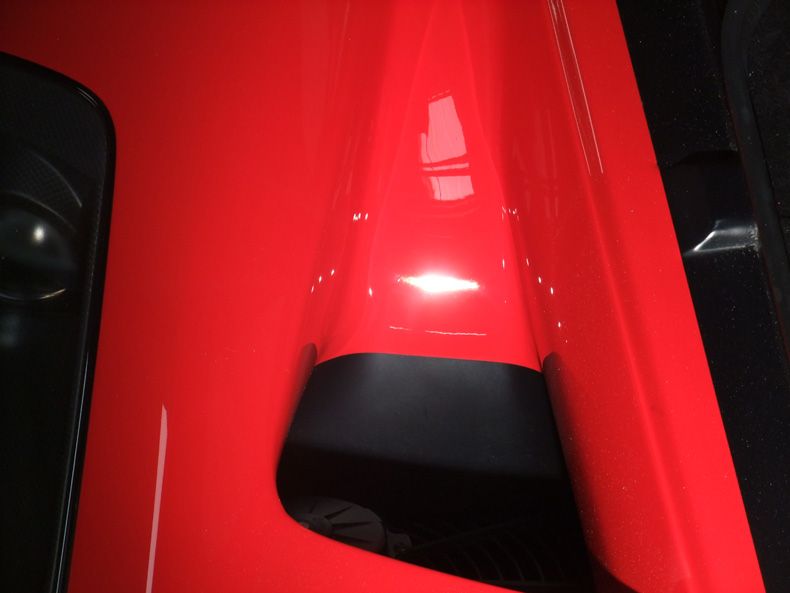
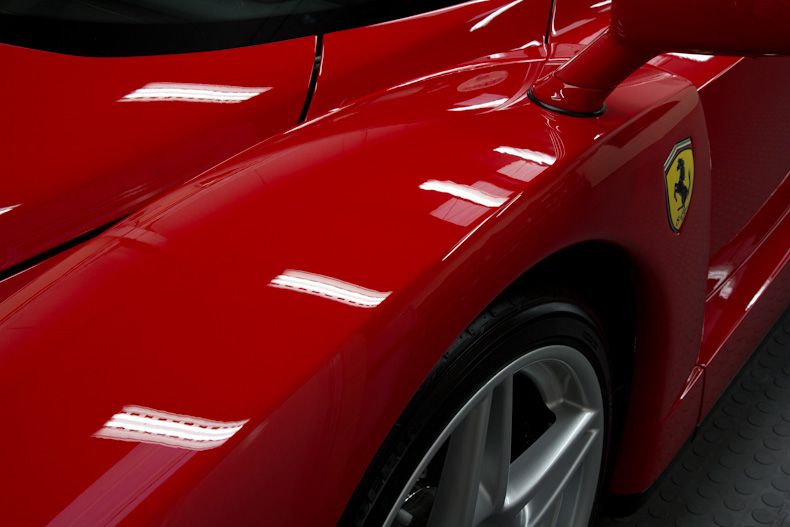
The scratches next to the petrol cap were quite bad:
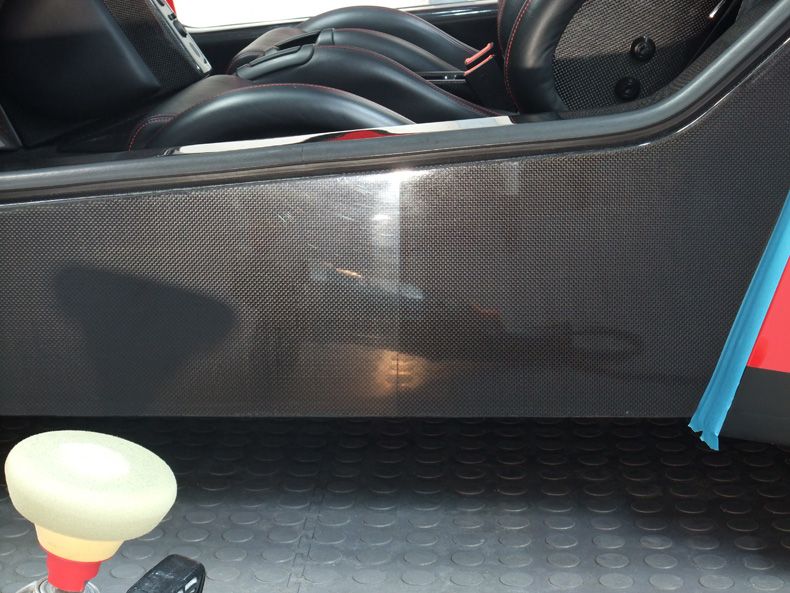
Here you can clearly see the carbon fibre weave through the paint, I wish my car could do that
Deep sanding marks on the door:
After 3.02 and wool:

After 2.03S to remove the wool marks:
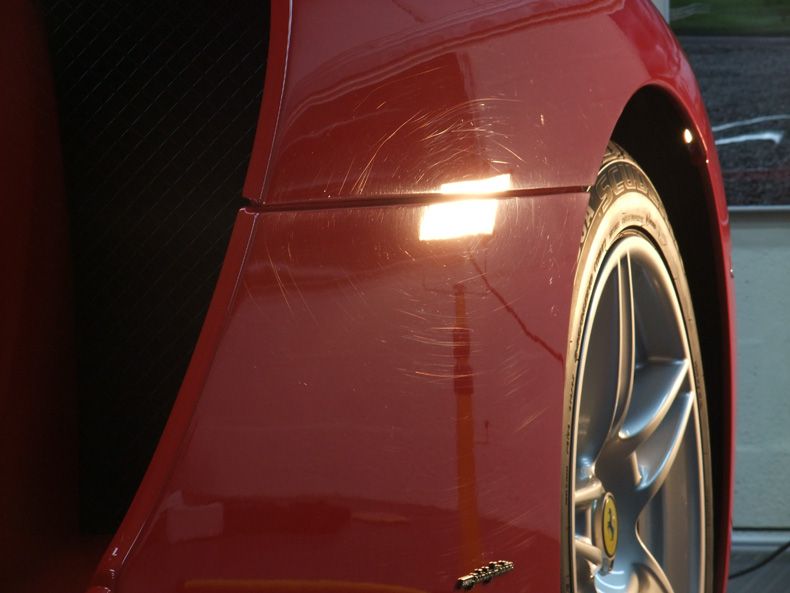
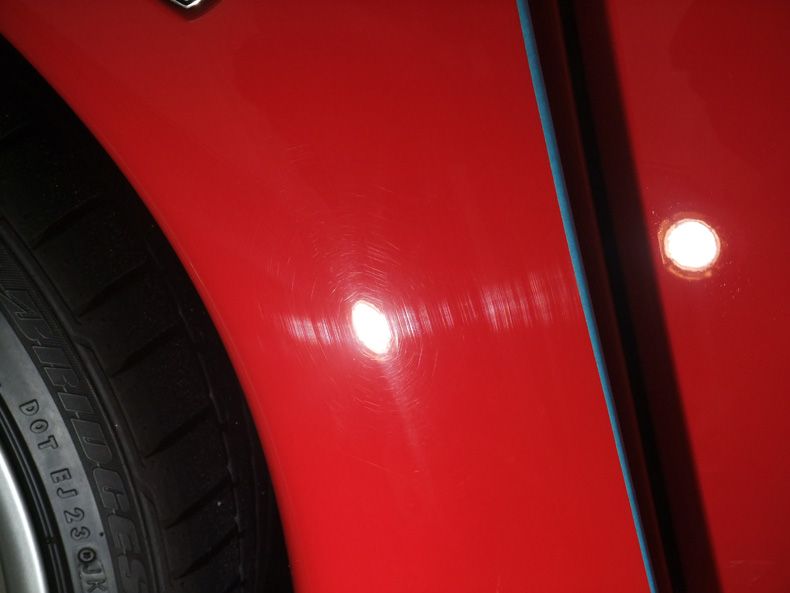
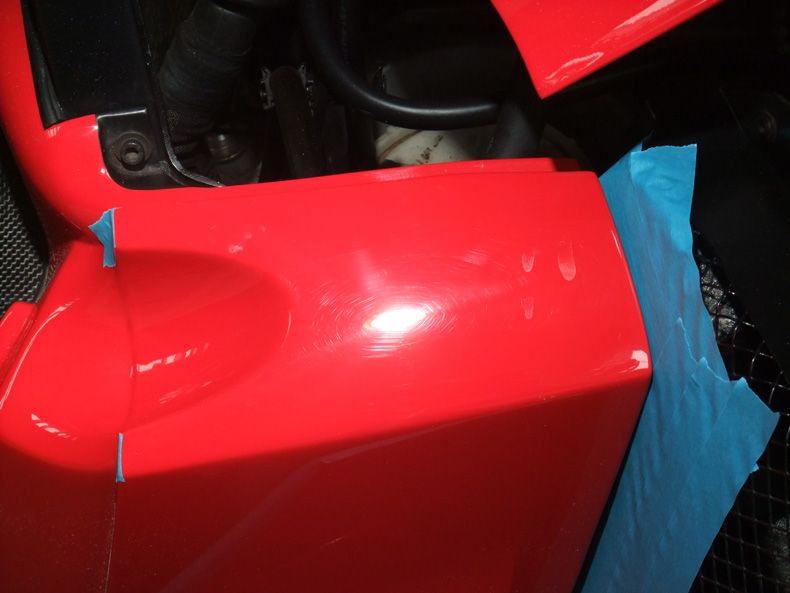
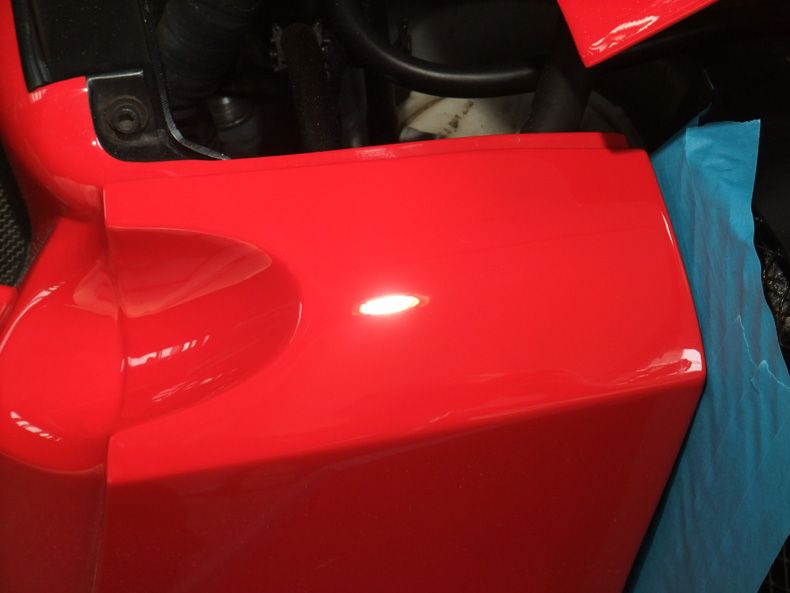
Half way through removing a cluster of sanding marks on top of the N/S wing:
Fully removed:

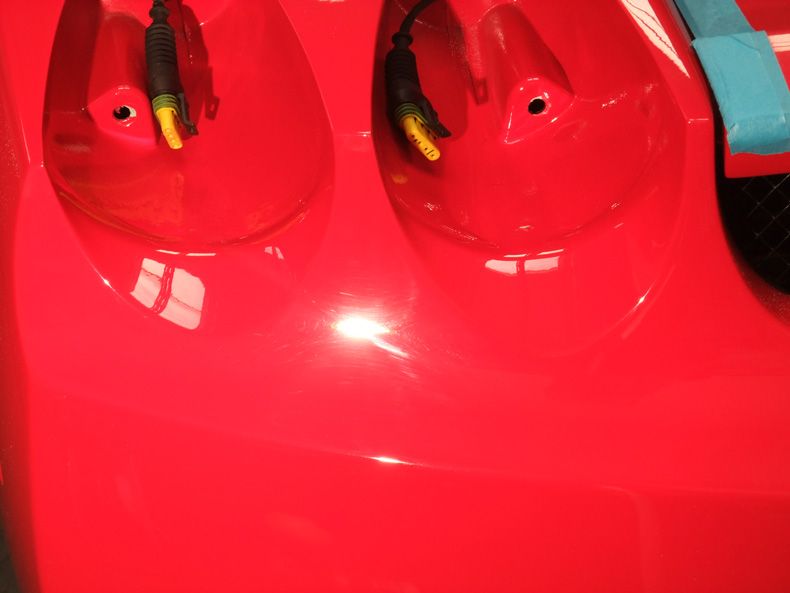
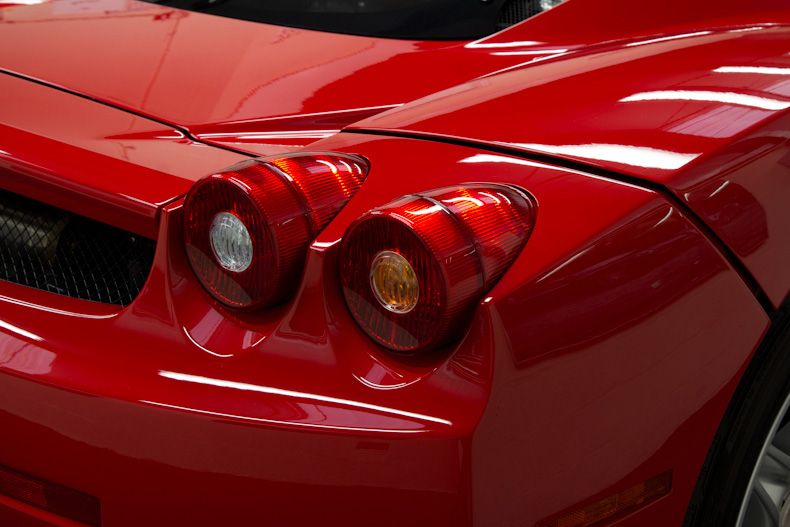
The tail lights were removed to gain easier access for polishing:
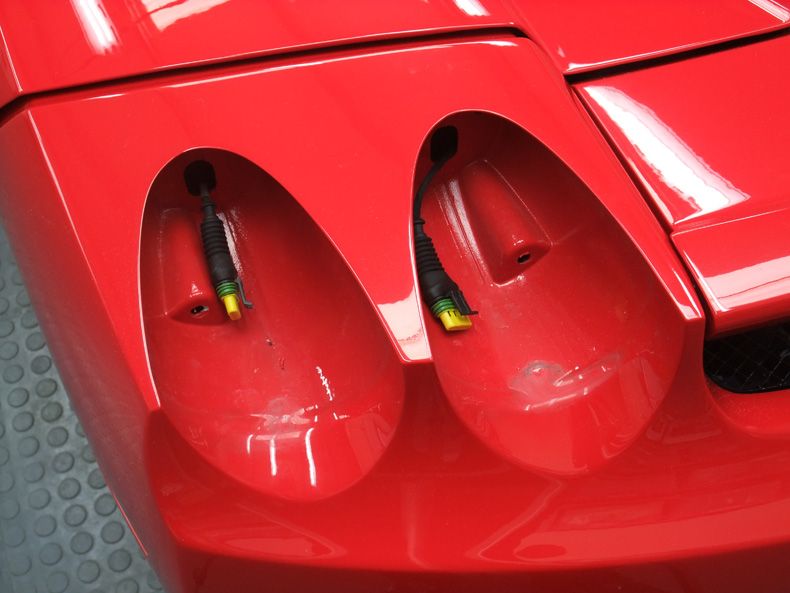
Auto Finesse Tripple was used to freshen up the recesses:
When taping up more fragile parts like painted mesh etc then it's always a good idea to stick the tape to your t-shirt/trousers first to make it a bit less sticky:
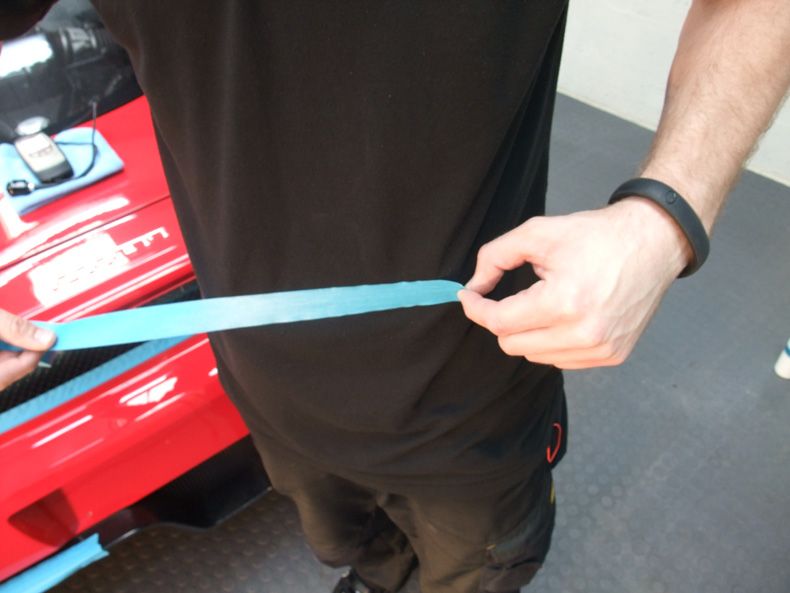
Then slowly pull the tape back on itself when removing:
A big thank you goes out to Mat at Aspire To Detail who sent me his Rotary Extension Bars while I waited on the next batch to be made in the group buy - these were particularly usefull for the tighter areas where you need to be able to see where the pad is at all times:
They made correcting even the tightest areas much easier:
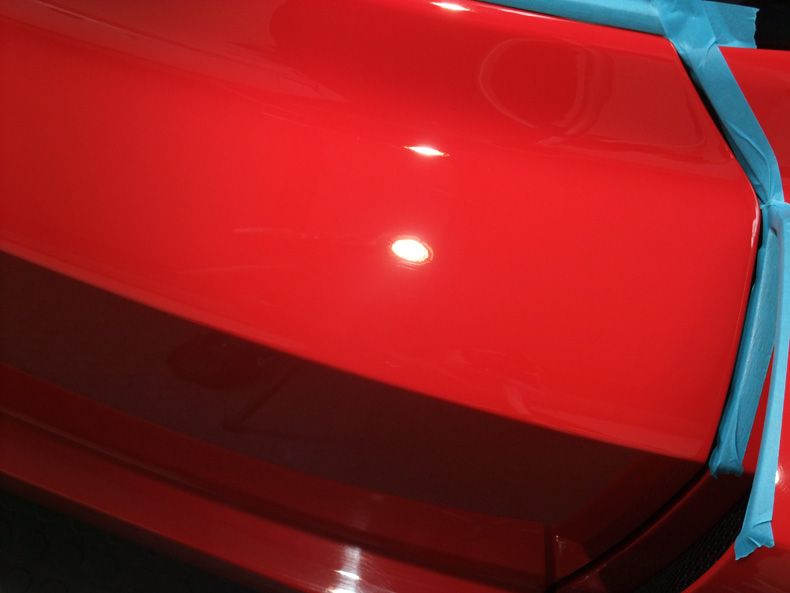
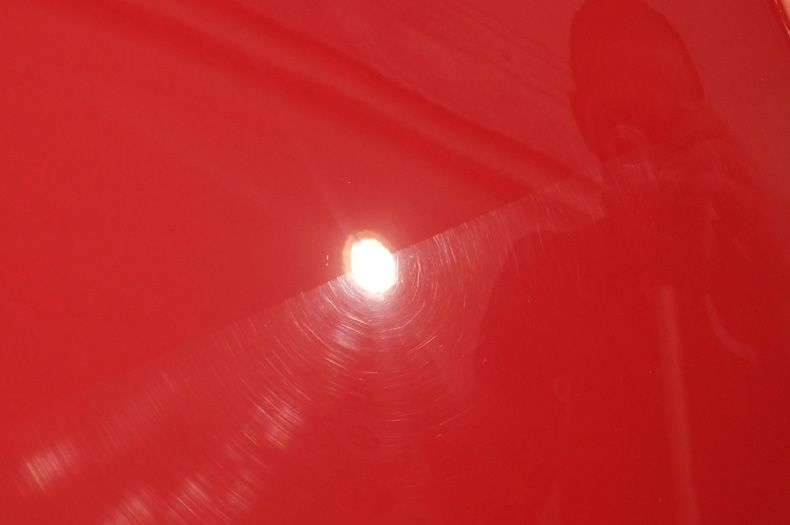
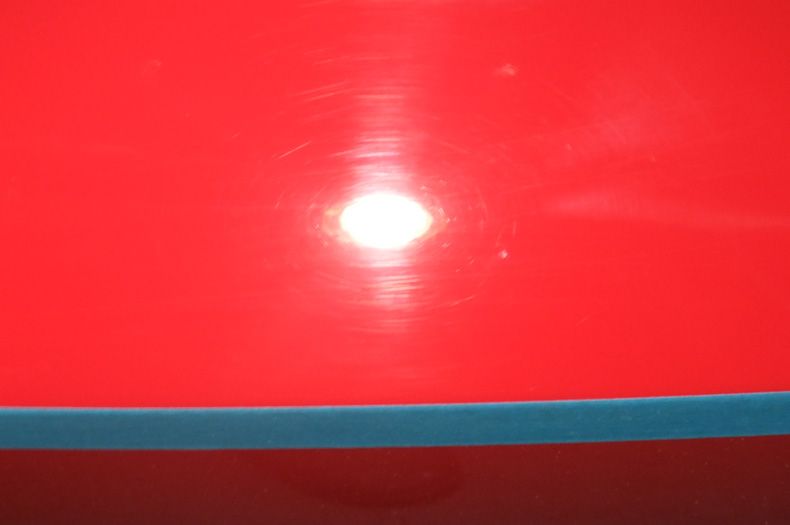
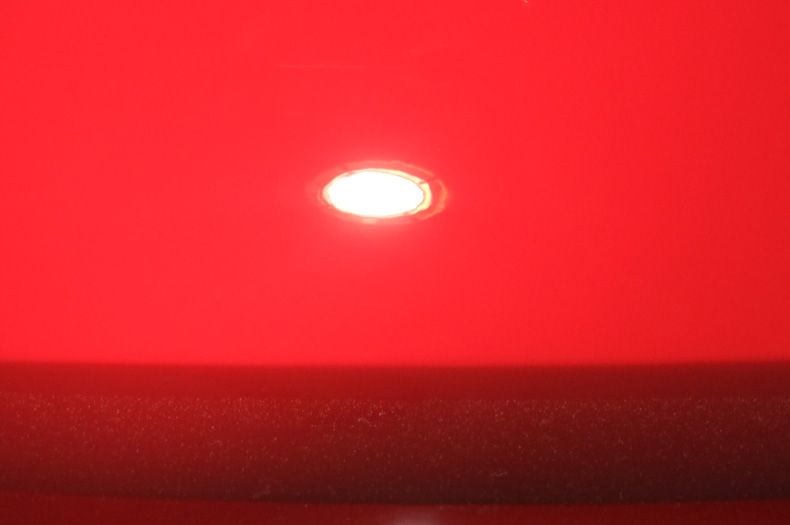
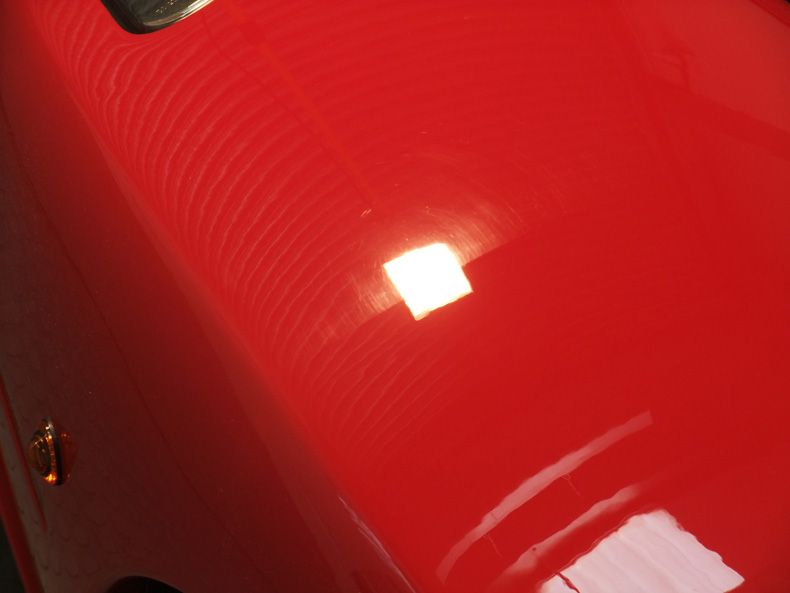
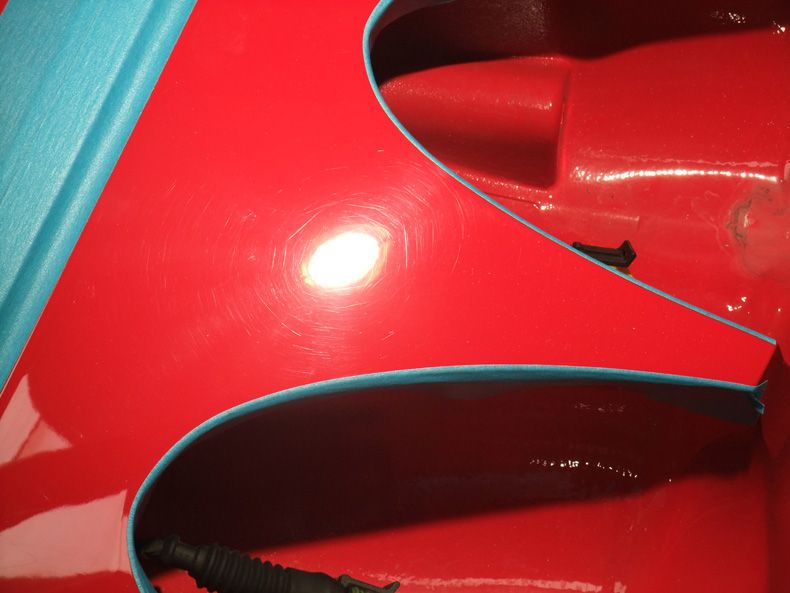
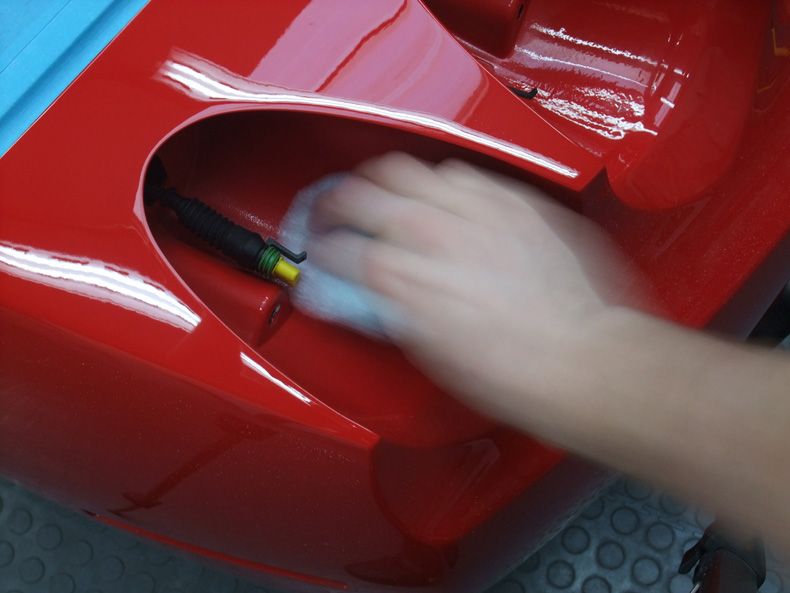
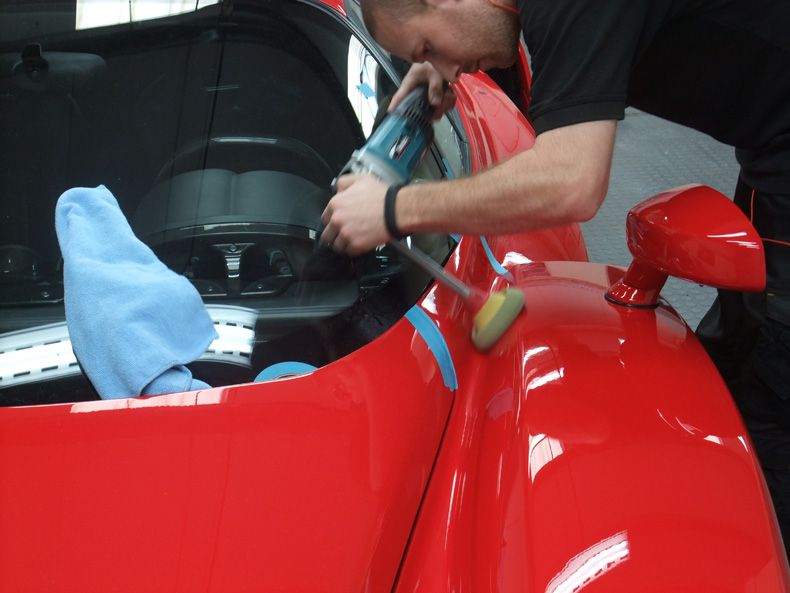
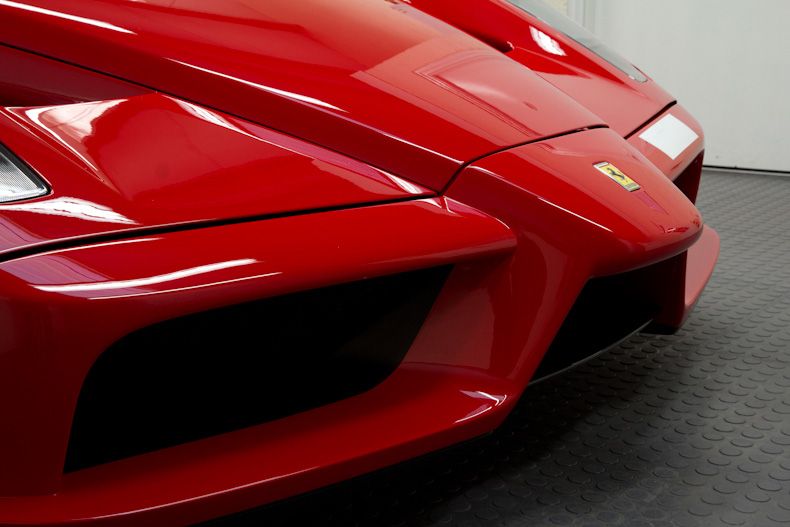
With all the main correction work completed I then turned my attention to the front bumper. The orange peel was far greater than the rest of the car and as a result it was going to let the overall finish suffer if I didn't do something about it...
So let's start wet sanding a £750,000 car! (It goes without saying we are fully insured for this)
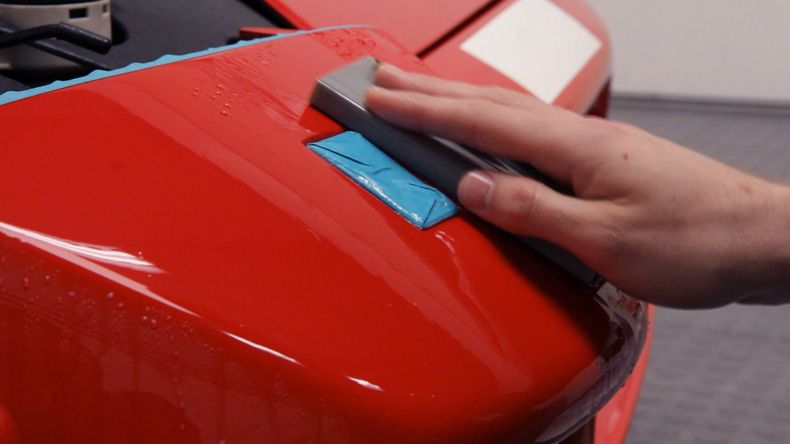
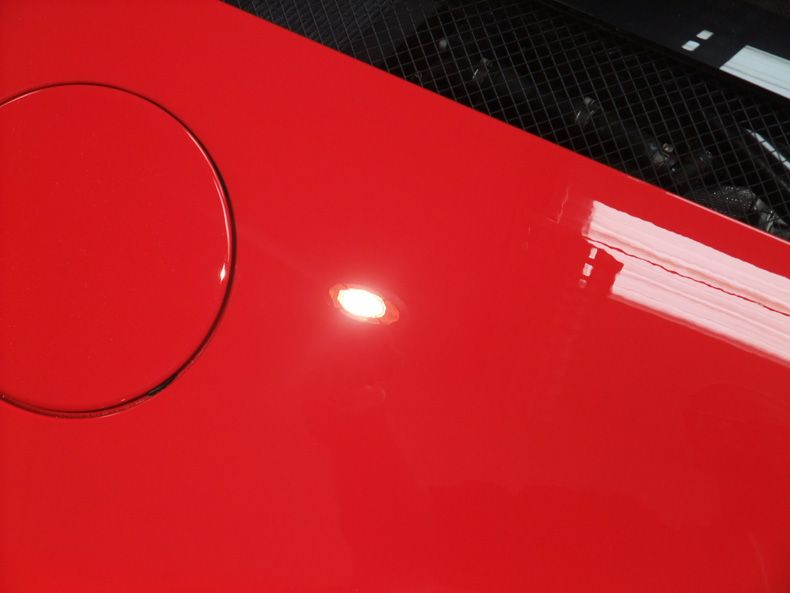
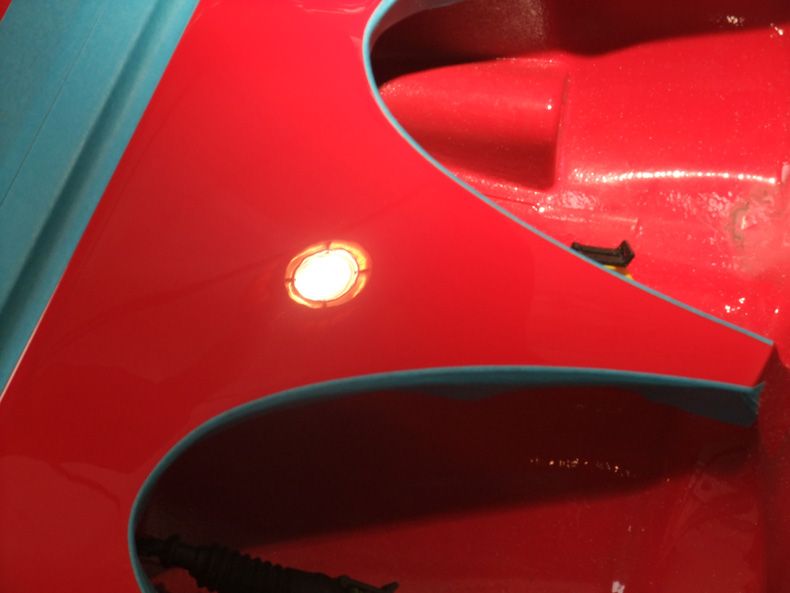
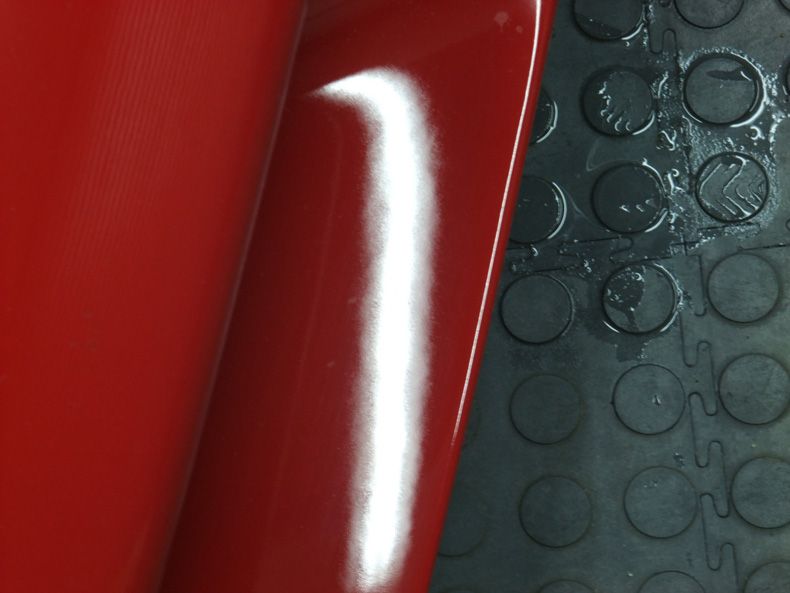
Polishing out the sanding marks:
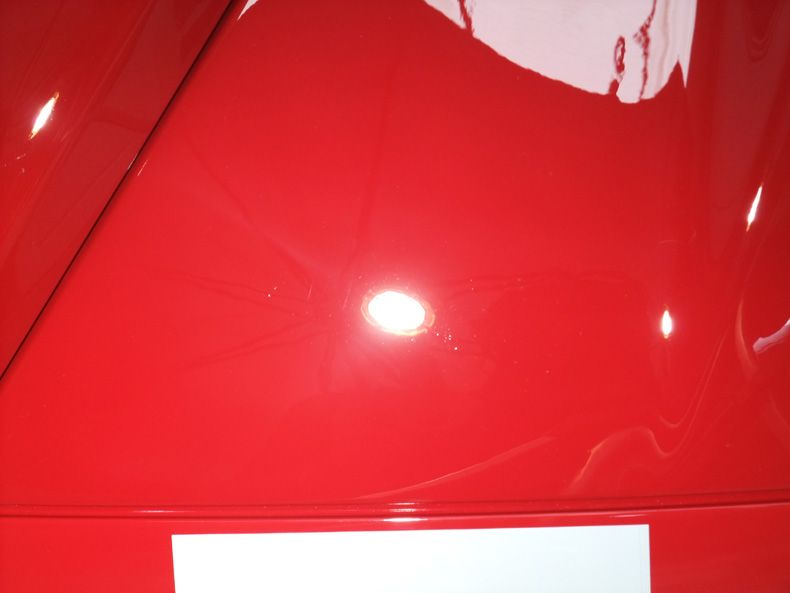
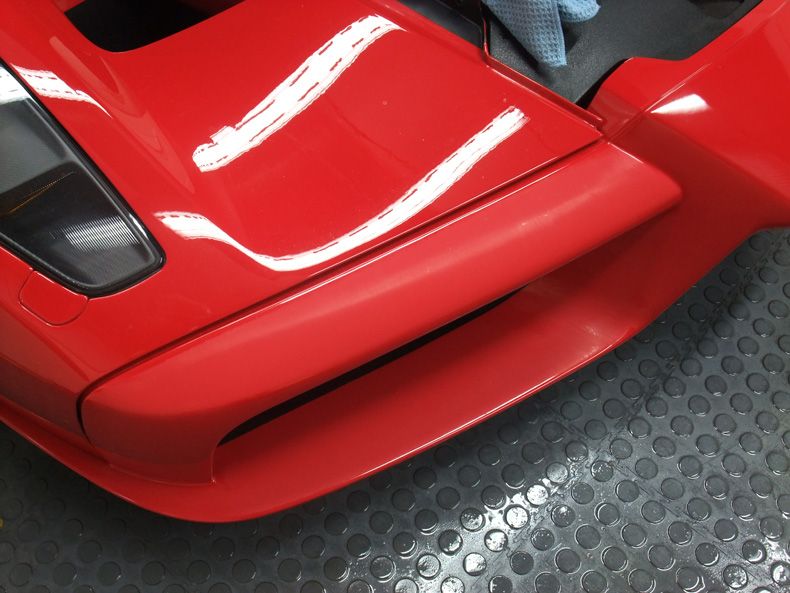
The difference before and after sanding was pretty obvious:

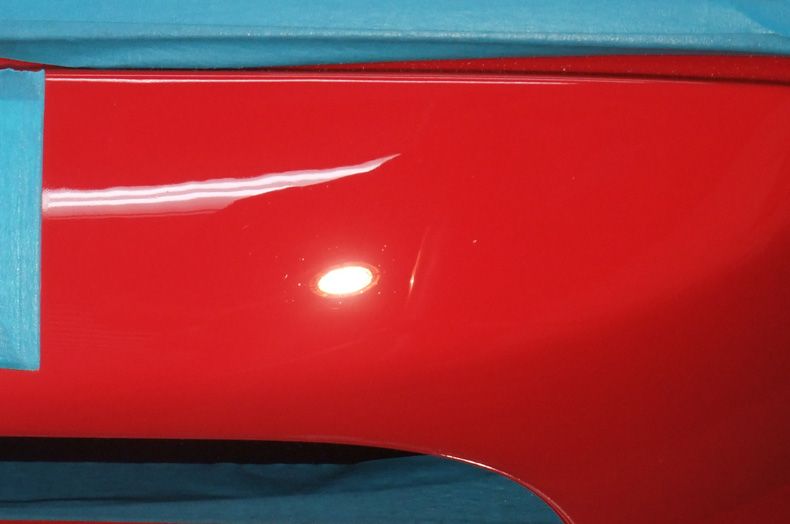
That's not a scratch in the above pic next to the bulb reflection, it's the leg of the camera tripod
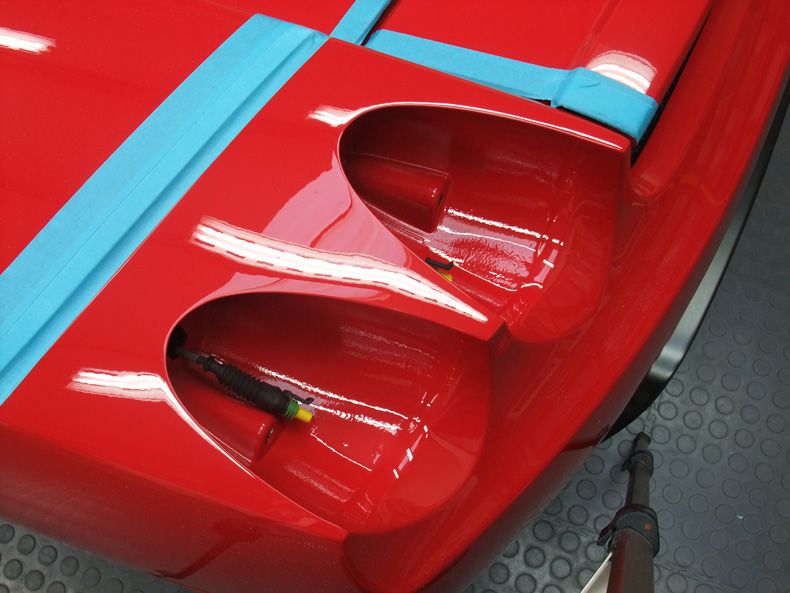
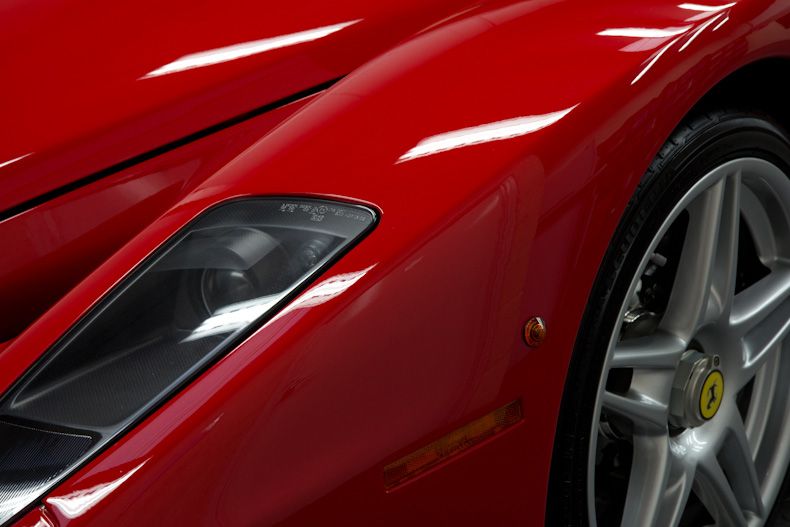
Nose still to be sanded, to the right of it has been done:
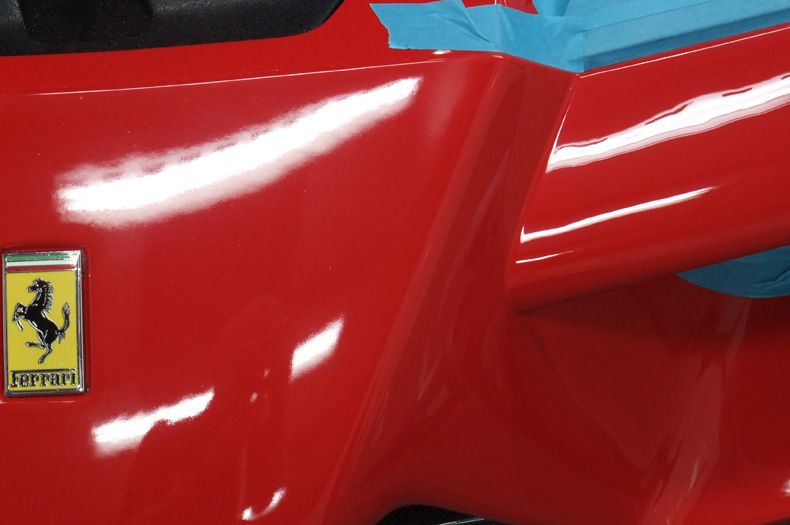
Nose before and after:
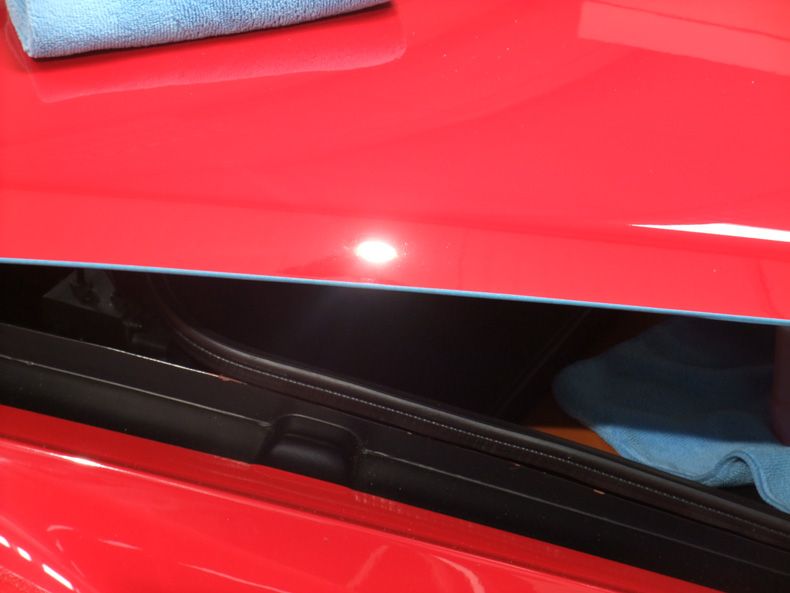
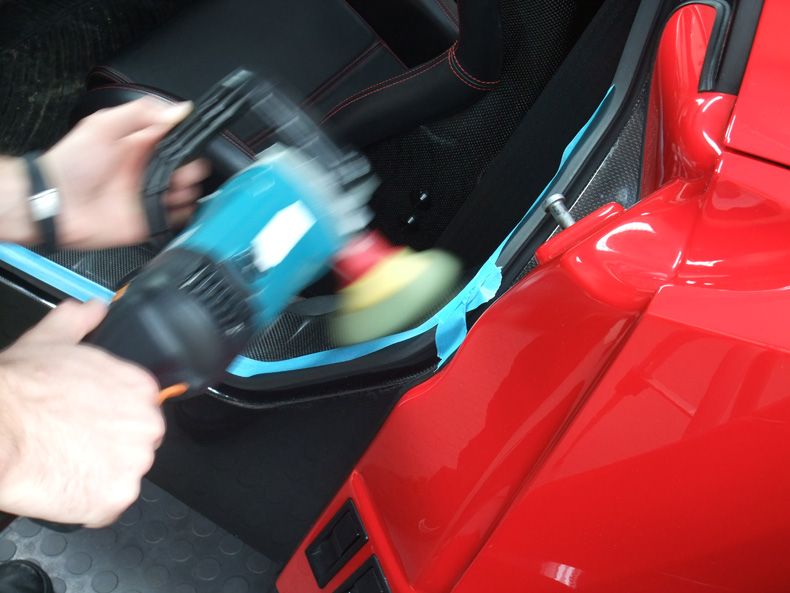
Once that was done I machined the door shuts and carbon fibre:
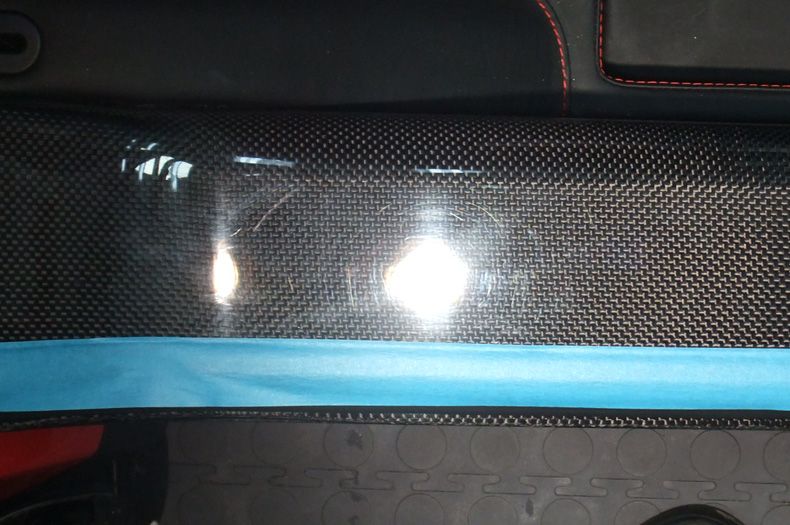 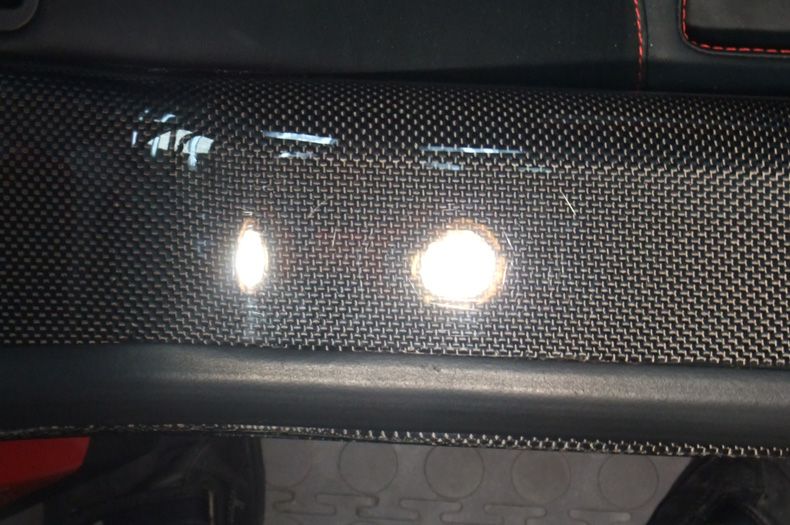
50/50
You may or may not see a difference in this before and after, I know I can so I'm including it anyways
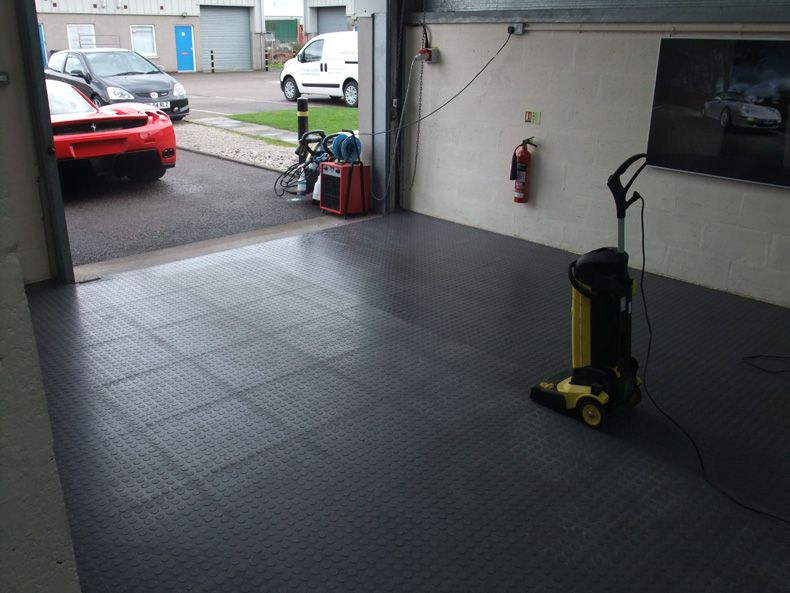
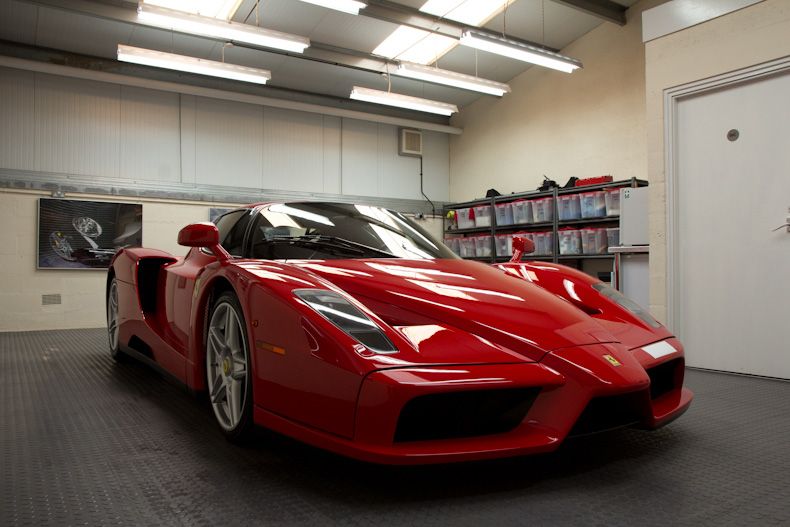
Finally it was time for me to put the car outside again so I could give the studio a good sweep and clean of the floor to get rid of all the polishing dust:
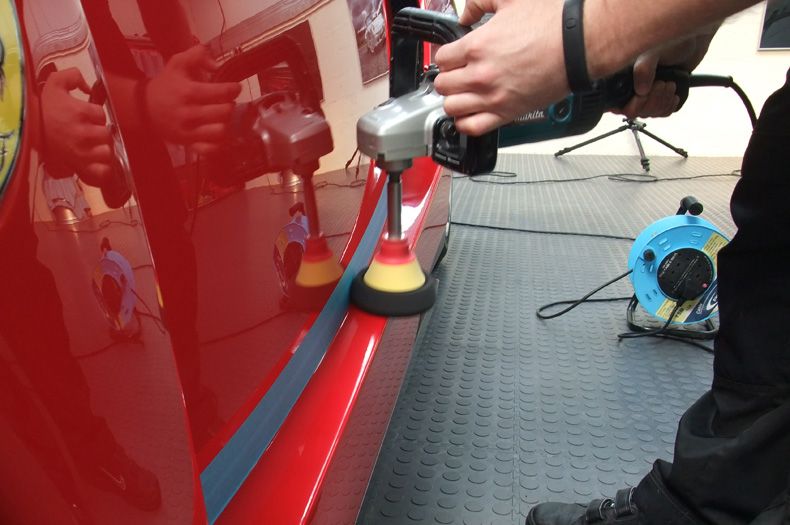
The car was then washed again and dried off with the Metro Vac before I began the third and final stage of machine polishing to refine the finish.
Some might wonder why I used the DA to finish? Well as already mentioned earlier on, it's much safer on panel edges and as a result can sort out those 1-2mm areas that were taped off during compounding and in my opinion when a car is 99% LSP ready (as this one was after the first 2 stages) it's generally much quicker to refine compared to the rotary.
This also might hopefully go some way to rubbishing the theory that some people seem to push that DA's can't produce crystal clear finishes, all you need is the right pad,polish and technique :thumb:
Menzerna 85RE was polish of choice for refining combined with Lake Country HT Crimson finishing pads. Meguiars Finishing Spot pads were also used in smaller areas with the rotary when needed:
And then PHEW! Machine Polishing over (well, 99.9% of it) Just over 96 hours in total but it was most definitely worth it as the finished pictures will show.
But we're not ready for those yet!
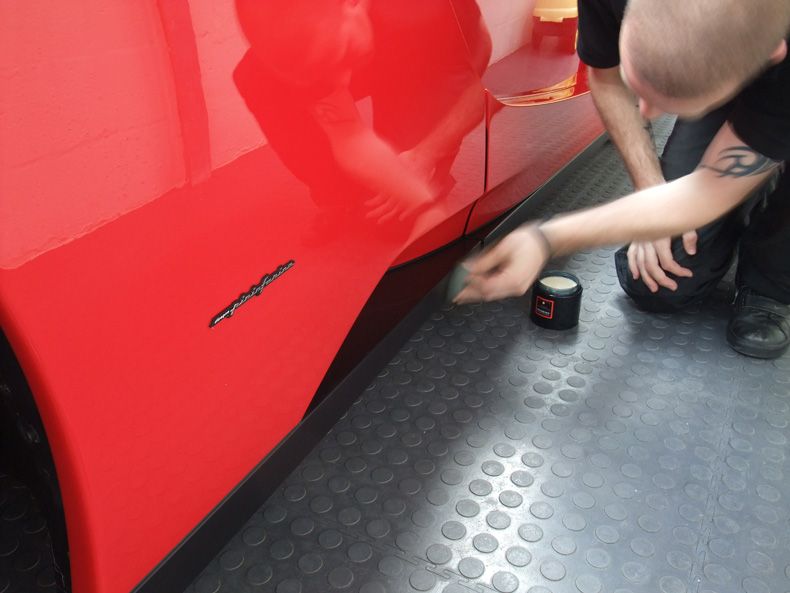
LSP (Last Step Product) of choice was 2 coats of Auto Finesse Desire:
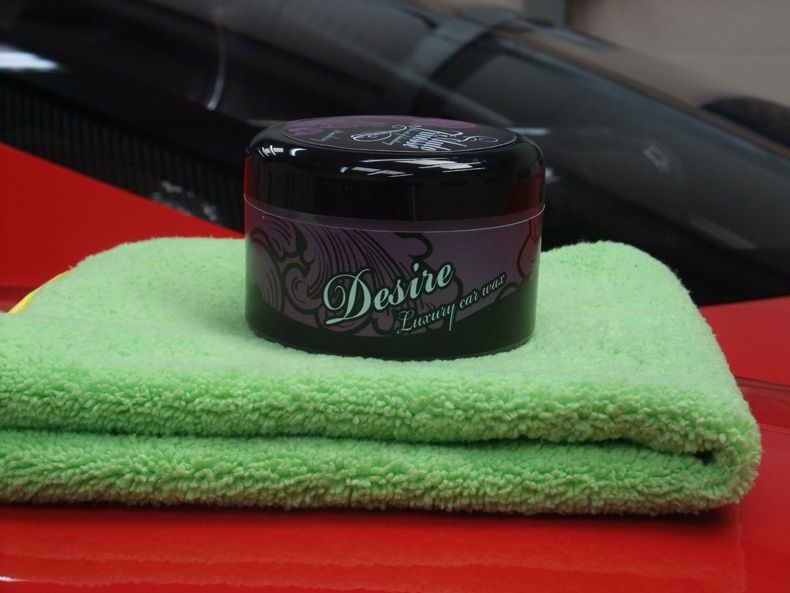
Approx 12 hours in between each coat.
The door shuts and all interior carbon fibre were all done with this too:
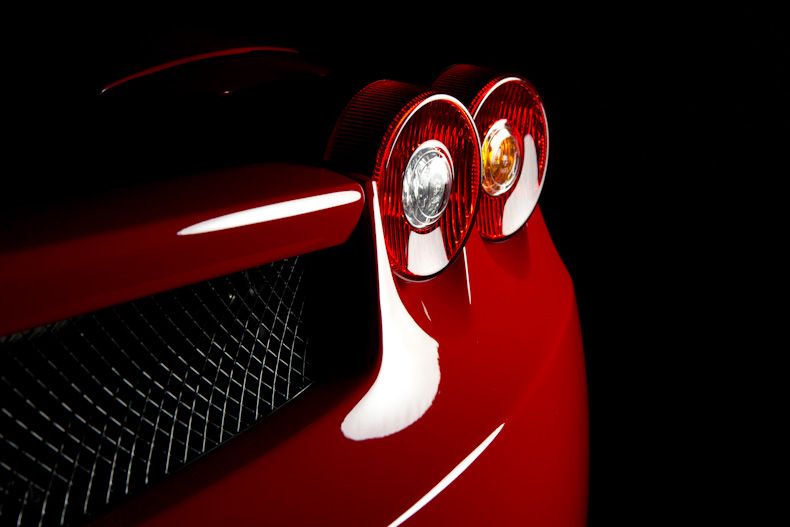
The tail lights were machined, waxed, re-fitted and then checked to make sure all 4 worked:
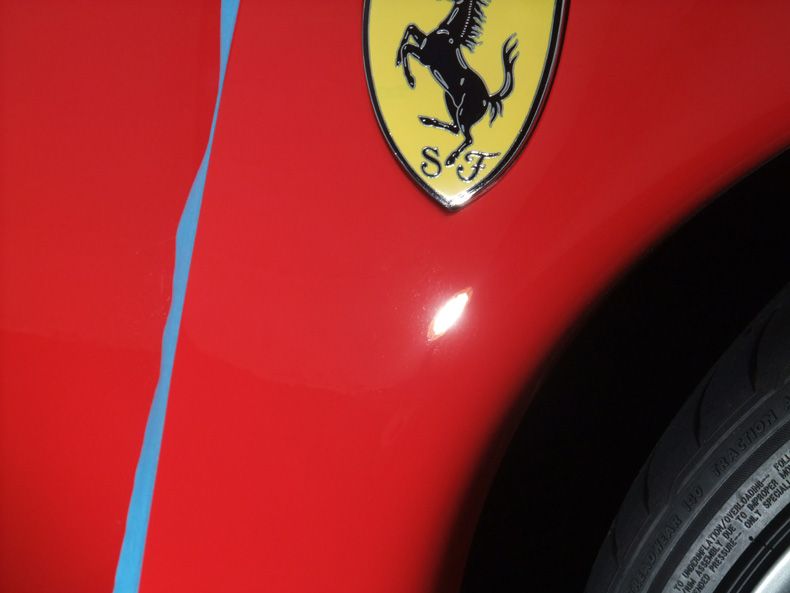
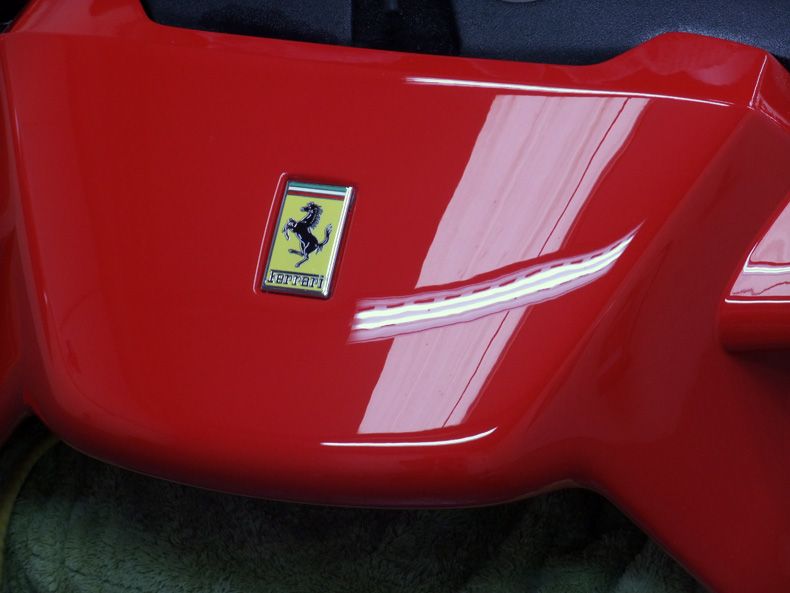
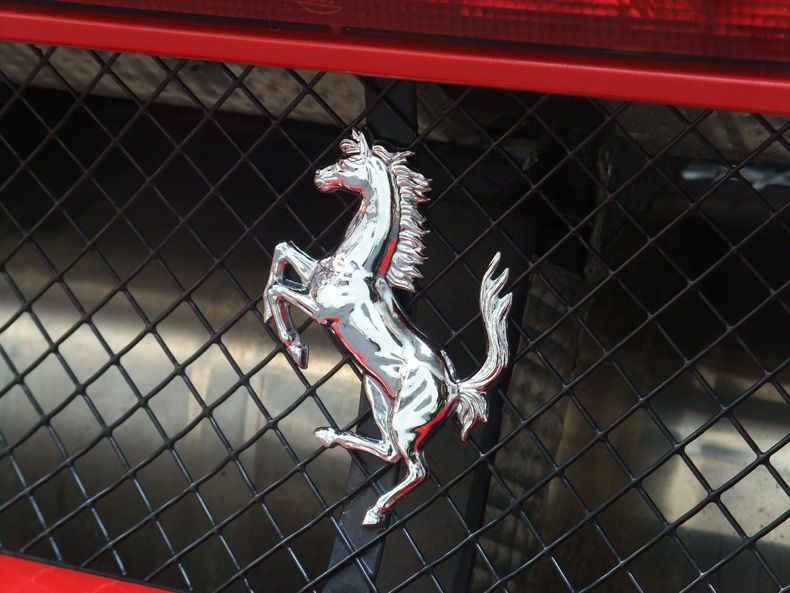
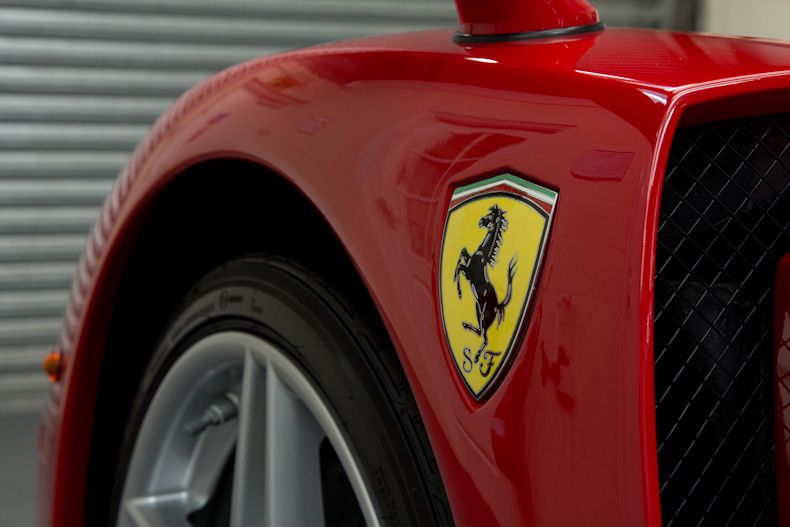
Prancing Horse polished and protected with Werkstat Prime Strong:
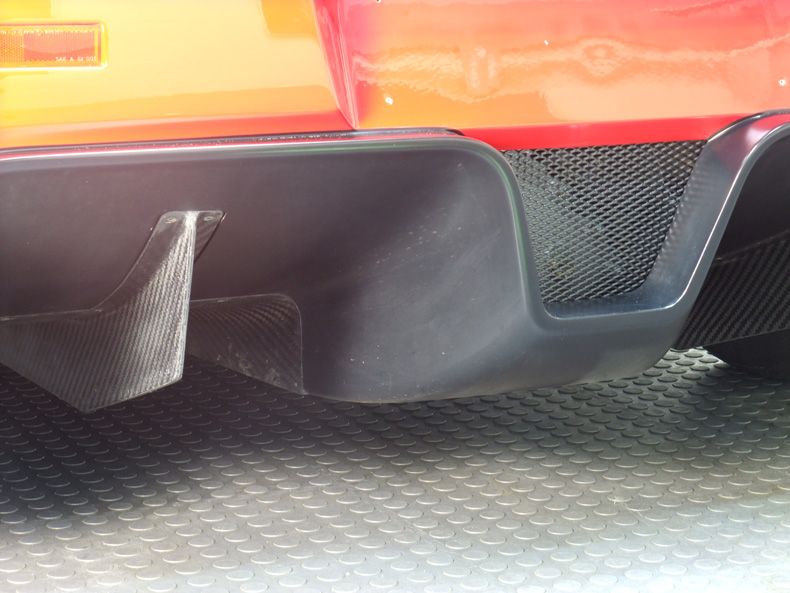
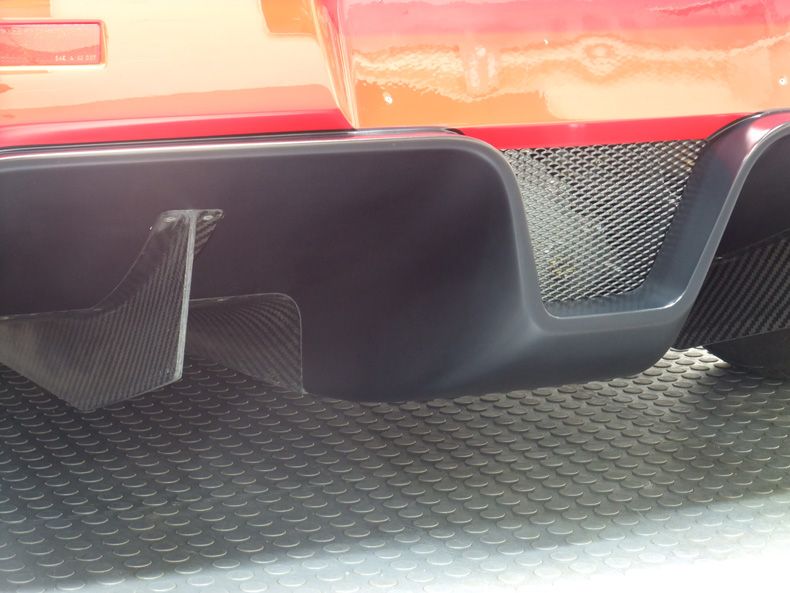
Swissvax Opaque cleaner and wax were used on all the exterior matt surfaces:

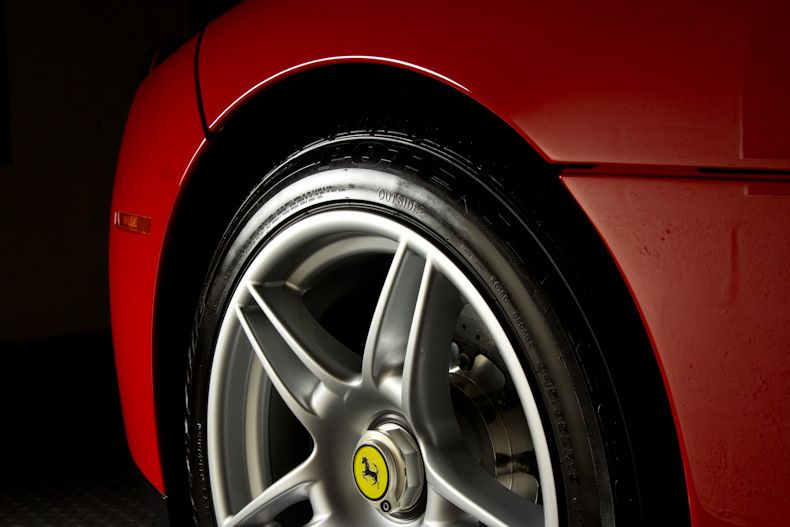
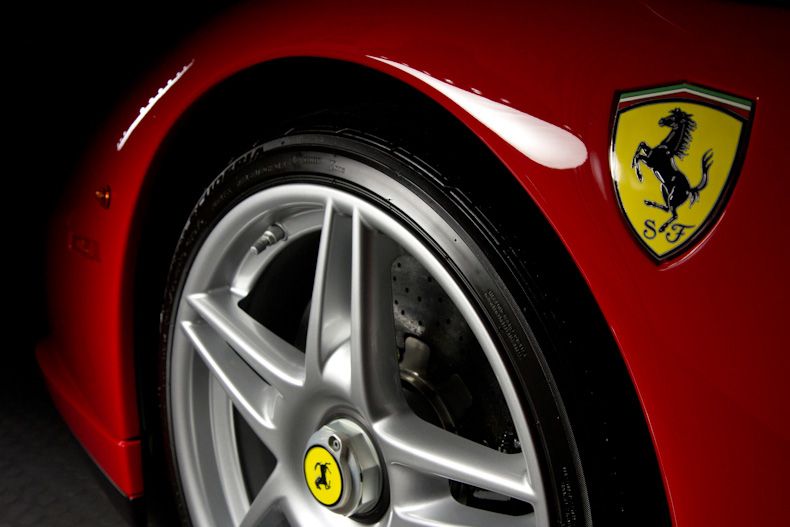
Auto Finesse Rejuvenate was used to prep the wheels before Swissvax Autobahn was applied for protection:

All exterior glass was protected with Nanolex:
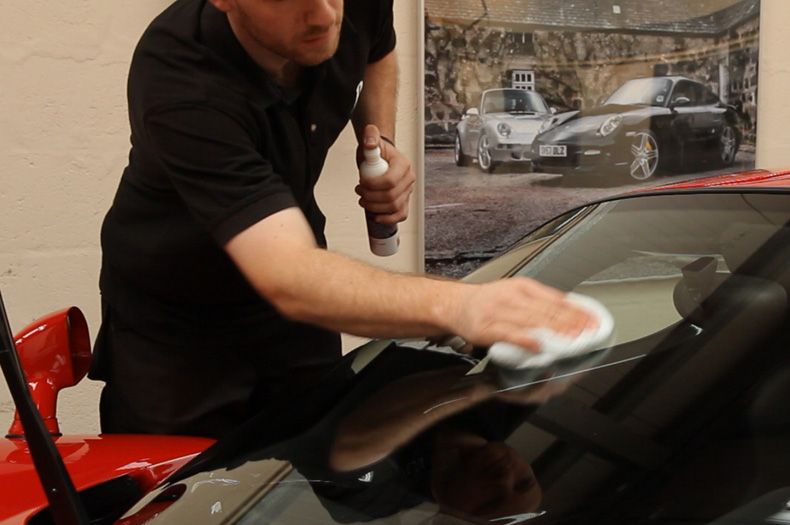
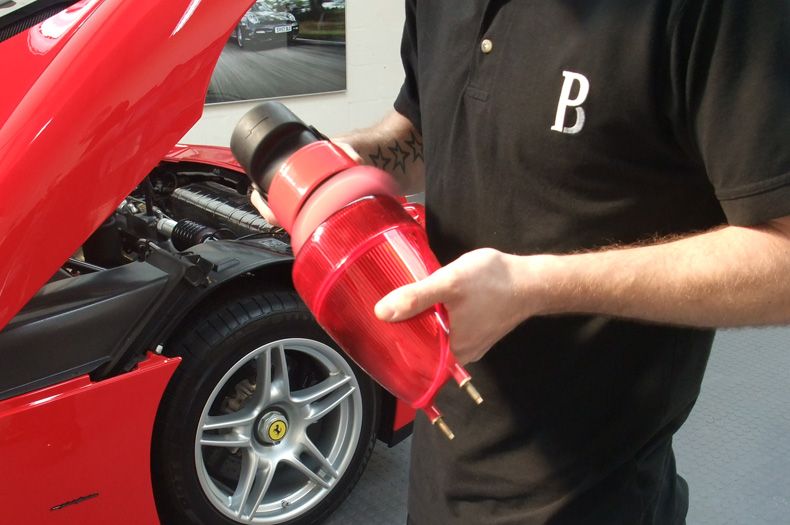
The ever faithfull Sun Gun being used to check for smears:
Interior glass cleaned with Auto Finesse Crystal:
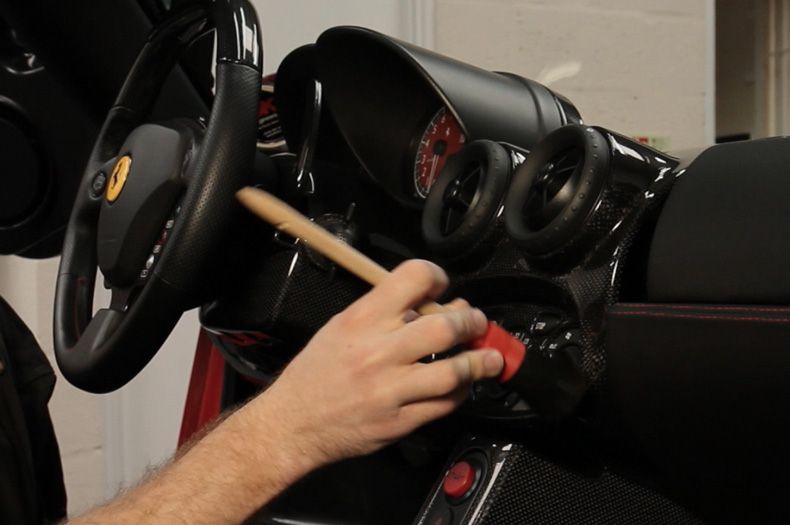
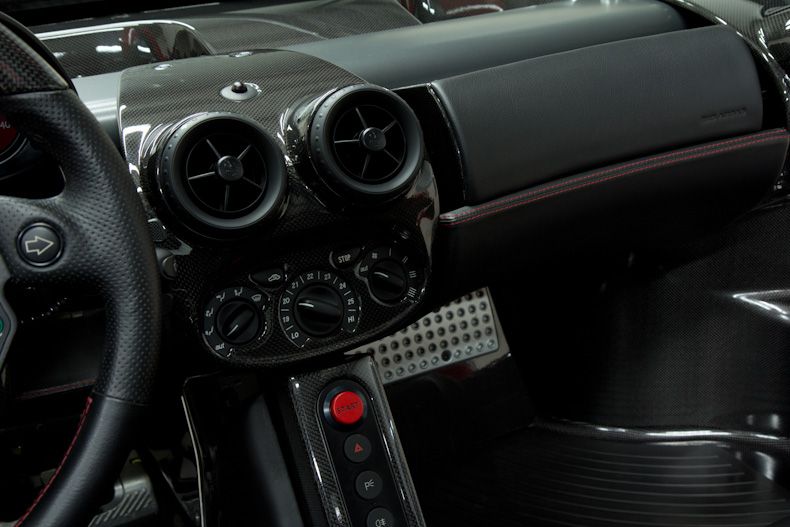
All vents etc dusted out with a Swissvax Detailing Brush:
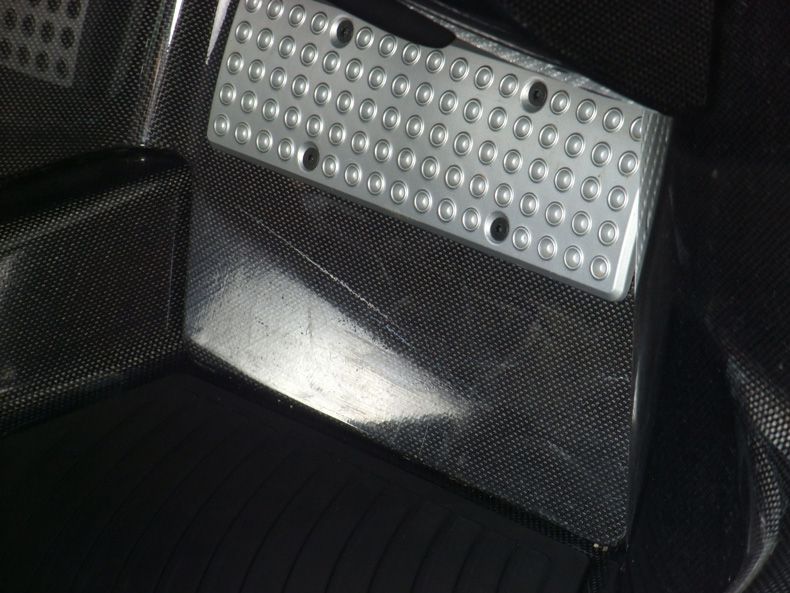
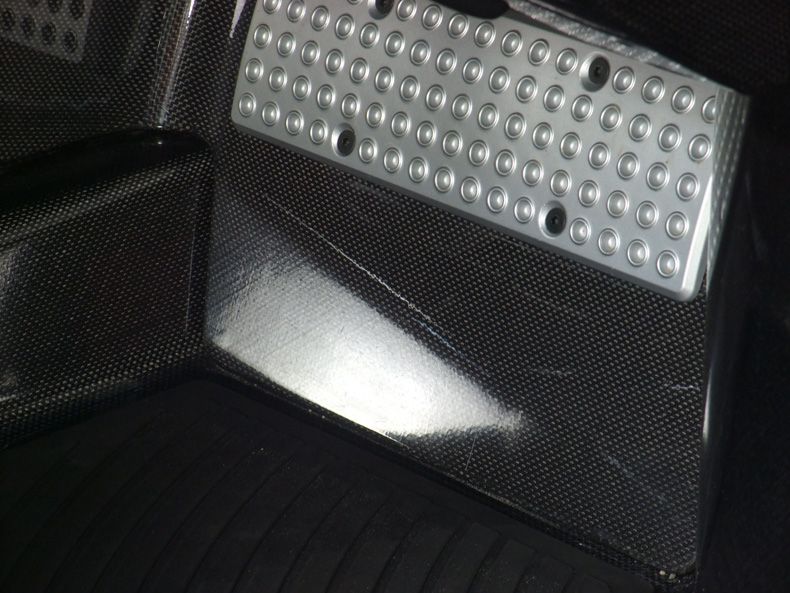
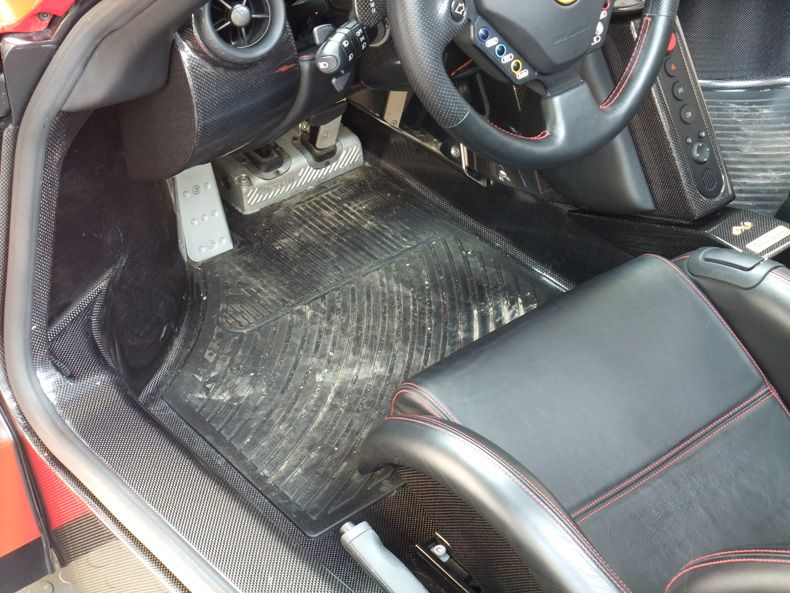
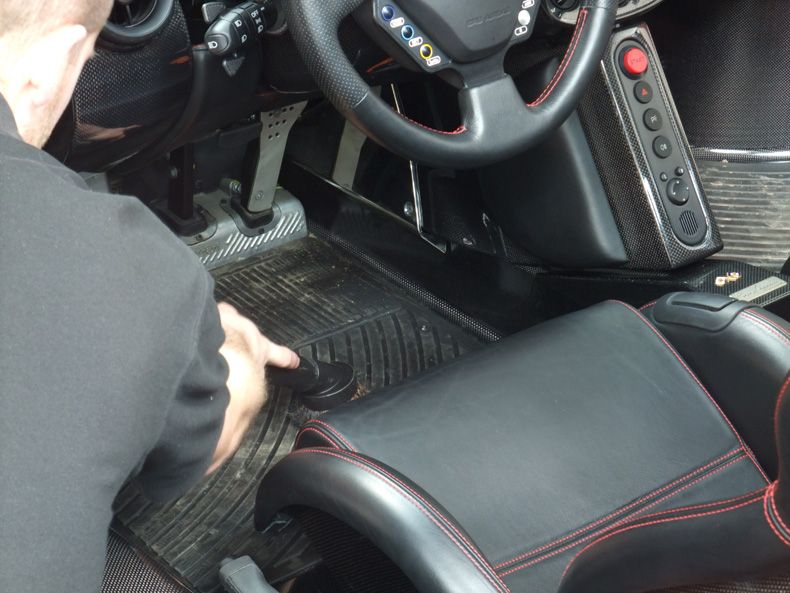
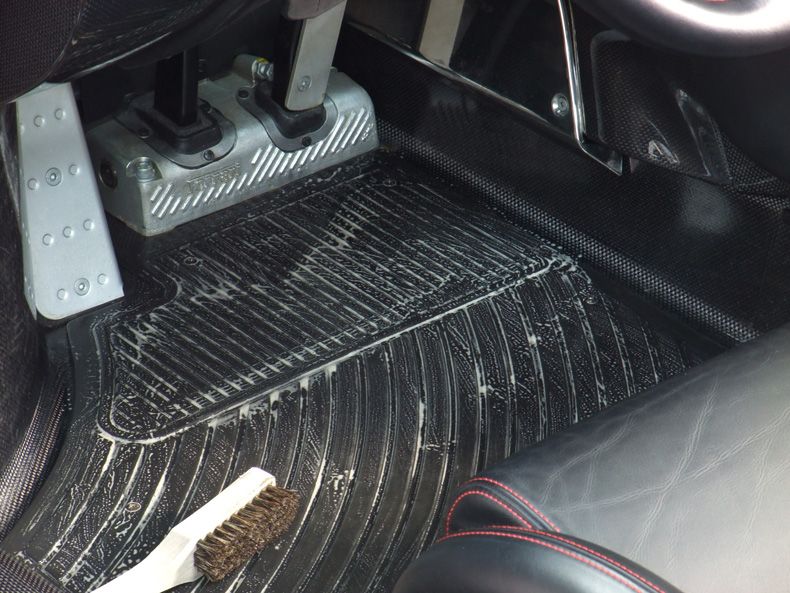
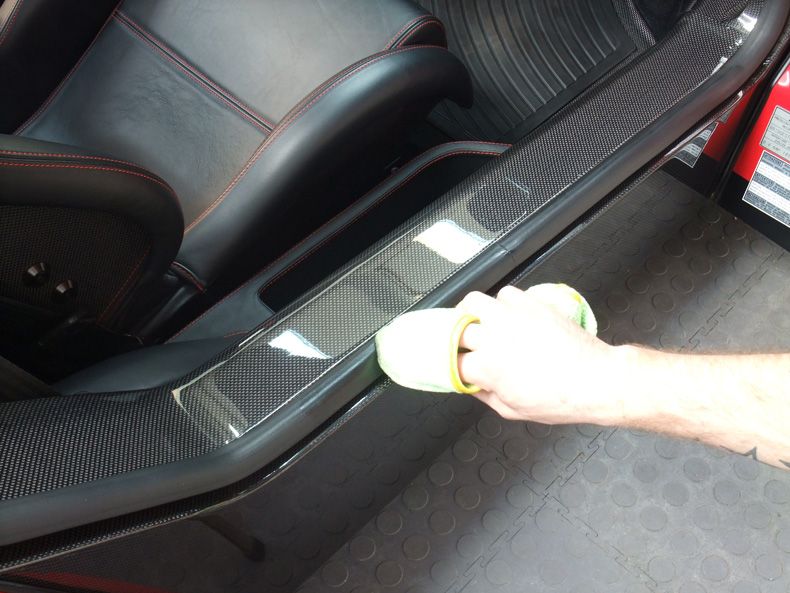
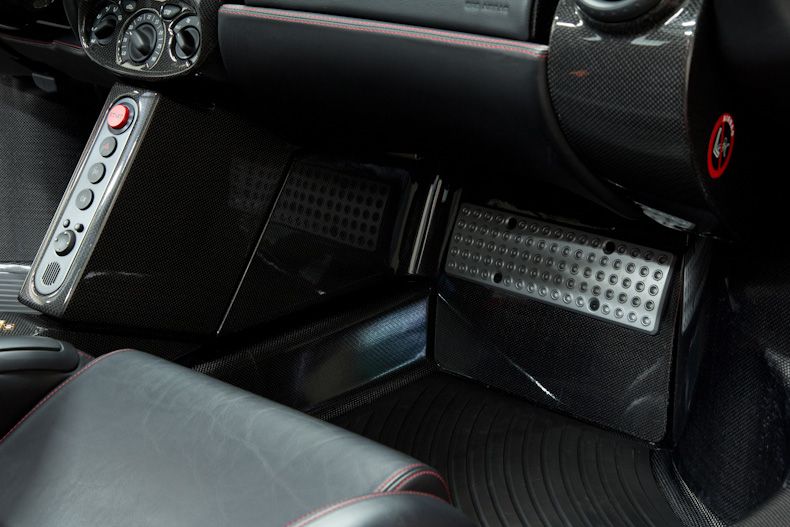
Rubber mats (which are fixed in place) were vaccumed and then cleaned with Auto Finesse Citrus Power:
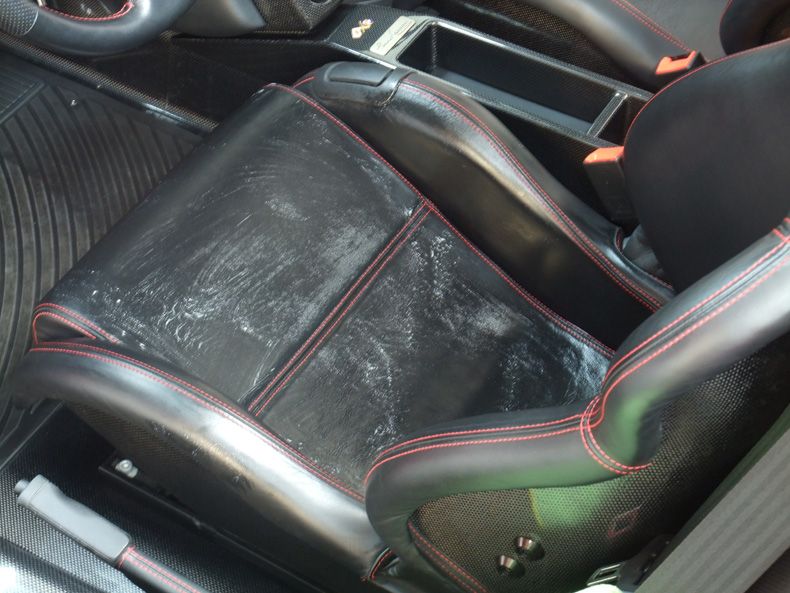
Leather cleaned with a Swissvax Leather Brush and Auto Finesse Hide Cleanser:
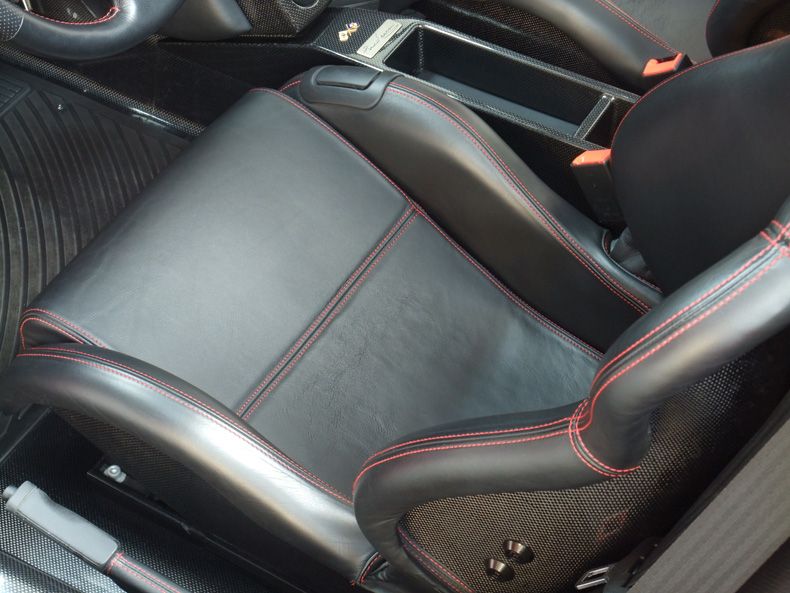
Auto Finesse Hide Conditioner used to feed the leather:
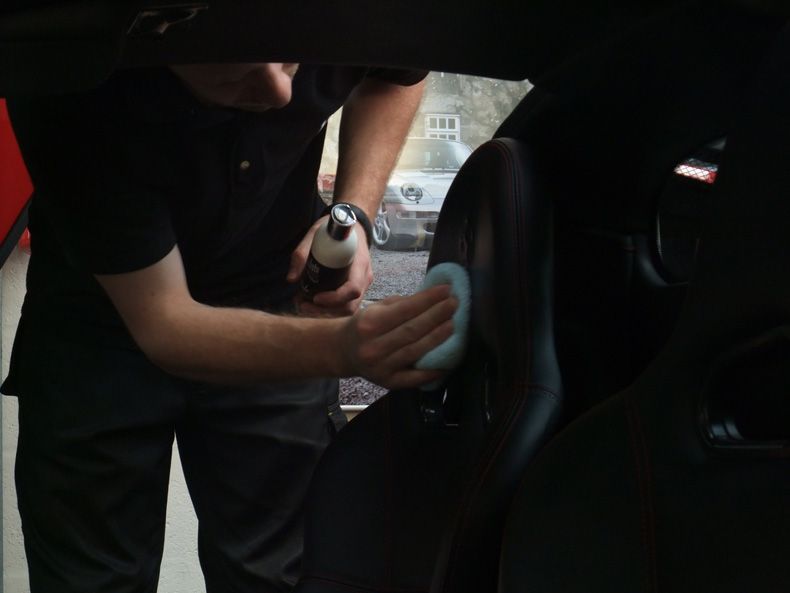
Door rubbers etc fed with Swissvax Seal Feed:
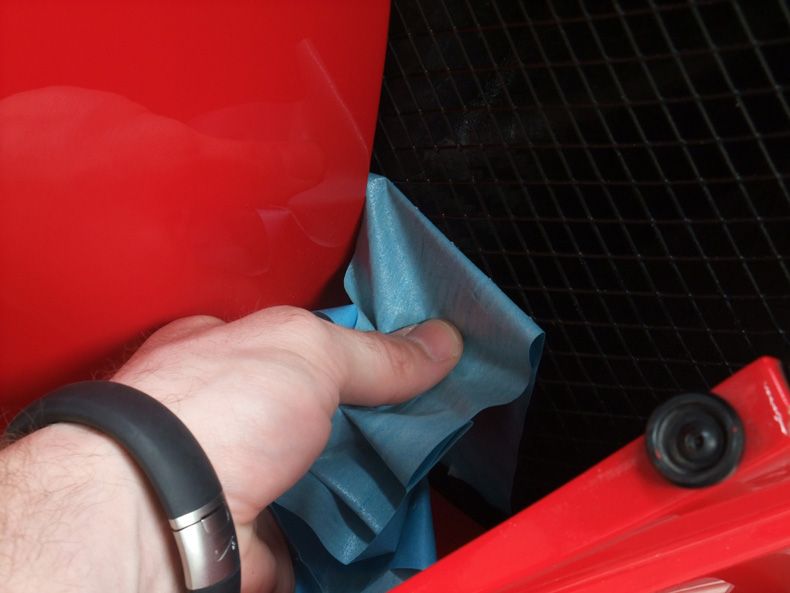
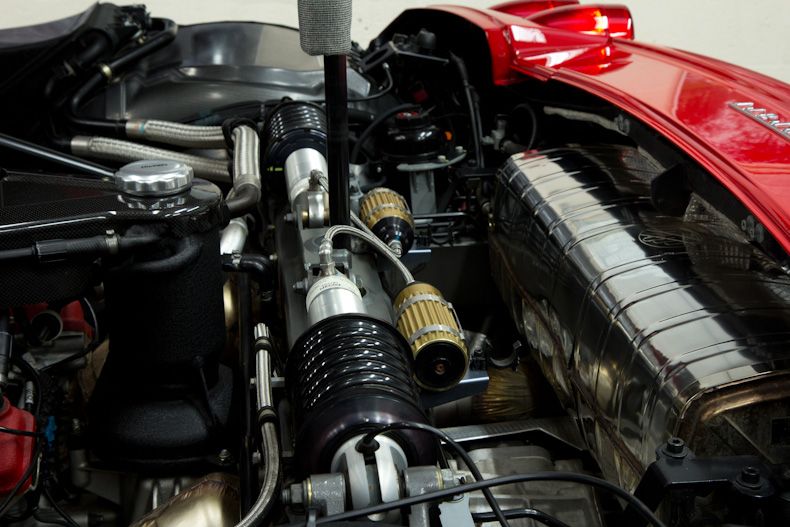
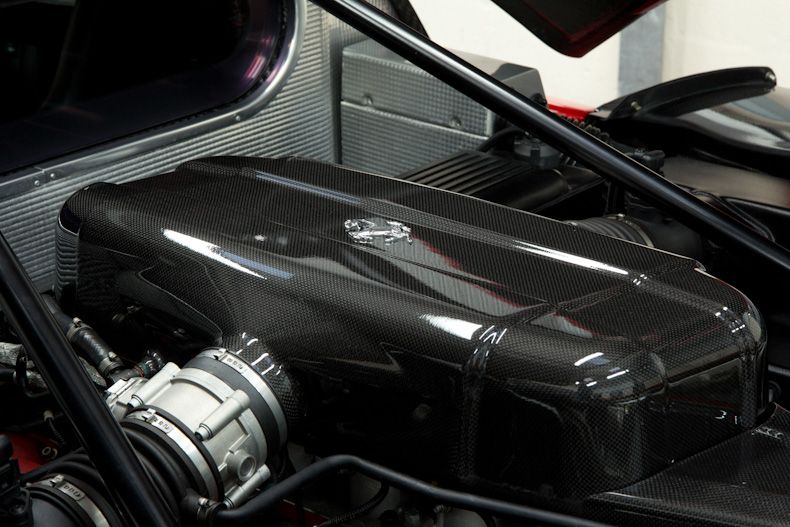
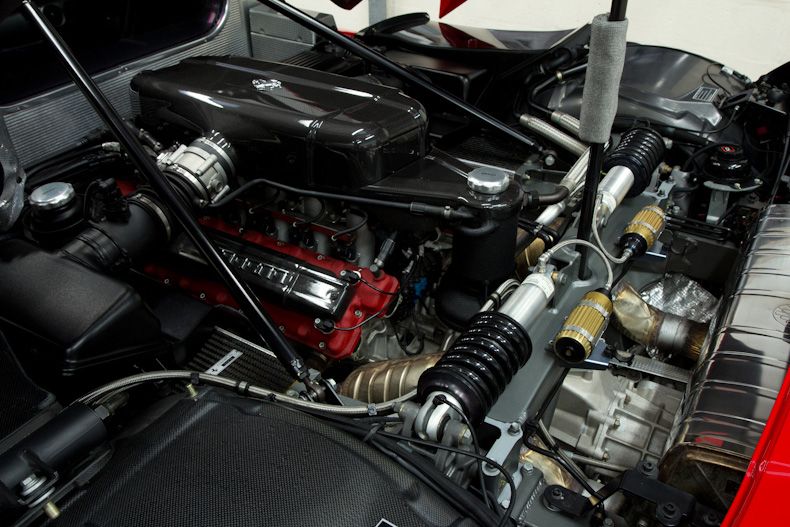
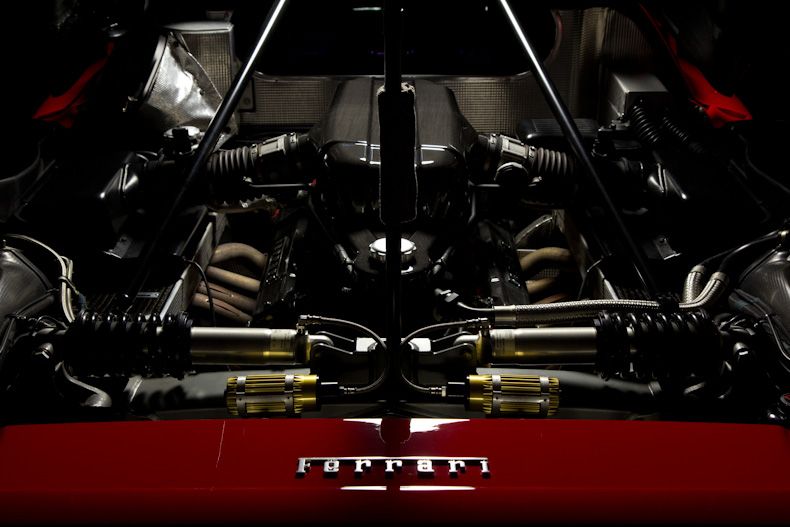
Round the back of the car now and on to the work of art that is the engine bay. The carbon fibre had some water spotting:

This was easily removed with Menzerna 203S and a Meguiars Polishing Spot Pad:
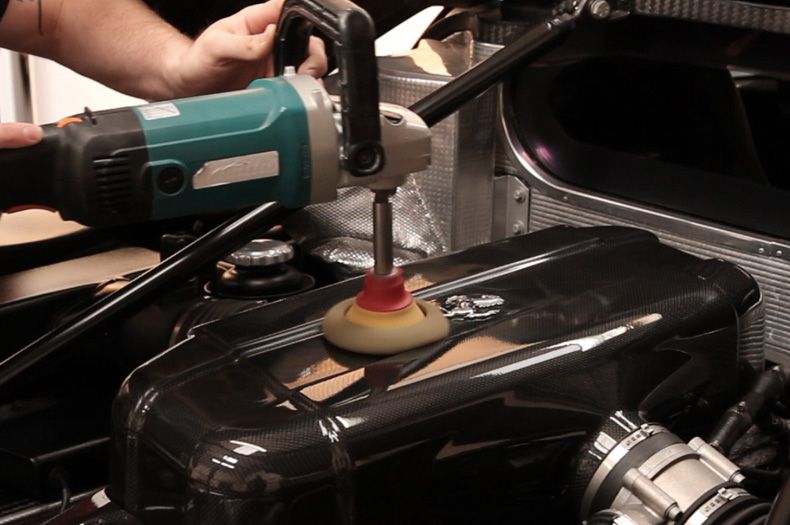
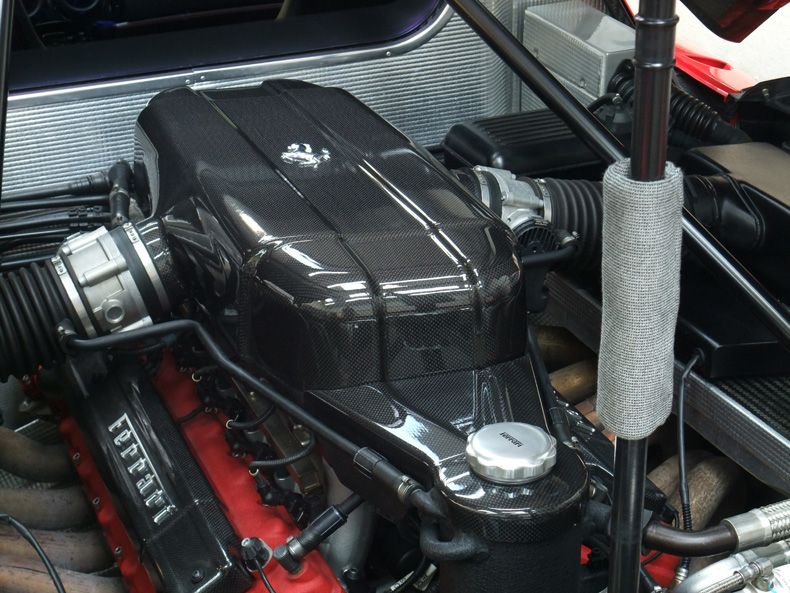
Same process for the rest of the CF pieces:

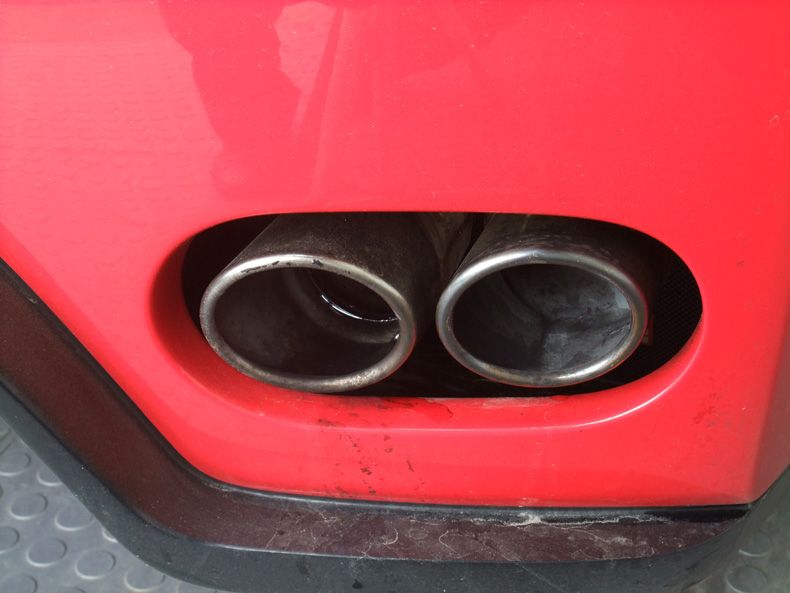
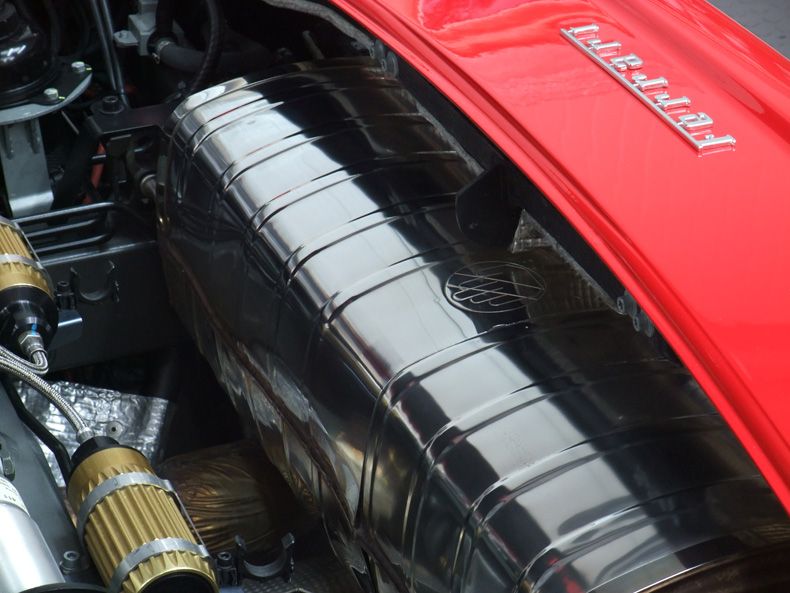
Auto Finesse Mercury was used with the rotary to bring the exhaust silencer up a treat:
That's pretty much all the time I had for pictures up to that point but all that really remained was a check over of the car and a final wipe down to remove some slight hazing from the wax oils.
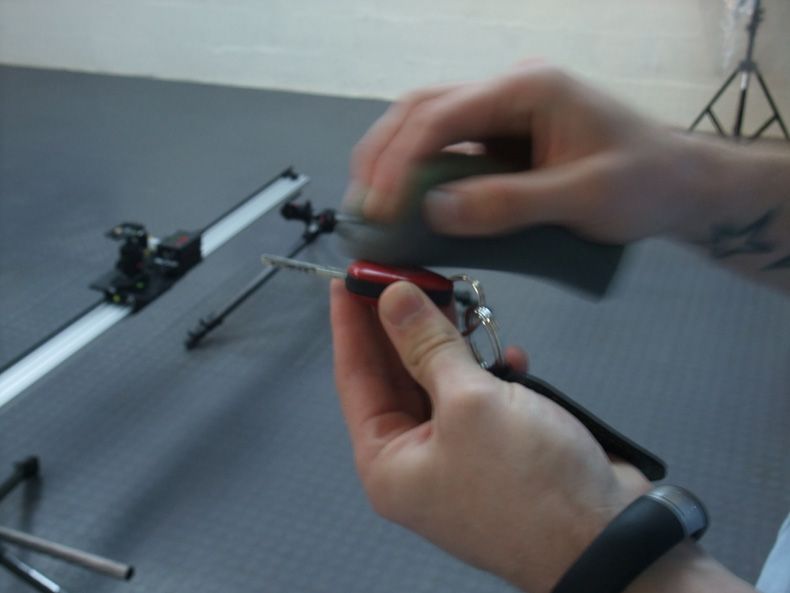
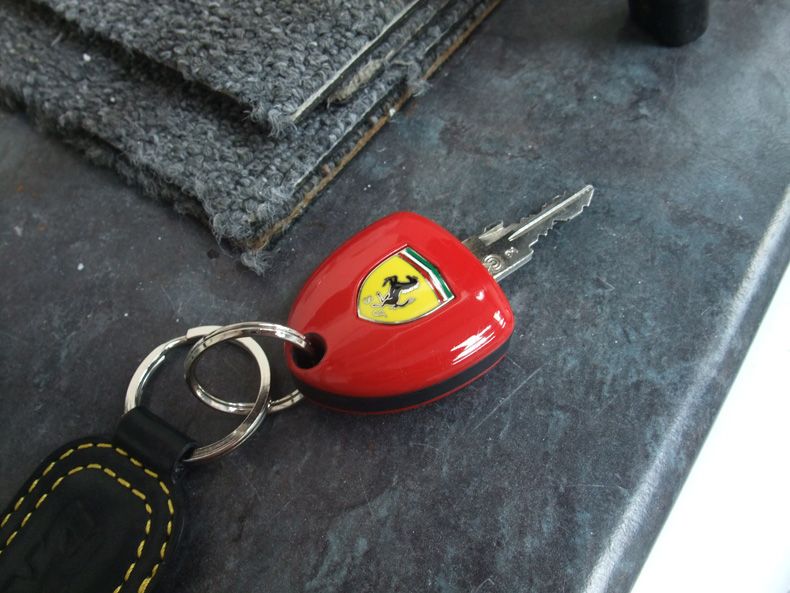
I did give the key a quick going over though, Menzerna 203S/AF Mercury and then waxed with Desire 
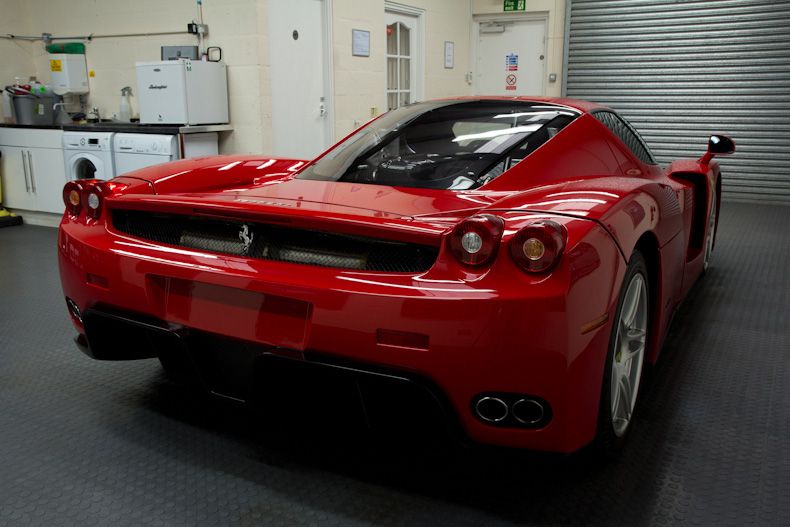
That's about it, I guess I better show you some final pictures. The majority of the pictures up to here have all been taken with my Compact camera but all the afters were taken with the Canon. These have all been taken straight from the camera and resized with no messing about in photoshop etc - the raw images are available upon request if you don't believe us
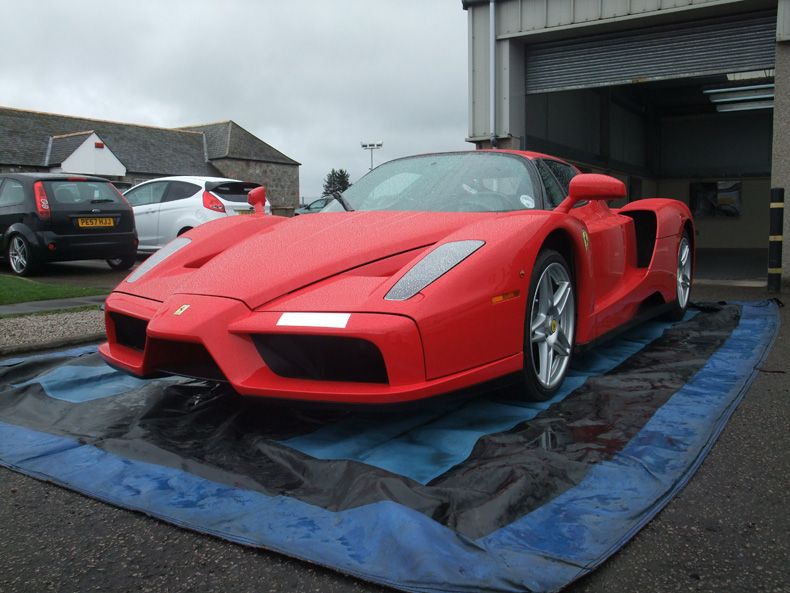
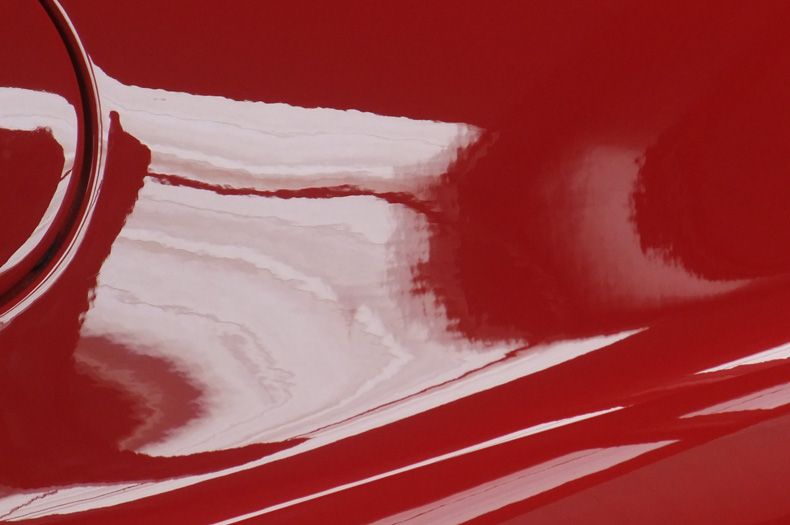
Here's what 144 odd hours of detailing looks like....


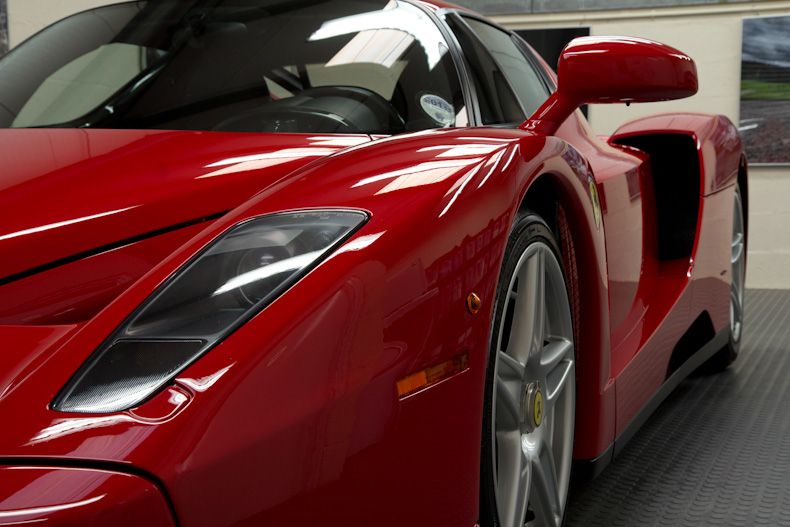
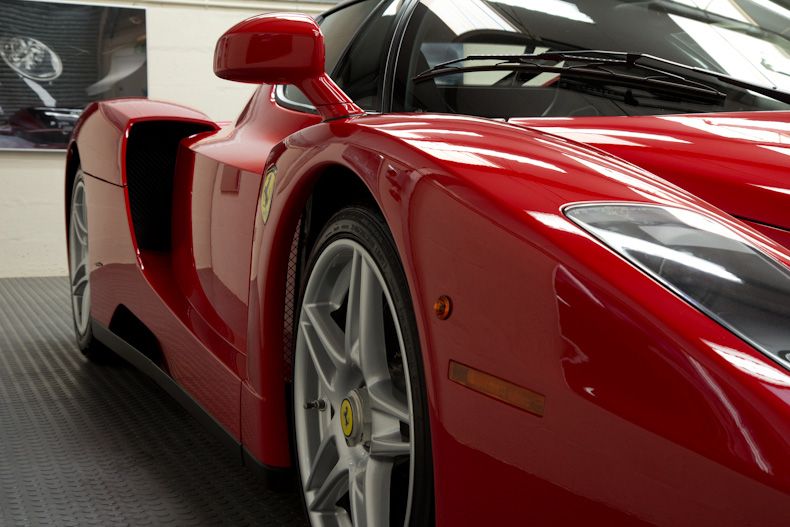
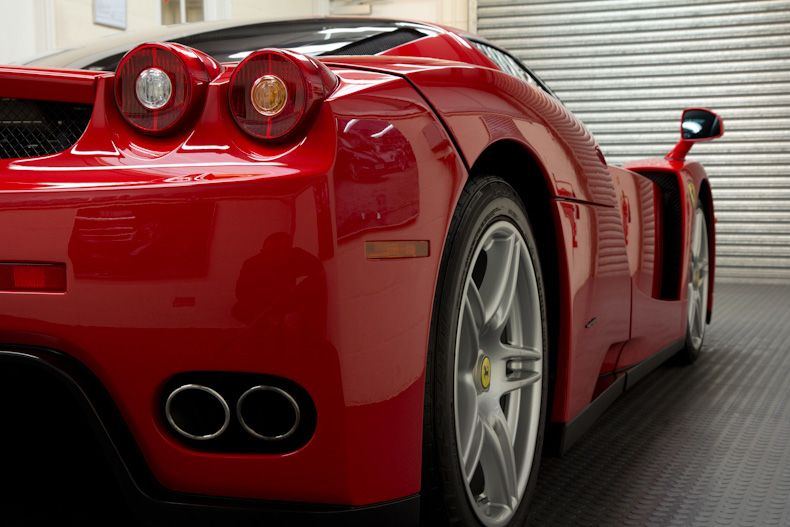

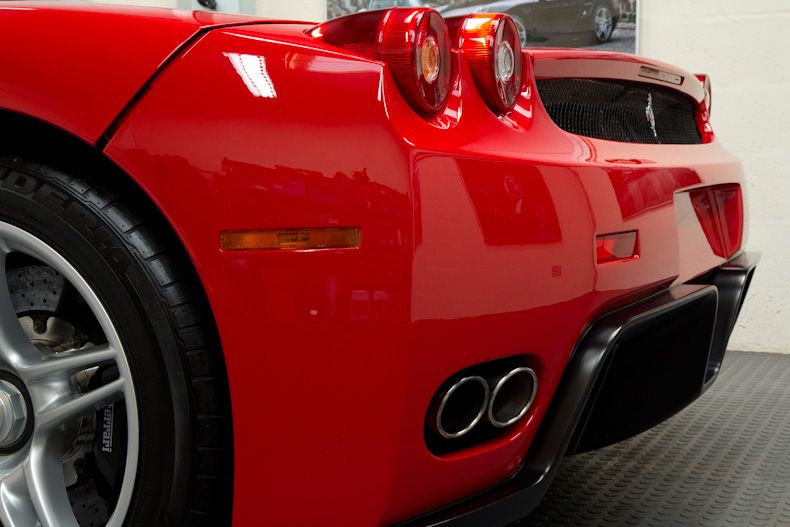
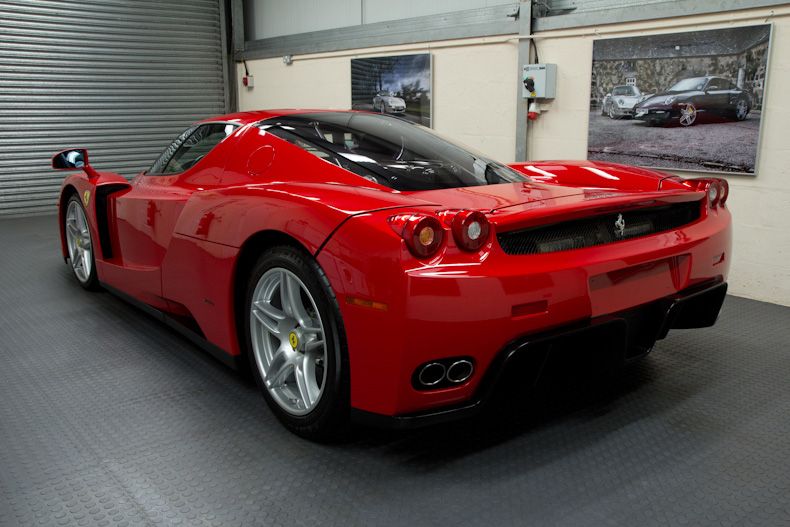
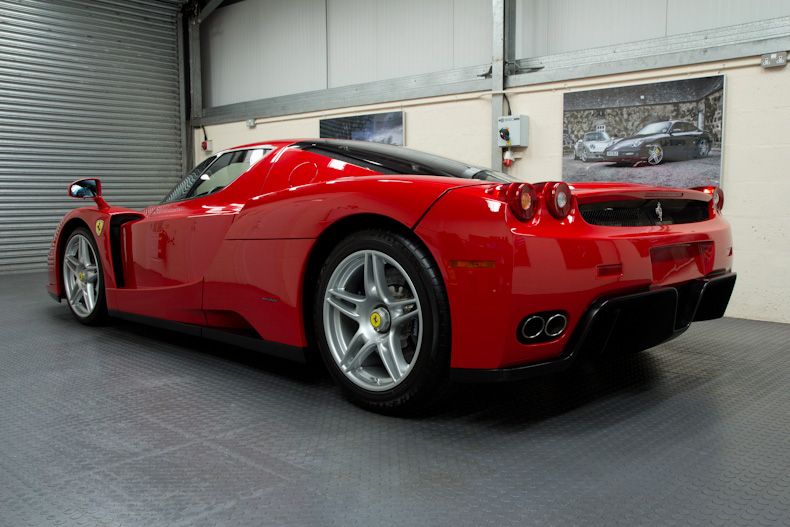
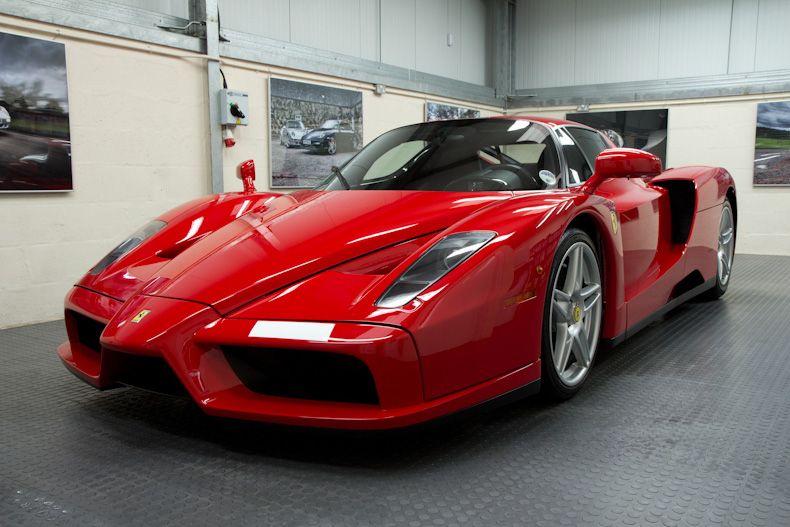

And a few arty ones

Before I end this I thought I'd make a couple of small but what we think are a couple of rather important points. On various forums that the video has been posted on, there's been the odd person saying that this sort of detail is a complete waste of money and that all the hard work will be undone as soon as it gets wet/dirty. It would without a doubt be stating the obvious on a detailing forum that a well prepared and protected car will continue to look its best for many many months (if not several years depending on mileage) to come, but maybe people on the outside looking in may want to consider that.
Secondly, the cost of this detail equates to approx 0.5% of the total value of the car, I dont think I need to say any more than that?
As always, many thanks for taking the time to look at another one of our posts and if you made it to the end without yawning then well done :thumb:
[Edited on 25-04-2012 by BluKoo]
|
Chris x
Member
Registered: 11th Sep 08
Location: Bexhill
User status: Offline
|
Wow! Amazing!
|
RyanCorsa99
Member
Registered: 23rd Jan 12
Location: Luton
User status: Offline
|
O.M.G i finally made it to the bottom of this page haha. Amazing job there though Impressive
|
BarnshaW
Member
Registered: 25th Oct 06
User status: Offline
|
looks lovely i must say, at a high cost though. can you answer something for me though.
it says the engine was still clean from a "previous detail" which presumably means the car was detailed before, if so then how are all these swirls back on there? did he take the car back to a car wash or wash it with a sponge?
|
whitter45
Member
Registered: 15th Nov 02
Location: Norton
User status: Offline
|
quote:
Originally posted by BarnshaW
looks lovely i must say, at a high cost though. can you answer something for me though.
it says the engine was still clean from a "previous detail" which presumably means the car was detailed before, if so then how are all these swirls back on there? did he take the car back to a car wash or wash it with a sponge?
was about to ask the same thing
Can't argue with the work but I have asked this before - it seems the work merely patches up issues with paintwork and does not correct them as surely factory delivered issues would have been removed in the previous details
Not knocking the work by the way its awesome but I still don't see how its corrective work
|
Rich H
Member
Registered: 26th Oct 05
Location: West Sussex Drives: E46 M3
User status: Offline
|
It says at the beginning of the write up the car was treated to a protection detail around a year ago, no paint correction or swirl mark removal would have been carried out at that time, just a decent clean & protect regime 
|
whitter45
Member
Registered: 15th Nov 02
Location: Norton
User status: Offline
|
quote:
Originally posted by Rich H
It says at the beginning of the write up the car was treated to a protection detail around a year ago, no paint correction or swirl mark removal would have been carried out at that time, just a decent clean & protect regime
ah right - fair enough.
So with a correction the swirl marks would be removed
|
Nismo
Member
Registered: 12th Sep 02
User status: Offline
|
Why is it the before pictures always seem darker than the after pictures?
it just seems as if he uses less light on the before pictures to emphasise the condition of the car, then ups the lighting on the after pictures to make it looks sharper?
just my 2p.
|
HarleyMK
Member
Registered: 17th Apr 11
Location: Milton Keynes Drives: Corsa Sport
User status: Offline
|
great read that, done an amazing job 
|
BluKoo
Member
Registered: 8th Apr 02
Location: Stonehaven (Scotland)
User status: Offline
|
quote:
Originally posted by Nismo
Why is it the before pictures always seem darker than the after pictures?
it just seems as if he uses less light on the before pictures to emphasise the condition of the car, then ups the lighting on the after pictures to make it looks sharper?
just my 2p.
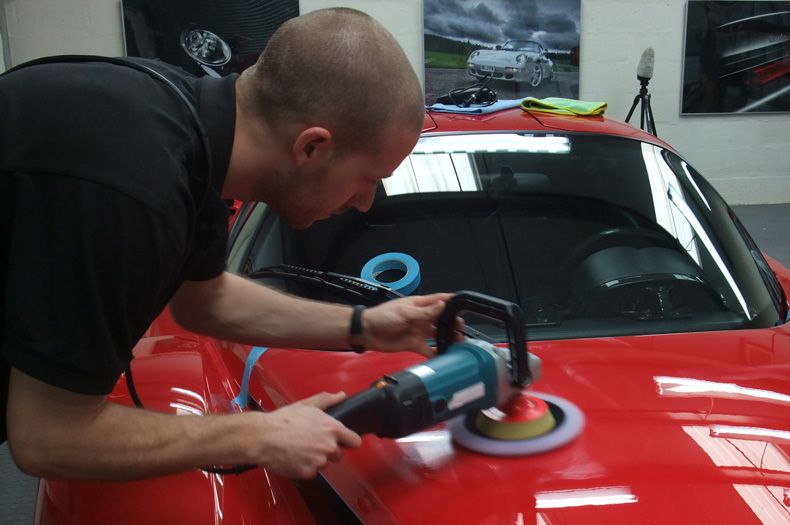
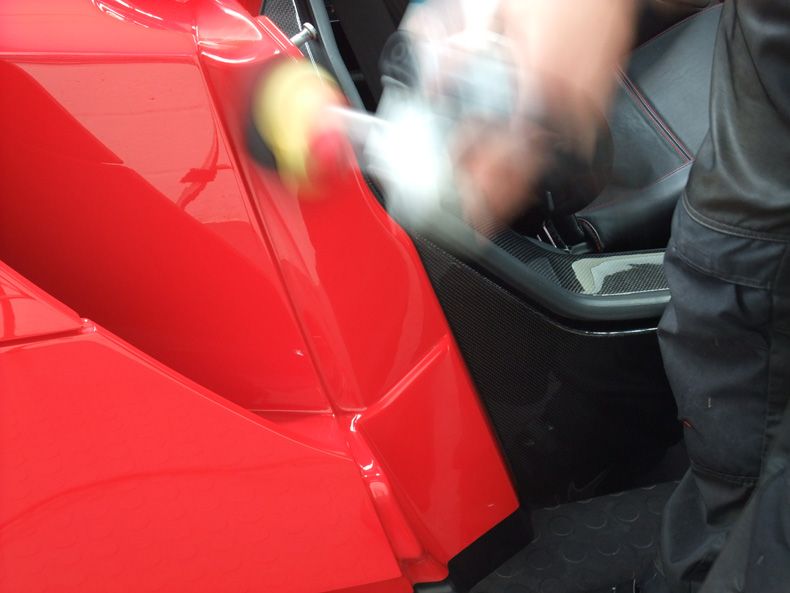
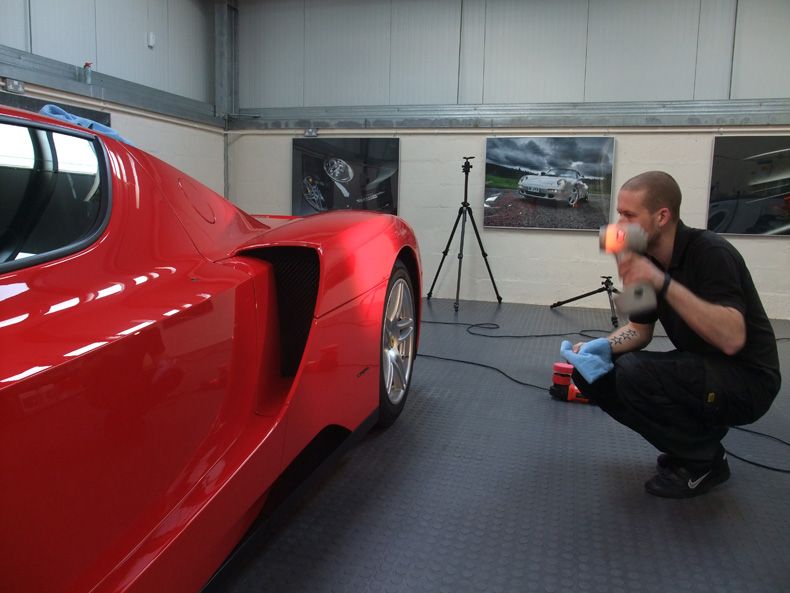
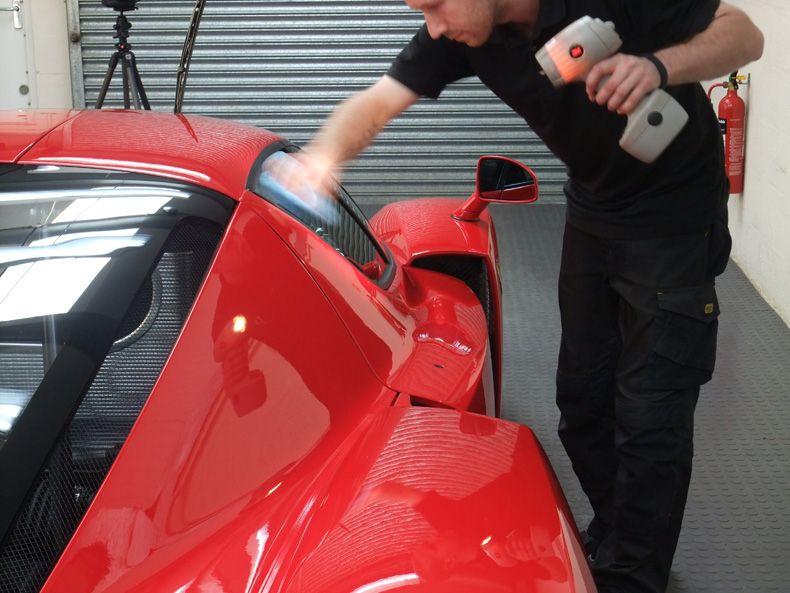
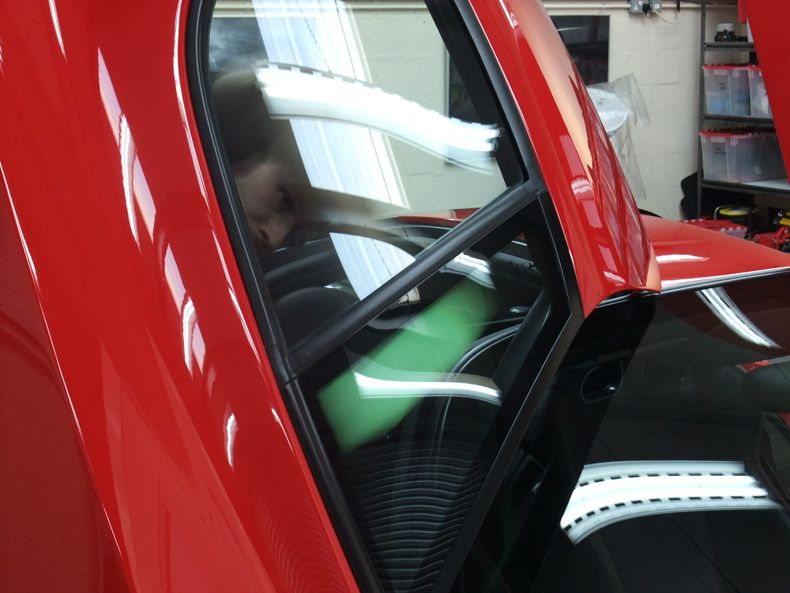
They actually use a really intense light called a sun gun to emphasise the defects, so it's the same light before and after.
That's what they're using here:
You can see it's the same light source in both the pictures...
[Edited on 26-04-2012 by BluKoo]
|


