Ste
Premium Member
 Registered: 5th Mar 03
Location: Taif, Saudi Arabia
User status: Offline
|
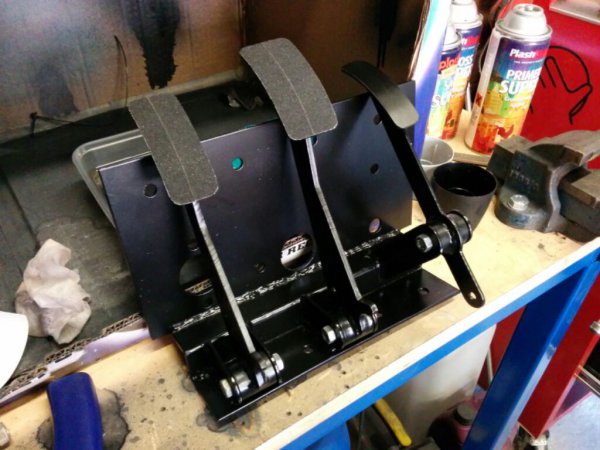
So got the pedal box finished and painted. It is designed to take a Wilwood m/c for the clutch and the original mx5 brake m/c
I reached the big milestone of mounting the engine and gearbox.
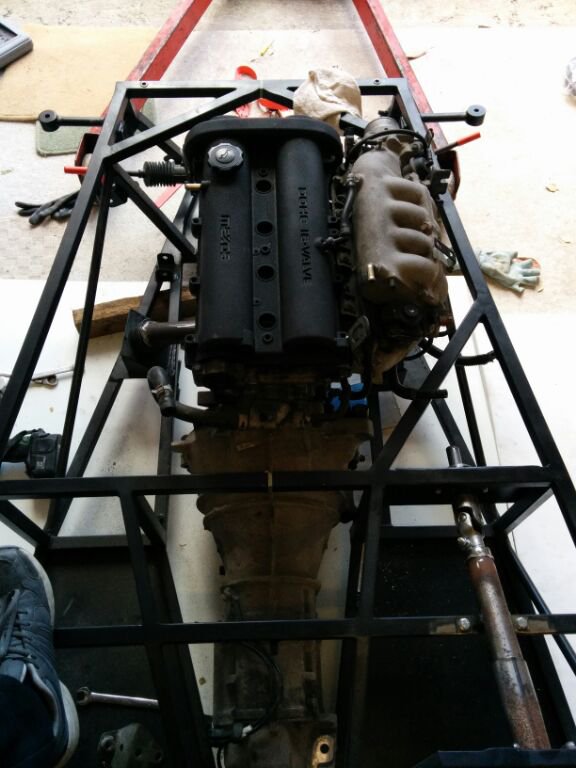
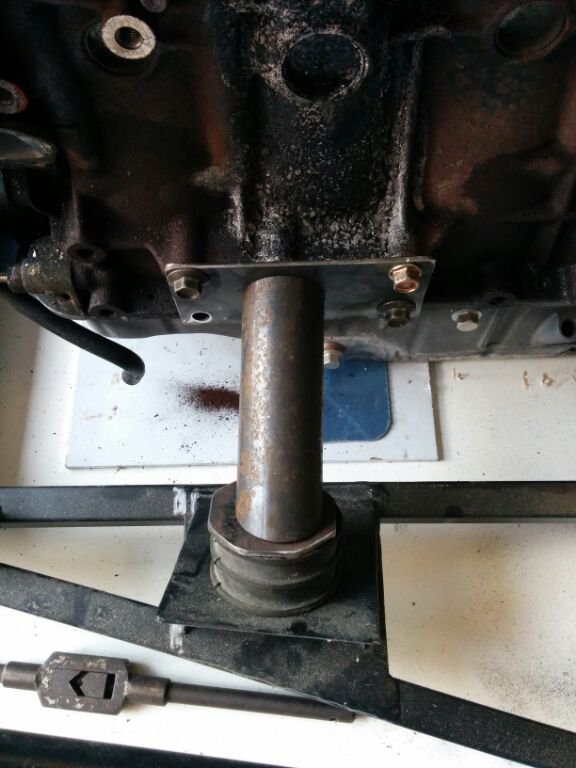
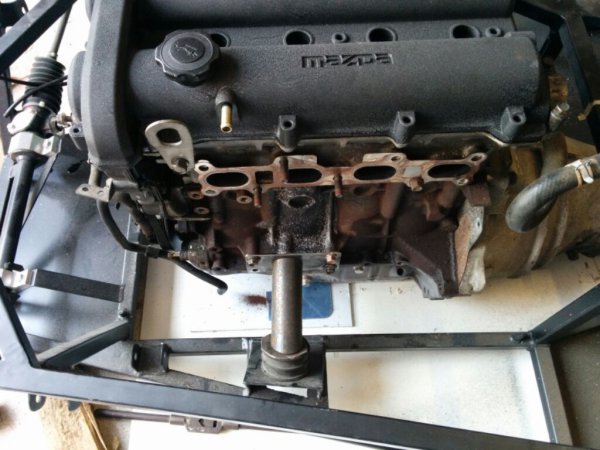
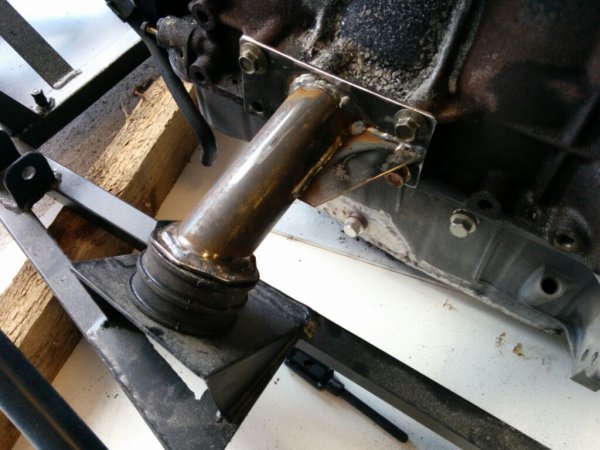
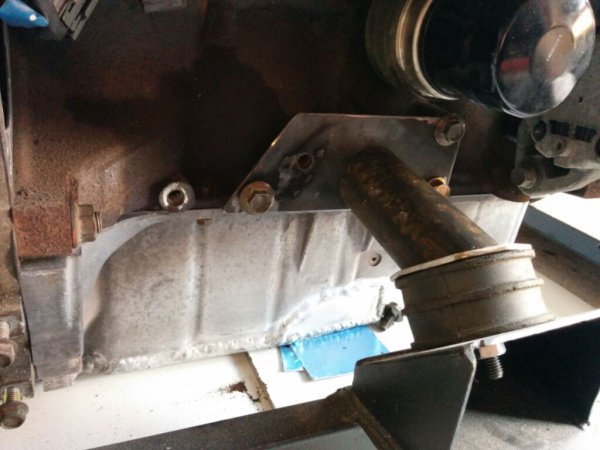
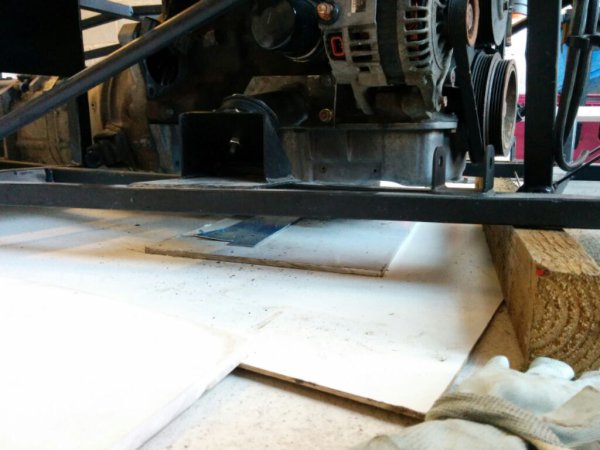
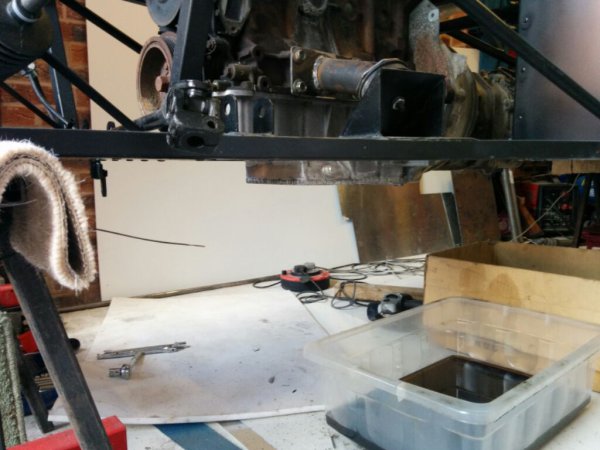
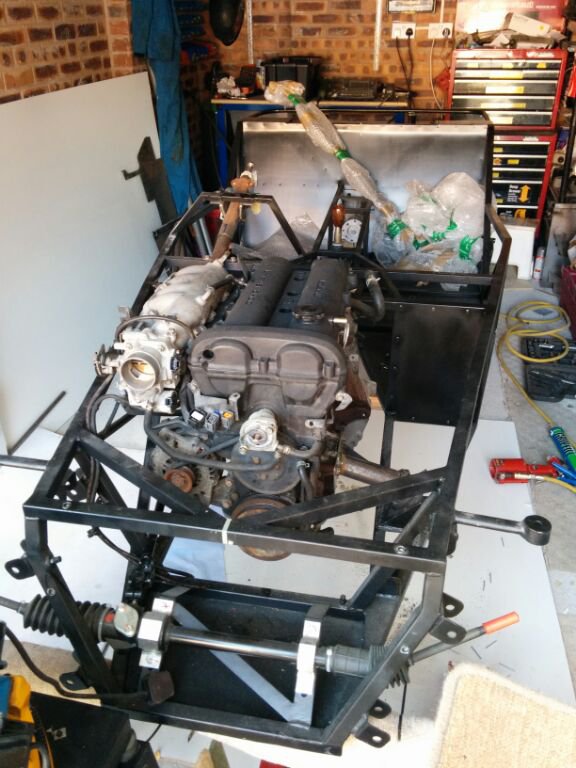
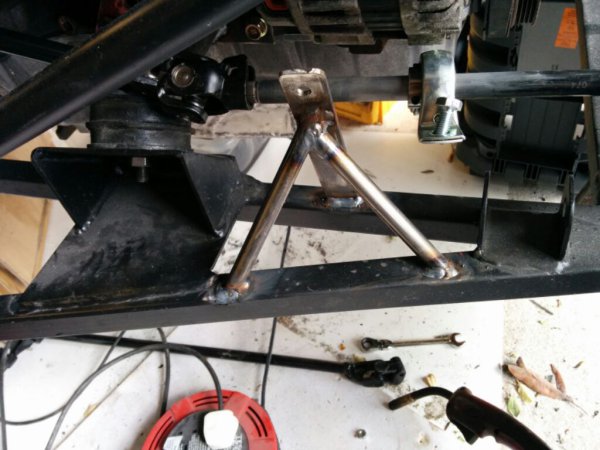
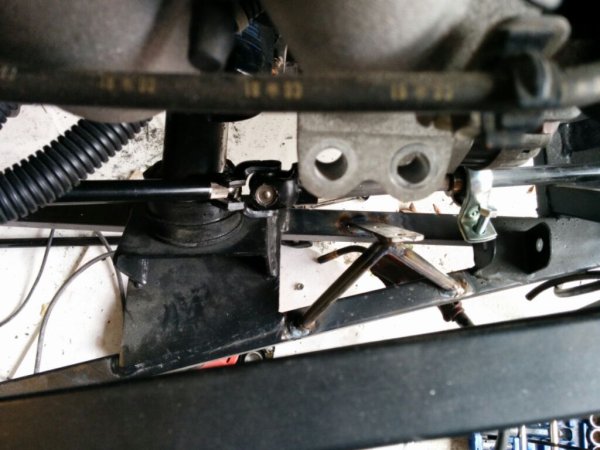
Only problem so far is the alternator is right in the way of the steering shaft. My only real solution is to route the shaft under the alternator. Did think about swapping alternator to other side, but wanted the space round there for a turbo in the future.
So fabricated a bracket and mounted a bearing carrier the end result is solid.
I would rather lose by a mile because i built my own car, than win by an inch because someone else built it for me.
|
taylorboosh
Member
Registered: 3rd Apr 07
User status: Offline
|
Great update mate
|
Ste
Premium Member
 Registered: 5th Mar 03
Location: Taif, Saudi Arabia
User status: Offline
|
Not updated this in ages, not because I've been doing nothing, just not bothered updating the build thread.
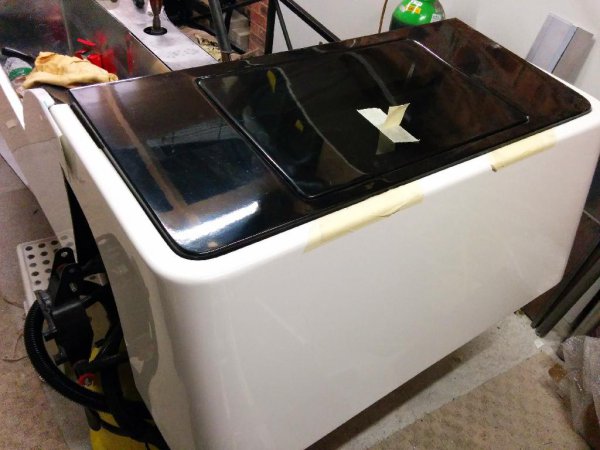
Got some body panels temp fitted to check clearances
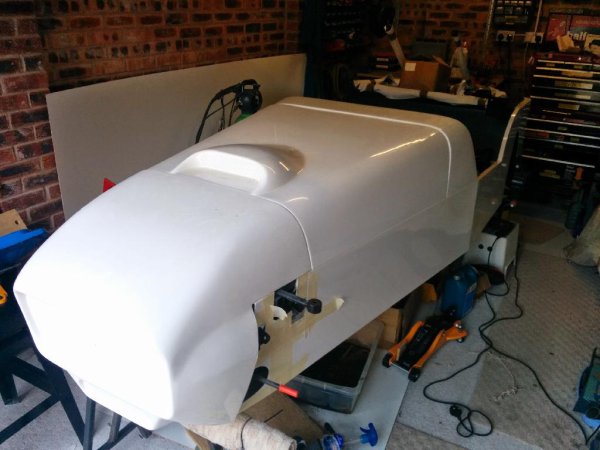
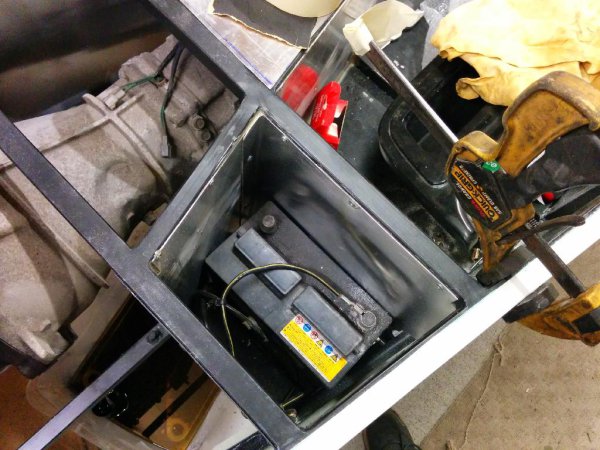
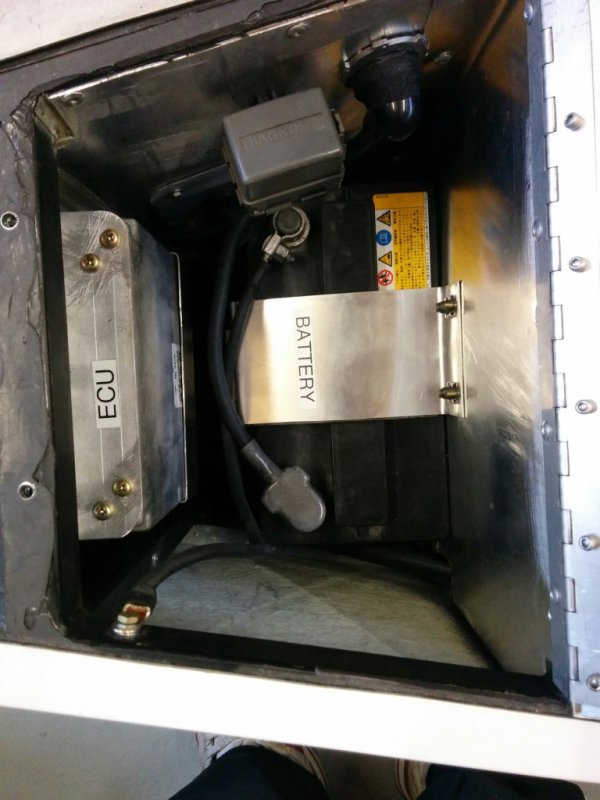
Built a battery bay at the bottom of the passenger footwell. Also houses the ecu. accessed via a hinged panel in the engine bay (not shown)
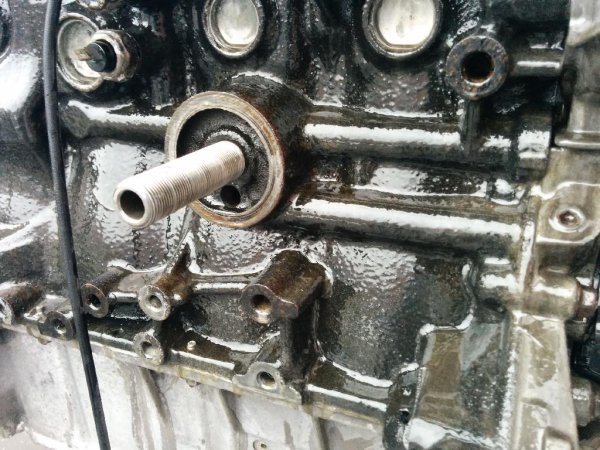
Engine and box have come out to be cleaned up, painted and checked over with new seals etc.
This shows the de-oxidising gel removing the rust from the block. Awesome stuff and very very effective
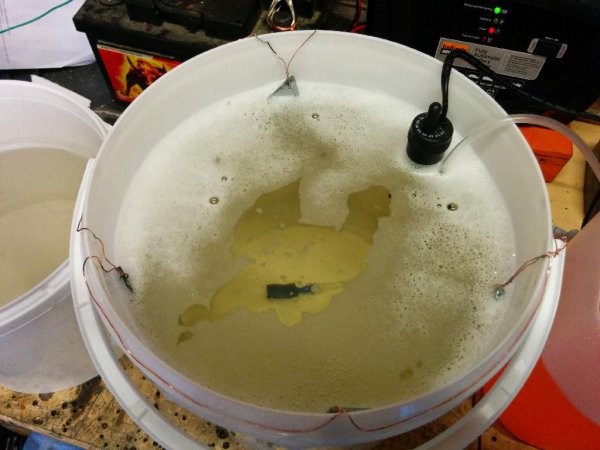
Bought myself a zinc plating kit so have been restoring all sorts of parts then wrapping them up ready for final build later on.
Here's the plating tank
Nuts, bolts etc post plating and yellow/gold passivate
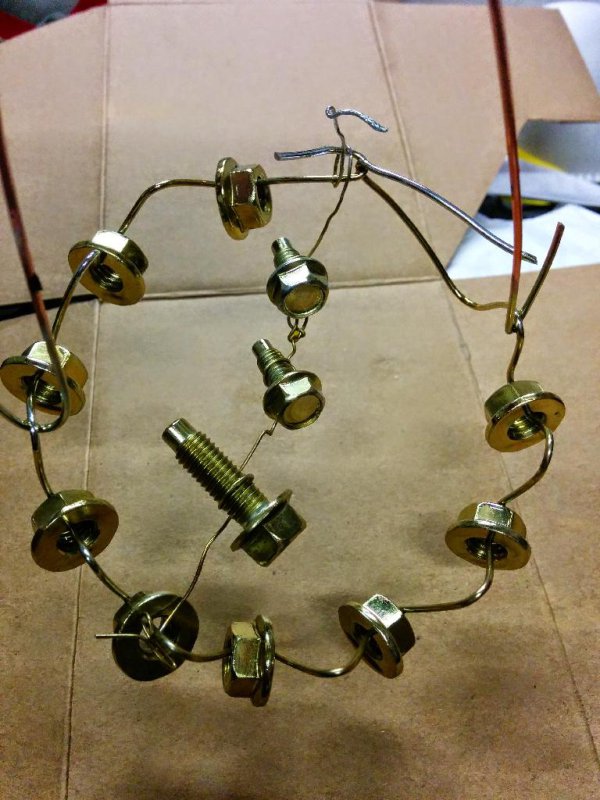
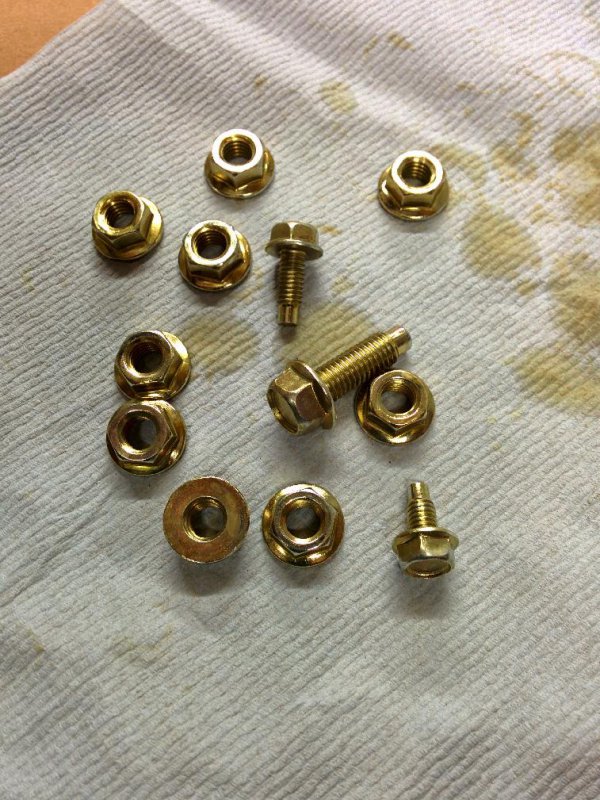
Hub carriers were done in clear passivate as were the alternator brackets and bolts
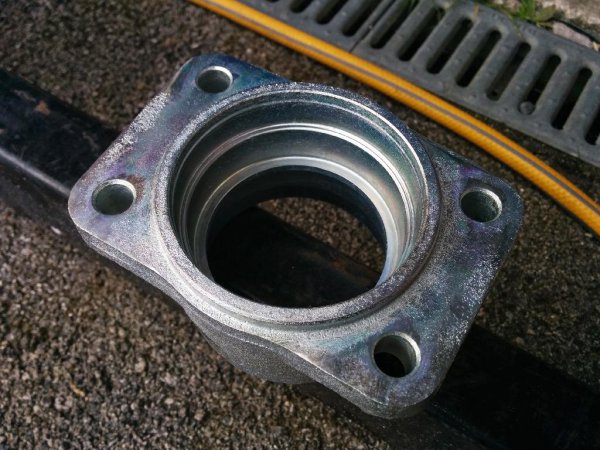
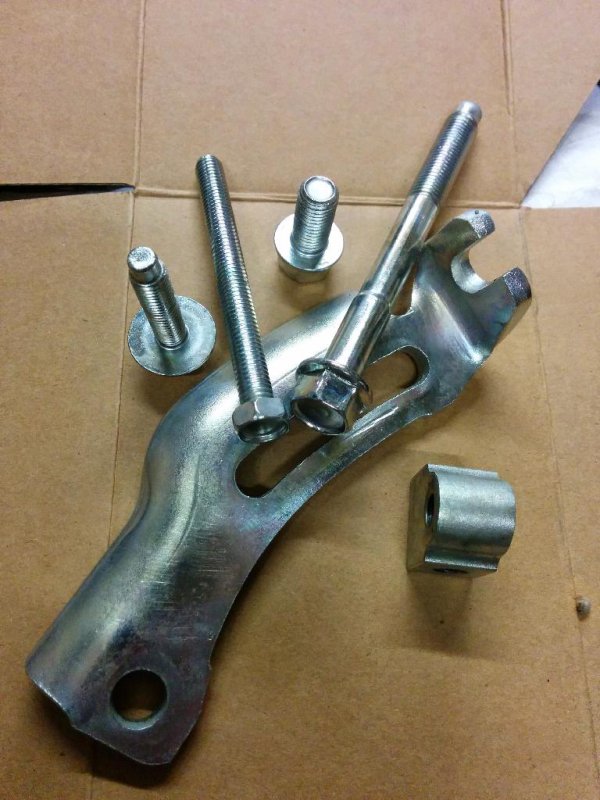
Also, stripped and rebuilt the rear prop shafts, and hubs which were all plated and look brand new again.
I would rather lose by a mile because i built my own car, than win by an inch because someone else built it for me.
|
boylers11
Member
Registered: 27th Jul 06
Location: Shropshire
User status: Offline
|
Looking good! I'm liking the attention to detail. Can you post up the spec of the plating kit please?
I'm rushing to get mine finished to use over autumn, then I'm tempted to rebuild it again, plating parts over the winter.
Keep the detailed updates coming please!
|
Darryl H
Organiser: South Central
Premium Member
 Registered: 19th Nov 09
Location: Camberley Drives: Porsche 944
User status: Offline
|
Awesome work!
|My Corsa|SC|My Instagram|
|
Ste
Premium Member
 Registered: 5th Mar 03
Location: Taif, Saudi Arabia
User status: Offline
|
quote:
Originally posted by boylers11
Looking good! I'm liking the attention to detail. Can you post up the spec of the plating kit please?
I'm rushing to get mine finished to use over autumn, then I'm tempted to rebuild it again, plating parts over the winter.
Keep the detailed updates coming please!
I used the 10 litre kit from here
http://gaterosplating.co.uk/Zinc-Plating-kit.php
and bought the acid pickle too.
Easy enough to do with a little patience. And if you fuck it up, it's easy to put it back in the acid to strip the zinc off and try again. 
I would rather lose by a mile because i built my own car, than win by an inch because someone else built it for me.
|
boylers11
Member
Registered: 27th Jul 06
Location: Shropshire
User status: Offline
|
Cool, thanks. Can't believe how cheap that kit is! Think it'll be going on my birthday list, lol.
Have you got an estimated completion date?
|
boylers11
Member
Registered: 27th Jul 06
Location: Shropshire
User status: Offline
|
What's the latest on this or have I missed something?
|
Ian
Site Administrator
 Registered: 28th Aug 99
Location: Liverpool
User status: Offline
|
Loads, come on loads since the last updates, I'll give Ste a poke to make a few posts.
|
Chris x
Member
Registered: 11th Sep 08
Location: Bexhill
User status: Offline
|
quote:
Originally posted by Ian
Loads, come on loads since the last updates, I'll give Ste a poke to make a few posts.
 
|
Ste
Premium Member
 Registered: 5th Mar 03
Location: Taif, Saudi Arabia
User status: Offline
|
Howdy 
Been a long long time since I've updated this thread but a lot of work has gone on since the last update.
I've also had a baby and moved house in the mean time.
I've re-made my upper front wishbones to the book spec as the originals I made with camber adjusters built in but didn't like how they turned out.
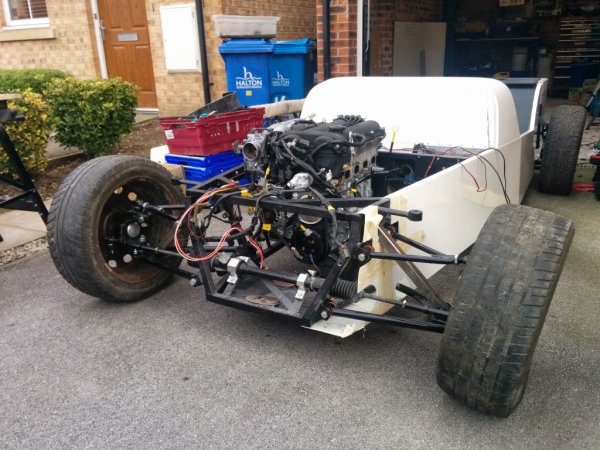
Moving out my old garage:
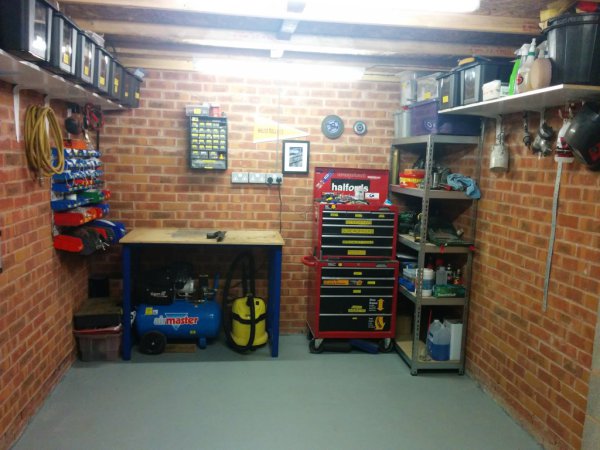
New garage:
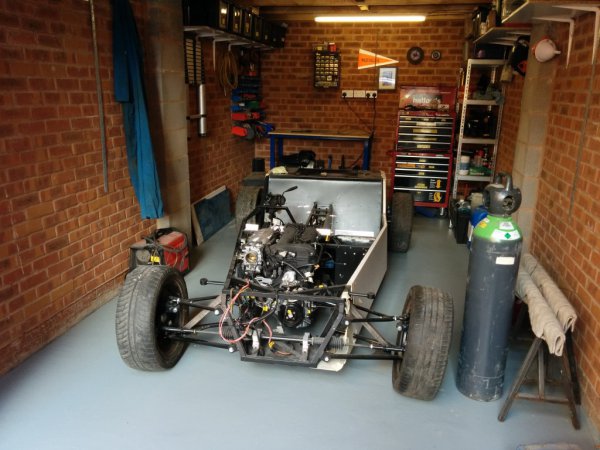
Car in there, temp wheels for moving it and dummy shocks
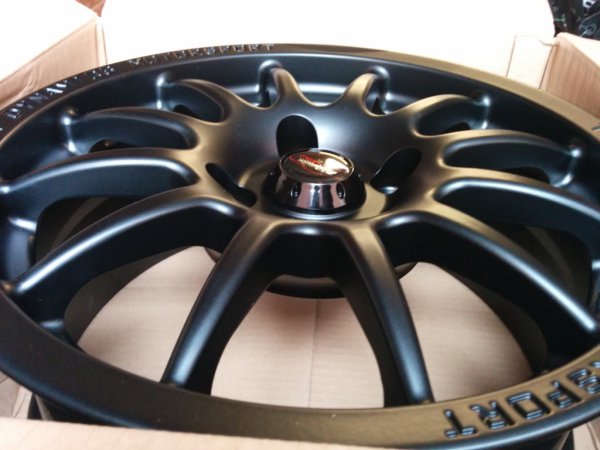
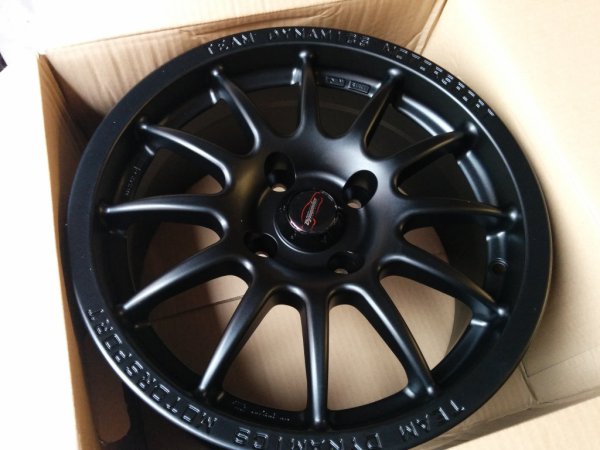
Bought my wheels, pro race 1.2 in satin black. 15"
Battery and ecu bay in front passenger footwell
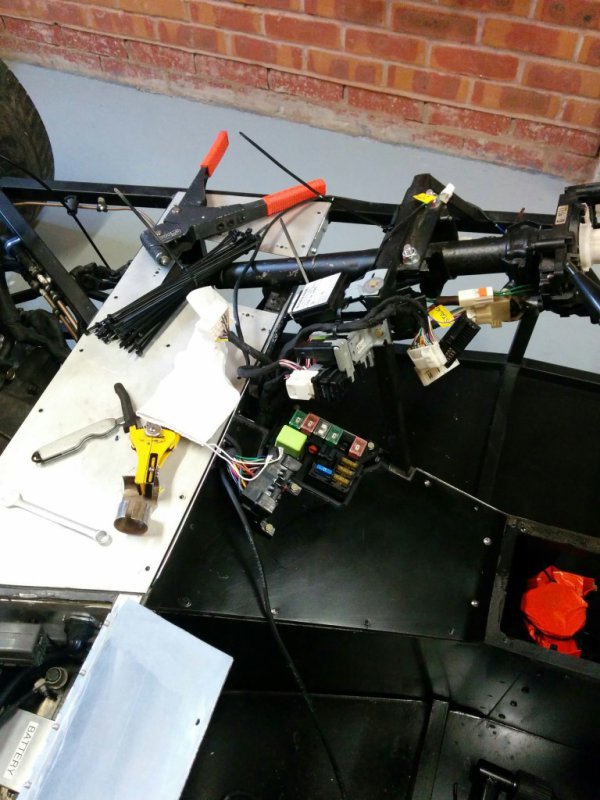
Loads of time has been spent on the wiring loom, I've used the original mx5 loom but made loads of changes and mods to it.
Everything is working so far
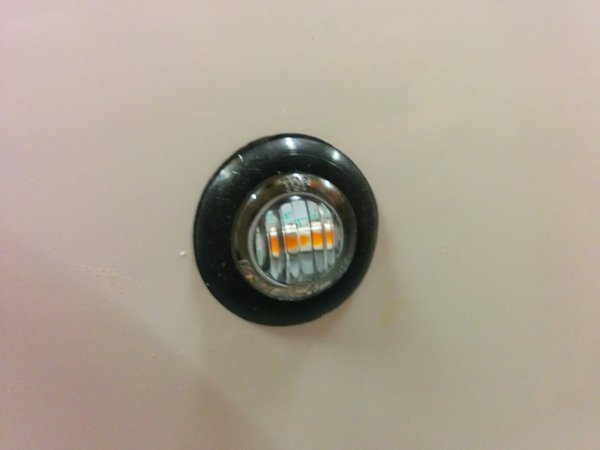
LED side repeaters. Will need to be removed and repositioned in the front mudguard as they fail the IVA test as they are obscured from the rear by the rear indicator 
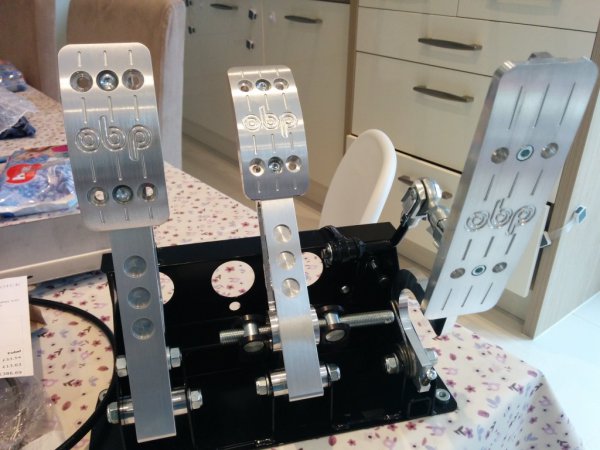
Billet aluminium pedals from OBP with remote adjustment

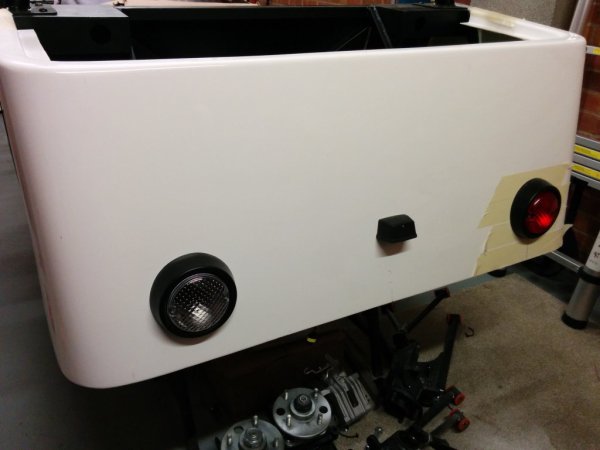
Fog and reverse lights mounted to rear tub along with numberplate light
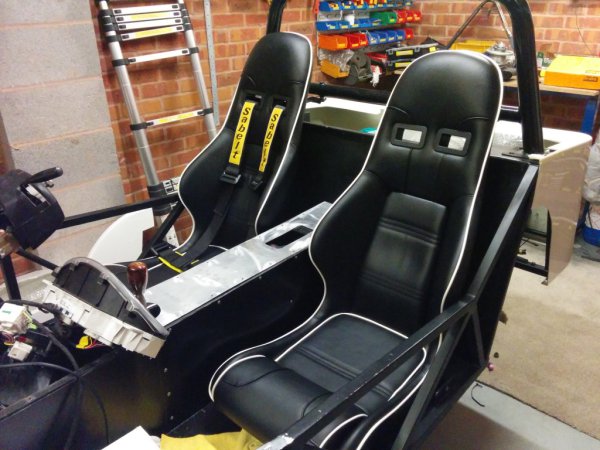
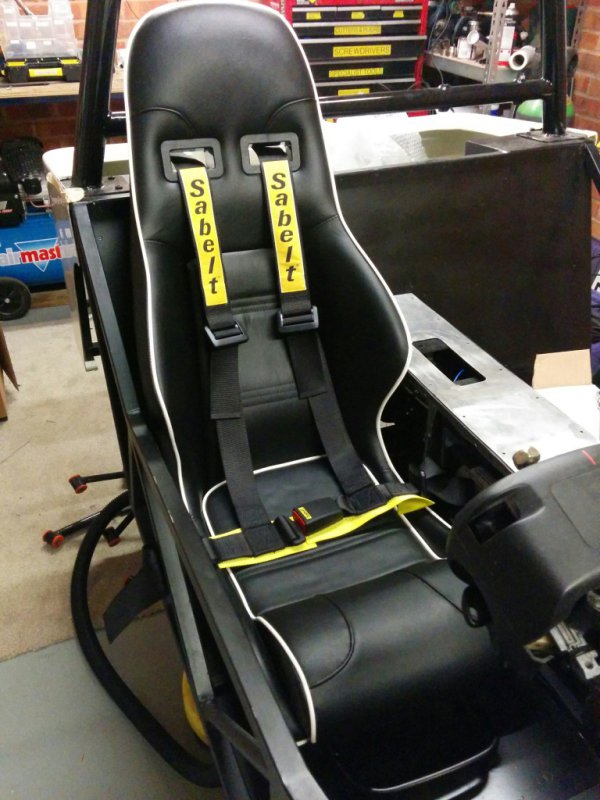
Had these seats made by intatrim in telford. GRP shells with padding in black vinyl. Really comfy and surprisingly light
Wilwood Ultralite 4 pots up front, rears are Audi S3 aluminium calipers, light and have a good handbrake function

[Edited on 03-12-2015 by Ste]
I would rather lose by a mile because i built my own car, than win by an inch because someone else built it for me.
|
Steve
Premium Member
 Registered: 30th Mar 02
Location: Worcestershire Drives: Defender
User status: Offline
|
Deffo didn't build those brakes and wheels, bought imo
|
boylers11
Member
Registered: 27th Jul 06
Location: Shropshire
User status: Offline
|
Great update, you've been cracking on! Congrats on the baby too. How do the remote adjusting pedals work?
|
Ste
Premium Member
 Registered: 5th Mar 03
Location: Taif, Saudi Arabia
User status: Offline
|
See the two holes behind the brake pedal?

It has two master cylinders, one for front brakes, one rear. they are connected to the pedal by a bar with a bearing that can be moved side to side via a cable to the dash to adjust how much pressure the pedal acts on each cylinder.
I would rather lose by a mile because i built my own car, than win by an inch because someone else built it for me.
|
boylers11
Member
Registered: 27th Jul 06
Location: Shropshire
User status: Offline
|
Ahh that's cool. Be be great being able to adjust it yourself. Mine has a bias bar, but it relies on the pressure left in the system to decide how much pressure to apply.
Have you got a completion date in mind?
|
Ste
Premium Member
 Registered: 5th Mar 03
Location: Taif, Saudi Arabia
User status: Offline
|
Hopefully for the next summer, but depends how much time I can get on it.
I would rather lose by a mile because i built my own car, than win by an inch because someone else built it for me.
|
Ste
Premium Member
 Registered: 5th Mar 03
Location: Taif, Saudi Arabia
User status: Offline
|
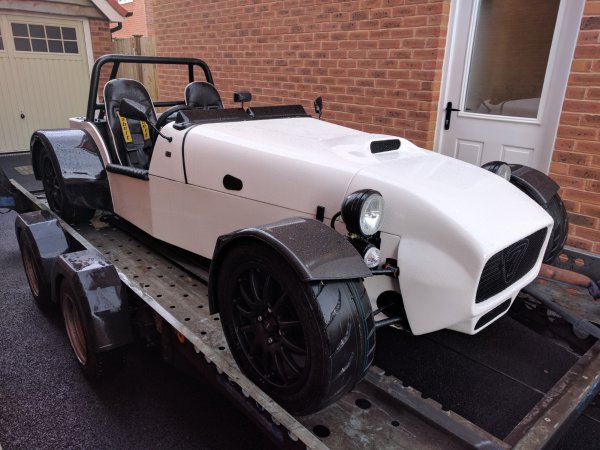
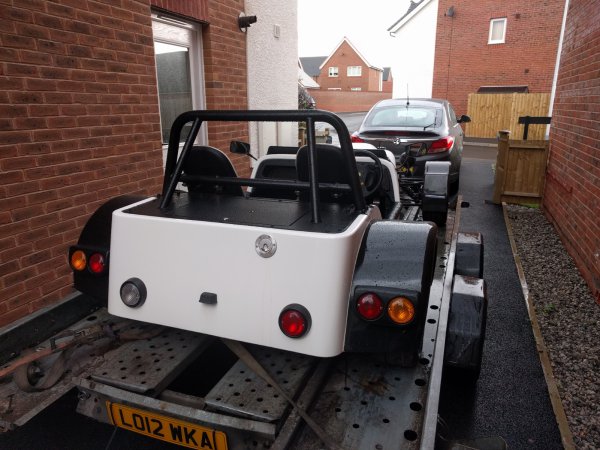
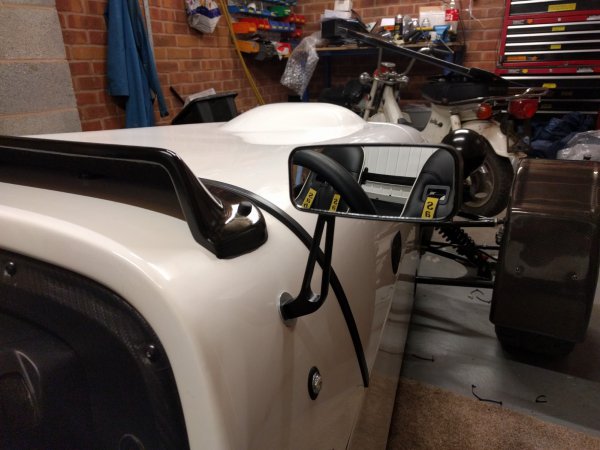
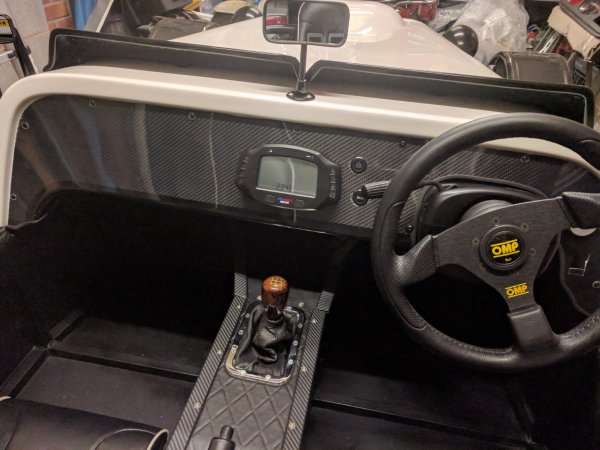
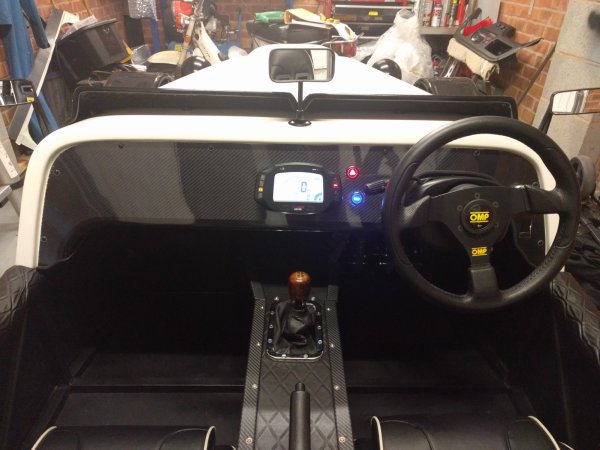
Passed IVA 2 weeks ago and here are a few pics of my finished Haynes.
It is using a 1.8 mx5 engine
I would rather lose by a mile because i built my own car, than win by an inch because someone else built it for me.
|
Ste
Premium Member
 Registered: 5th Mar 03
Location: Taif, Saudi Arabia
User status: Offline
|
Still not found a gear knob i like
I would rather lose by a mile because i built my own car, than win by an inch because someone else built it for me.
|
Steve
Premium Member
 Registered: 30th Mar 02
Location: Worcestershire Drives: Defender
User status: Offline
|
Ford puma gearknob
|
3CorsaMeal
Member
Registered: 11th Apr 02
User status: Offline
|
I have one for sale, freshly polished
|
Ste
Premium Member
 Registered: 5th Mar 03
Location: Taif, Saudi Arabia
User status: Offline
|
Wrong thread pitch in the puma knob. Already tried one
I would rather lose by a mile because i built my own car, than win by an inch because someone else built it for me.
|


