Rob E
Member
Registered: 1st Jan 06
Location: Madeley, Stafford....I want to live back in Wales!
User status: Offline
|
Copied and pasted from the mx5 forums but I thought I would post here too 
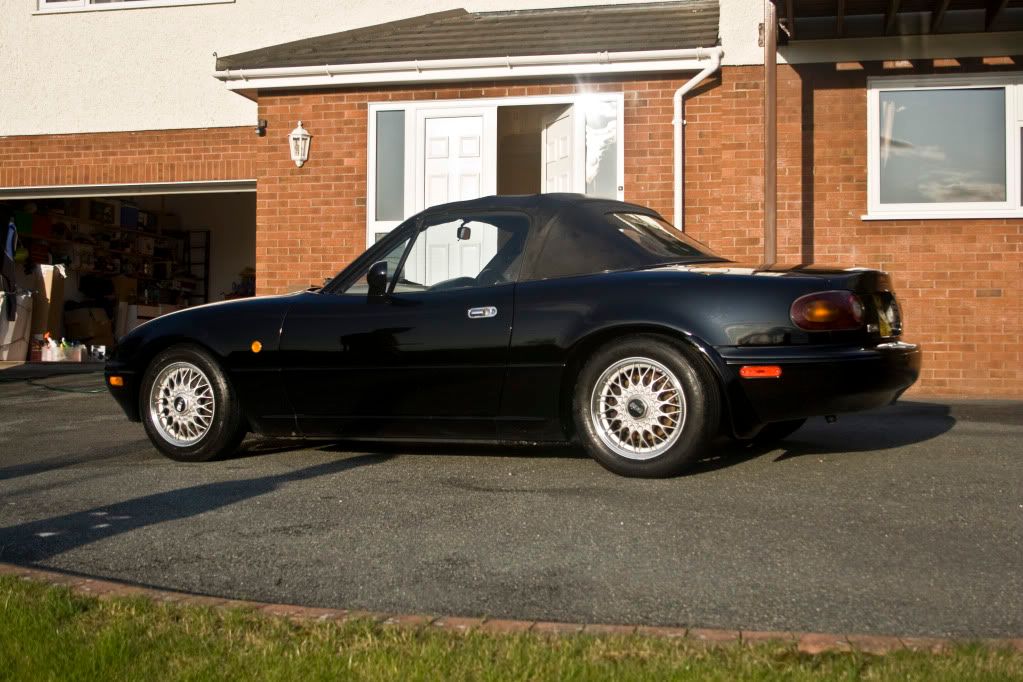
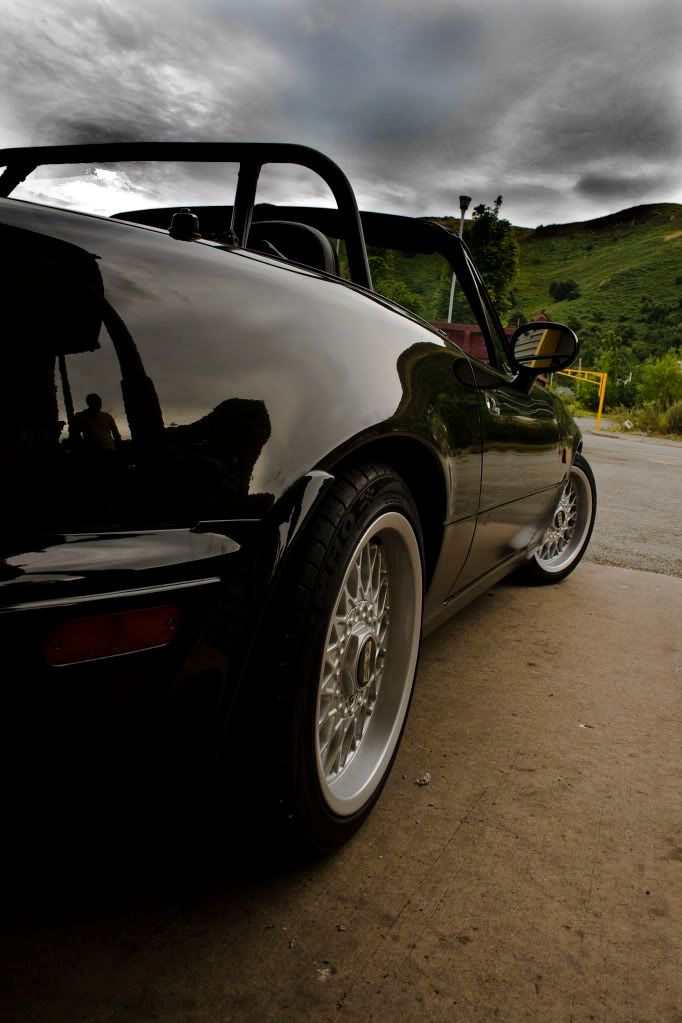
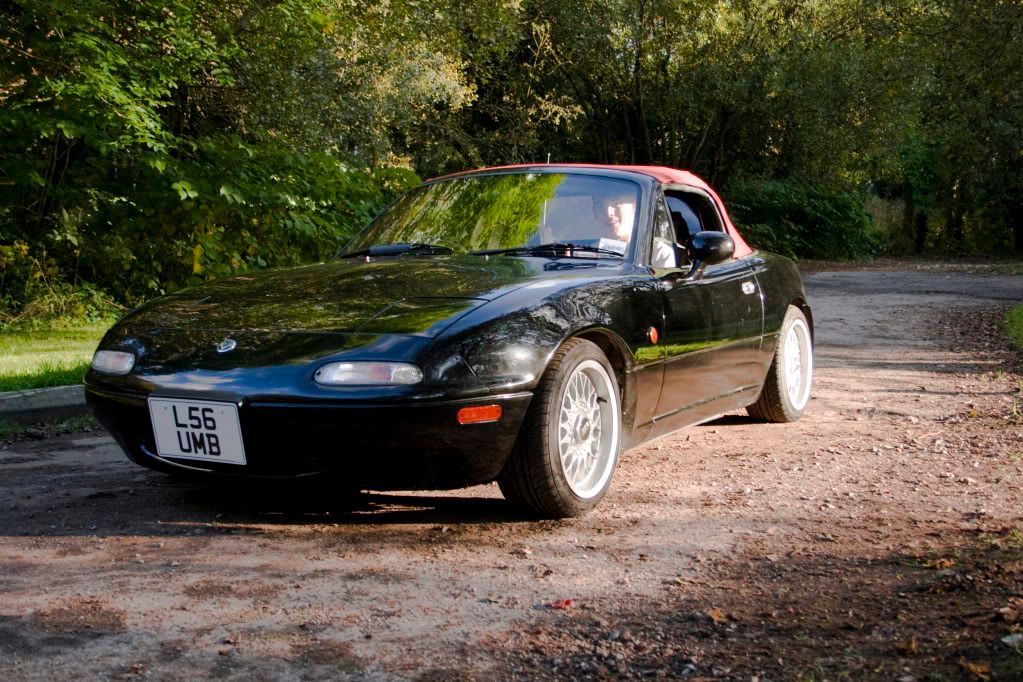
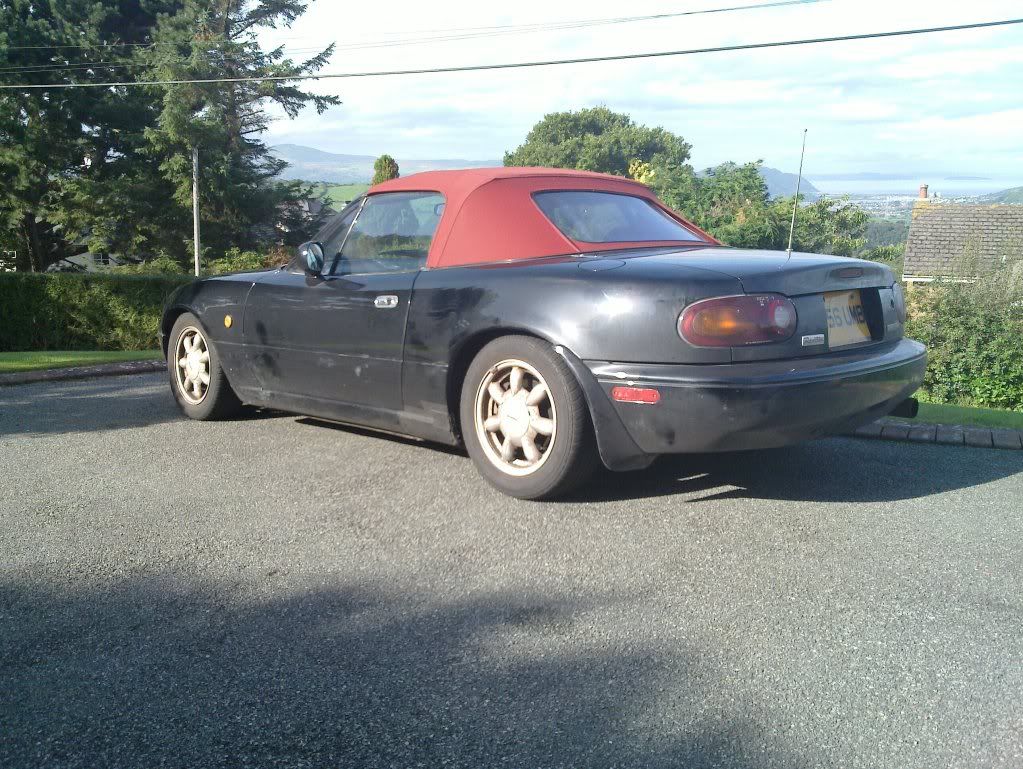
I thought it was about time I introduced my car to the masses! Back in July '09 I purchased this little roadster. It was a 1993 s-special import with a roll bar, lowered suspension and a k&n pannel filter. I bought it from an ex mazda mechanic who I think may have had a bit of a dodgy MOT on it as it came with a hand written advisory for needing a set of breaks <_<
Anyway, I managed to knock a fair bit off his asking price and drove home with a huge grin on my face  The next day me and my friend set about giving her an almighty clean and she came up gleaming :woohoo: The next day me and my friend set about giving her an almighty clean and she came up gleaming :woohoo:

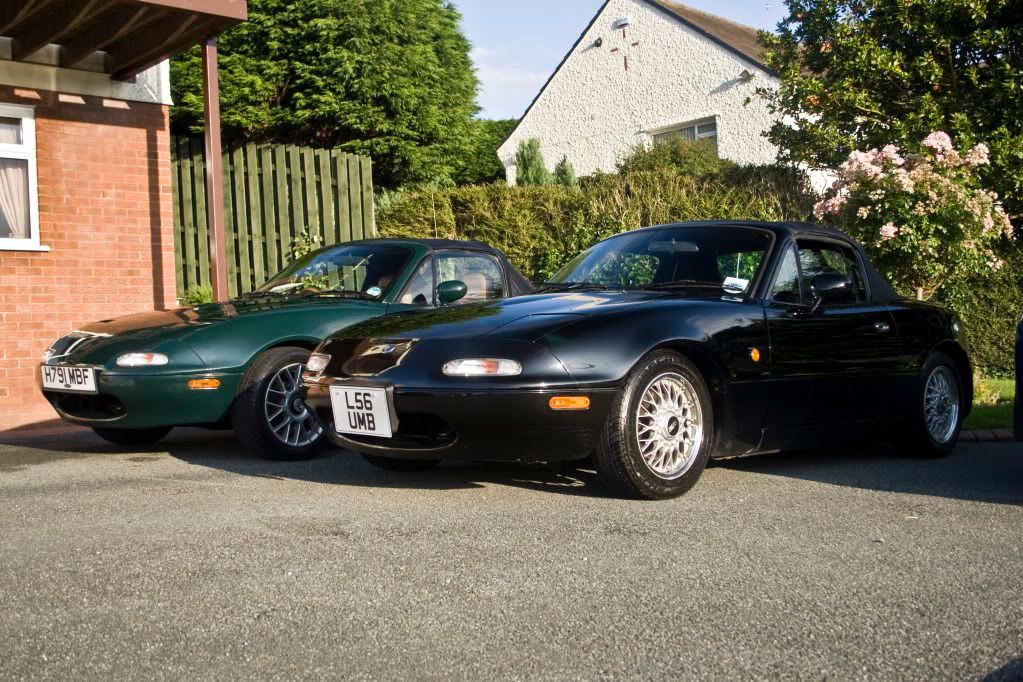
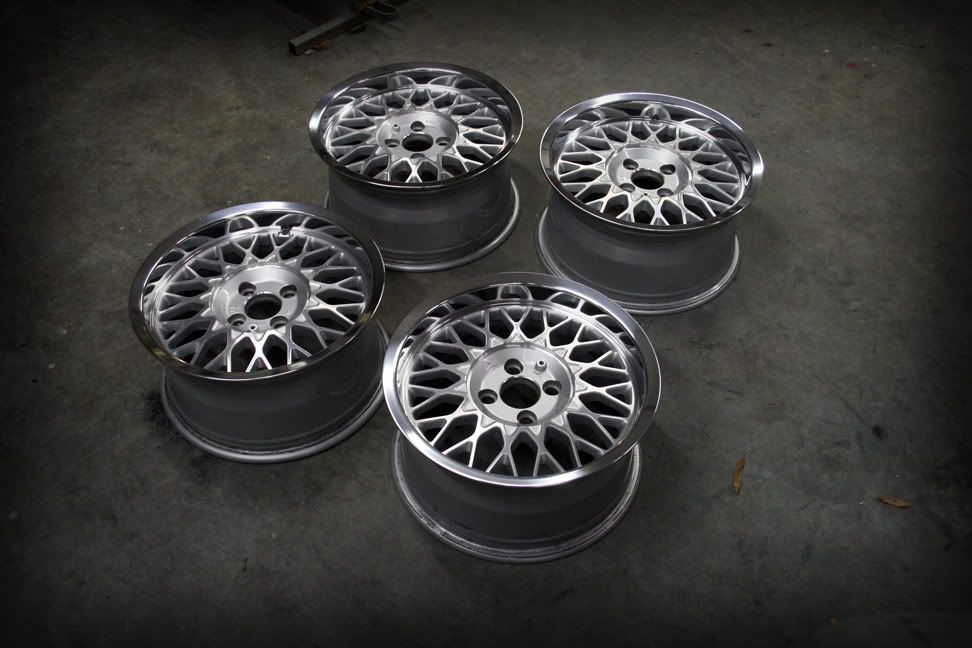
However, with some left over cash from selling my previous car, I was searching long and hard for a set of alloys to really make her something special. Along came Mr Jibberingloon who was selling a set of Ronal LS wheels. A trip to pick them up was soon arranged and off we went in two mx5s to pick them up. While we were there, Mark took me out for a spin in his supercharged Roadster....BIG MISTAKE! This now left me craving more power but more about that later!
New wheels all fitted
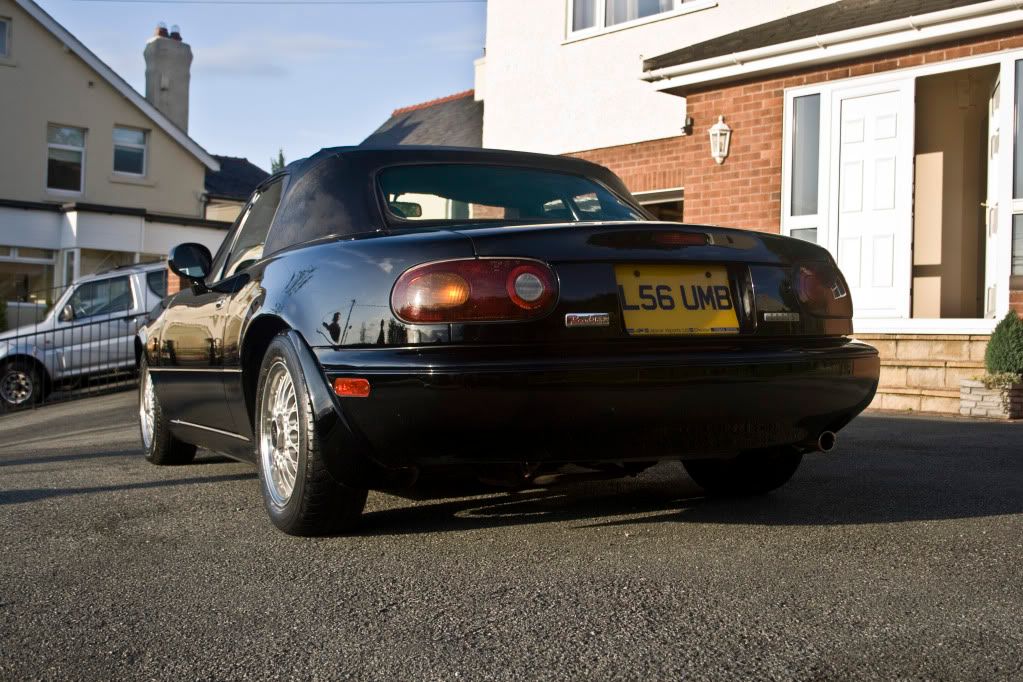
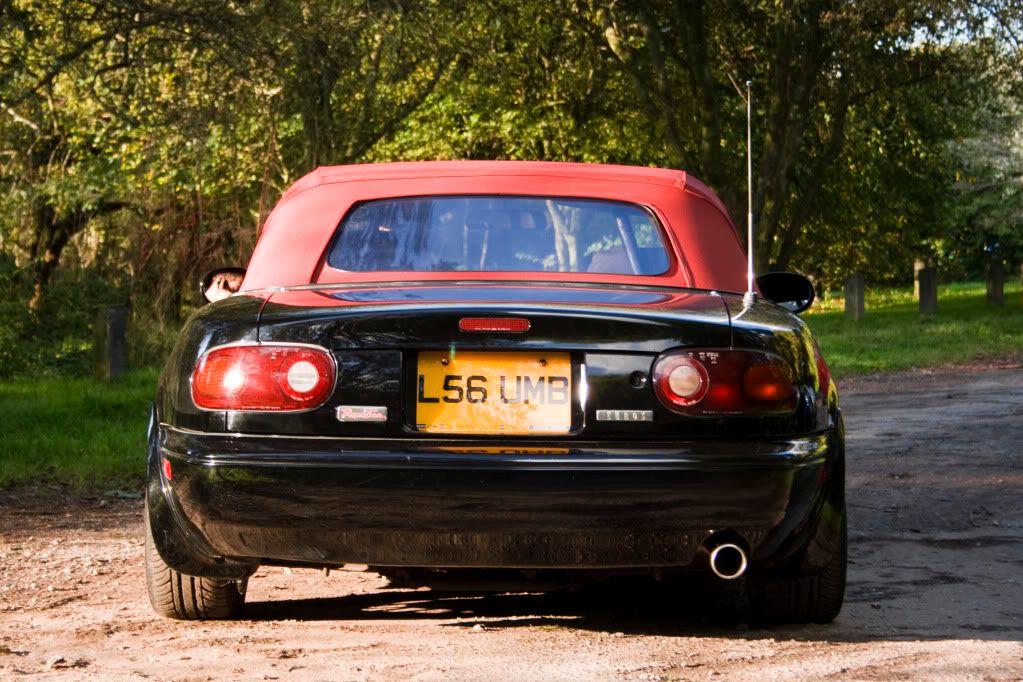
That was it for a while, then the modifying bug bit again! My roof was looking sorry for itself and desperately needed replacing. With Jack Smith's right on my door step, I paid him a visit to discuss colours and prices. I went for a Red roof after some careful consideration and dont regret it at all. Jack Smith's did a sterling job and have even replaced it free of charge in the Summer of 2010 after it wore a hole through itself :blink: At the same time, I purchased a peco exhaust system and a slienced de-cat off Hulk, and she was left in this state of modification for quite some time.
Febuary 2010 saw me almost part with my Roadster due to some inconsiderate low-life attempt to steal her :'( They smashed the passengers 1/4 window, ripped all the trim from around the cowling and dash, snapped the ignition lock, attempted to hotwire it and bent the column and the dash support bar! :censor: Luckily the imobiliser did its job and they got nowhere. This was just what I needed on top of a load of other personal family matters. Once again though, the nutz communitiy shone through with the help of junk yard dog and forrest 5 sorting me out and donating parts to me. What an amazing community :goodjob: I had some teething problems getting her back on the road, it wasnt until I replaced the steering column that I noticed how much of a pig it was to line it up to the dash bar that the dash support had actuallt bent too :doh: Eventually she was back in one piece and going well again!
During the summer I was working for a company who specialise in motorsport prep and vehicle restoration. AWSOME work experience and also gave me some useful resources to do some work on the Roadster. I quickly purchased a full set of polybushes for her and swapped them all on my own including sandblasting and hammeriting the bottom arms/ roll bars. I did have some pictures of this but unfortunately they are on my phone that has been sent away for repair! :doh: 22 hours later she was all done and had a fast road alignment performed by Andy Murdoch of Avia Speedshop in Brigend - Highly recommended!
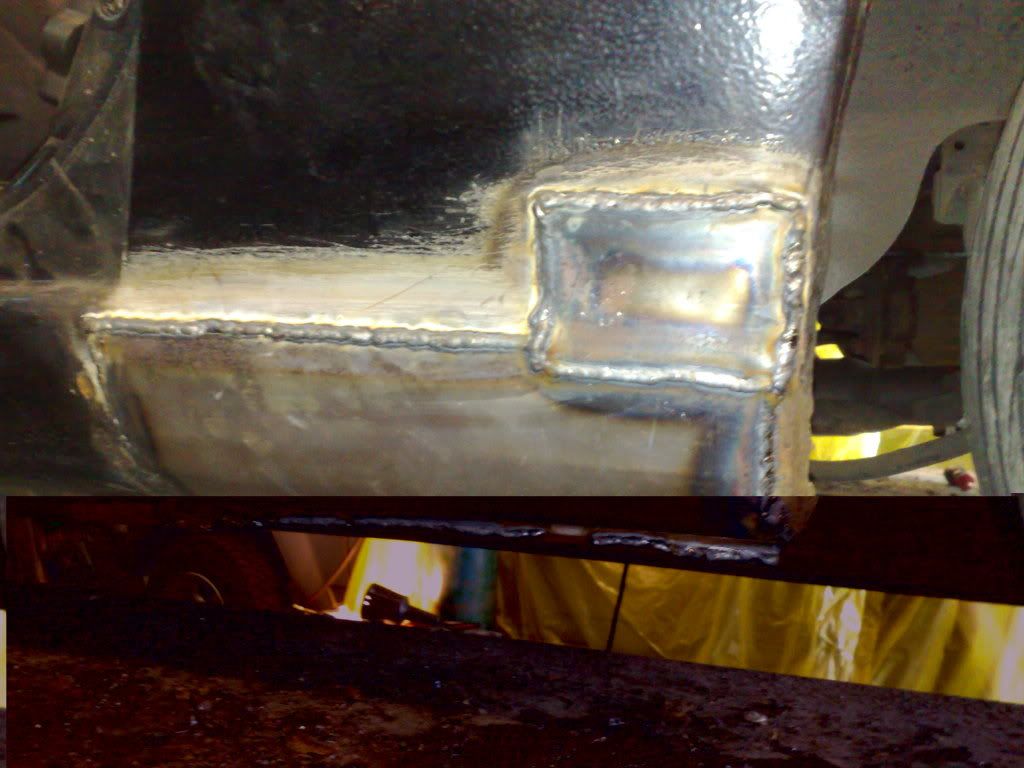
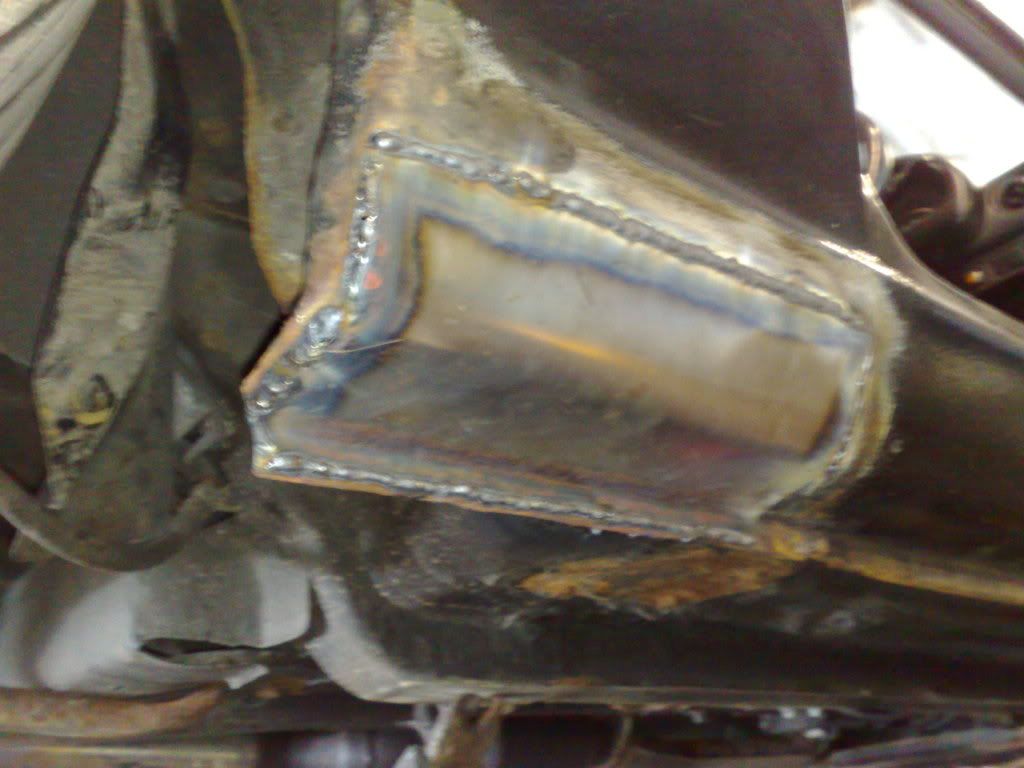
After that, it was MOT time....I knew my sills were going to be a problem. I had arranged with a good friend of mine to have them completely stripped back and done properly but due to lack of avaliable time, this has to be put off until a later date. The MOT place patched them up so I could keep her on the road for a very reasonable price. Apparently the insides were not to bad at all but I still want to completely gut them for peace of mind :goodjob:
Shortly after this, I tucked her up off the road for the winter. There were two main reasons for this, I didnt want her being eaten away by the salty roads this winter and secondly I wanted to save up some cash for future plans.
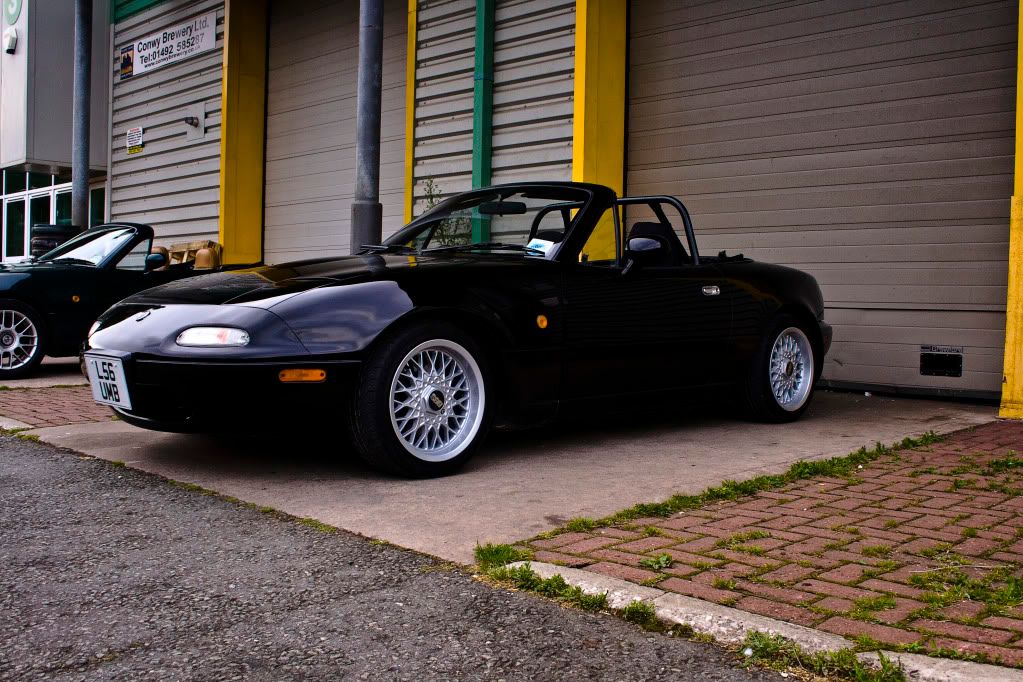
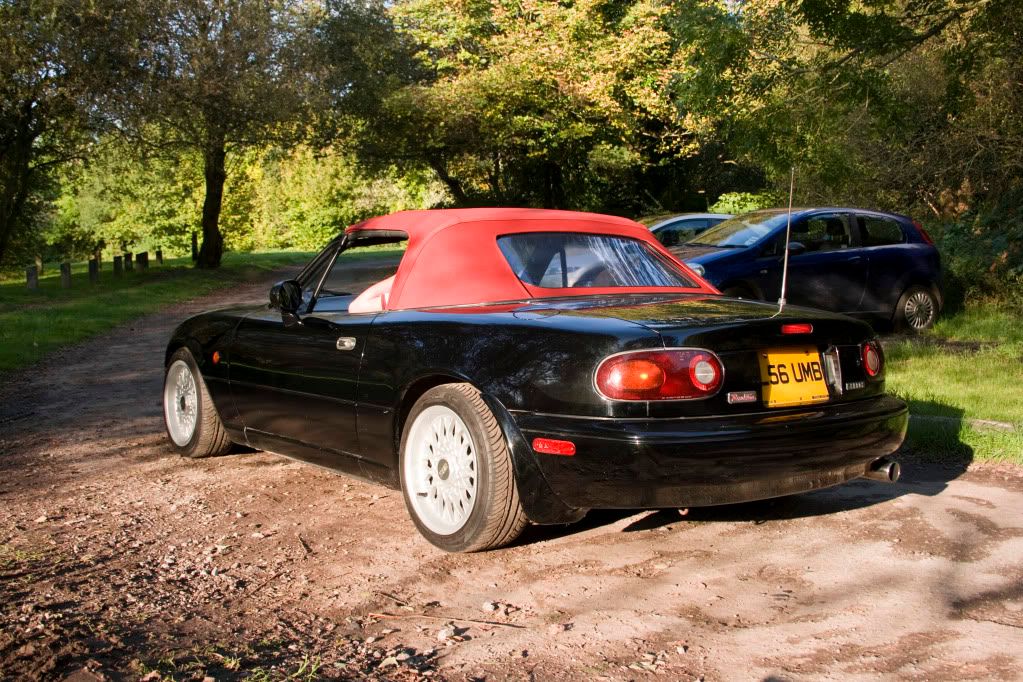
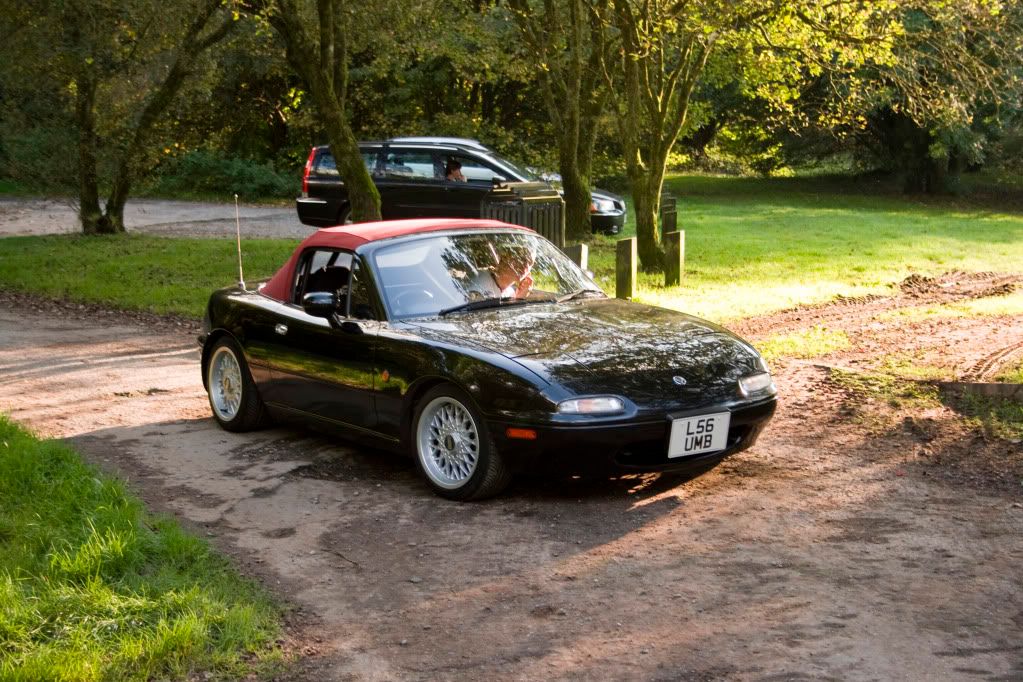
This is how she looked just before I SORN'd her, sat on storage wheels!

Just back to her place of rest (scuse the dirtyness! I did wash it shortly after I took this pic!)I fitted my new coilovers, took it for a test down the road and then lay her up for winter  - my parent's house - my parent's house
Since taking her off the road I have been collecting parts to supercharge her So far I have collected the following parts that will be united with my car come the spring time!
Mini supercharger,
Bipes,
Jackson Racing AFPR,
Innovate wideband controler and sensor,
TRLane Mini S/C conversion kit
Rear OEM lip,
Fornt OEM lip,
Rear plexiglass numberplate cover,
boost guage,
TDR heatshield,
Polishing kit
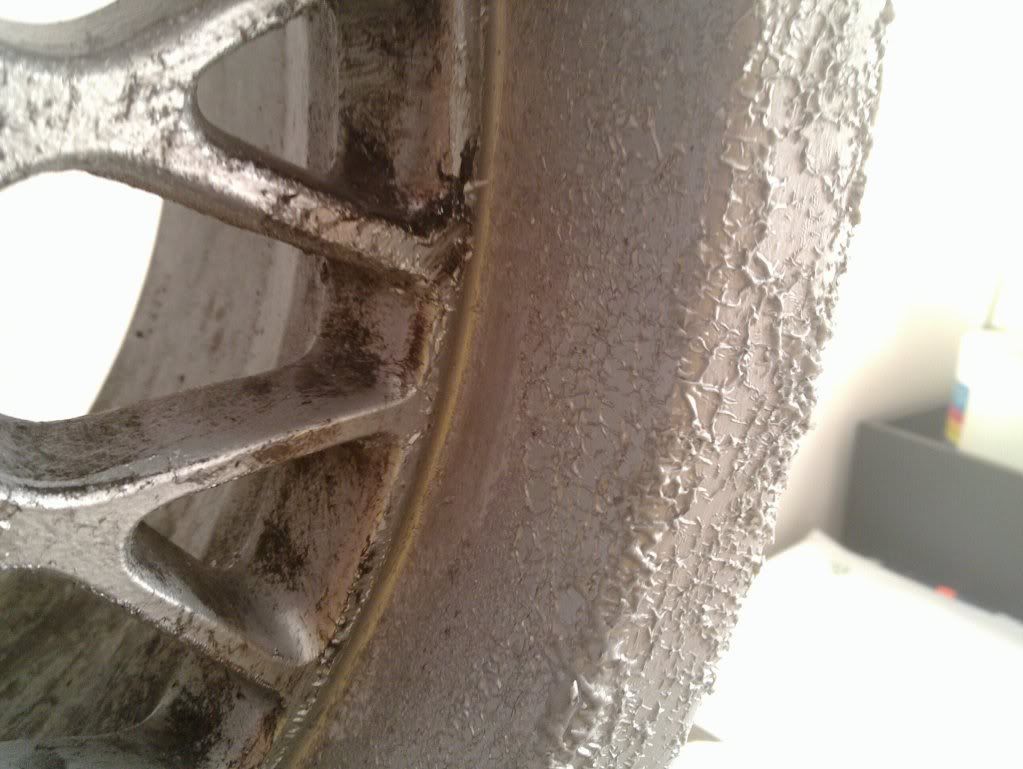
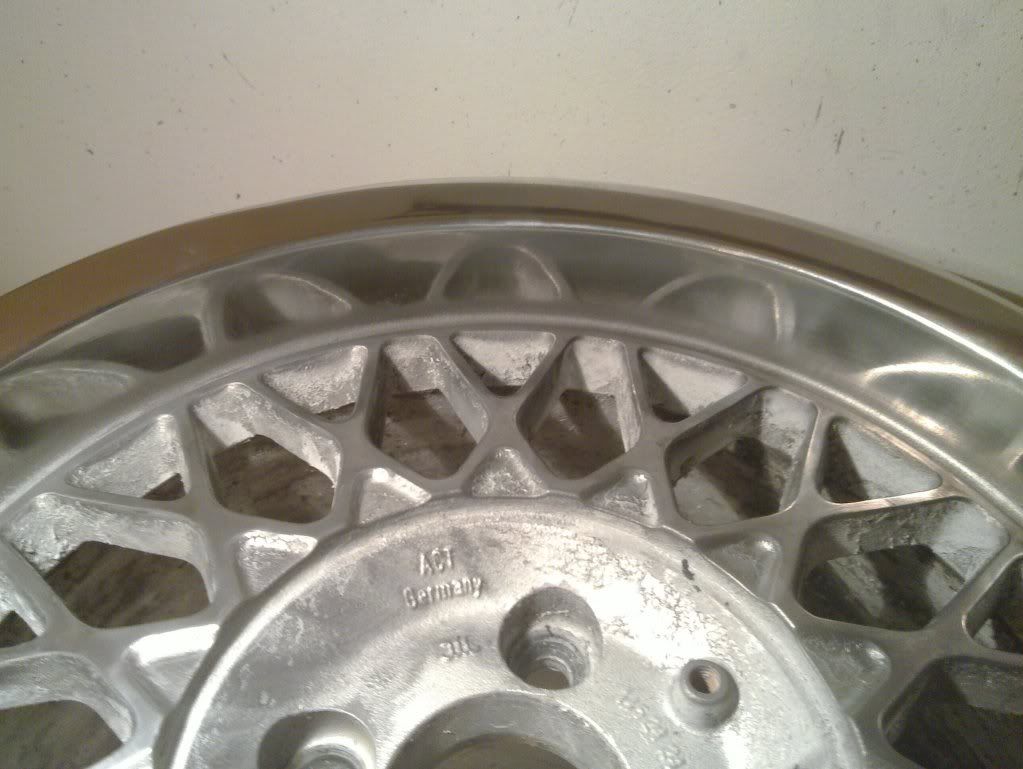
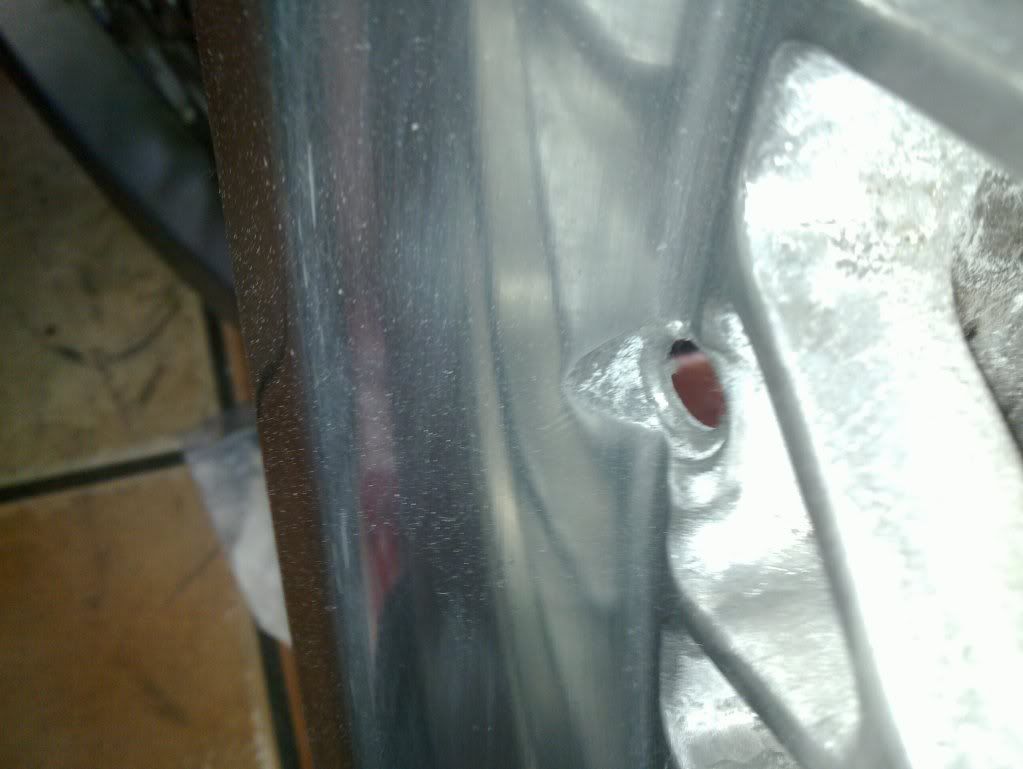
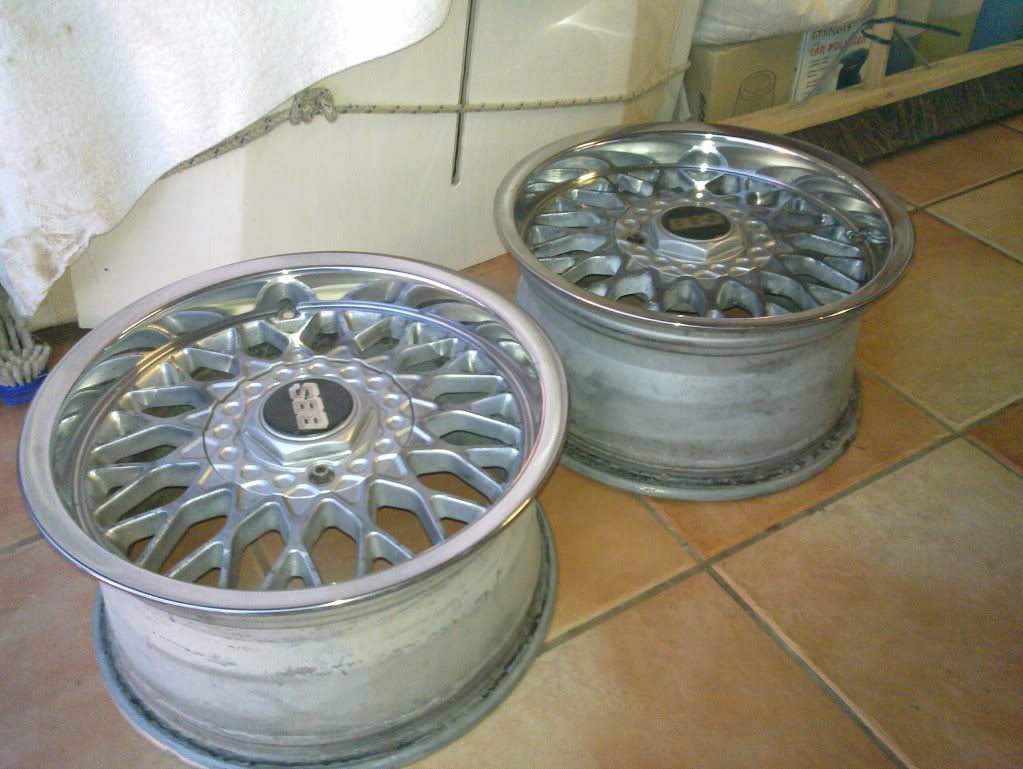
I have already started to turn my attention to my Ronal LS wheels. The paint had chipped and they were starting to look quite tatty. While I was looking around the net for refurb ideas, I stumbled upon this pair of Ronal LS
:wub:
So the refurb process began!
I gathered all the equipment
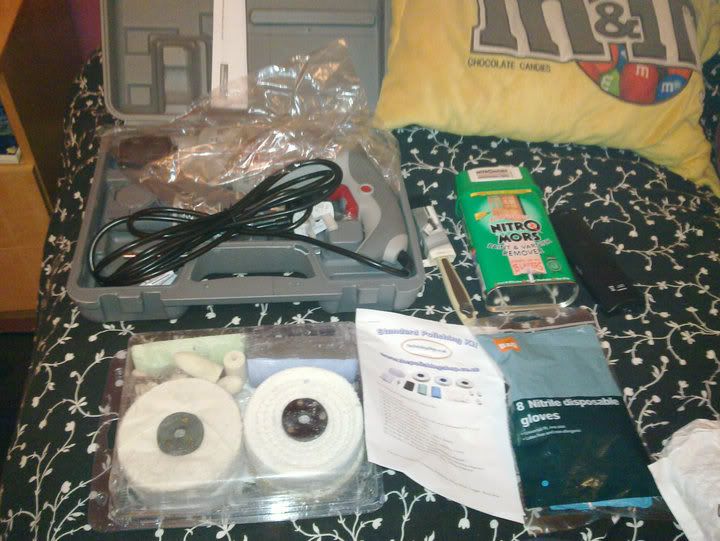
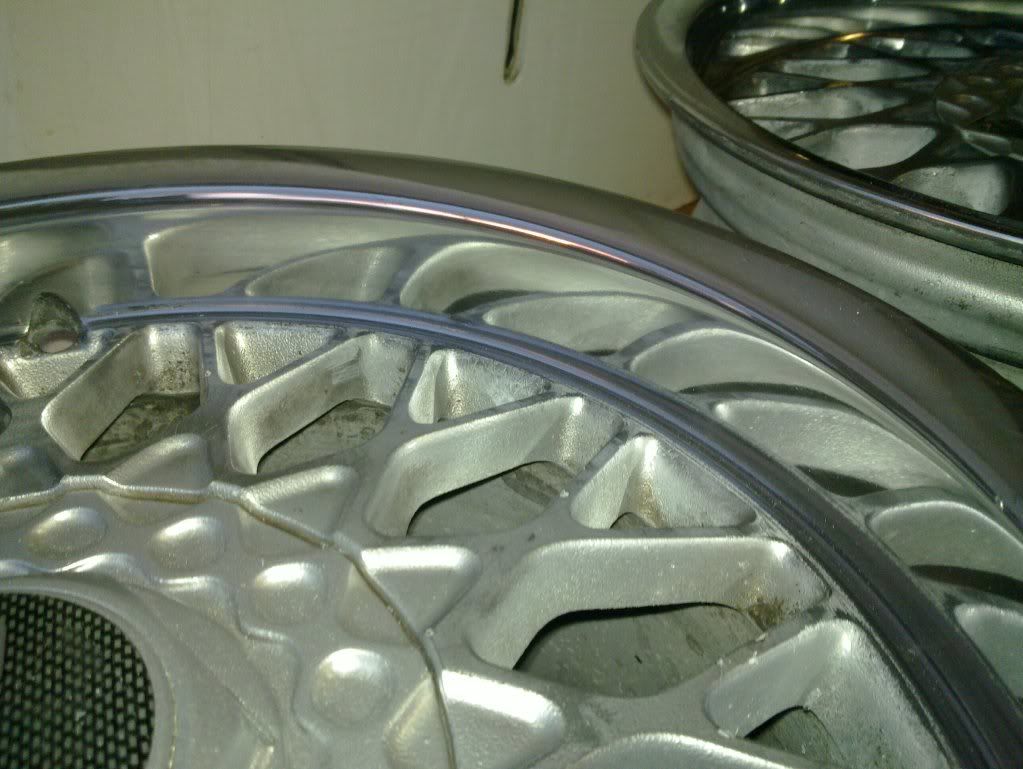
Started to stip the paint
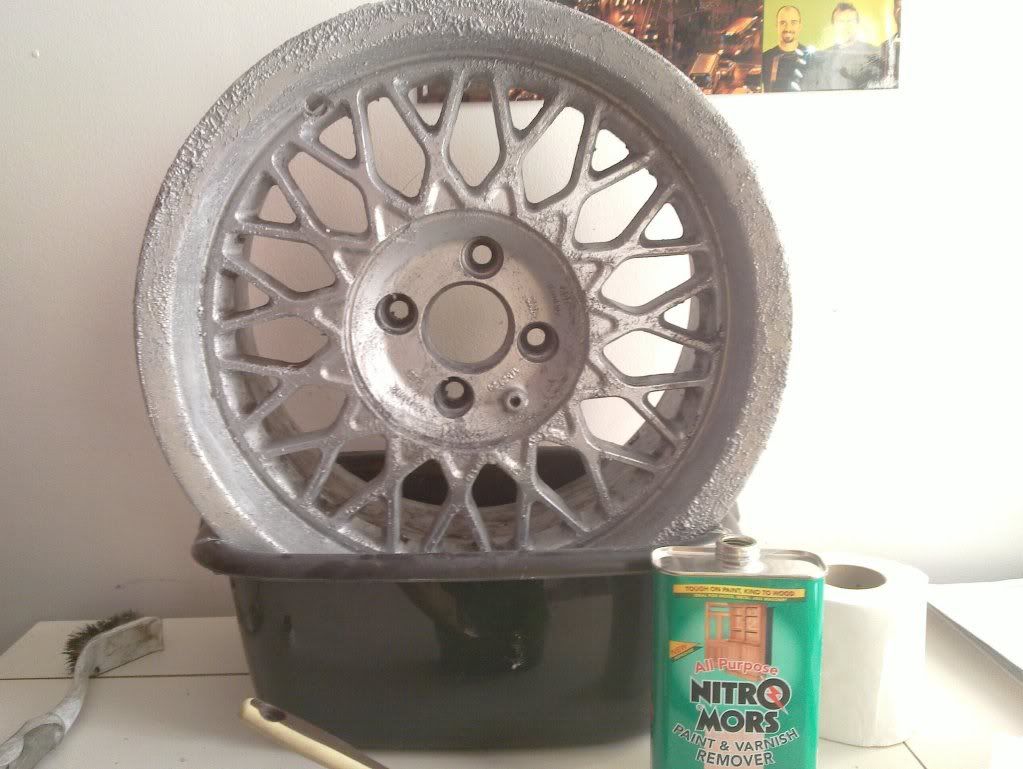
Lots of sanding
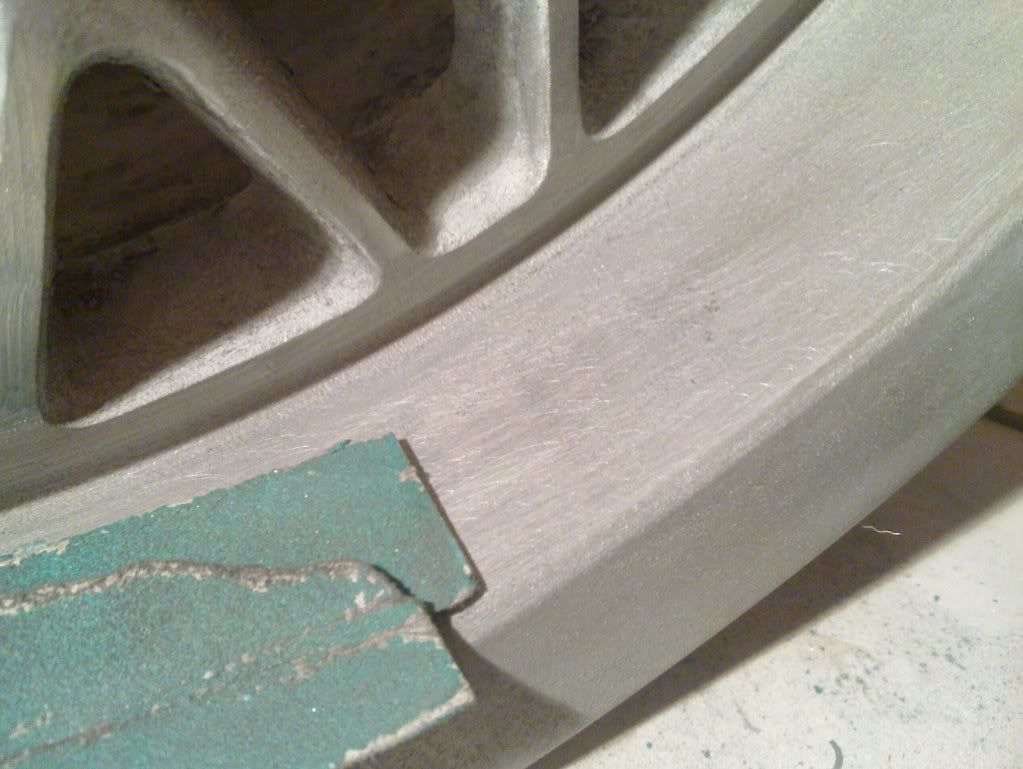
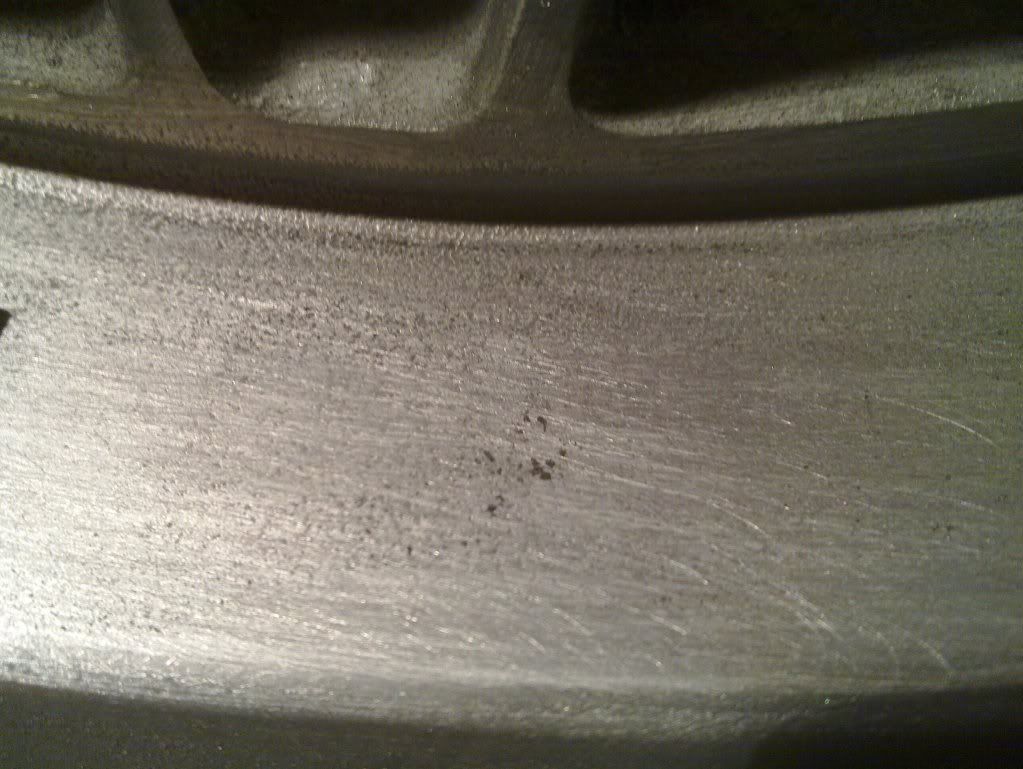
First pass with a fairly abraisive compund wax
Unfortunately I had to stop at this point.... My univerity room is not a workshop and the mess made by this polishing process is VERY messy, needless to say the Mrs wasnt too happy when she saw the mess and the state of me 

More updates as/when the work commences
[Edited on 11-03-2011 by Rob E]
[Edited on 04-04-2011 by Rob E]
[Edited on 25-04-2011 by Rob E]
[Edited on 08-06-2011 by Rob E]
[Edited on 10-02-2012 by Rob E]
[Edited on 20-02-2012 by Rob E]
[Edited on 24-02-2012 by Rob E]
[Edited on 26-09-2012 by Rob E]
[Edited on 03-10-2012 by Rob E]
|
derick-sport
Member
Registered: 11th Sep 10
Location: Kendal, Cumbria
User status: Offline
|
looks good pal like these little beautys on the sly
|
Rob E
Member
Registered: 1st Jan 06
Location: Madeley, Stafford....I want to live back in Wales!
User status: Offline
|
Cheers mate, They are such a capable chassis, no turning back after you have driven one properly!
|
pow
Premium Member
 Registered: 11th Sep 06
Location: Hazlemere, Buckinghamshire
User status: Offline
|
love it
|
Rob E
Member
Registered: 1st Jan 06
Location: Madeley, Stafford....I want to live back in Wales!
User status: Offline
|
Cheers pow Any luck finding one yet?
|
Ant B
Member
Registered: 4th Jan 09
Location: Woodford Halse, Northamptonshire
User status: Offline
|
when you brush on nitro mors how do you remove it after
|
pow
Premium Member
Registered: 11th Sep 06
Location: Hazlemere, Buckinghamshire
User status: Offline
|
Yes Rob, found a UK one with low miles very local, going to look tomorrow
|
Rob E
Member
Registered: 1st Jan 06
Location: Madeley, Stafford....I want to live back in Wales!
User status: Offline
|
Ant - once you have used nitromors it pretty much falls off, a light going over with some abrasive sand paper was enough for the lip, I used a mini flap wheel on a dremel for doing around the spokes.
Pow - Pics if it comes home please
[Edited on 08-02-2011 by Rob E]
|
Dan295
Member
Registered: 9th Oct 06
Location: London
User status: Offline
|
smu motorsport vinyl wrap 
|
Whittie
Member
Registered: 11th Aug 06
Location: North Wales Drives: BMW, Corsa & Fiat
User status: Offline
|
Fucking Yes Rob! 
When's the supercharger getting fitted?
|
Rob E
Member
Registered: 1st Jan 06
Location: Madeley, Stafford....I want to live back in Wales!
User status: Offline
|
at SMU wrap Dan. If uni fund my standalone management I will make a compromise 
Hopefully be fitted after Easter Alex, Ive got 90% of the parts, I just need a bypass valve from a mini cooper s, a 4-rib fan belt, a couple of cambelt pulleys and make a crossover pipe from the supercharger to the inlet and then I have everything to install a very basic setup. Ideally I want an intercooler on there first but we will see if there is enough money left in the pot come easter for that!
At a later date I plan to add a Megasquirt ECU to her get the best out of the conversion. Uni have also said I can put it on their rolling road to fine tune it too
[Edited on 08-02-2011 by Rob E]
|
Rob E
Member
Registered: 1st Jan 06
Location: Madeley, Stafford....I want to live back in Wales!
User status: Offline
|
Another update, my TRLane Supercharger kit turned up on Wednesday so I set about mounting it all up to the supercharger
Removed the unneeded mini mount
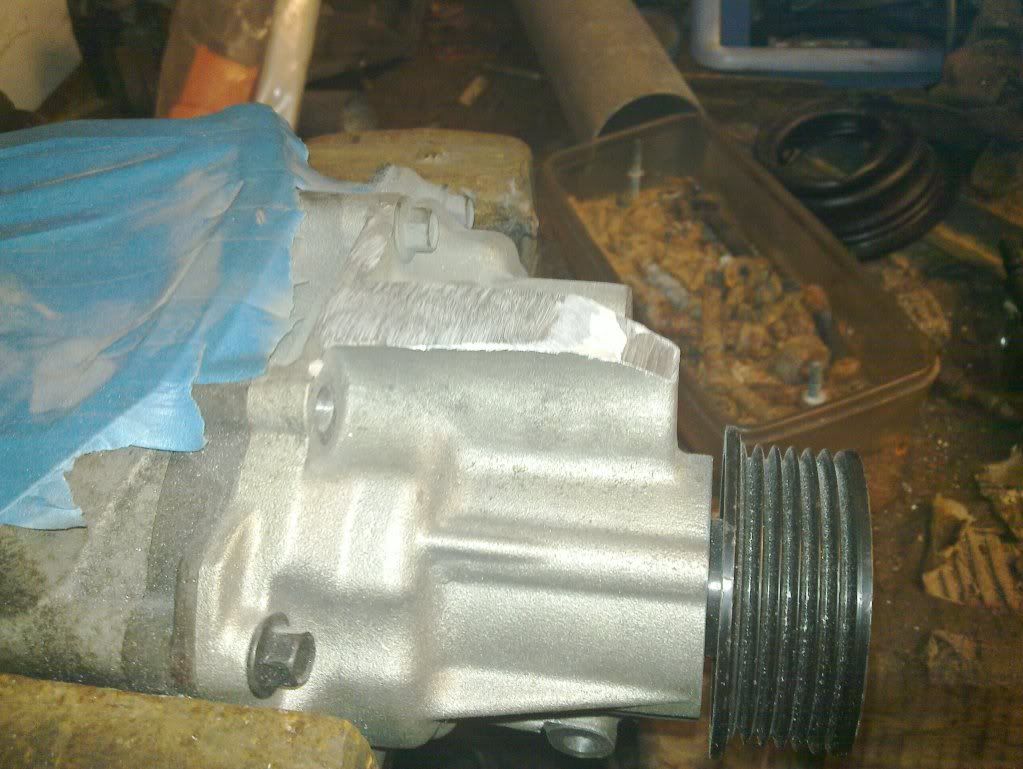
Filed down the intake tract to ensure a nice snug fit for the inlet. The primer that is visible was just overspray so I could determine where the intake tract was rubbing on the intake pipe and needed some fine adjustments to aid easier installation. I then went against the TRLane instructions to dril a 6.5mm hole for the two securing bolts and used a 5.5mm drill bit which provided a nice snug location hole
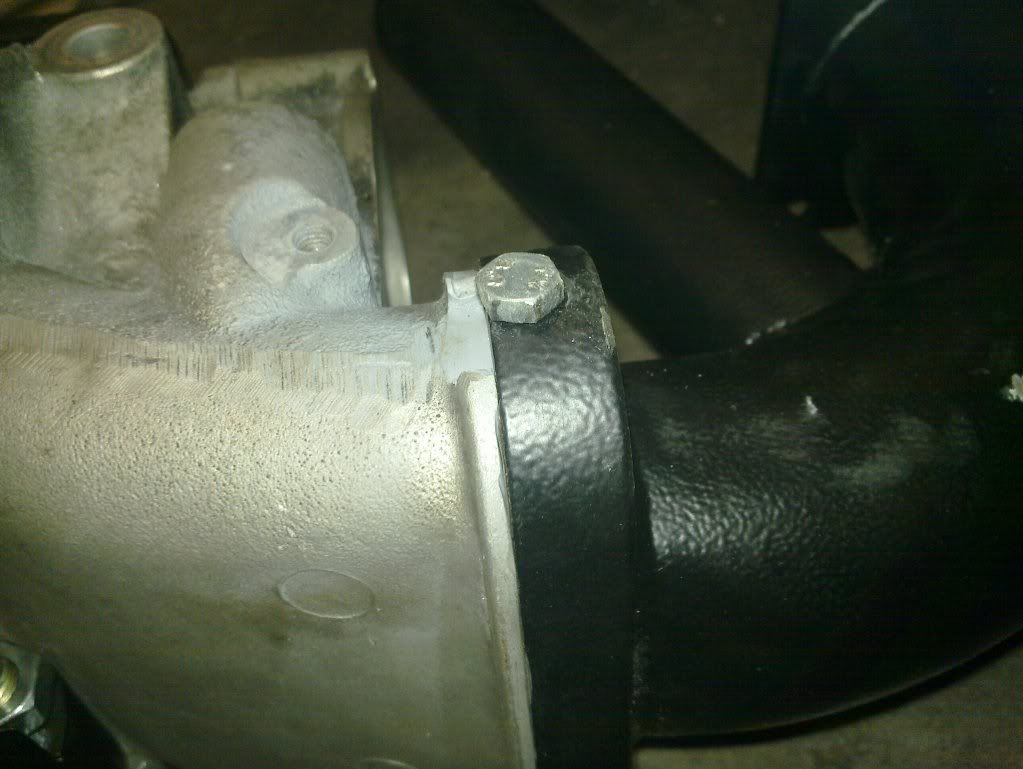
All mocked up I had to make a spacer for the supercharger bracket, easily solved with a 10mm nut between the charger and the bracket
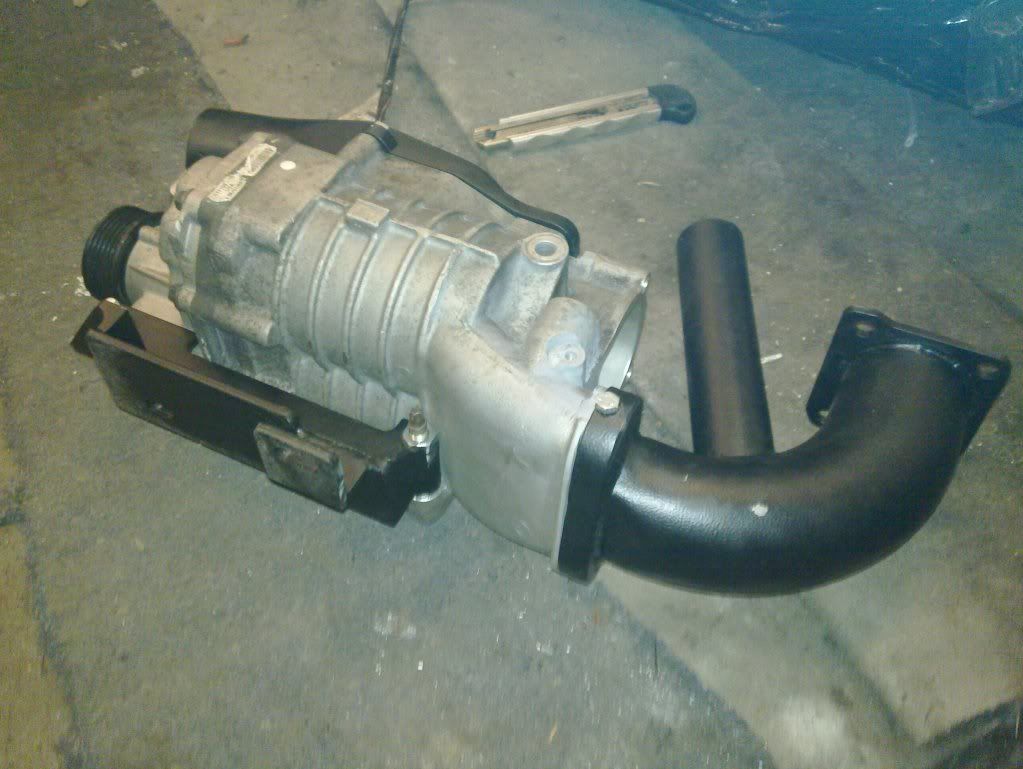
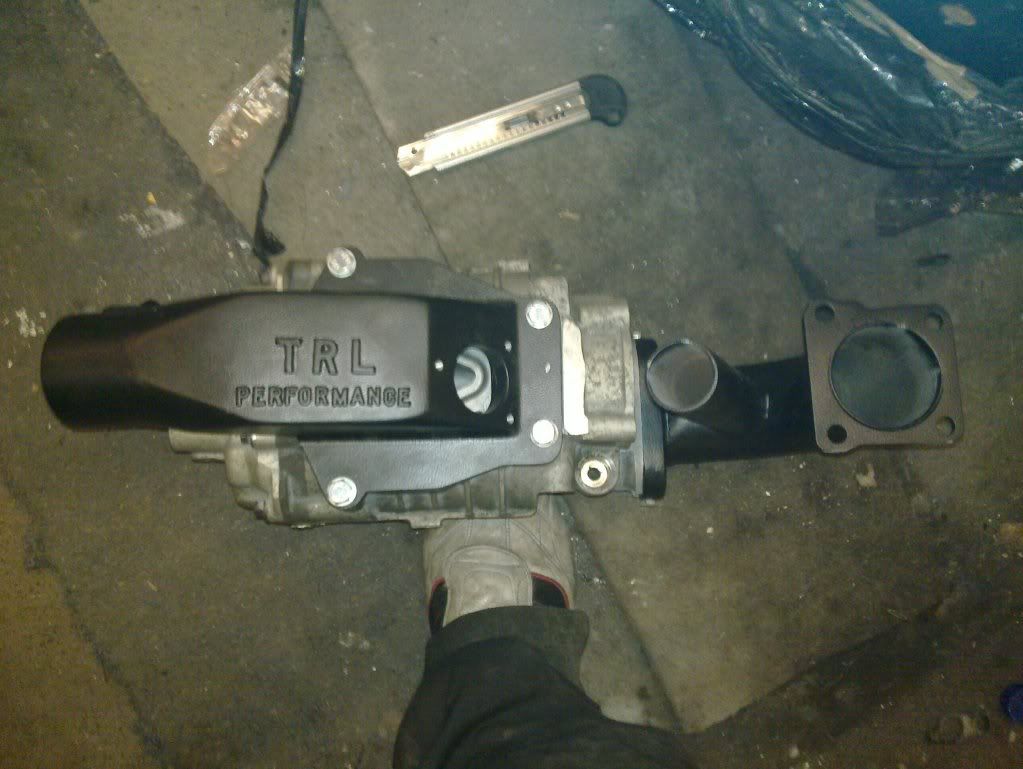
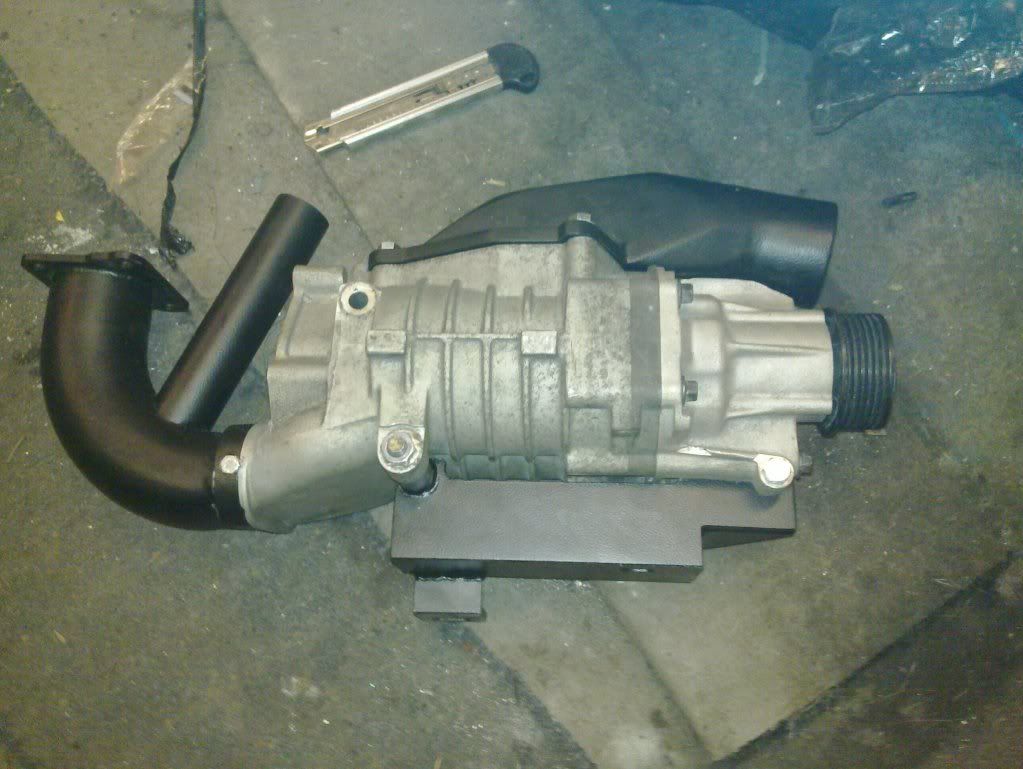
Another step closer to completion
[Edited on 11-03-2011 by Rob E]
|
Rob E
Member
Registered: 1st Jan 06
Location: Madeley, Stafford....I want to live back in Wales!
User status: Offline
|
Well i'm finally back in North Wales and that means I can do some work on the car She hasn't been started since September and started on the button this morning
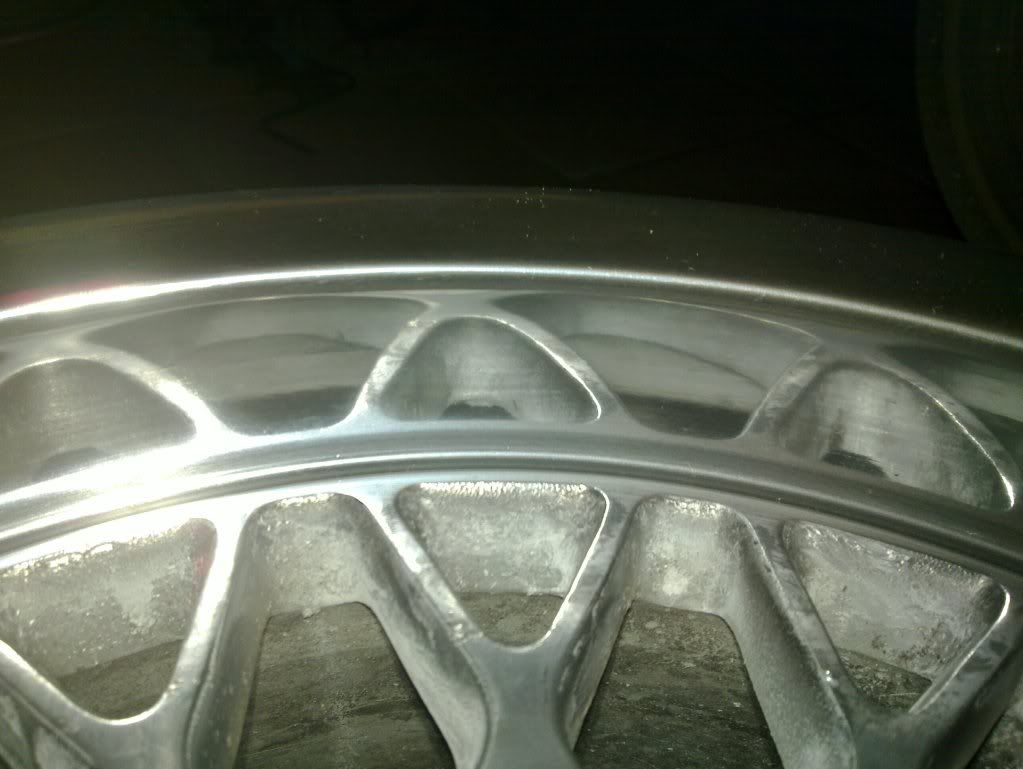
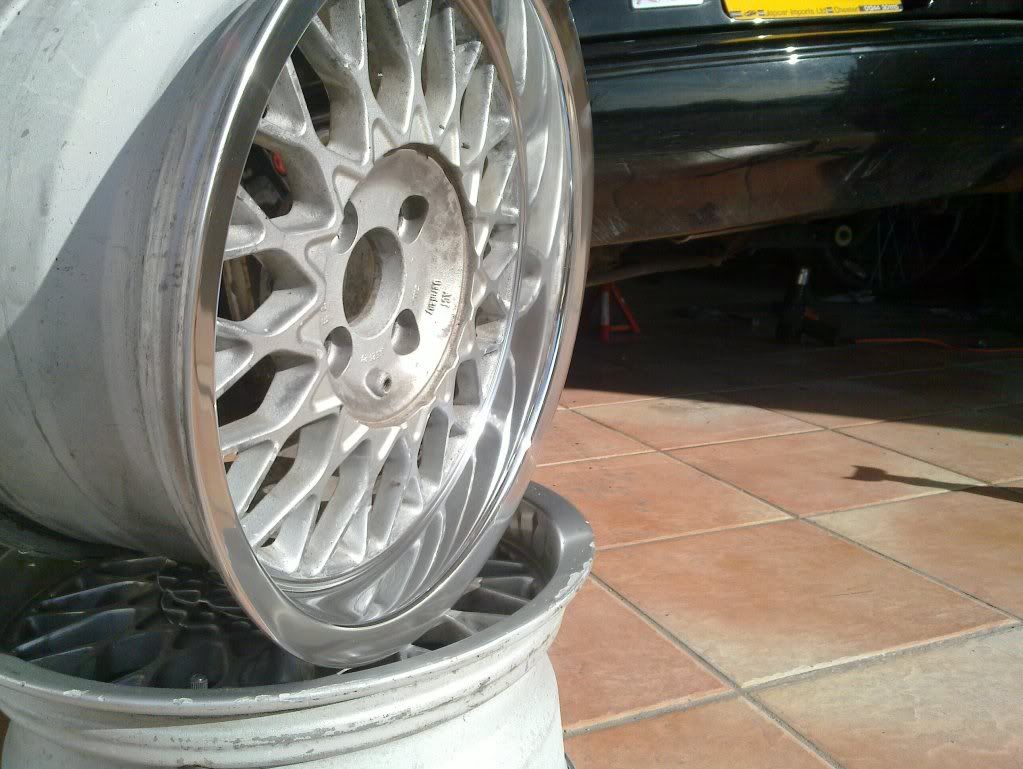
Today I made a start on polishing up the lips on my Ronals, I managed to get the first one finished and the second one needs another couple of hits with two more polishing compounds and then only another two to go!
Check out my lathe
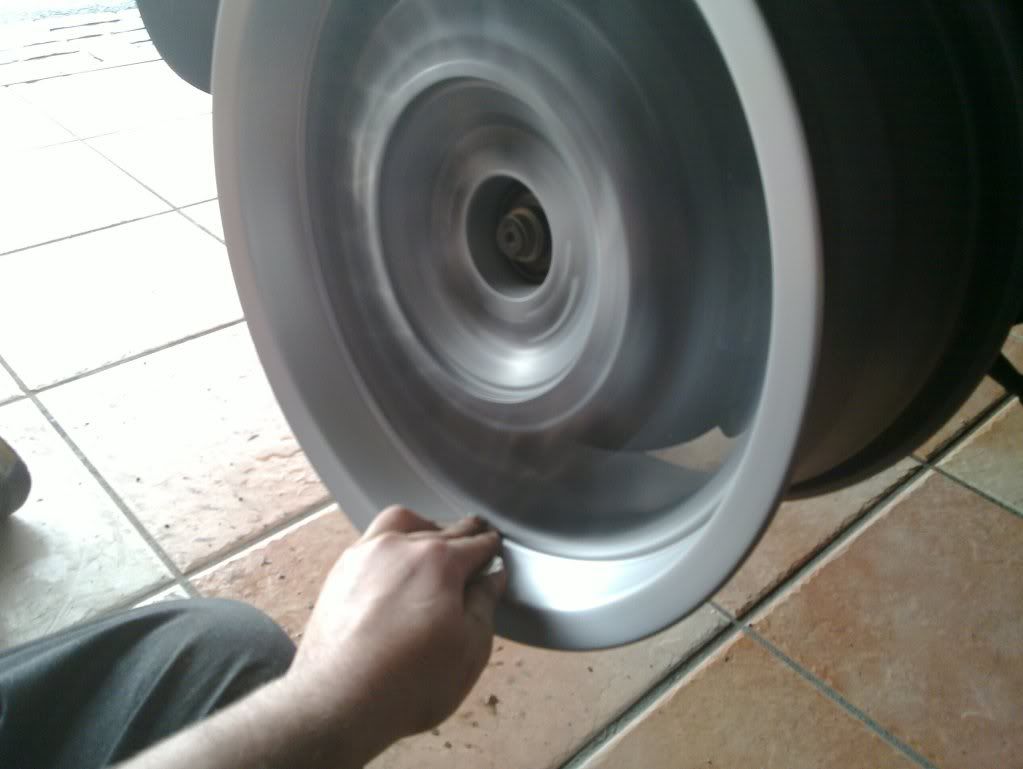
Lots of sanding to remove any pitting, then a hit with a sissal loaded with grey cutting/polishing compound, followed by a hit with a spiral mop with green cutting/polishing compound
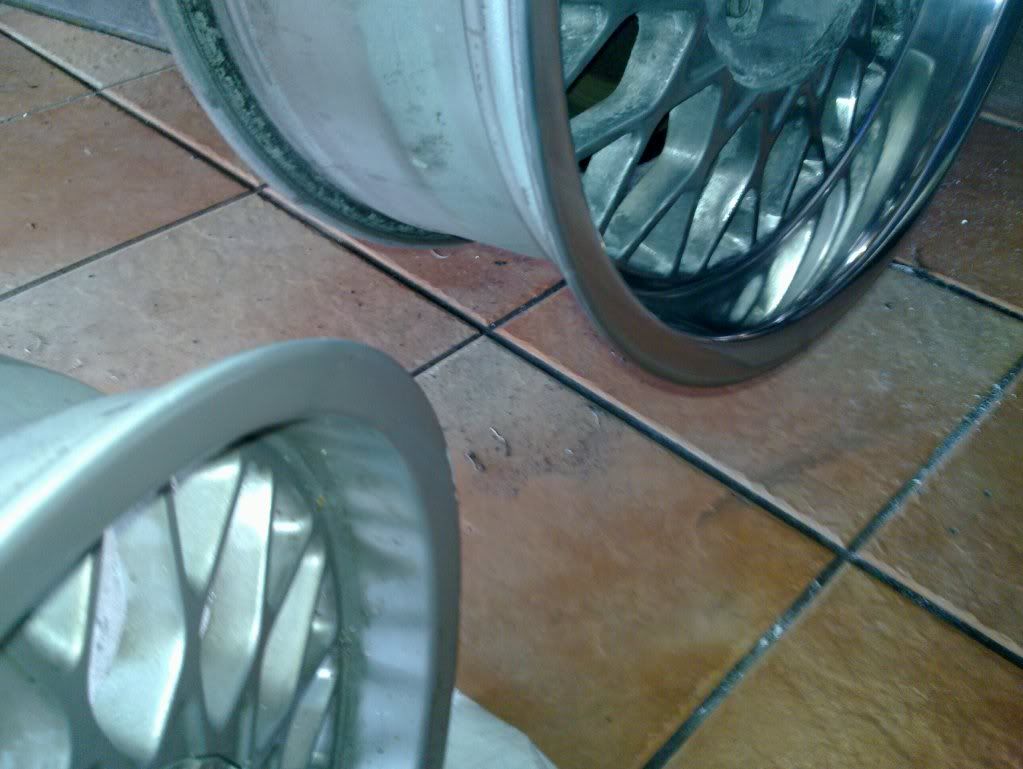
Comparison to show how they started life in my ownership
Random shop mid polish
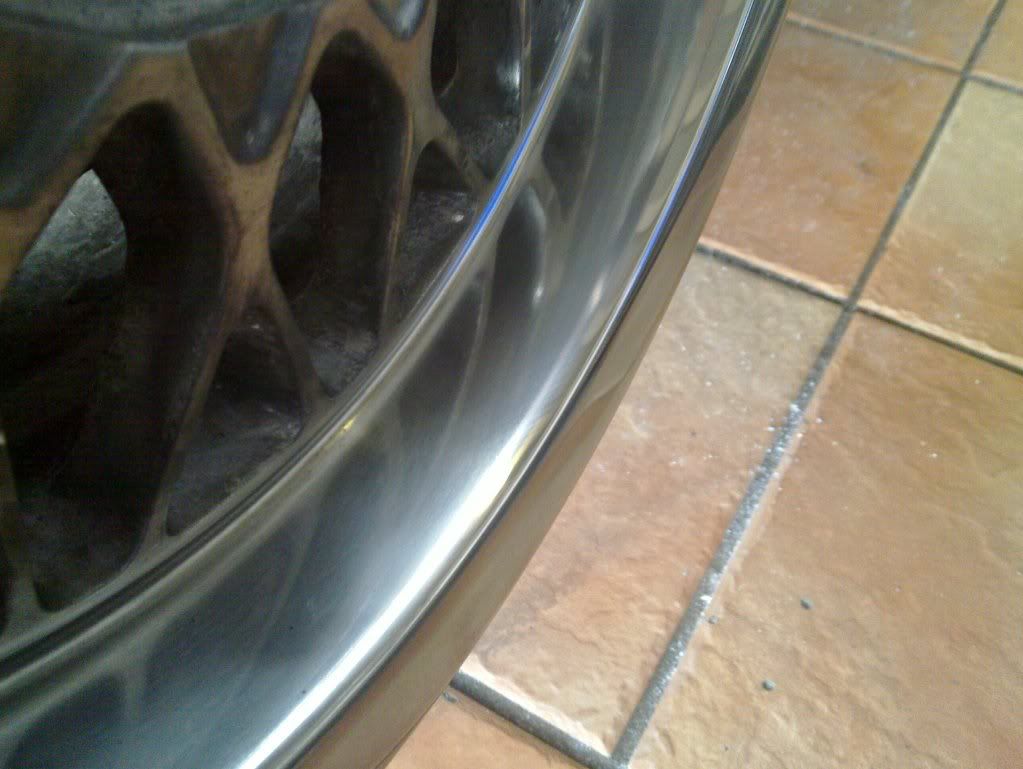
First one finished B)
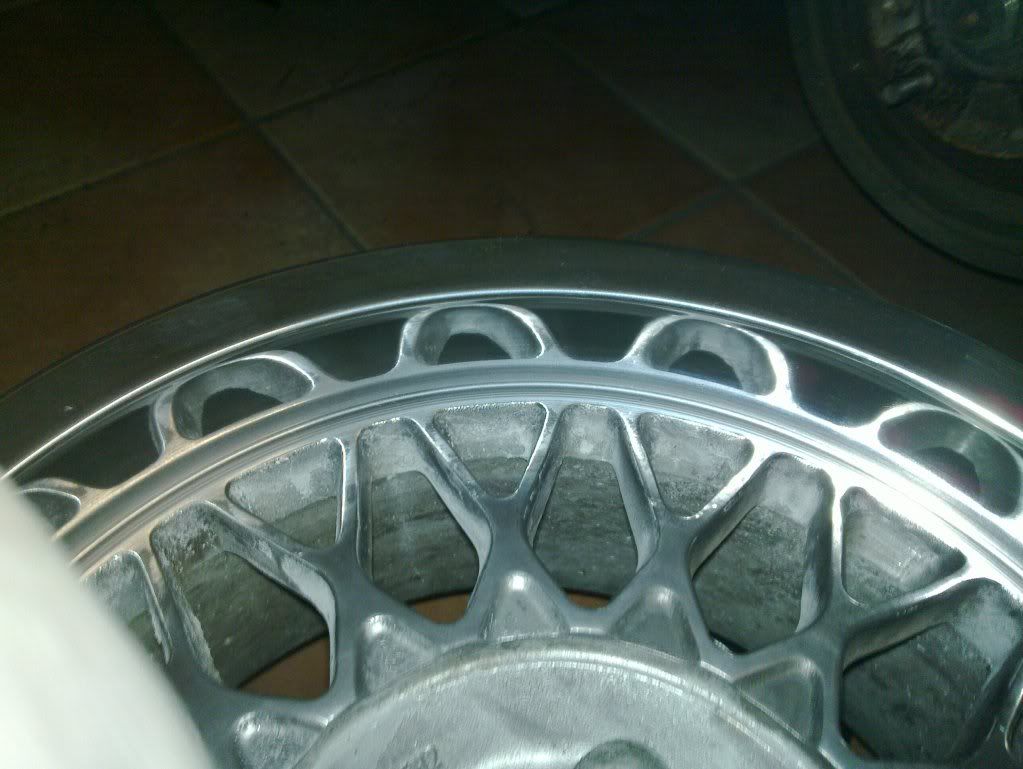
Then a shot of the second wheel half way through the compounding process. I think the second wheel is going to come out slightly better as it looks like I've done a better job with the sanding
I had to pack up for the night then as I (well actually my mum), don't want to upset the neighbours :sarcasm: There is always tomorrow!
If anyone is interested in the method I have used, then here it is using the standard 21 piece polishing kit, and some yellow polishing compound with another loose mop from thepolishingshop.co.uk =
1. Strip the paint off with Nitromors and a pan scouring pad.
2. Jack up one side of the car and support on axle stand, bolt rim to rear of car, put her in reverse and start her up. WATCH YOU FINGERS! The wheels are spinning from here up to step 10. but do stop between stages to inspect your work.
3. Use P120 grit oxide paper until you are happy you have removed all pitting marks etc
4. Next use some P180 wet and dry (used dry) to remove all the sanding marks from the previous stage
5. Use P240 wet and dry (used with water) until all the previous sanding marks have been removed
6. Move onto P400 wet and dry (used with water) until you have removed the previous grade's marks. You should now have a satin like finish when you have wiped up the water.
7. Load up a sisal with some grey 523LBZ Menzerna Polishing Compound and work the compound down. The trick is to not put too much compound on the sisal and mops otherwise you end up clogging the surface you are polishing! I gave the rim two generous going overs with each compound.
8. Take the spiral mop and load it up with green 439T Menzerna Polishing Compound Medium cutting & colouring compound and repeat the above process.
9. Take a loose mop and load with blue P164 Menzerna Polishing Compound General finishing compound and repeat above process.
10. The final polish! I bought this one as it give a flawless finish to your hard work. Load up the loose mop and attack. I found I had to add compound pretty often with this stage.
11. Wipe the polished surface over with a rag and the supplied Vienna lime to remove any excess compound wax then pat yourself on the back and admire your hard graft 
|
Butler
Member
Registered: 2nd Jun 05
Location: London
User status: Offline
|
Got any more pics of polished ronals? Ive got diamond cut BBS RZ on my golf, they are quite similiar but smaller. Always considered LS on my car since seeing Robins.
|
Rob E
Member
Registered: 1st Jan 06
Location: Madeley, Stafford....I want to live back in Wales!
User status: Offline
|
Not at the moment mate, Just the ones in the thread. I can get a picture of the bare rim sat on the car if its any use?
|
Robin
Premium Member
 Registered: 7th Jan 04
Location: Northants Drives: Clio 182 Cup
User status: Offline
|
TR Lane charger mounts, how much? And what else have you had to get?
|
Rob E
Member
Registered: 1st Jan 06
Location: Madeley, Stafford....I want to live back in Wales!
User status: Offline
|
I paid £410 after a bit of haggling with Tim. If you have the time and tools, there are some CAD files floating around for the mounts but they went a bit hush hush once TR Lane bought the rights to the kit.
So far ive bought :-
Innovate LC-1 (£90)
Supercharger (£120)
TR Lane kit (£410)
Bipes ACU (£75)
JR AFPR (£30)
2nd Throttle body (£20)
Still to buy -
BMW Bypass valve (£50~)
Tensioner pulleys (£30~)
Belt (£10)
and some silicone bends (£40)
I have also got an intercooler to add at a later date but im probably going to wait until I get proper standalone management
|
Rob E
Member
Registered: 1st Jan 06
Location: Madeley, Stafford....I want to live back in Wales!
User status: Offline
|
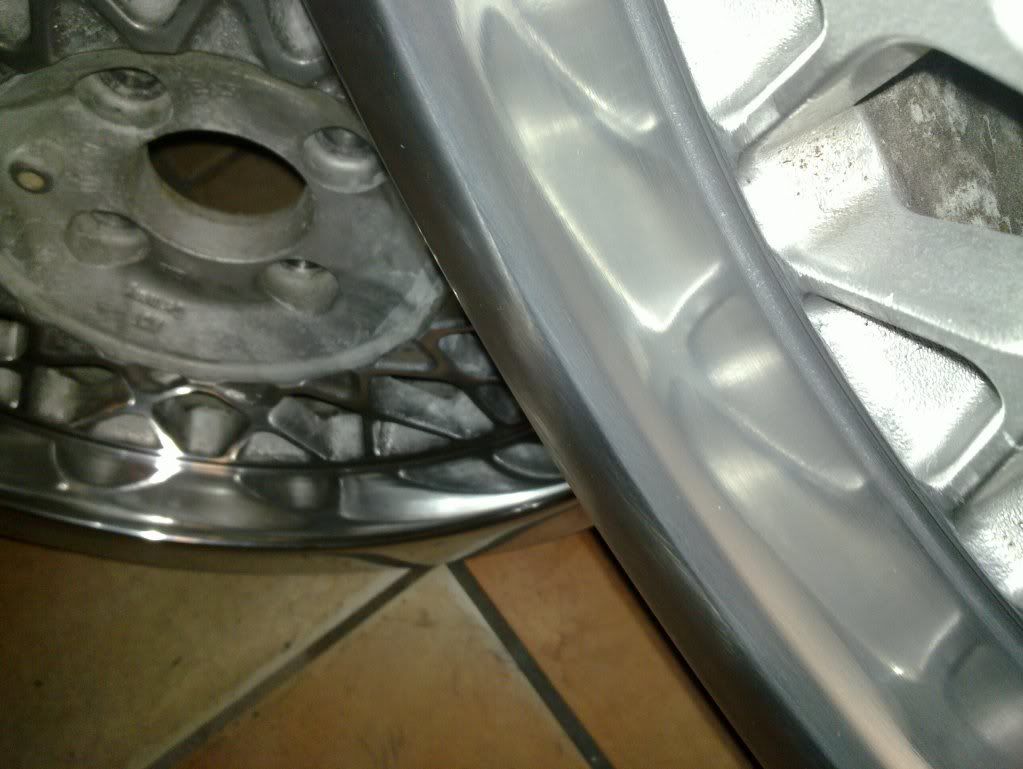
Well so far so good, they are coming up a treat! I have finished the lip on 3 of them and tomorrow should see the 4th one finish.... Ever started one of those jobs you wish you had never started? :trigger:
2 all done
bling
By the end of this afternoons work

Wheel number 3 sat in the sun
I've decided to go gunmetal grey with the centres too so thats the next stage after polishing
|
Robin
Premium Member
Registered: 7th Jan 04
Location: Northants Drives: Clio 182 Cup
User status: Offline
|
I think what you really want to do next is another set of wheels 
|
Chris F
Show Staff
Organiser: East Anglia
Premium Member
 Registered: 26th Dec 05
Location: Newmarket Drives: Escort Van 1.8
User status: Offline
|
Looks awesome mate!
|
Rob E
Member
Registered: 1st Jan 06
Location: Madeley, Stafford....I want to live back in Wales!
User status: Offline
|
Cheers Guys, Its not too bad I suppose, just time consuming more than anything. Are you planning on polishing up the Advans Robin?
|
Robin
Premium Member
Registered: 7th Jan 04
Location: Northants Drives: Clio 182 Cup
User status: Offline
|
Lips need doing but I can't find the time, centres will be painted.
|
flybikeslee
Member
Registered: 2nd Jan 07
Location: Liverpool
User status: Offline
|
bossssssssssssss
|
Rob E
Member
Registered: 1st Jan 06
Location: Madeley, Stafford....I want to live back in Wales!
User status: Offline
|
Are they already polished Robin? If so just give them a going over with some compound and a wheel on a drill - done in no time!
|
Rob E
Member
Registered: 1st Jan 06
Location: Madeley, Stafford....I want to live back in Wales!
User status: Offline
|
Another little update - The car is now down with me in Swansea but its not on the road just yet. I took her down from North Wales a few weeks ago on a set of trade plates with the roof down the whole way in the sunshine - Oh how I've missed it!
Now back in Swansea, she is securely locked up in the garage awaiting the supercharger to be fitted. I have ordered a couple more pieces this morning and now all I have left to buy is the bypass valve, belt and piping to make an inlet tract. :dance:
I fitted the TDR Hestshield I had from the group buy guitarjon kindly arranged (Thanks again mate, brilliant service on your behalf :clap: ) and have just ordered a few bits and bobs to go with the charger and other maintenance jobs I've kept putting off. £78 of my hard earned has gone to MX5Parts this morning for a couple of cambelt pulleys, lower shift boot, nylon washer and a replacement electric ariel mast...and the £9.95 P&P :ghey:
Next step is to sort out a belt for the charger. I've got a 1.8 with PAS and A/C running a standard Mini charger with stock mx5 cambelt bearings for the SC tensioner. If anyone is running a similar setup I would be grateful if you could let me know what size belt you are running
Thats if now, hopefully have some pics to update the thread with next update
|


