kedowan
Member
Registered: 8th Oct 11
Location: Irvine
User status: Offline
|
This is fucking awesome, sure I've seen pics before from Connor or Liam which I'm guessing is your mates! haha
|
Sam_Sri
Member
Registered: 19th Sep 14
User status: Offline
|
Cheers mate! Hopefully will have some awesome updates over the winter. Yeah they are, only Vaux nutters in our area haha.
|
Jason x
Premium Member
Registered: 19th Apr 13
User status: Offline
|
Just read through the thread on TheCorsa, very nice project car looks ace
Only thing i'd change is the front lights to some smoked depos
[Edited on 25-09-2014 by Jason x]
|
Sam_Sri
Member
Registered: 19th Sep 14
User status: Offline
|
Thanks mate, will wait till irmy aprons are on and then decide between morettes or smoked depos.
Anyway I though i'll start summarizing 4 years of ownership:
Modifications carried out roughly in 2010:
First changes were rear de-badge, front fli door speakers, stubby areal, aero wipers and a compact sub.
After that managed to pic up these beauts for 70 just needed new tires!


off to get some tires!
 went for a 45 profile, thought wheels looked odd with the plastic bumpers so got some facelift ones asap! went for a 45 profile, thought wheels looked odd with the plastic bumpers so got some facelift ones asap!
picked up the facelift bumpers from reclemet:

Popped to a garage round the corner from me and they sprayed them both for £175 which i thought was pretty good?? as the finish was ace!:


pretty neat behind the rear bumper no rust at all, although there was rust behind the front bumper which i will tackle at a latter stage!
Then got some red and black calliper paint 


Once that was all sorted then came some wind deflectors!

So after the previous modifications decided to get some 8000k hids which luckily have hardly changed the beam pattern, never been flashed by other drivers either:

Then got some vauxhall mud flaps:

The orange side repeaters looked awful so they were next to change for some clear ones  : :


Then managed to pick up an OMP strut brace for 25 quid locally which i thought was great! but didnt really notice much handling difference at all :/

After those few bits things got quiet for a while but then i got bored and decided to get the paint out!
Re-sprayed the strut brace and engine caps vaux flame red:


and the rear heat sheild:


Also decided my car needed more sound so got a sportex backbox which has been great! makes such a decent sound for just a backbox!


And to free up the airflow up front got a pipercross filter and de-restricted the airbox:


|
Sam_Sri
Member
Registered: 19th Sep 14
User status: Offline
|
2011/12 saw the following mods  ... ...
Thanks to Dan Richards these came through the other week 


(Vauxhall sticker was added to the cover the next day)
And thanks to hoppydan got an irmcher splitter, which was so well wrapped took a good 5 minutes to get into :L!

Then time to spray!


Finished product 

Then after much debating 2 weeks ago i ordered the 288mm big brake kit from LMF Vauxhall, took a bit long arriving but was worth the wait  ! !


lovely size difference!

Then on the car  nice filled wheel! nice filled wheel!


New exhaust rubbers

and braided lines 


Also managed to get the new center section on today:


Last summer went for a track day at my local track (Lydden)
Got there and couldnt have asked for better weather  but then we also realised are cars were nothing compared to the majority there haha! but then we also realised are cars were nothing compared to the majority there haha!

Then booked a couple of 15minute sessions and stripped out the bonnet lining, engine cover and front pipe of the airbox just so that everything could stay that little bit cooler!

We then lined up in our group (novice) and the competition didnt exactly match what we had haha!


Then got out on the track 


Awful body roll:


Decided to step up my game with the engine performance 


R6 carbs and custom 14/16xe manifold with Megajolt ECU and loom, also got a spare near complete set of carbs too! 
Picked up a whiteline front anti-roll bar and cavalier rear anti-roll bar. (one of the best handling mods i've done)

Also today came some Gaz rear coilovers! would have got fronts to match but due to price they can wait!

got some rear bonnet raisers and popped them on today, after about 20mins couldnt work out why the bonnet wouldn't line up. After about another hour of re aligning the bolts and various use of washers managed a decent finish 


Finally go round to doing my coilovers, what a mission that was smashing the inner arch to shape  alm: alm:


Wound them all the way down but was rubbing too much :laugh:


Clearance 
But popped them to a more sensible height :laugh:

|
Sam_Sri
Member
Registered: 19th Sep 14
User status: Offline
|
2013 saw the most mods as i really got stuck in especially mechanically wise :
Stainless steel De-cat on 

Getting a nice load of pops and bangs! but with the mild steel system it was so loud which has been cured by a piper s/s backbox with mid section to follow 


The Piper backbox has been one of the best purchases of this car, quiet for having a 4-2-1, decat, straight through, when around town but then gives a lovely sporty (non-boy racer) sound when you go for it!
After nearly 4 weeks and them turning up individually i finally have my apex front shortened shocks.

Got my stainless center section and got that on at a mates garage...

Also some videos for exhaust sound.... Both these were done from a near cold start (car had been running for around 5 mins) and rev to 3k
This is the old system.. with the cat, hoffman centre section, sportex backbox. All mild steel.
SNB21836_zps5c74d8ea.mp4 Video by liquidd_monkeyy | Photobucket
This is the new system. Fully stainless steel manifold back. De cat, non resonated center section and piper backbox.
SNB21841_zps2a866dc7.mp4 Video by liquidd_monkeyy | Photobucket
All comment welcome 
Small update... Lowered the front end at last :thumbs_up: but with awful comfort consequences  alm: cars in the garage atm being checked over but it could just be the front set up being too hard alm: cars in the garage atm being checked over but it could just be the front set up being too hard  . .


Looks tons better but smaller wheels are needed now as there's minimal wheel to arch clearance  alm: alm:


Ordered a few more parts for the carb conversion. New trigger wheel (VR) sensor

And a malpassi fse fuel pressure regulator


2nd time i've used LMF Vauxhall and great service once again 
Next day delivery on my springs and camber bolts!


Can't wait till the weekend to get these on!
Unfortunately had to buy the whole set as couldn't get fronts on their own even after calling up eibach themselves.
Sorted the new springs and camber bolts out, turns out old springs wouldnt have given such a hard ride if bump stops were fitted but i've got the perfect amount of lows i was after now so quite happy 


Break in the weather meant a much needed clean 


Ordered a few little bits that came through the other day....
New powerflex bushes to stop my bumper from melting  alm: alm:

New bulbs to give HID affect (actually work well and would recommend, only £10 posted)

Main breather pipe (chris asterly motorsport) just needs a clean

Paintwork still comes up mint after 19 years :thumbs_up:

Also got rid of the camber bolts and re-tracked car, steering is far lighter now and actually have far more grip, with the suspension and Arbs its like a go kart now 
So lasts nights antics involved this...  alm: alm:

Replaced the track rod end last week but the bolt shat itself straight away and wouldn't tighten or loosen as cats gave me the wrong track rod end with too short a thread  so got the right part for free and then the air grinder came out :thumbs_up: so got the right part for free and then the air grinder came out :thumbs_up:
Also bagged myself gated underground parking this week and can use it when i need to work on my car so that makes things easier 

On the plus side many parcels were received today 
Would like to thank Daniel119 for the quick posted and very well packed lights  

Also would like to thank philip2 (great guy to talk to about modding small and big block XE's) for sorting me out with a solid cam tensioner and bottom end barrings 

Received my expansion tank hoses from autosiliconehoses.com, very pleased with the quality for what they cost!

Also got my trigger wheel for the crank pulley

And from autovaux - Timing belt kit, Headset, Sump gasket, Crankshaft seal:

All im waiting for now are some Ford Motorcraft red HT leads from a fiesta RS turbo then i finally have everything  . Far more expensive then planned but it should be worth it . Far more expensive then planned but it should be worth it  ! !
|
Sam_Sri
Member
Registered: 19th Sep 14
User status: Offline
|
Pretty simple ecu :thumbs_up:

Found out is has the hard cut limit built in 

Checked i had everything:

Also got some ford motorcraft HT leads, ebay bid purchase at £4.66! couldn't believe my luck 

All ready to go!

Sprayed a few bits Monday morning 


Then got down to the action  ... ...
Last night involved stripping everything down:


In a sorry state 

Tonight involved cleaning, opening the ports on the inlet manifold and removing the valve stem seals:


Heads being skimmed tomorrow and will be back down on Friday for rebuild and start on the wiring loom! Fingers crossed everything goes smoothly 
Picture Heavy Update
So after my car sitting like this for a few days:


spent the last 2 days down the garage:
Ripped out the old loom and ECU:

Painted the thermostat:

Modified the oil pick up pipe to fit the new silicone hose:


Popped the head and old rocker cover in the dishwasher:thumbs_up:

New valve stem seals:

Nice surface after lapping in the first valve:

Couple of hours of hard work and 16 valves lapped 

Skimmed head and valve faces re ground:

Opened up/tapered the ports on the inlet manifold:

Inlet manifold on:


Rebuilt Head:

Head and new head gasket on:

New red silicone pipes made up for rear of inlet to heater matrix and FPR/gauge located:


New Water Pump and Solid tensioner:

Water bottle and pipes measured/cut:

Various Parts mock fitted 


Found a 4-2-1 in the yard off a vtec honda prelude and next week will modify the flange to fit as the exhaust ports line up really well 


Need to sort the fuel hoses out properly and i may invest in some proper connectors as im not sure on how safe jubilee clips are :/

Machined crank Pulley, standard of finish is amazing:


1 week to go!!


Nearly there now, wired in the majority of the ECU earlier with an on/off switch and fuse box, just got to wire the fuel pump, coolant temp, oil pressure light and run a switch to the small fuse box in the PIC for the pump.
Tension the timing belt and connect the brake servo pipe then hopefully she's good to go!

We have power!!!! also found the fuel pump wire and tested it, pump held a solid 2.5 psi which will be tweaked to 3psi.
Couple of better pics...


Honda prelude 2.2 manifold made to fit :thumbs_up: 

|
Sam_Sri
Member
Registered: 19th Sep 14
User status: Offline
|
So finished the car 5minutes before leaving for PVS (2013)! tight on time and no testing i braved it!!
Made it home in one piece, no major problems which was lovely! Felt like the hard one paid off and I got some good luck for once!
Met a few members and a massive thanks to sparky for stickers, tigra scuttle and getting my car looking nice and shiny!

Next time I shall try socialise more too haha
Managed to get a few bits done today that I meant to do sunday morning but I was too cold and tired 
Tigra scuttle from sparkyxo (fitted Sunday)

Changed my rear lights 


Strut brace and stainless rocker cover bolts fitted


One of two fire extinguishers fitted 

Not too much to update on as i'm currently doing a 3rd year module for uni in advance
Before PVS got my magnetic sump plug in when i did the oil change 

Slimline fan (corsa air con fan)

Also picked up a facet 2.5-3.5psi solid state fuel pump to help sort out the fueling and as soon as its in we can start on setting everything up :thumbs_up:

Car also reached this the other day, still fresh at nearly 19 years old 

And a few pics of her on the way too and at PVS 
When the carbs fell off  alm: alm:


Beverage top up :thumbs_up:

Recently decided to change the looks and going back to old school with Irmscher parts 
Got a front irmscher apron earlier for my original bumpers. Will get better pics in the next few days


|
Sam_Sri
Member
Registered: 19th Sep 14
User status: Offline
|
And today's post contained.... 
 
Unfortunately 2 of the 4 must have had something on top of them as the very outter edge has slight stress marks in the paint and a chip (bottom of alloy in pic)
Nothing too bad just need to get a can of the paint and blend it in  . Apart from that their in great condition! . Apart from that their in great condition!
Earlier in the week spent a few days starting to refurbish my damaged alloys. First time using filler, hated it but manage to do them alright.
[ATTACH]640[/ATTACH]
[ATTACH]641[/ATTACH]
[ATTACH]642[/ATTACH]
Primed up...
[ATTACH]643[/ATTACH]
[ATTACH]644[/ATTACH]
[ATTACH]645[/ATTACH]
[ATTACH]646[/ATTACH]
Just need to get a paint match and will spray/blend in the primed areas. Once that's done new rubber will go on and the current alloys will be up for sale!
Got round to undersealing everything today 


Would highly recommend the dinitrol spray as it coats perfectly and sets like factory underseal!
Also got the new wheels on 


Really pleased! pictures and the dirt don't do it justice at the moment. Got some sprigot rings on order, bolt covers and need to order some centre caps and it should look spot on 
[Edited on 16-10-2014 by Sam_Sri]
|
Sam_Sri
Member
Registered: 19th Sep 14
User status: Offline
|
Today started off nicely for me 


Can't wait to get these on now! Feel such good quality too, supposedly can't get better for what i need.
I'll also leave this video here 
http://s1171.photobucket.com/user/liquidd_monkeyy/media/car/Car%20after/TRIM_20131117_155251_zpsdc2db1dc.mp4.html
One step closer to remap now:
Few goodies to help:

Holes drilled as decided on a 4 rubber mount bracket:

Covered holes top and bottom with ronseal just for added protection:

Grommets fitted at last:


All fitted: (will get some day pics as looks much nicer then in the picture)

FPR fitted:


Bit messy but can't tidy the hoses up until the alternator is off! Holding 3psi throughout the revs now 
Much smoother around town, still spluttering and hesitation on full throttle between 3-5k but this is down to over fueling not under fueling as the fuel supply is constant now. Pulls hard from 5-7k though.
Next payday will hopefully be Innovate wideband and smaller jets then get the carbs balanced. should be ready for mapping then! Got my mojo back for the old girl now
|
Sam_Sri
Member
Registered: 19th Sep 14
User status: Offline
|
Red wheel bolts fitted:

FPR to carbs braided hose finished and carbs re-jetted:


170's on the left 160's on the right:


Thinking a black bolt will look better here?:


|
Sam_Sri
Member
Registered: 19th Sep 14
User status: Offline
|
Had a chance to get the polish out today and used the buffer for the first time properly.
Used autoglym super resin polish and applied and removed it with the buffer. Saving my meguiars polishes until i have the clay bar kit and wax. Impressed with the result, far more shine then polishing by hand and the finish looks far crisper :thumbs_up:
Only had my phone to hand for the pics:


Also picked up a Nova GTE flywheel 


|
taylorboosh
Member
Registered: 3rd Apr 07
User status: Offline
|

|
Chris C
Member
Registered: 2nd Jan 05
Location: Hemel Hempstead
User status: Offline
|
This is cool !
|
Sam_Sri
Member
Registered: 19th Sep 14
User status: Offline
|
Goodies from the postman today (April/May 2014):

Twin gauge pod (for wideband and fuel pressure)
Tidy alternator bracket off a massey ferguson 390 tractor  (Going to fit the small Denso alternator at the same time) (Going to fit the small Denso alternator at the same time)
Mild steel lambda boss for the wideband
HT lead tidies
1M of rubber braided fuel hose, fancy red brackets, end caps and jubilees to finish of the lines to the FPR
Ordered an Innovate 3844 MTX-L Wideband (Hopefully arrive early next week)
Also found someone to balance my carbs at last    Just need to modify the inlet to get rid of the large brake servo on cylinder 4 and make 6mm brake servo outlets off each cylinder which can also be used for the vacuum off takes for balancing the carbs. Just need to modify the inlet to get rid of the large brake servo on cylinder 4 and make 6mm brake servo outlets off each cylinder which can also be used for the vacuum off takes for balancing the carbs.
Fitted the HT lead tidies straight away and made it look much nicer:

Finished the braided fuel hoses off:
Started with stripping the carbs and alternator then found bolt cutters were the best way to neatly cut the fuel line back.


Sorted the old fuel return hose (now awaiting a breather to finish it off)

Bracketed the hose so it looks neat:


Final result:


Went to fit the alternator but straight away realised the lower brackets were opposite:

Will try work out some custom mounts and get it on.
Quite pleased, much better then before. Need to tidy some wiring up and other leads etc going from engine into cabin, also want to sort a smaller throttle cable. Then onto the next stage of tidying/tuning 
Should have got this a long time ago but its finally here 
[ATTACH]1242[/ATTACH]
[ATTACH]1243[/ATTACH]
Hopefully I'll weld in the boss on Friday and get the rest of it in and running Sunday
Managed to get the manifold sorted already :banana:


Also got the silly nobbly bit cut out of the top:

And the welds strengthened where the honda and vauxhall downpipes meet:

Top flange of the manifold will go vht black and the rest will be wrapped black this weekend along with wiring up the wideband 
Got the Wideband fitted and setup along with the manifold wrapped today 
Started off with painting the flange of the mani:


Turns out the manifold to downpipe gasket I was told would fit didn't and i'm going to order some allen head bolts for the manifold to match the rocker cover. Been told i need M8x25mm?? Also tidied up the wrap after this pic:

Due to how tight the gaps are between the manifold it was best to work bottom up. company that send me the metal cable ties only sent half so couldnt do the downpipe :banghead:

Then onto fitting the wideband:


Gauge holder fitted really nicely and got all the wires tucked nicely out of site:


I went for a drive tonight and took some videos of the wideband and will upload tomorrow. for the carbs being unbalanced and unsure on the correct jet size its not too bad but as soon as i'm off the throttle and at idle it leans out to 21/22.4.
[Edited on 19-10-2014 by Sam_Sri]
|
Sam_Sri
Member
Registered: 19th Sep 14
User status: Offline
|
after a few hours this morning i got rid of a large amount of rust behind the bumper:

Pretty bad:

after half hour with a wire brush i got to this point:

After i used some low grit sandpaper to finish some areas off and applied some Kurust.
For a final coat that will last i used ronseal no rust metal paint with a 6 year protection, started with the crash bar:
rub down:


Coating:


Then onto the sides:


Then the front:


Managed to get 2 heavy coats on as the sun was heating the car up nicely
Rad also turned up, feels a bit cheap (but then again it was £25 posted with 24hr courier) but everything lines up nicely and seems like it should do its job well:


Hopefully my inlets done today, will get some matt black paint for it then get it on!
Massive thanks to Liam tonight for popping round and helping
Rad in, fitted perfected:


We then wired in the fan override switch. Decided to do it properly with a relay etc so the fan can operate like normal then i can activate it when needed:


No clearance issues etc, fitted nice and snug:

Used male connectors on the original fan loom to the new fan and finished them off with heat shrink and electrical tape. We soldered the wires on the fan temp sender, shrink wrapped then electrical taped. Made sure we used nice thick wire:

Fully functioning:
http://s1171.photobucket.com/user/liquidd_monkeyy/media/car/Car%20after/VID_20140328_214247_zps80e9c39f.mp4.html
Fitted the new stat in housing:

Then made sure it was working well:

Opened perfectly  . The painted the stat housings VHT black: . The painted the stat housings VHT black:


Getting there...

Have yet to fully wire in the fan, need to choose a suitable ignition live with a thick enough gauge (if anyone can help)
Also quite tempted to paint the whole engine bay in the ronseal paint, looks far better then in the pictures, dry's even and even matches the wheels  . Not heard about the inlet yet, really hoping i get it back tomorrow :thumbs_up: . Not heard about the inlet yet, really hoping i get it back tomorrow :thumbs_up:
Finished off switch wiring and popped everything back on bar the inlet as i'm still waiting 


Took the ignition live off the CD player loom:

Switch in:


Also tidied up the sub power wire as i came across some bad wiring i did a few years back  alm: alm:


Thermostat in:

Shame a crappy plastic bumper has to cover things up:

Tried cleaning the coolant bottle but what ever has marked it, its embedded in the plastic now. Keeping an eye out for a baileys tank!

2 main coolant hoses really need to go red now as well
Inlets back along with some silicone hoses and paint 


Got some proper loom tape, tesa cloth tape, used in all the german cars, gives a nice finish and doesnt go all horrible like electrical tape:

90 degree bits for the servo, waiting on the t-pieces and one way valve:

New silicone hose for the carbs and servo line:


Got the last bits and finished the brake servo lines. Really pleased with the finish:
T-pieces and one way valve:

T-pieces in then measure the exact length of hose needed:

Hoses and one way valve in:


Really happy:

I'm going to cut back the original servo hose so the red hose sits closer to the bulk head but its a tight gap for a hack saw etc so need some bolt cutters or something.
Can't believe how sharp the brakes are now as well, feels like they've been upgraded again :banana:
Ran the car up to temp, stat opened and it seemed fine (only ran to 92 degrees) but the bottom of the rad is still cold even after some hard revs to try clear it. going to drain the system and test the rad out the car tomorrow to see if it is blocked, should just be an air lock hopefully
|
Sam_Sri
Member
Registered: 19th Sep 14
User status: Offline
|
So I don't have many pictures as they were mobile uploads.
Carried out, Full ignition rewire as one of the wires to the coilpack was crushed so caused a missfire plus most of the loom was cut. Managed to get hold of an uncut EDIS loom so loom wrapped everthing to neaten it up.
Also got pressed metal plates and painted the slam panel to neaten it up.
Rocker Cover on:
Before:


Powdercoated rocker cover:


Cleaned up the surface:


Lining everything up:

After:


Really pleased with the outcome 
Also had to label my cloths as mum started using them to do her windows and car -_-

Least I'm organised for a detail today!
Also after a full rewiring the car was still running dog rough! coil wires were the other way round to before so when we first tried to fire it up it backfired etc. Think some rubbish from the engine got in the carbs at some this point causing the rough running. Then fitted new spark plugs and managed to rebuild and clean the carbs in an hour:

Still a bit rough/hesitant but got slightly better after a drive last night so maybe it just needs a good run.
Also a made the hall of fame in Total Vauxhalls June mag  can't upload any pics from the phone atm so will transfer the picture onto my laptop later can't upload any pics from the phone atm so will transfer the picture onto my laptop later
Pictures from detailing + finishing off for BHP (Pic Heavy):
Paint before:

First time I've used a clay bar on the car before, picked all this up just from the bonnet:

After washing with megs gold class shampoo + using the clay bar:

After using ultimate compound:

After using ultimate polish:

After using the G3 wax:

With plates on too:


On the way to BHP show at 6am:


At BHP (pictures curtosy of Liam, forgot to take picture of my own car at the show  alm: ) alm: )


Bay with painted slam panel, rad brackets and strut brace:


Can't believe how well the paint came up as the cars 20 years old in September! Really pleased with how the car looks at the moment! Give it a few weeks and would have owned her 4 years :O
As for progress this is about it until I'm back after the summer. Plans then include:
..Front end respray + sills and lower passenger door to get rid of all rust and spraying irmscher aprons. Fully stripping and undersealing the underside + rear beam.
..Sending carbs to boggs brothers to be stripped down, checked, cleaned, balanced and jetted.
..Once back full service, Sump gasket, New bottom end shells + ARP bolts.
..Taking the car to either B.D. Engineering to be mapped or to H.T. Racing up brands hatch. Limit set at 7K with hard-cut limiter and hopefully at least 120whp 
Just small things recently, rebuilt coilovers re-fitted, polished the bonnet stay, cleaned a few parts and fixed a washer bottle leak:
Coilovers rebuilt under warranty with new seals and oil:


helper springs back in:

Cleaned the washer bottle and replaced the leaking pipe:


wrapped wires (brown is dirt not rust)


Cleaned up the scuttle:


Spent 20mins with some 1200 and 2000 grit then some metal polish on the bonnet stay:


All together:

Car also made a 150 mile round trip to brands hatch! lost a fair bit of oil as the sump gasket is knackered but keep the level topped up and its alright:


Millage climbed a bit more the other night 

Averaged 6k over 4 years which isn't bad.
|
Sam_Sri
Member
Registered: 19th Sep 14
User status: Offline
|
Loss of water was due too the inlet manifold gasket destroying itself:


I just cleaned both surfaces and used some silicone sealant for the time being. All seems good again.
New parts for the build when I'm back. Ally rad, Battery relocation bits and great condition mats thanks to Mark!


A MASSIVE thanks to Liam for going all the way to pick these up for me. The project will start up again around mid October! Can't wait 
|
Sam_Sri
Member
Registered: 19th Sep 14
User status: Offline
|
This is the whole project up to date (19-OCT-14) For the past 4 months I've been working in San Francisco and came back yesterday.
This week I'll be fitting the rad above, new inlet gasket and then MOT and Taxing the car. Looking forward to driving her after all this time.
Will then plan new small block build and front end/engine bay respray.
Hope you guys enjoy!
[Edited on 19-10-2014 by Sam_Sri]
|
taylorboosh
Member
Registered: 3rd Apr 07
User status: Offline
|
I fucking love this you know - great build
|
Sam_Sri
Member
Registered: 19th Sep 14
User status: Offline
|
quote:
Originally posted by taylorboosh
I fucking love this you know - great build
Haha glad you like it mate! Far too many hours have gone into it, should have some juicy updates soon 
|
taylorboosh
Member
Registered: 3rd Apr 07
User status: Offline
|
Ill keep my eyes peeled
|
Sam_Sri
Member
Registered: 19th Sep 14
User status: Offline
|
Fuel pump and ECU wiring complete:
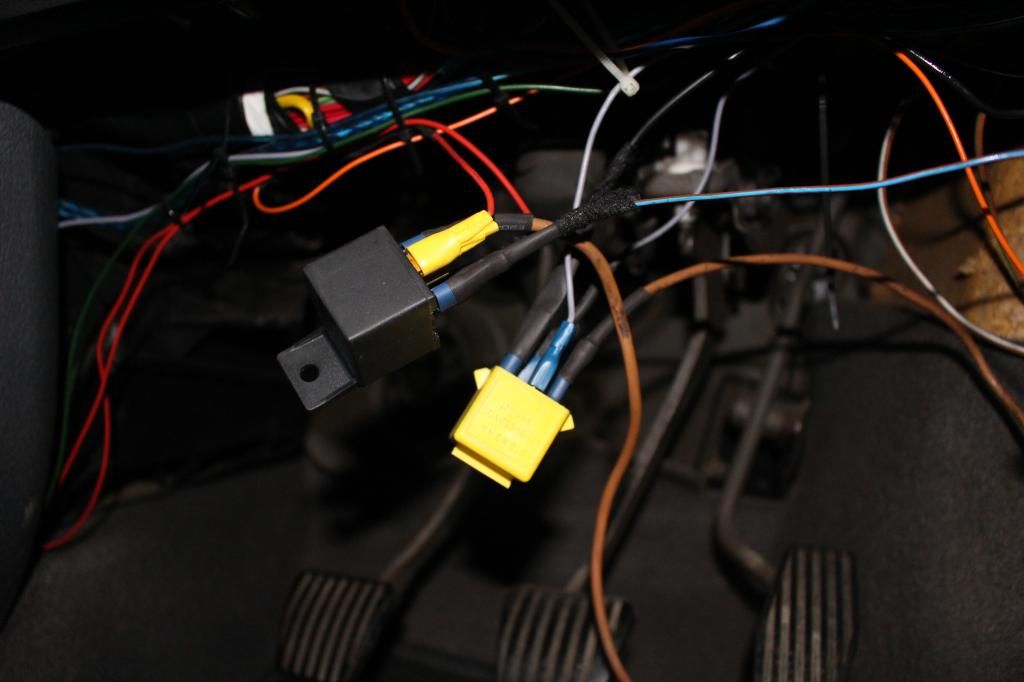
No silly switches just relays, will also buy an inertia switch for the fuel pump. I used two ignition lives off the 9 pin block left over so now for some reason the EML light (Unused by ECU) is permanently on but I think one of the lives splits off to the light.
Also fitted the ally rad, wired fans in and fitted a new inlet gasket at the same time:
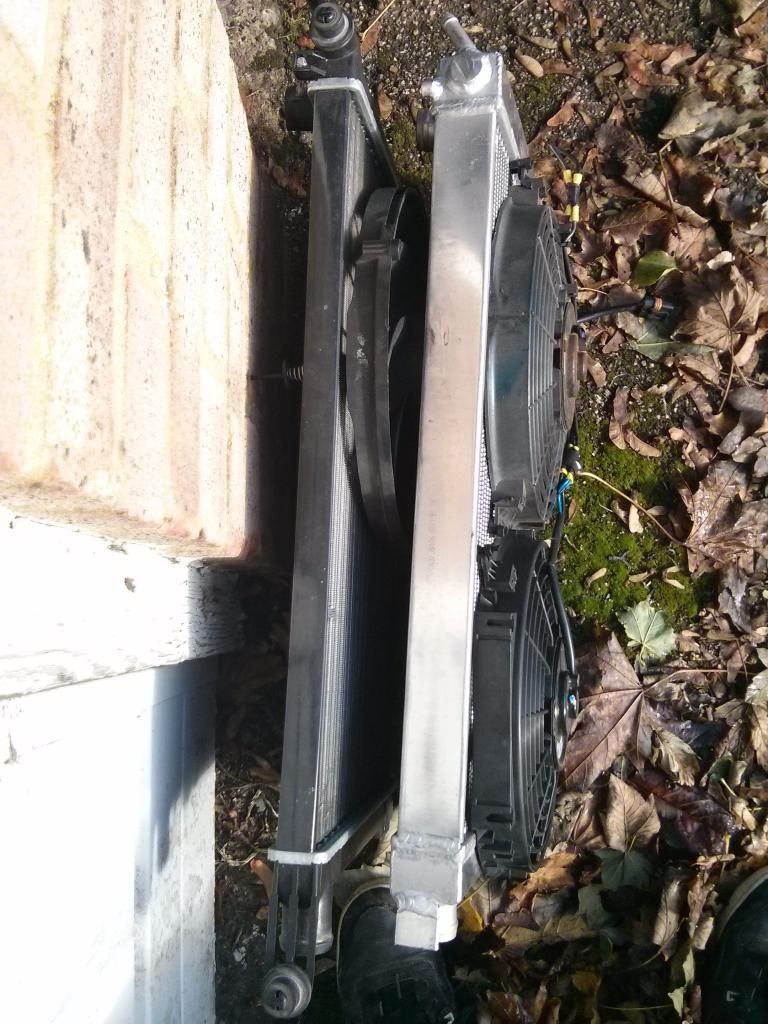
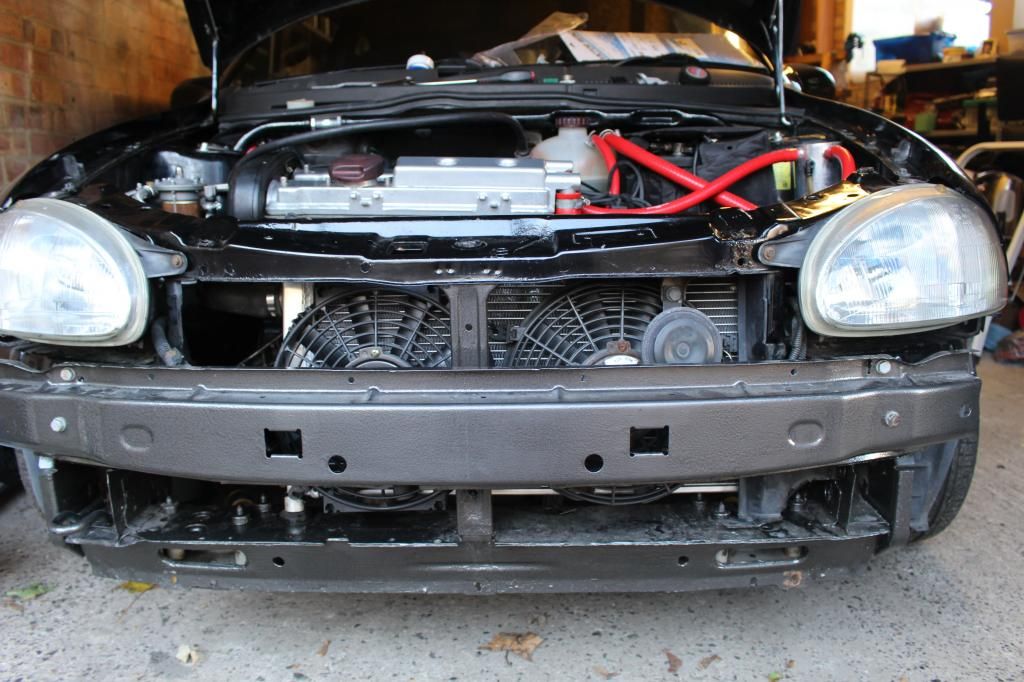
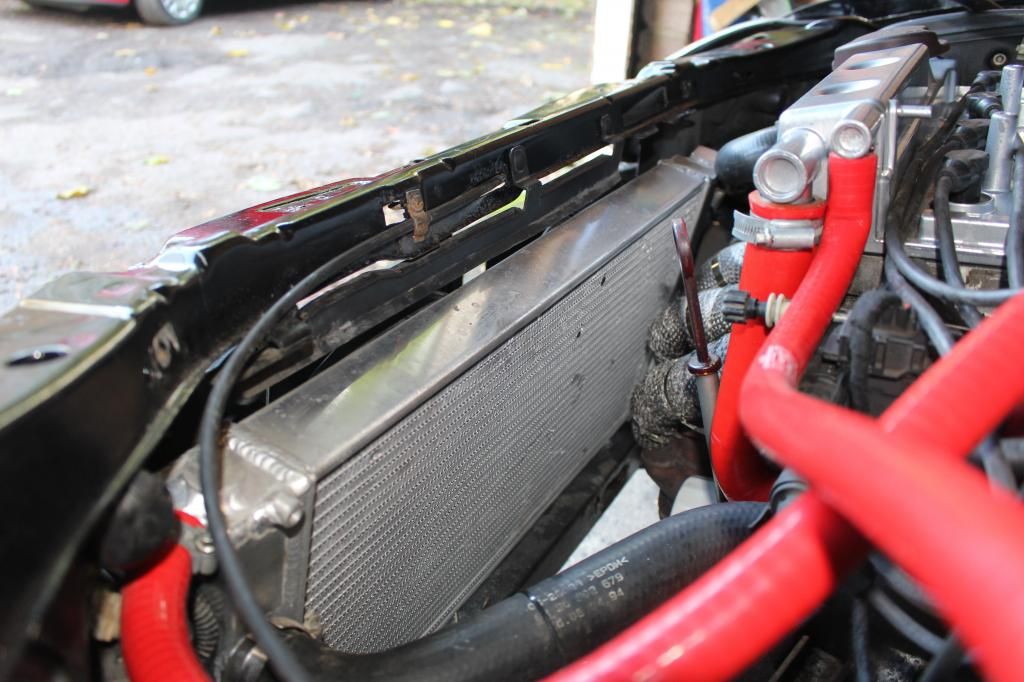
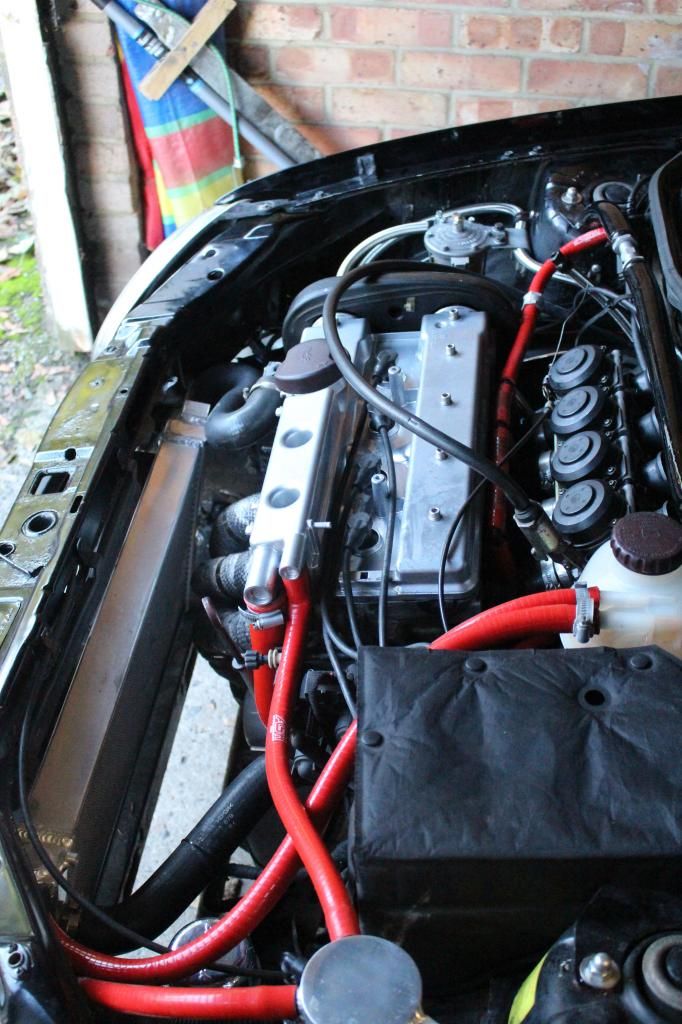
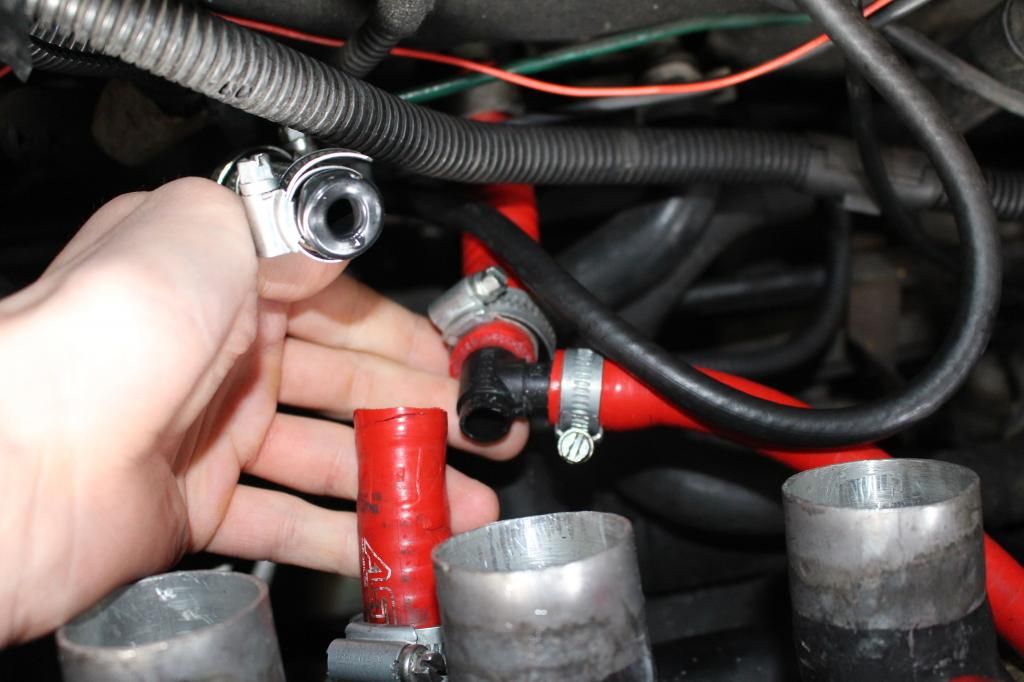
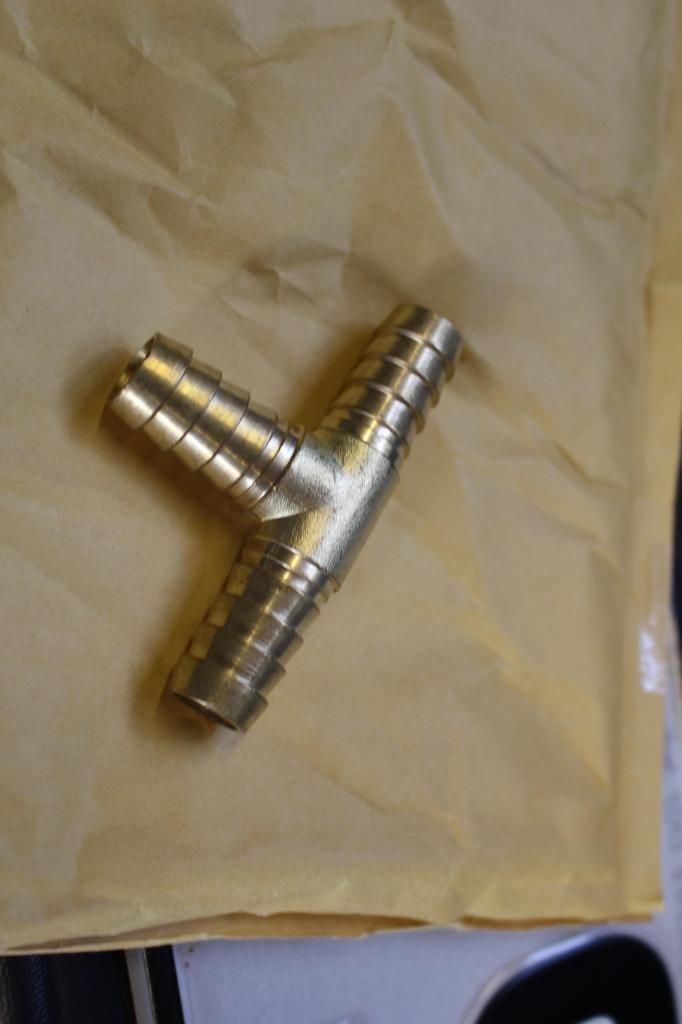
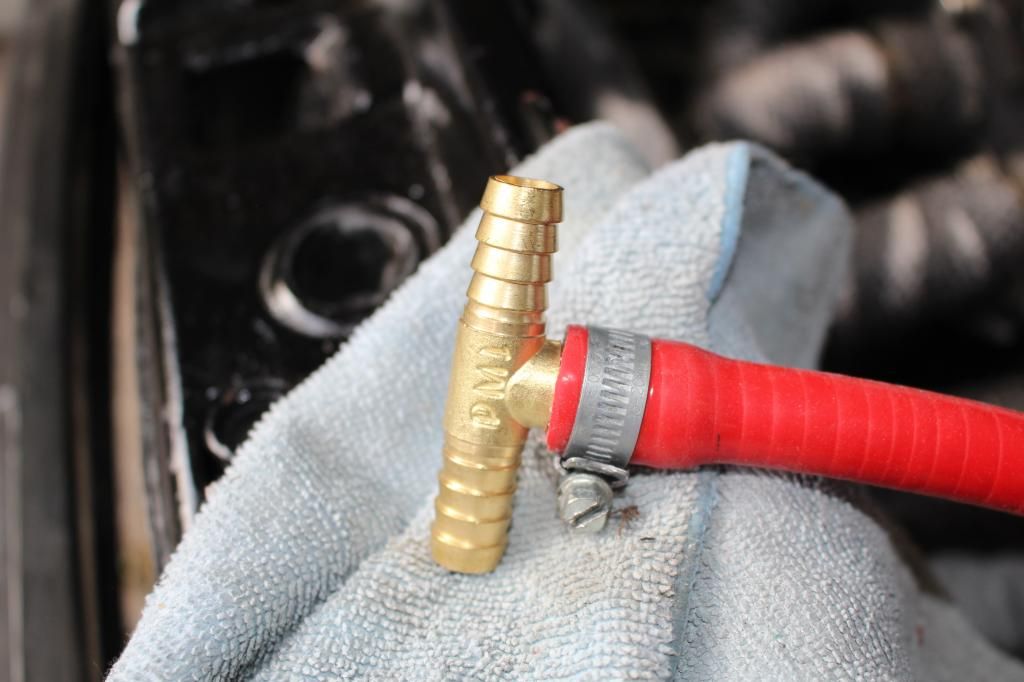
Unfortunately I snapped a t-piece on the water pipes between bulkhead and head so I'm waiting for a brass one to turn up as the previous was plastic.
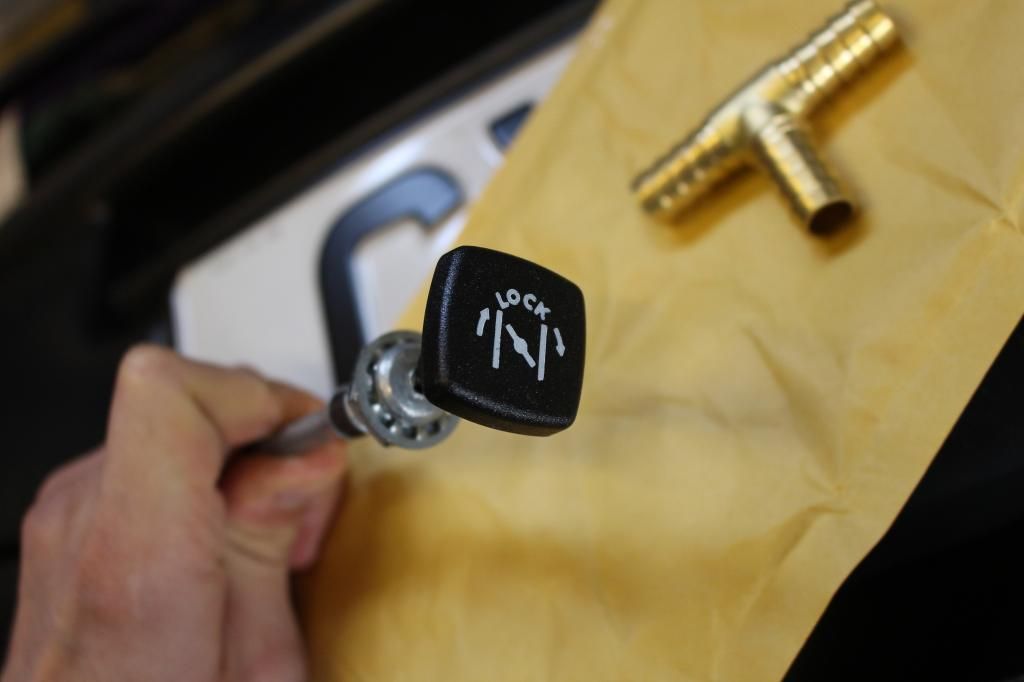
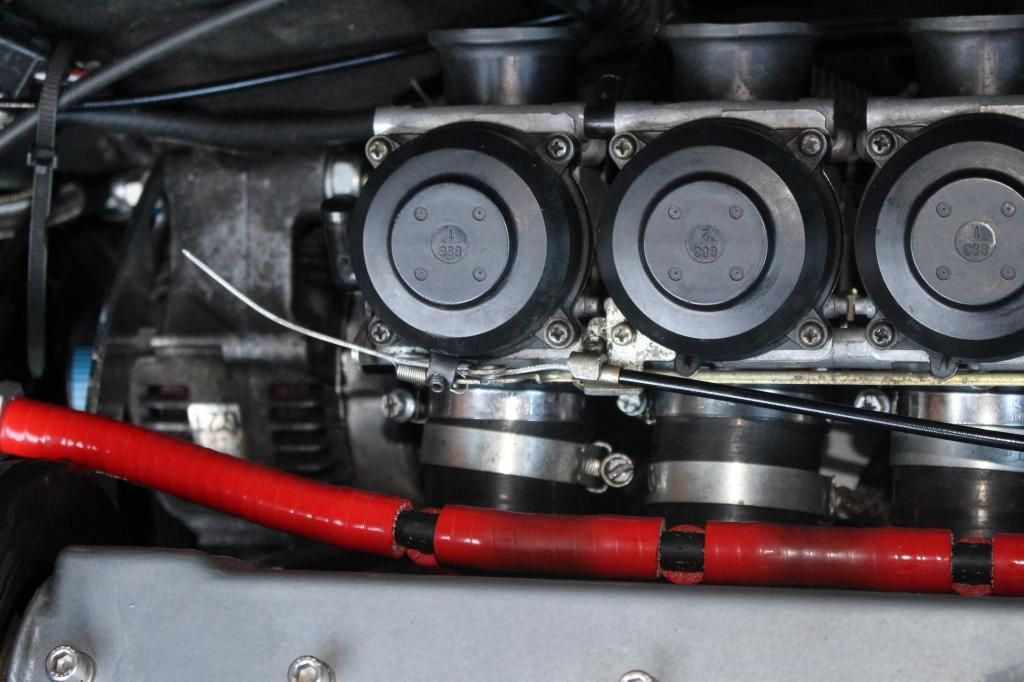
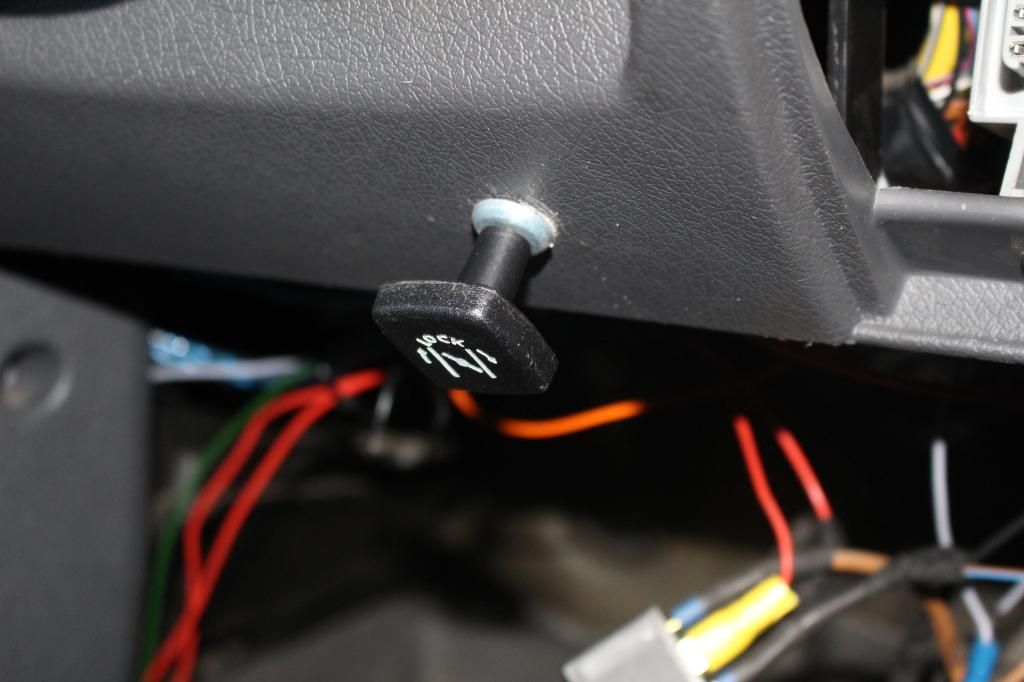
Also ordered a proper locking choke cable which will be mounted in the dash board then the car should be ready for an MOT.
|
Sam_Sri
Member
Registered: 19th Sep 14
User status: Offline
|
Updates from the other week. Replaced the T-piece one the water pipes with a metal one:
New locking choke:
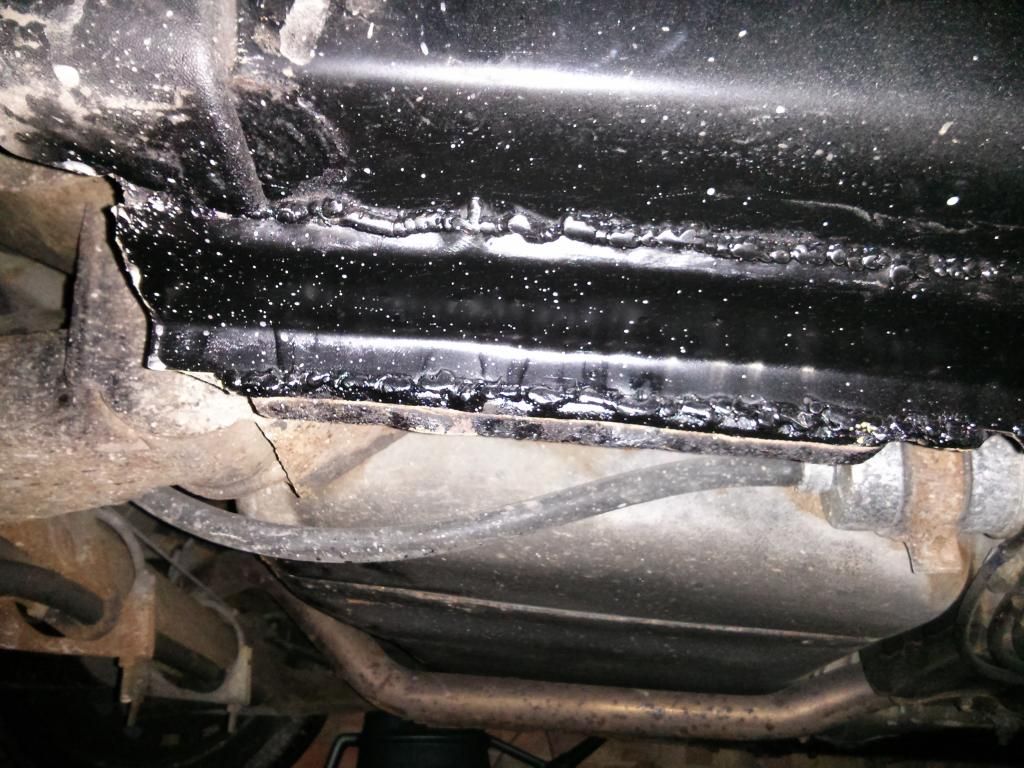
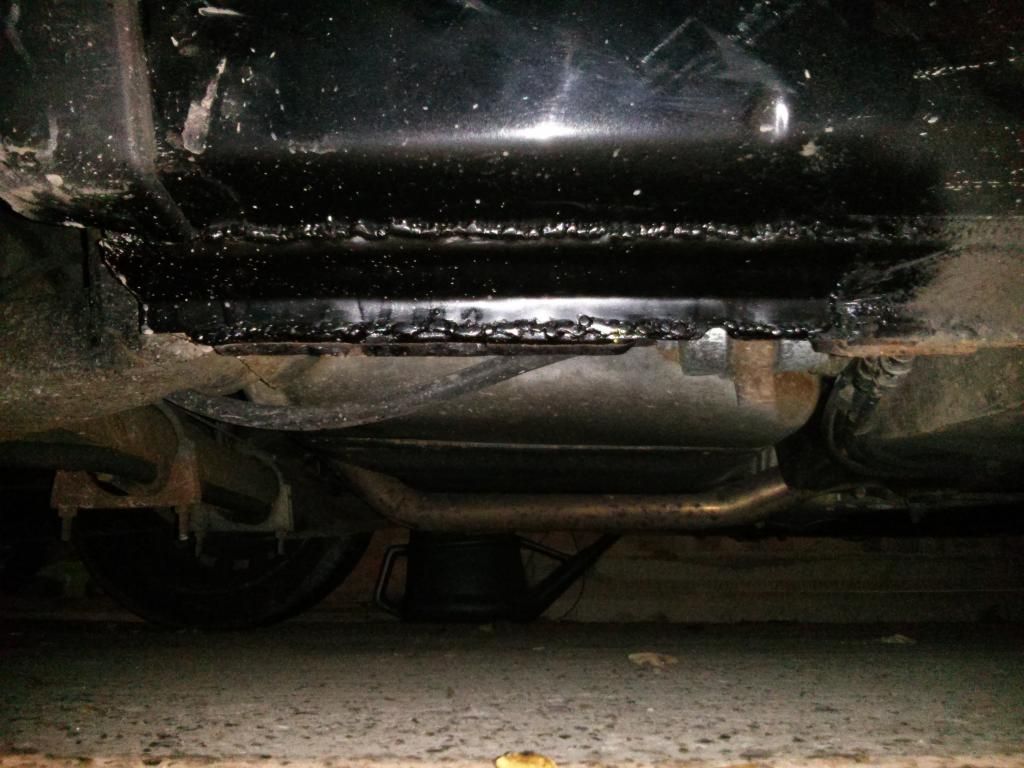
Car failed its MOT on rear sill rust so I ground back the rust and plated it up until I can afford new sills:
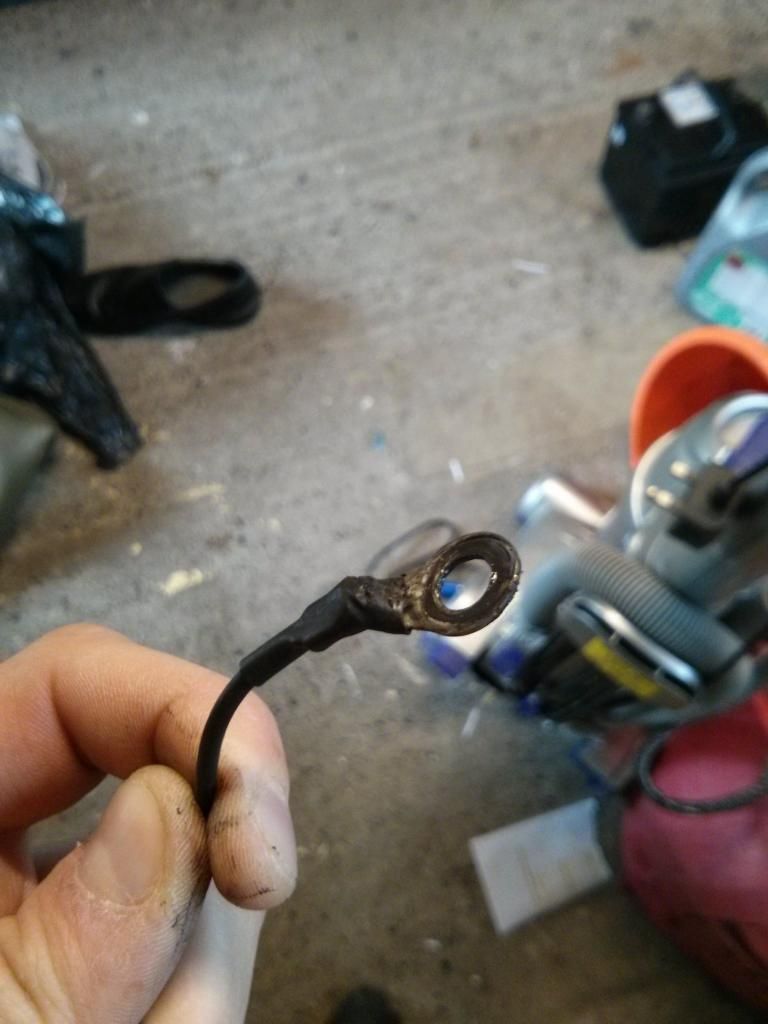
My fuel pump started to cut out and found a broken connection on the battery terminal:
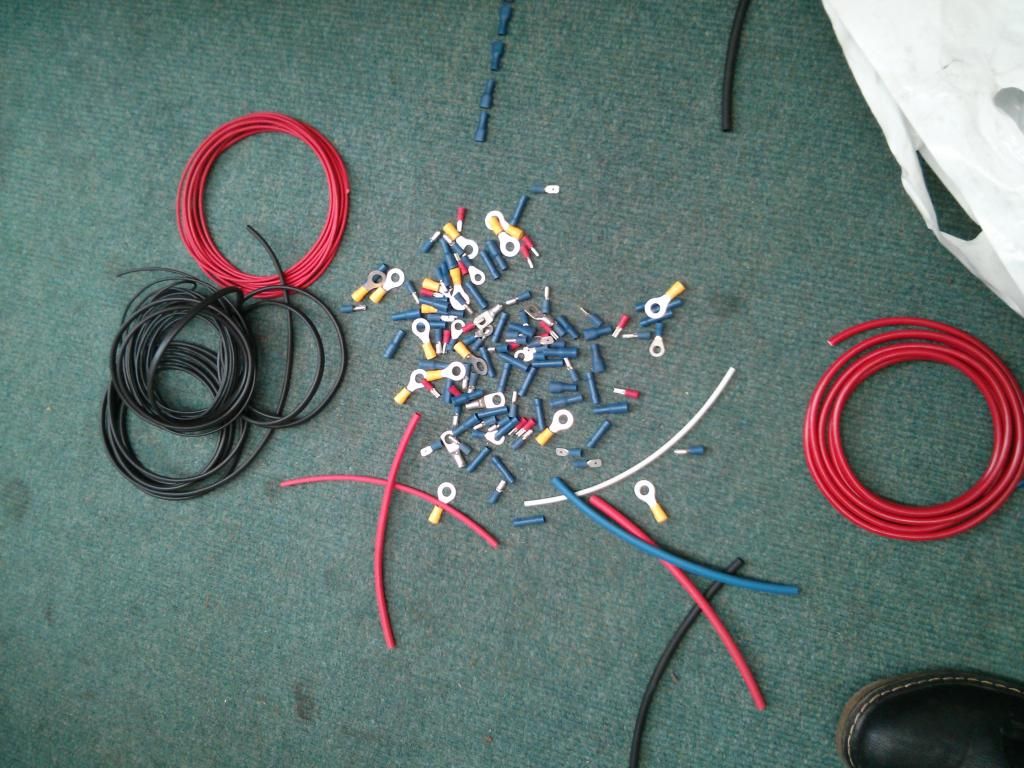
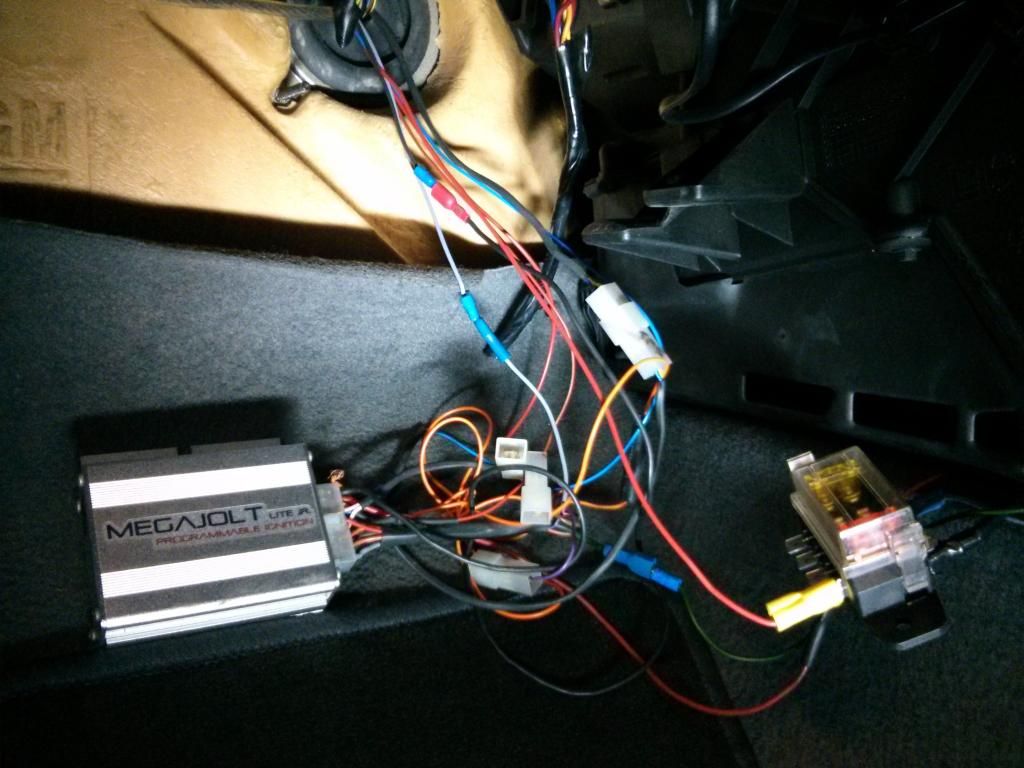
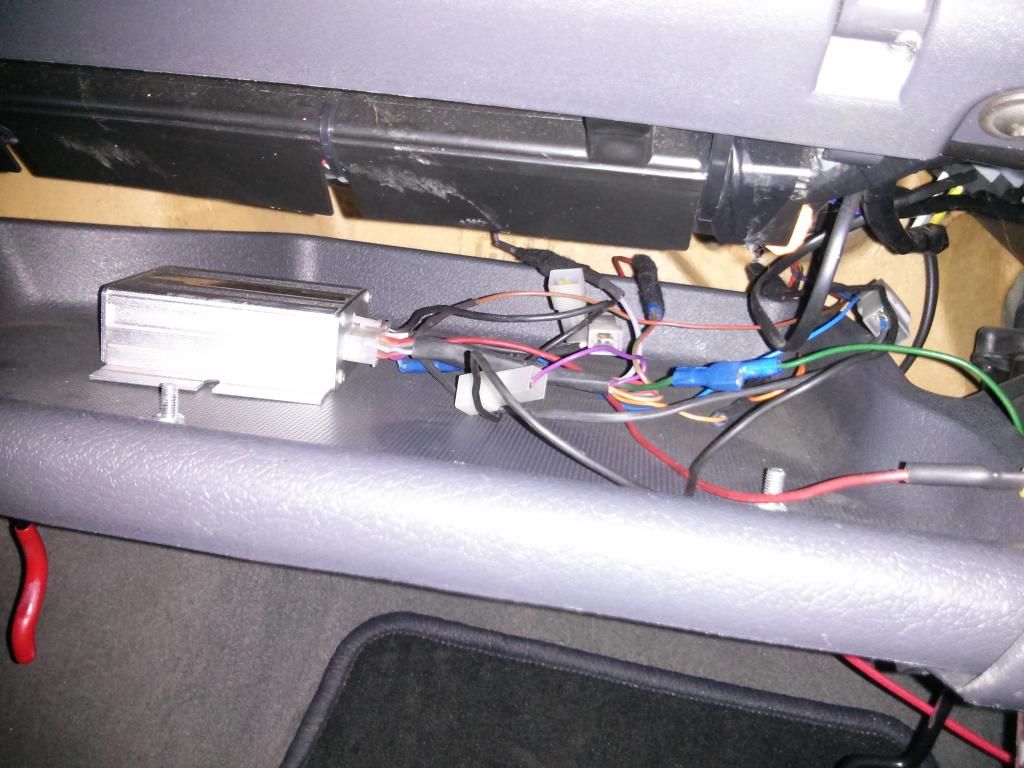
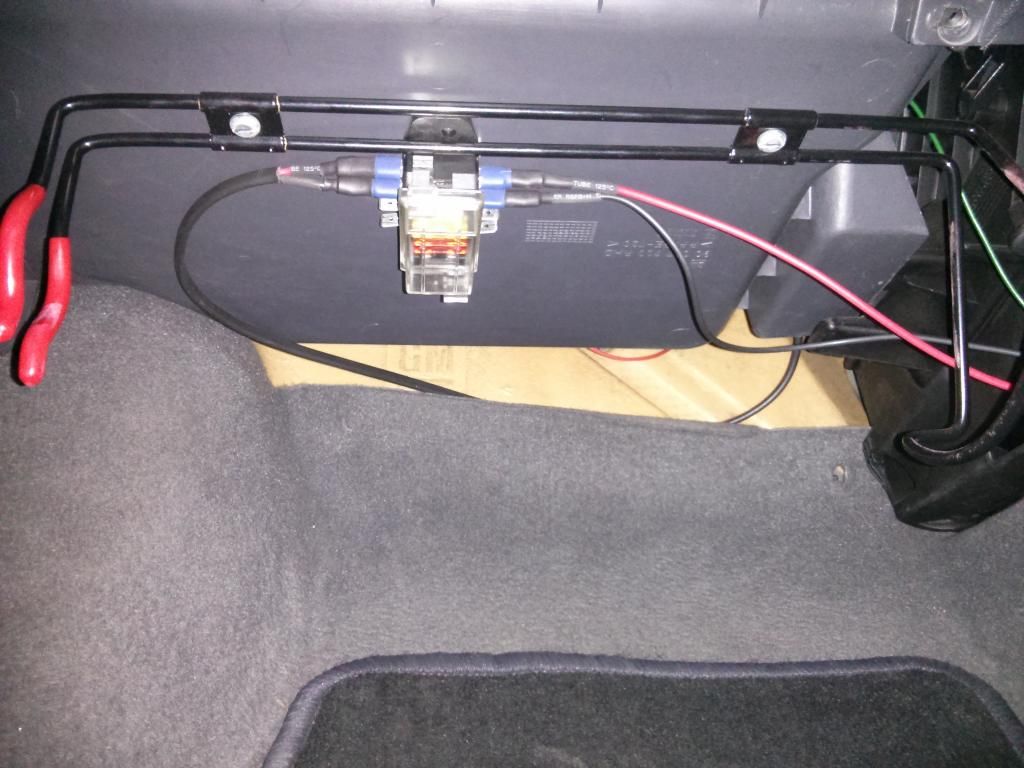
So I got my bag of goodies out and decided to rewire/neaten up the pump/ECU wiring:
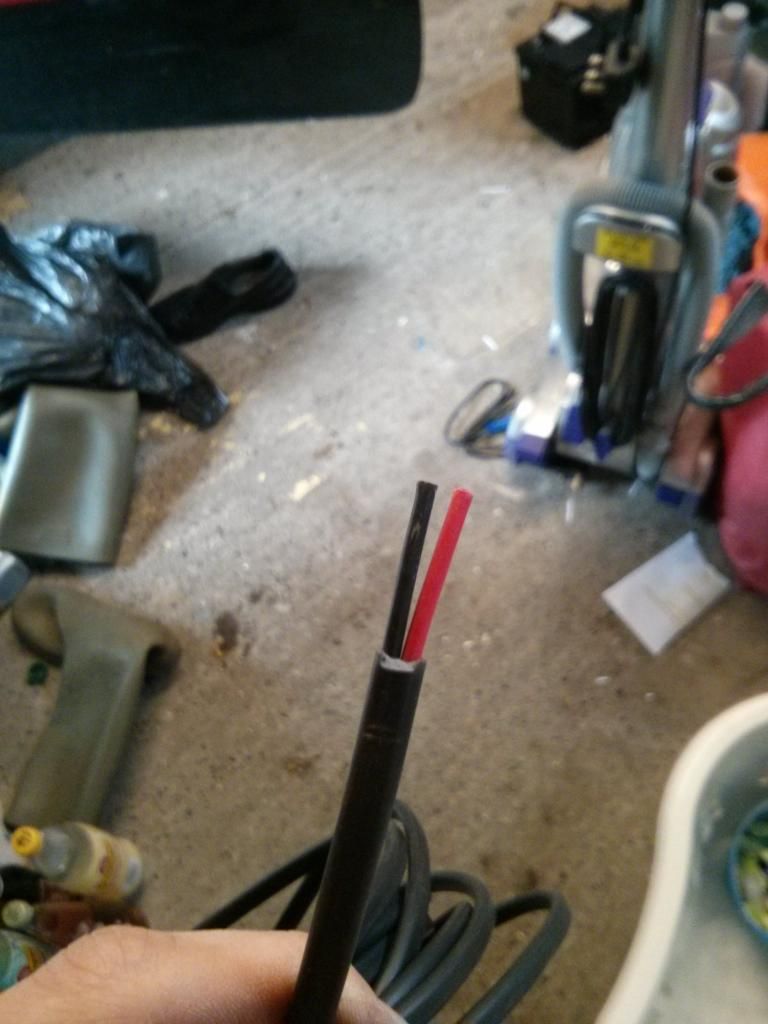
Decided to use twin core wire:
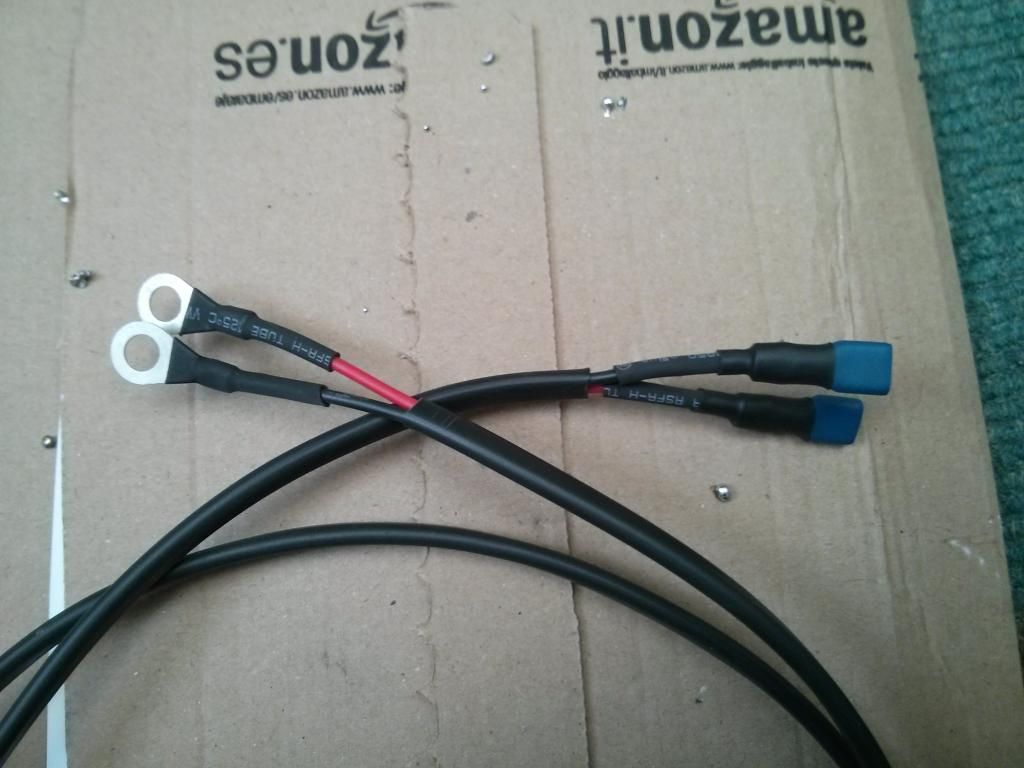
Before:
After:
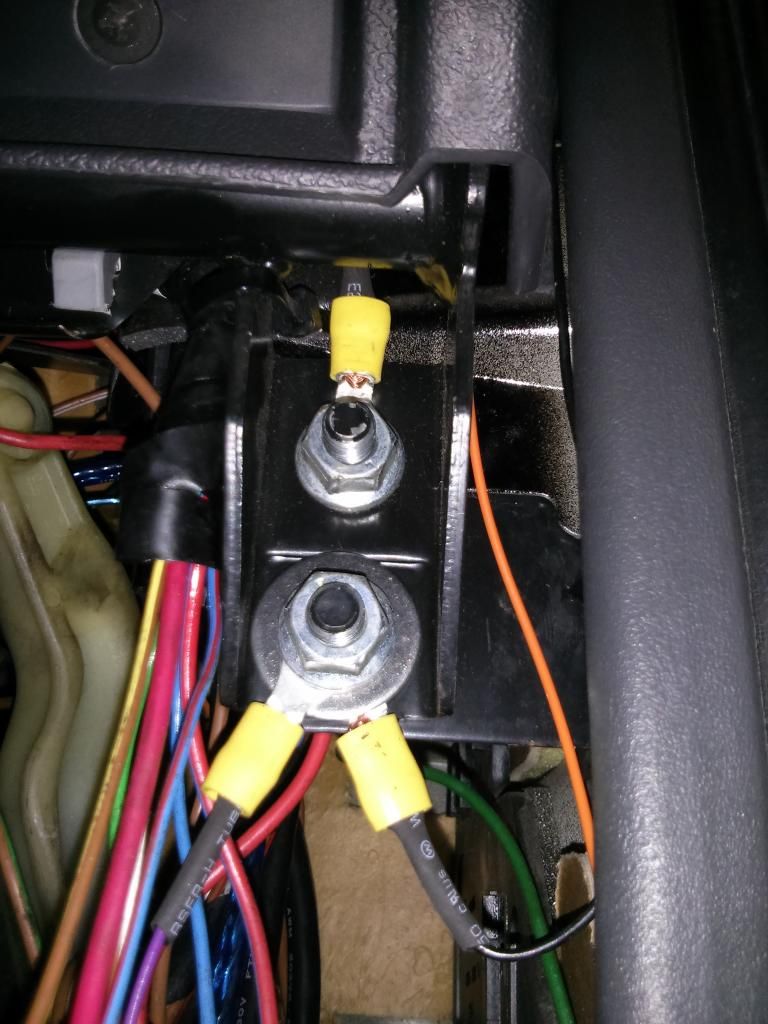
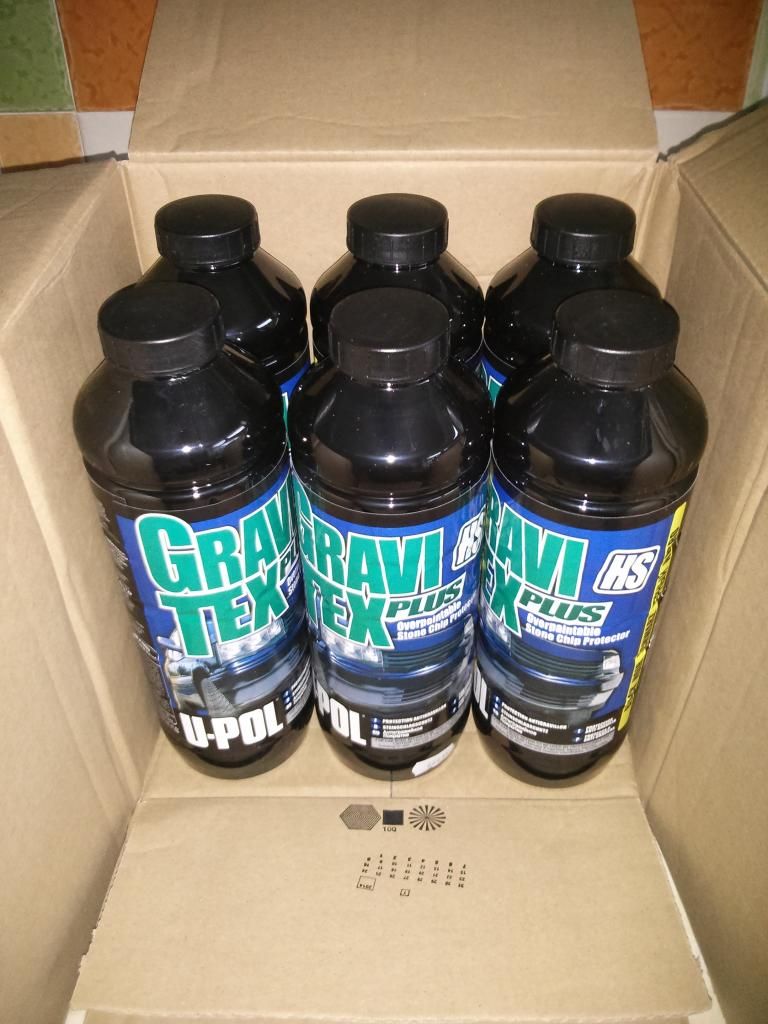
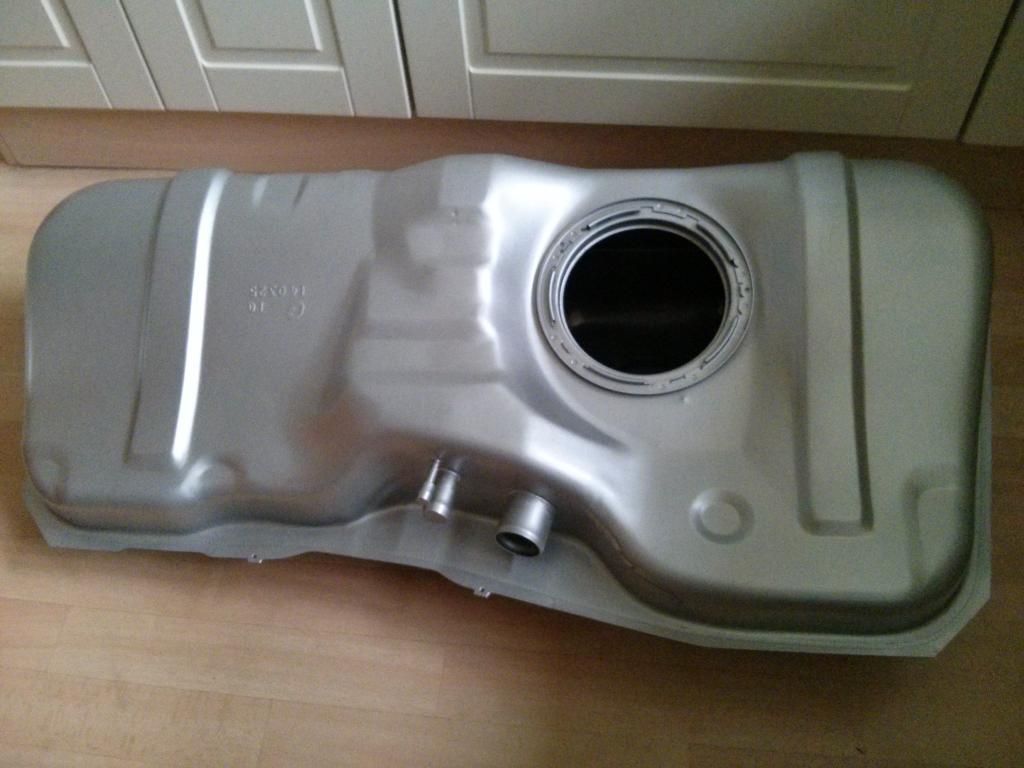
I've ordered a new fuel tank to fix the rusting/leaking one and also ordered some Acid 8 etch primer and graxitex to strip the underside to bare metal and re-seal it.
|
Sam_Sri
Member
Registered: 19th Sep 14
User status: Offline
|
Few weeks back I received my gravitex, etch primer and fuel tank:
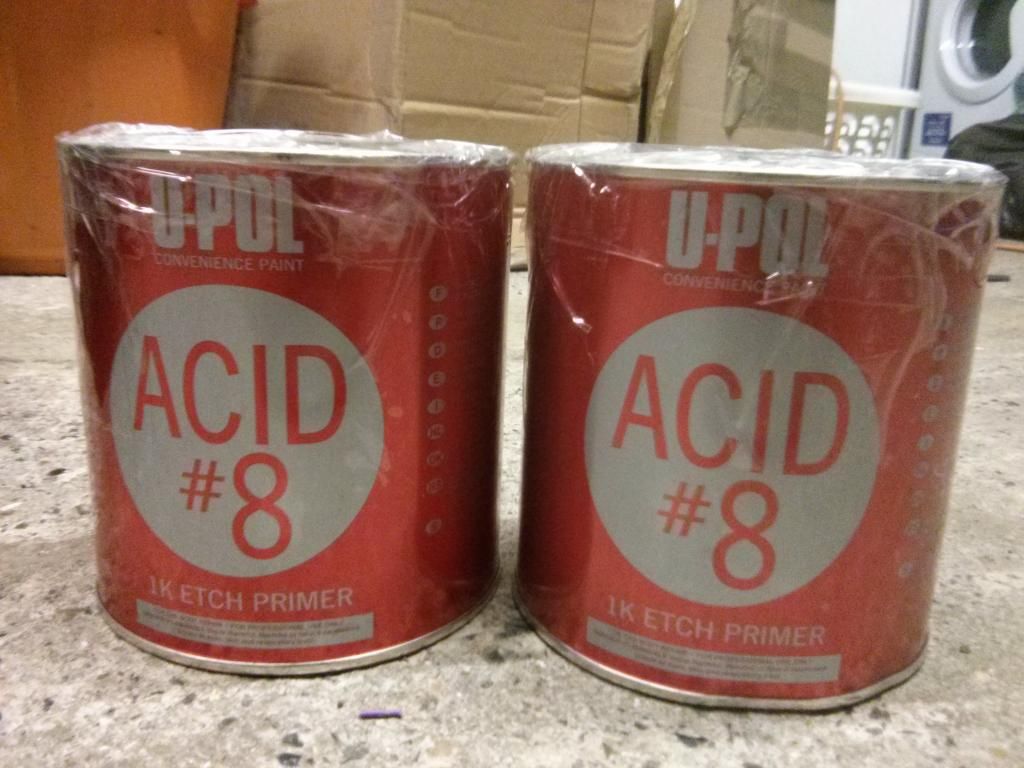
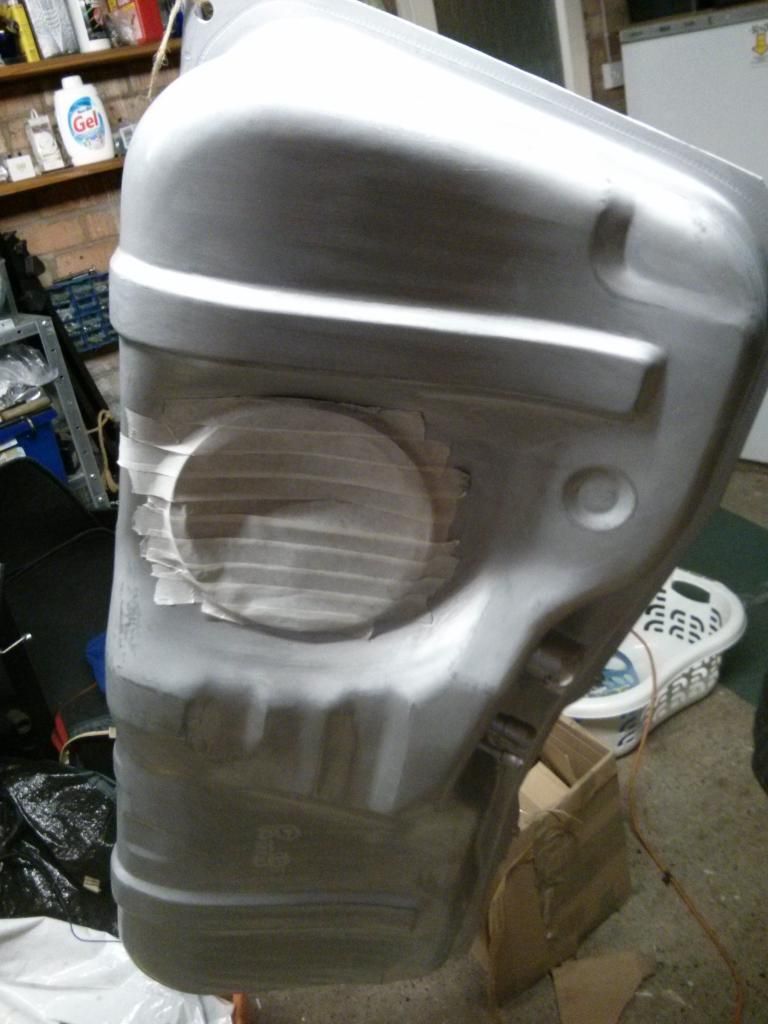
etch:
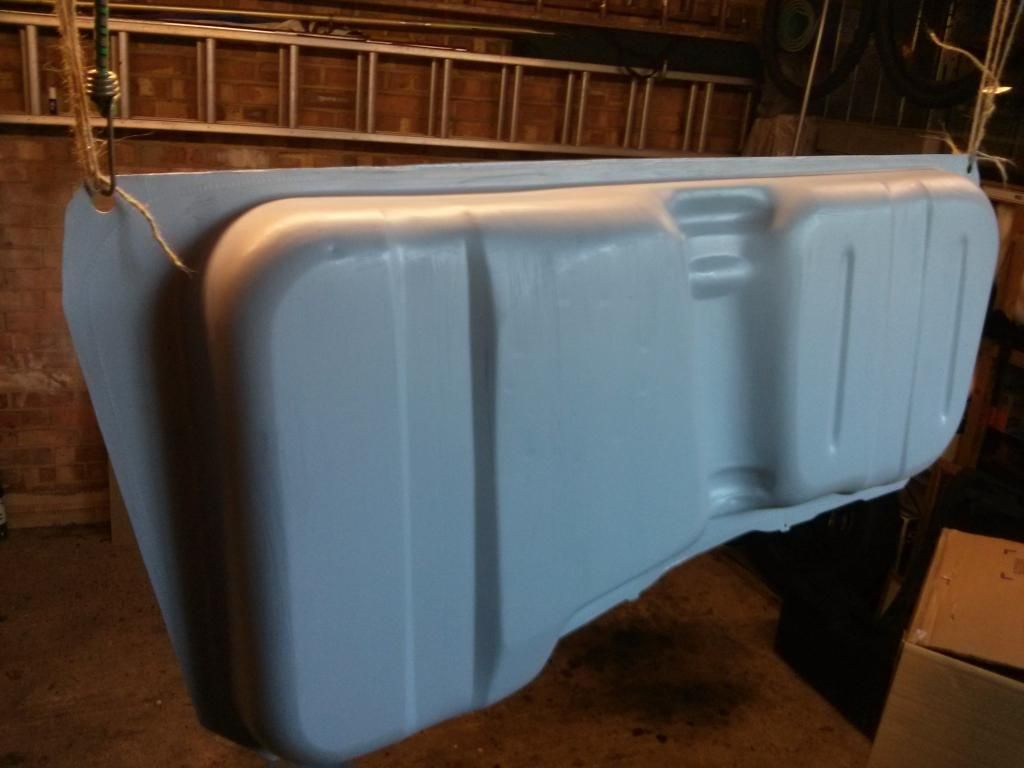
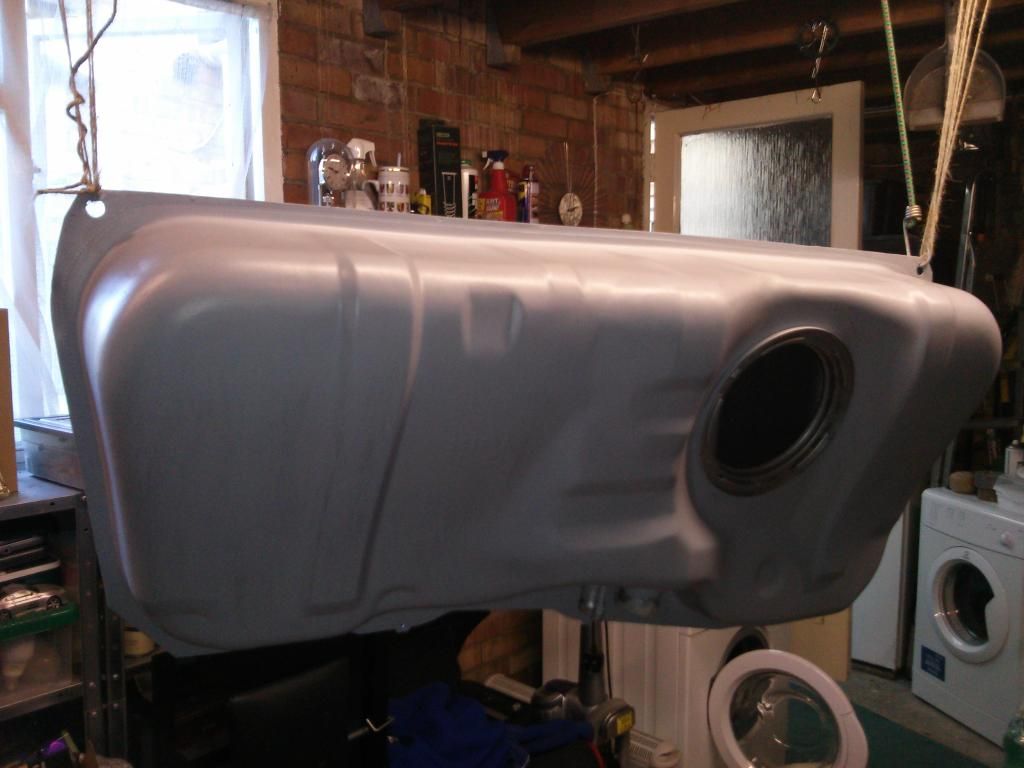
gravitex:
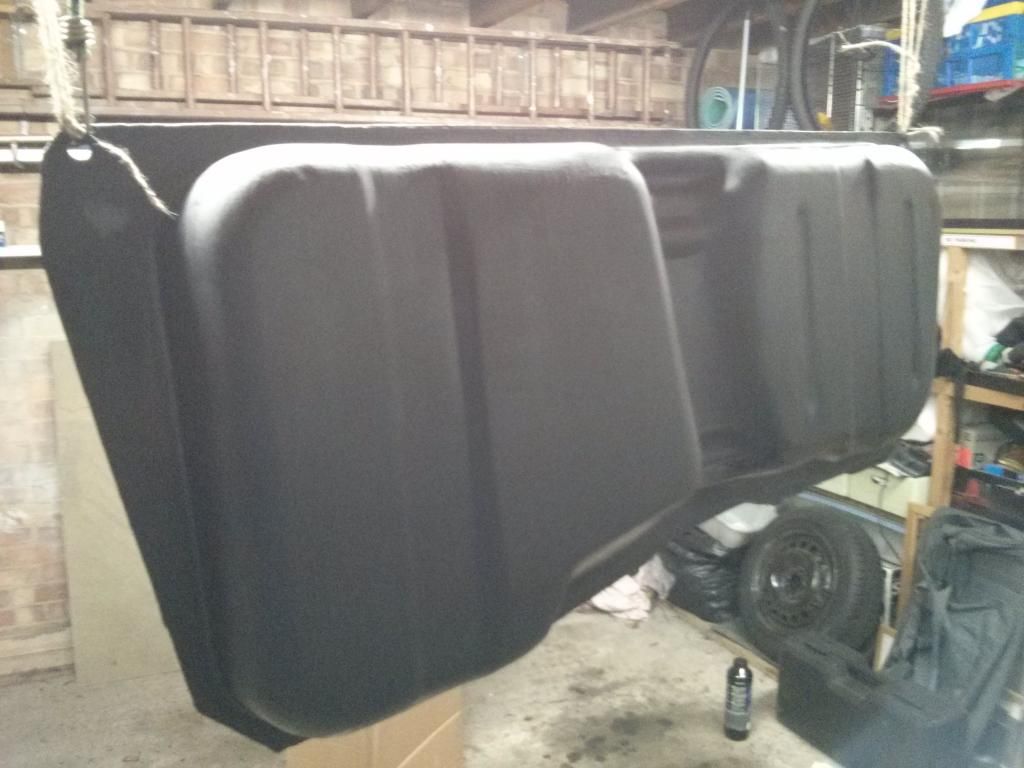
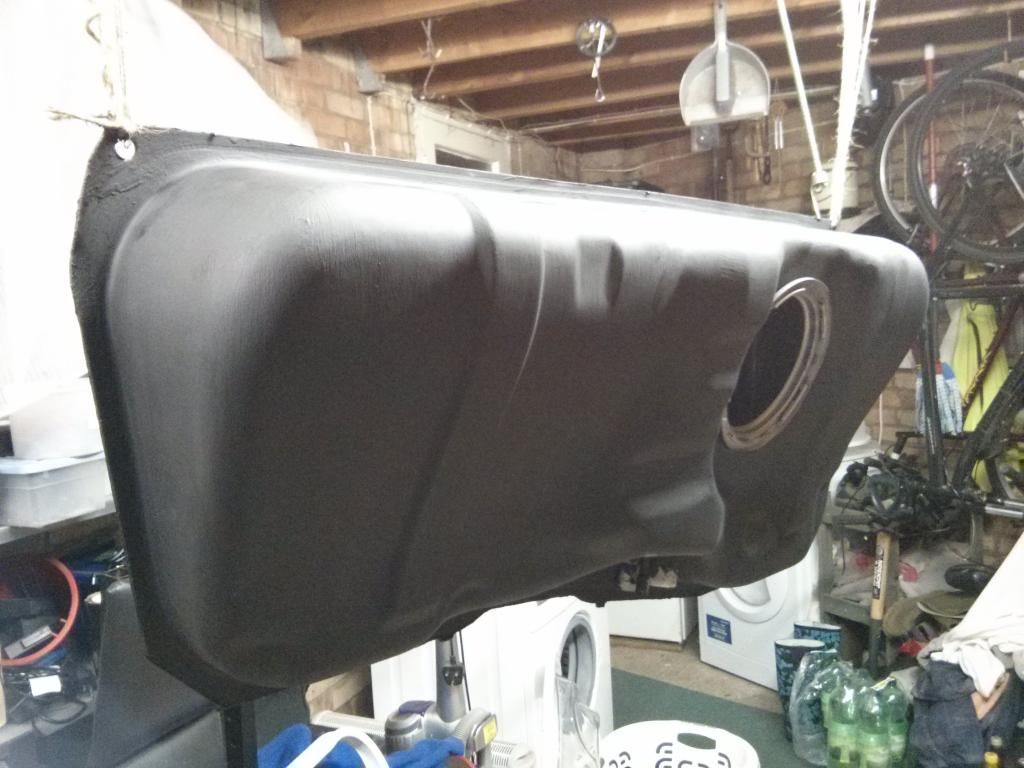
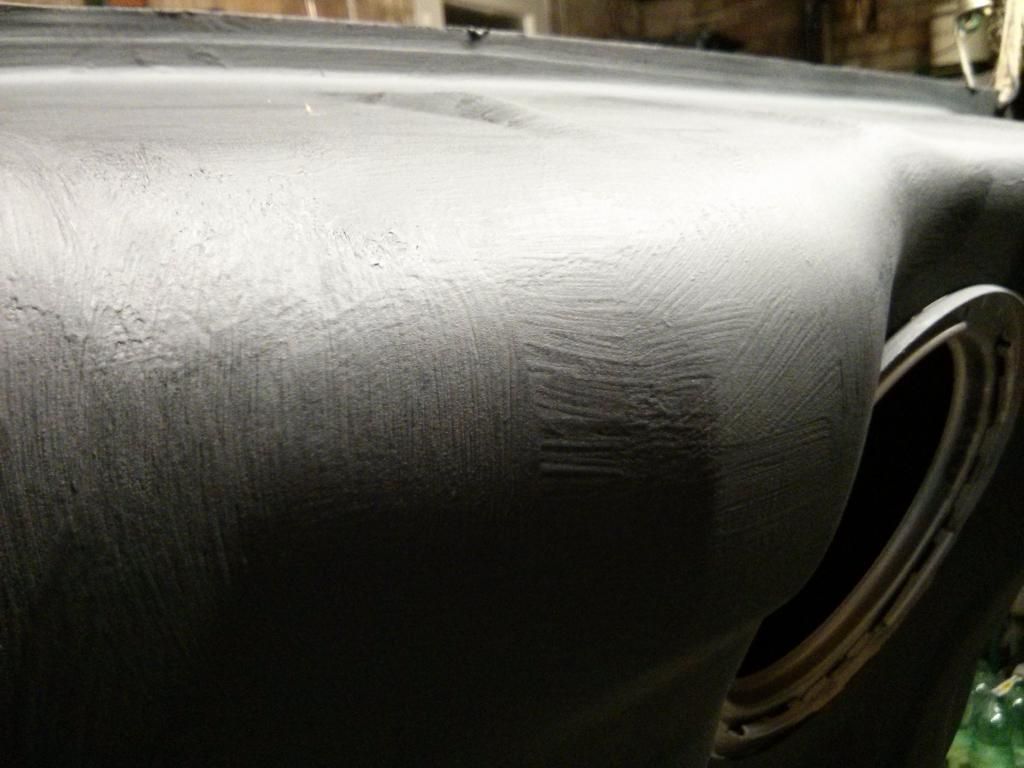
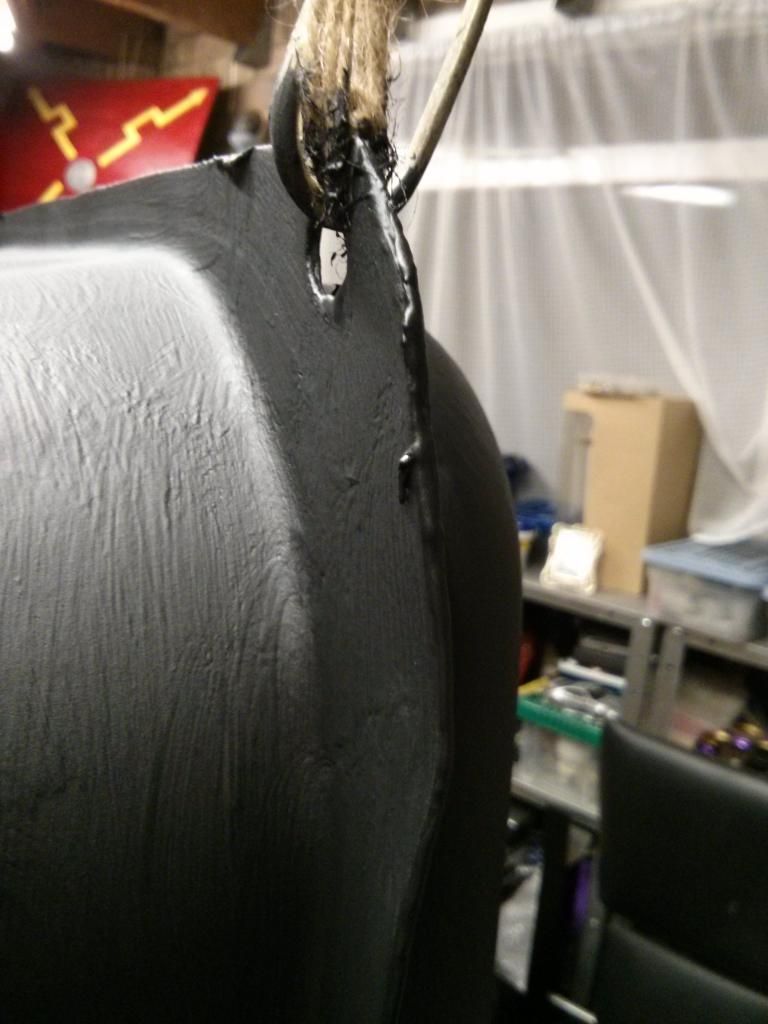
got right in the join too:
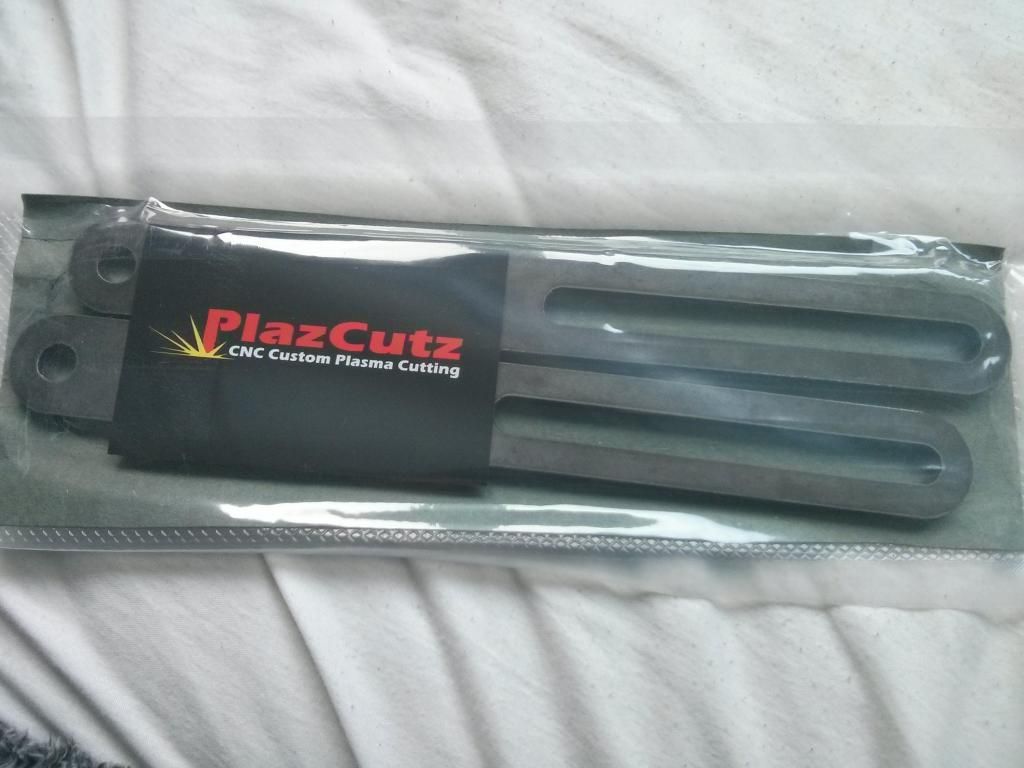
Custom made alternator brackets:
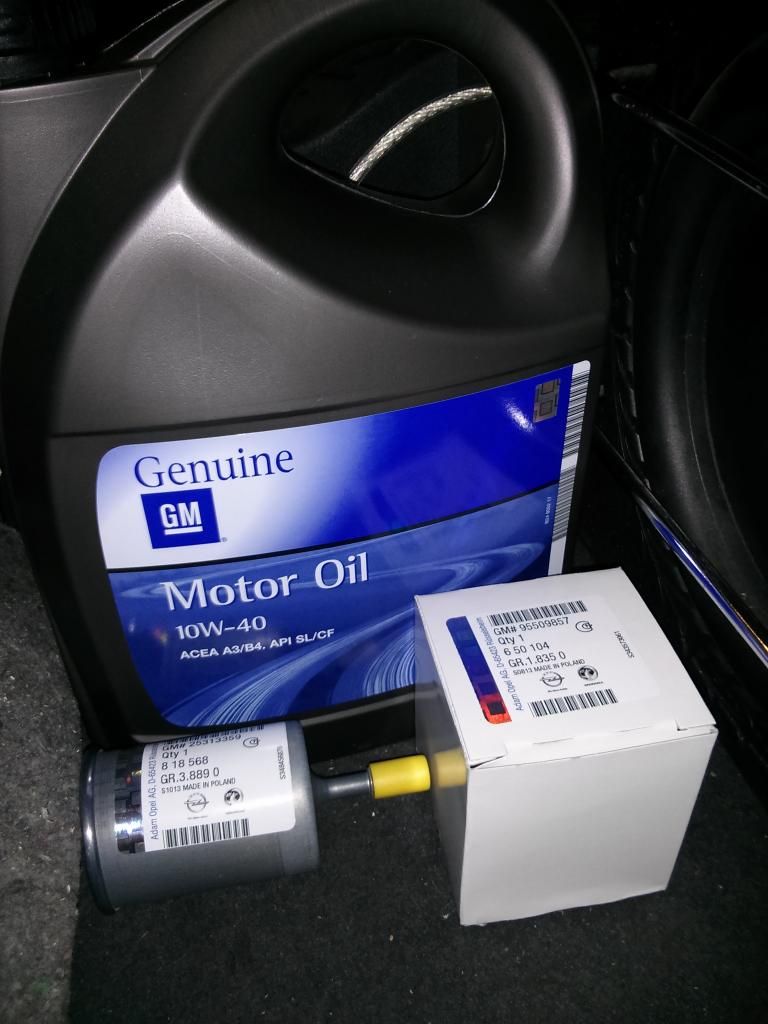
Gm oil, fuel filter and oil filter:
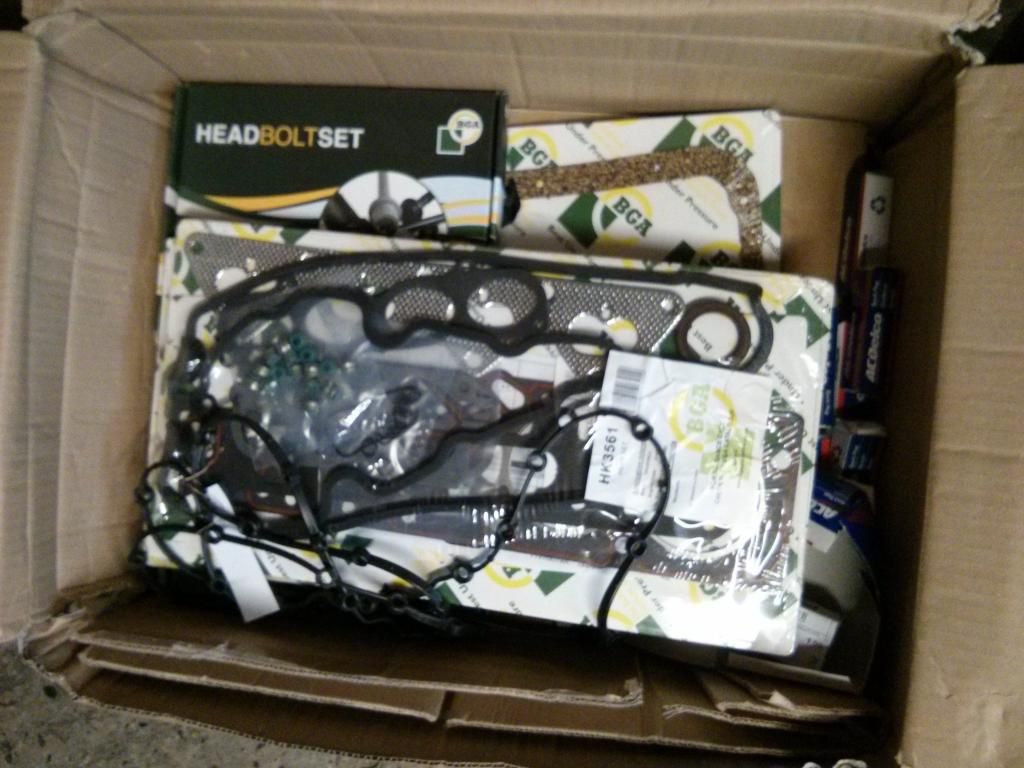
Then I noticed vaux-spares website had some offers on so brought a sump gasket, oil pressure switch and plugs. Then for the spare engine, headset, head bolts, sump gasket, oil pump gasket and plugs:
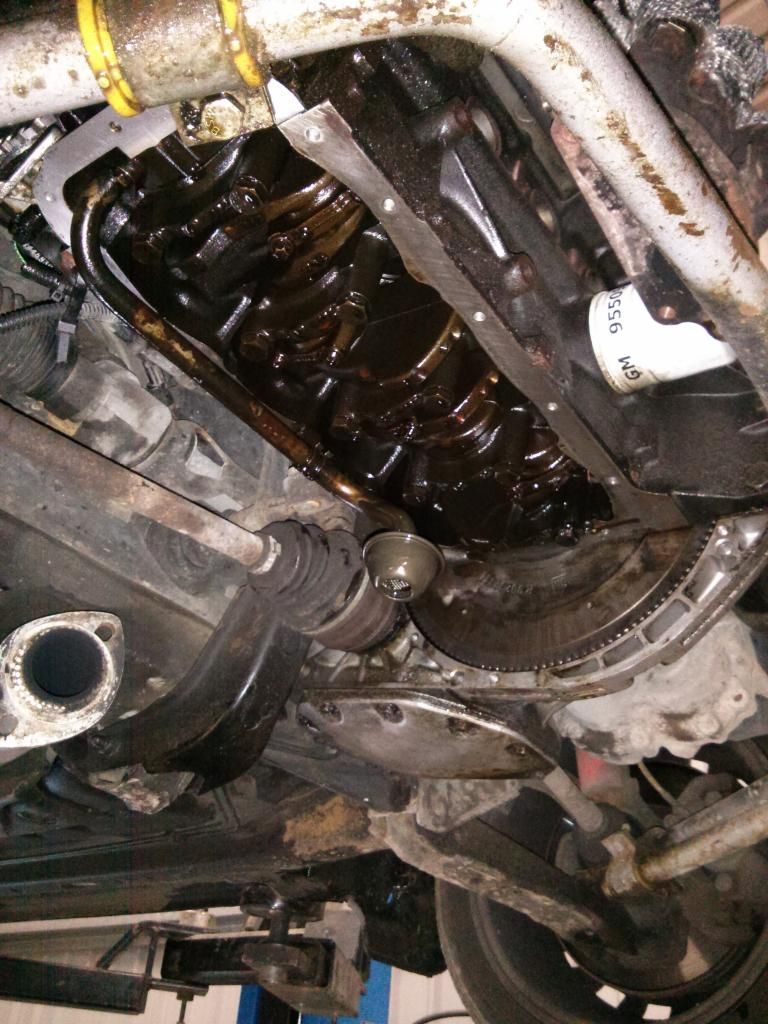
Service + Sump gasket time:
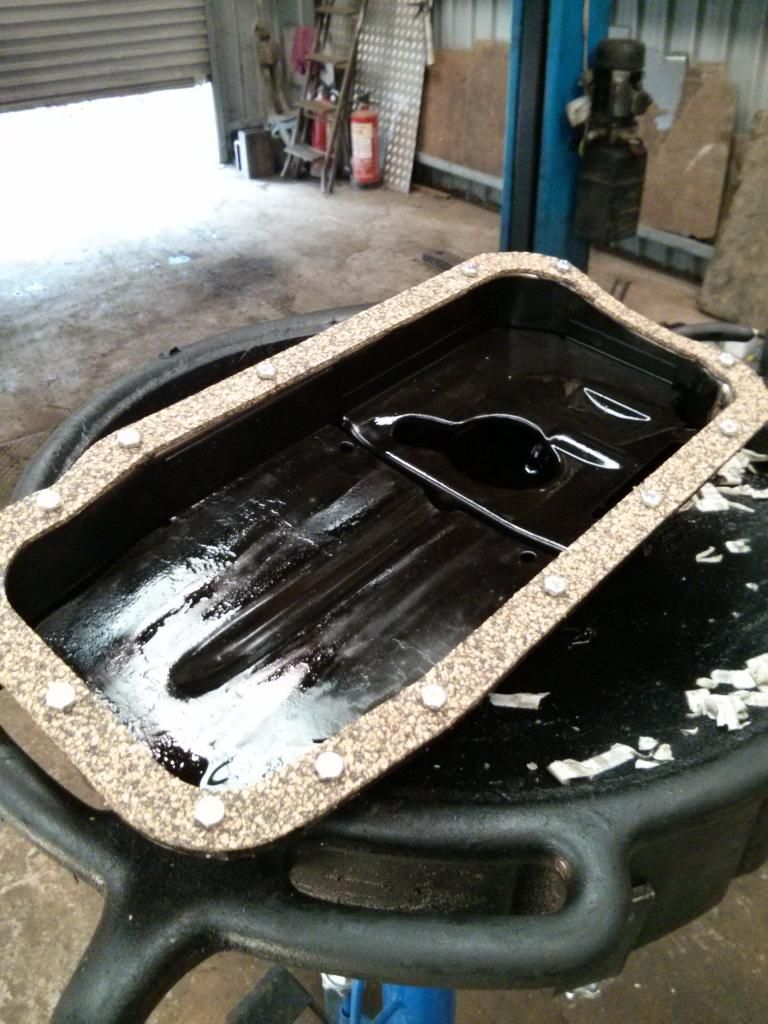
New oil pressure switch:

|


