Sandsy
Member
Registered: 29th Oct 04
Location: Tilney All Saints Drives: V6 Corsa
User status: Offline
|
what dist. block did you order chap? got a link?
looks good fella, love the battery box etc 
|
djgritt
Premium Member
 Registered: 1st Nov 07
Location: Dorset Drives: Focus ST / Hyundai i20N
User status: Offline
|
quote:
Originally posted by Sandsy
what dist. block did you order chap? got a link?
looks good fella, love the battery box etc 
Cheers 
Link for Dist Block here...
Fecking BAR-GAIN. 
http://cgi.ebay.co.uk/ws/eBayISAPI.dll?ViewItem&item=160417026961&ssPageName=STRK:MEWNX:IT
|
Sandsy
Member
Registered: 29th Oct 04
Location: Tilney All Saints Drives: V6 Corsa
User status: Offline
|
cheersmate, just purchase one, are you not going to use one of the 35 mm inlets just leave it empty?
|
djgritt
Premium Member
 Registered: 1st Nov 07
Location: Dorset Drives: Focus ST / Hyundai i20N
User status: Offline
|
quote:
Originally posted by Sandsy
cheersmate, just purchase one, are you not going to use one of the 35 mm inlets just leave it empty?
Yeah, only have 1 cable coming in, so will leave the other - may tape/cover over the inlet though, just in case...
|
Sandsy
Member
Registered: 29th Oct 04
Location: Tilney All Saints Drives: V6 Corsa
User status: Offline
|
yer, i might try and buy a grommit or something to wedge in there,
cheers for that mate 
|
djgritt
Premium Member
 Registered: 1st Nov 07
Location: Dorset Drives: Focus ST / Hyundai i20N
User status: Offline
|
Battery Relocation. Done.
Finished it this evening - got home relatively early from work, found my Distribution Block in the postbox, so got out in the 16C 'heat' and sunshine and got on with it.
Pics were taken after i had done it all, forgot to take some whilst working!
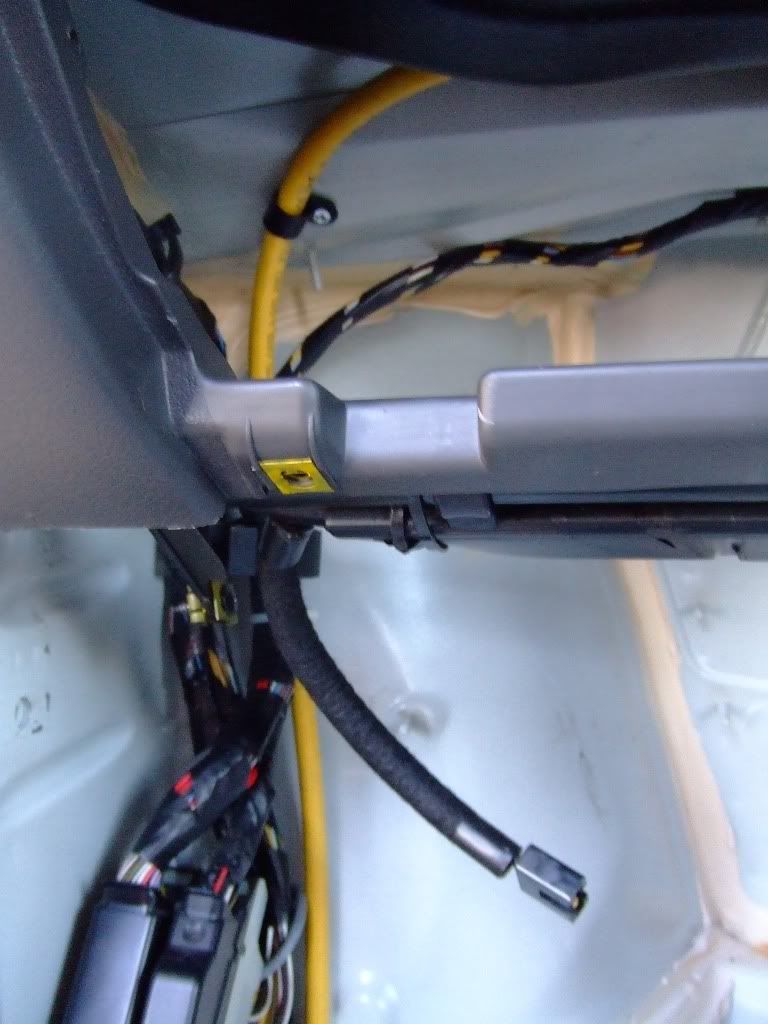
Firstly, after visiting a fixing shop on the way home to get some P-Clips, I got on with routing and securing the Cable from the Battery Box to the Engine Compartment;
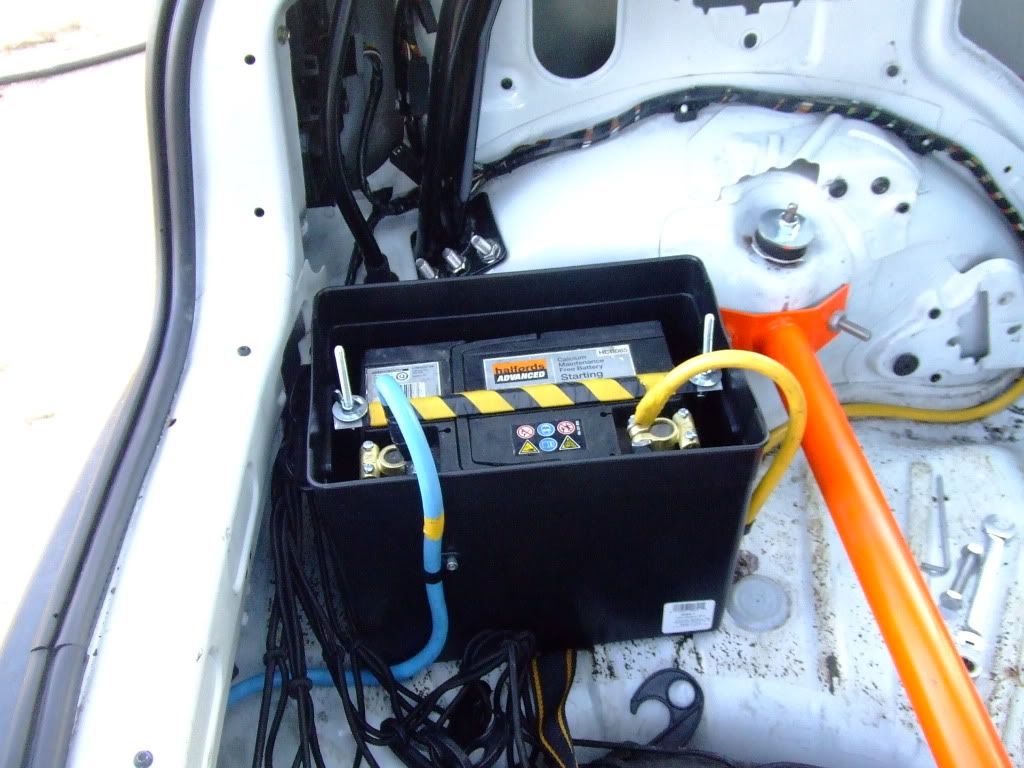
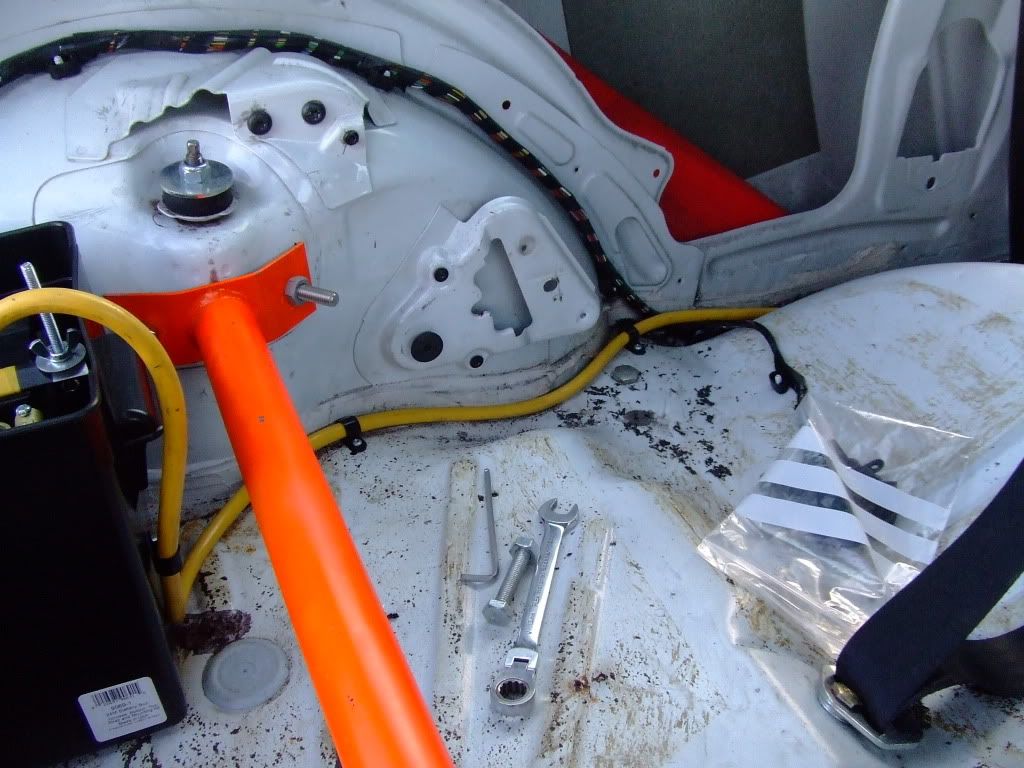
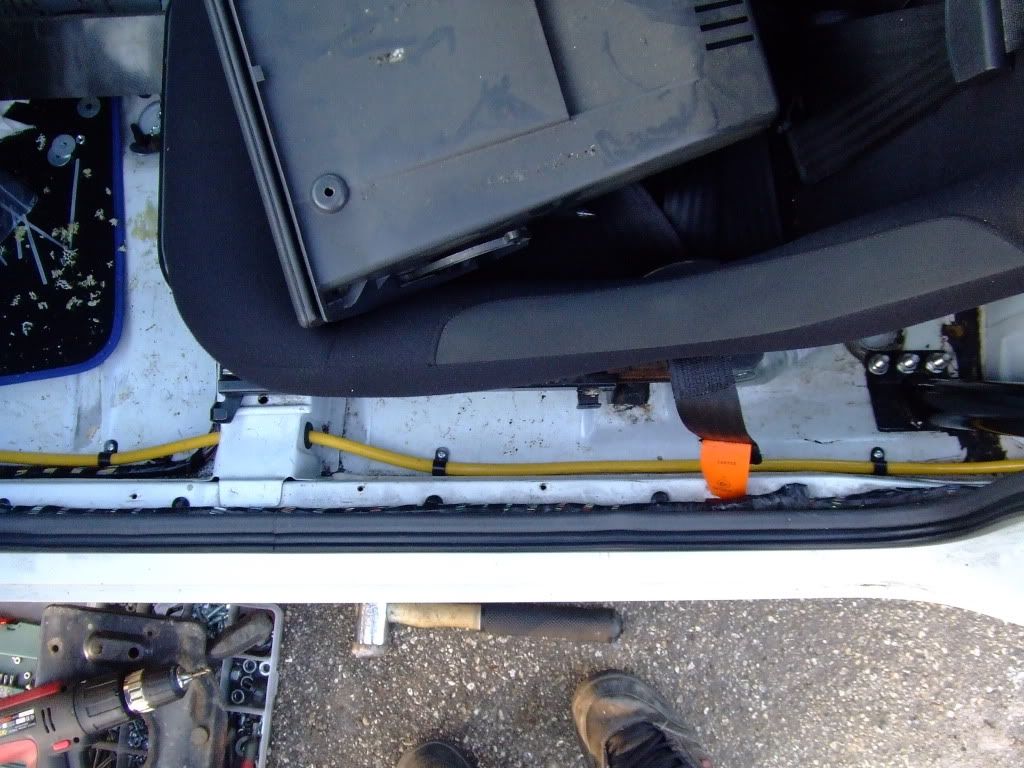
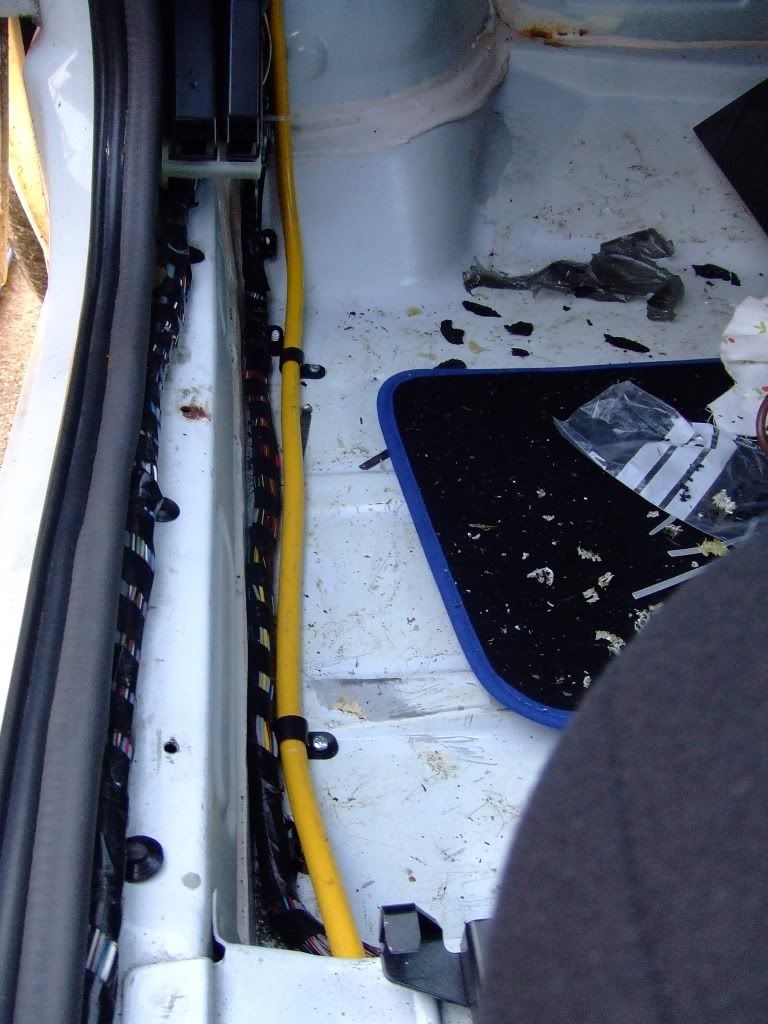
Then, finished cutting the Carbon Sheet, fitted the Dist Block, and mounted it to the old Battery Tray mounts - then ran the remaining cabling and secured them with Cable Ties or P-Clips;
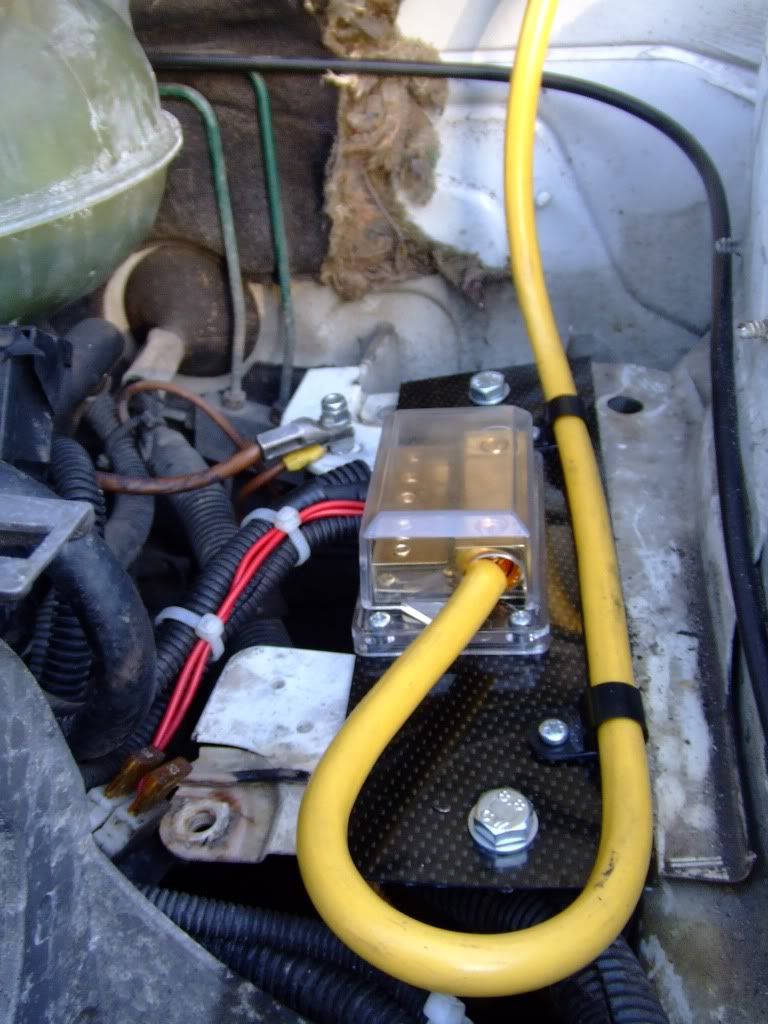
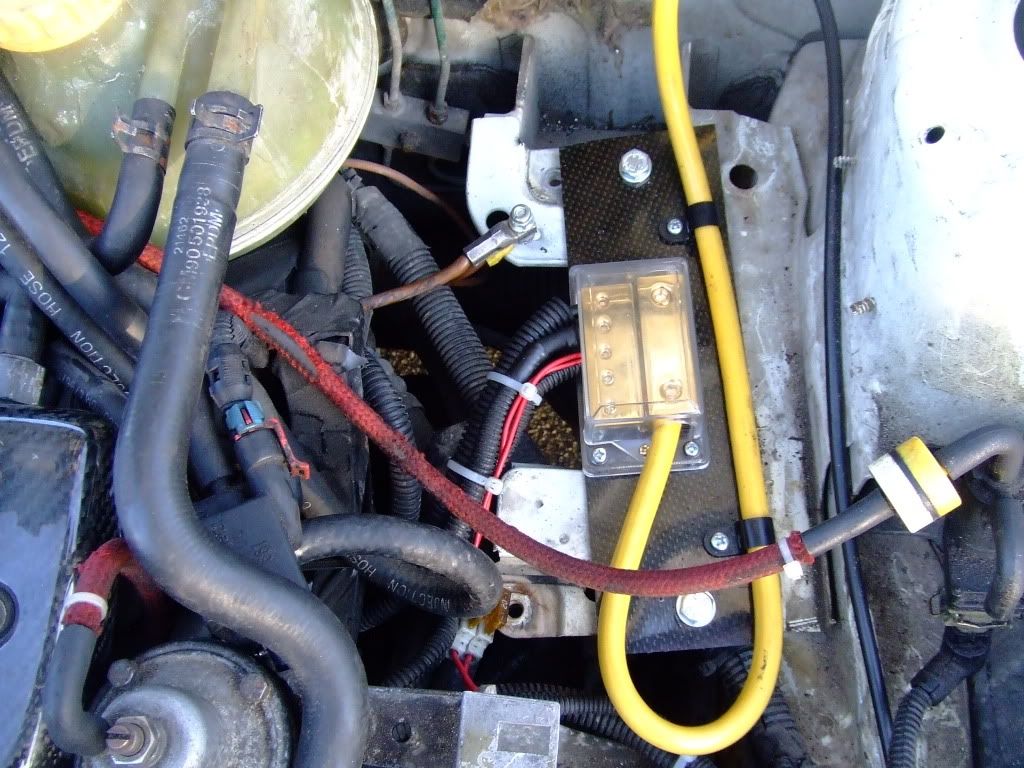
Connected the Battery, checked the Voltage Readings - all good - 12.6v at the Battery and also on the Terminations under the bonnet - went for a Startup and all worked fine - 14.4v whilst running both at the battery and engine bay terminations.
So, all good, and leaves me time to get some other stuff on the go!
|
djgritt
Premium Member
 Registered: 1st Nov 07
Location: Dorset Drives: Focus ST / Hyundai i20N
User status: Offline
|
Blimey, this week has seen the most frequent array of updates on this EVER! :lmao:
Todays Tinkering...
Grille Removed;
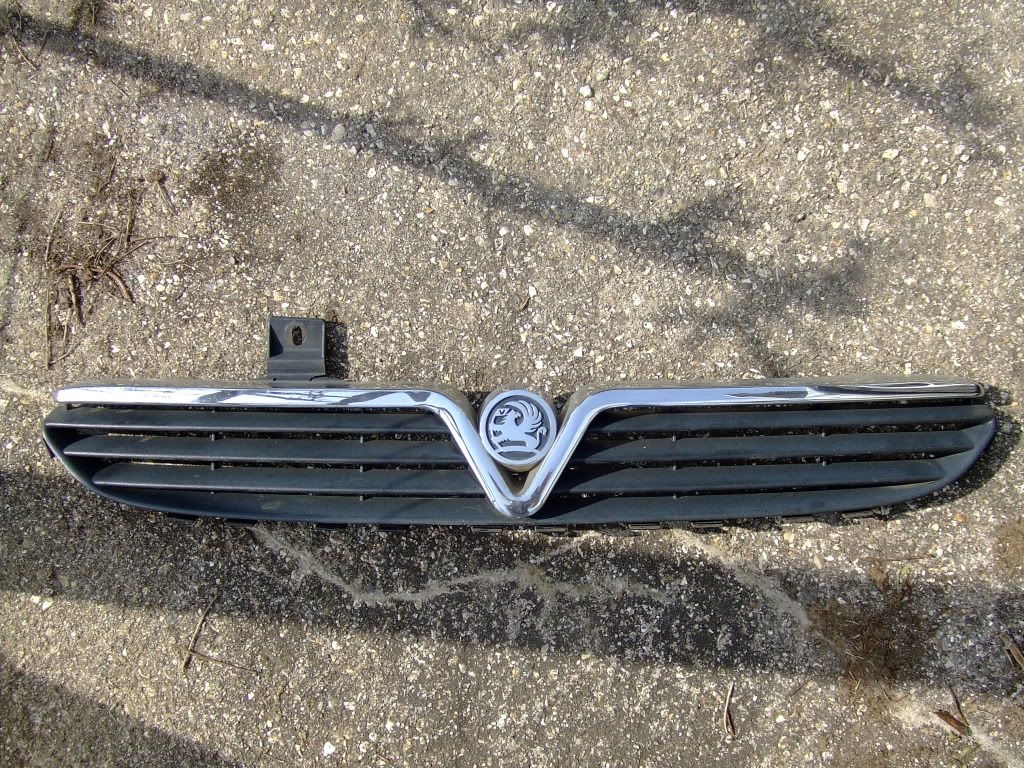
Chrome 'V' Removed;
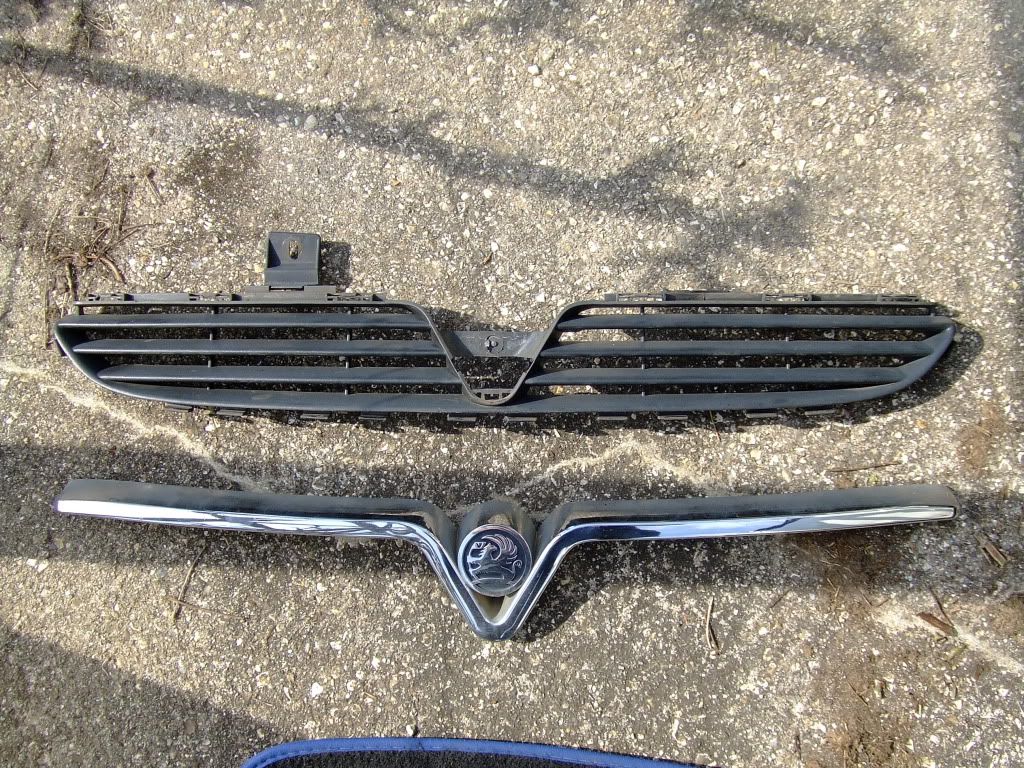
Rubbed down, primed and left to dry;
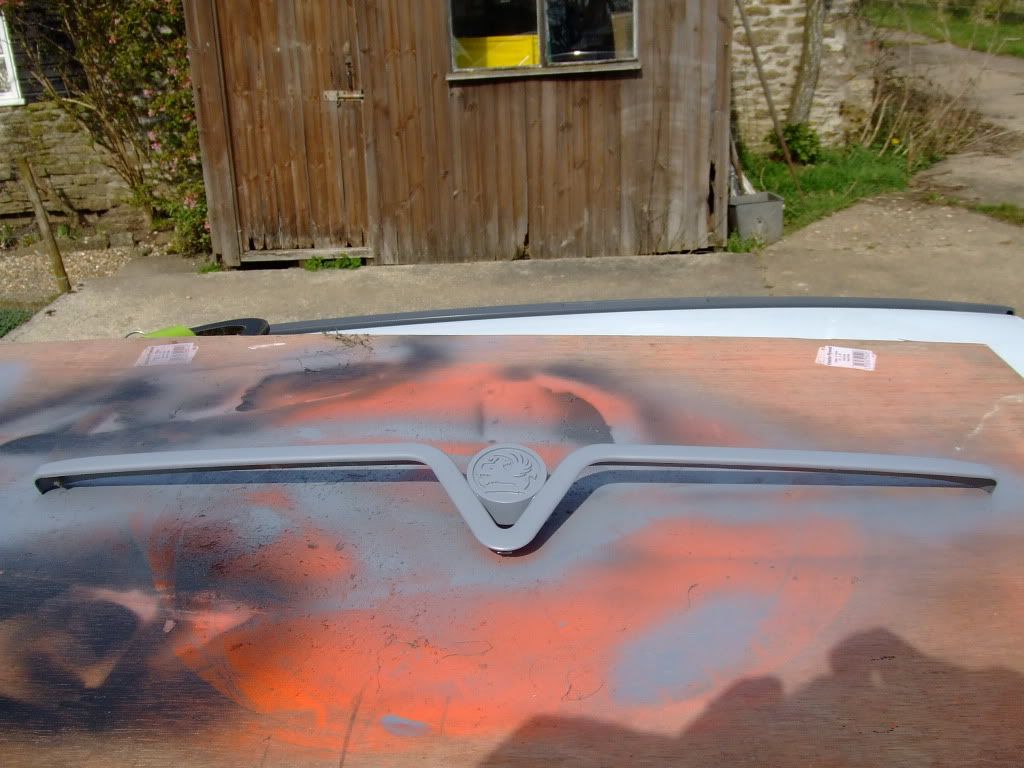
Skoda Black Magic Pearlescent left over from my vRS, and left to dry;
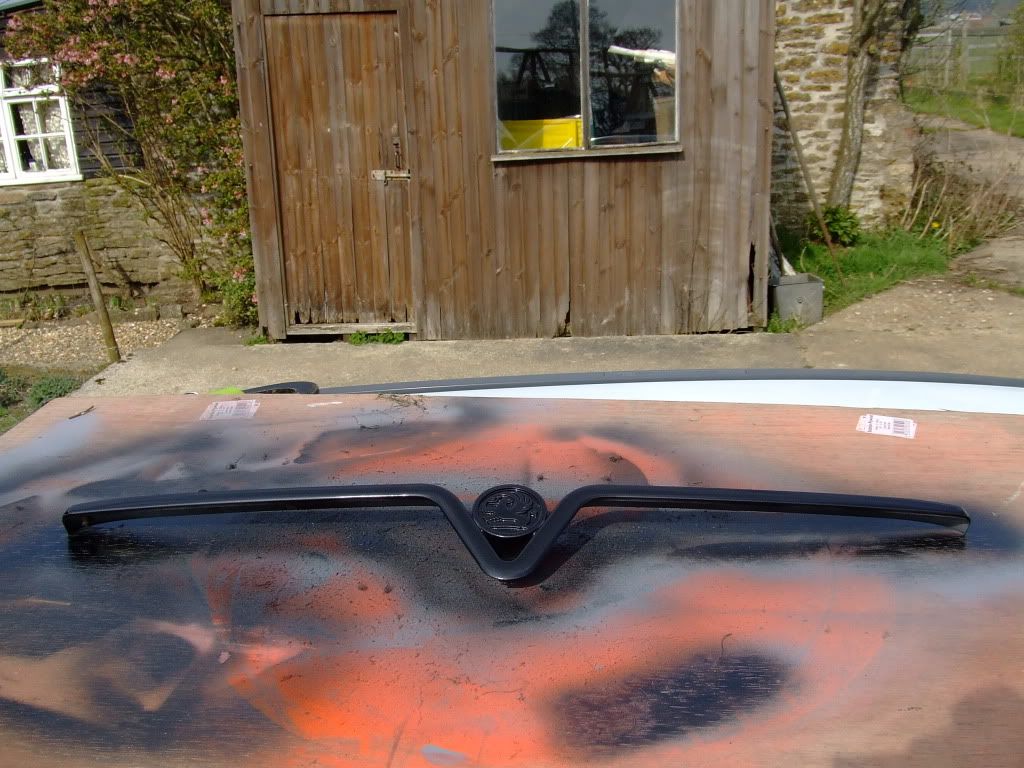
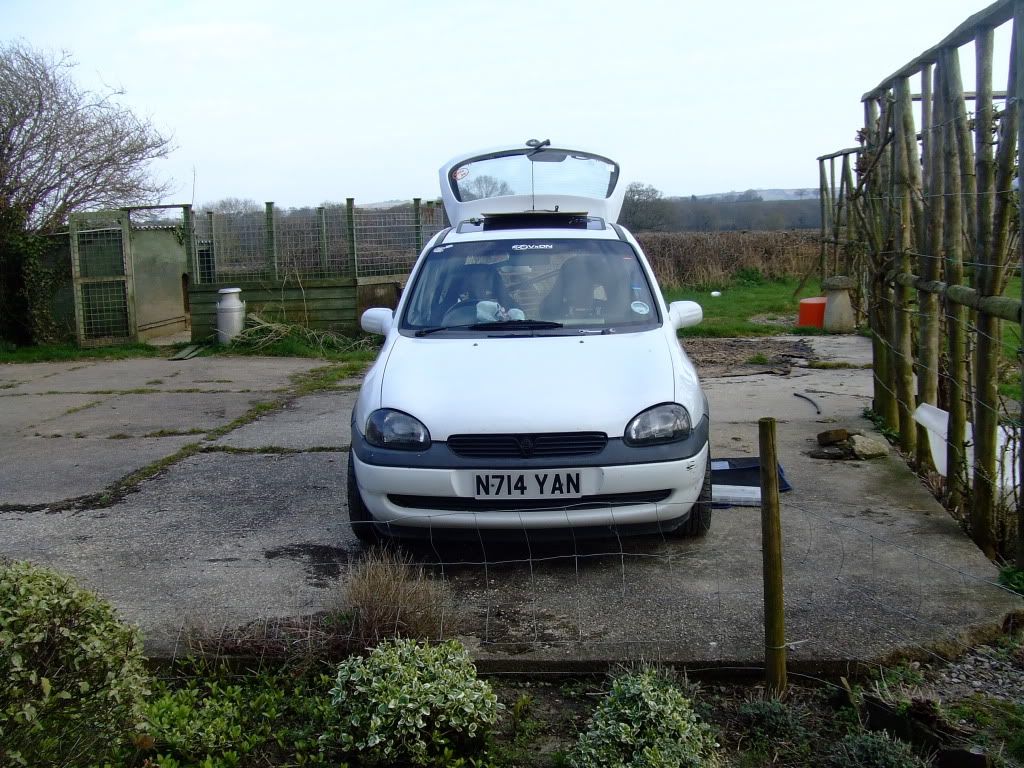
Lacquered and left to dry, reassembled and refitted;
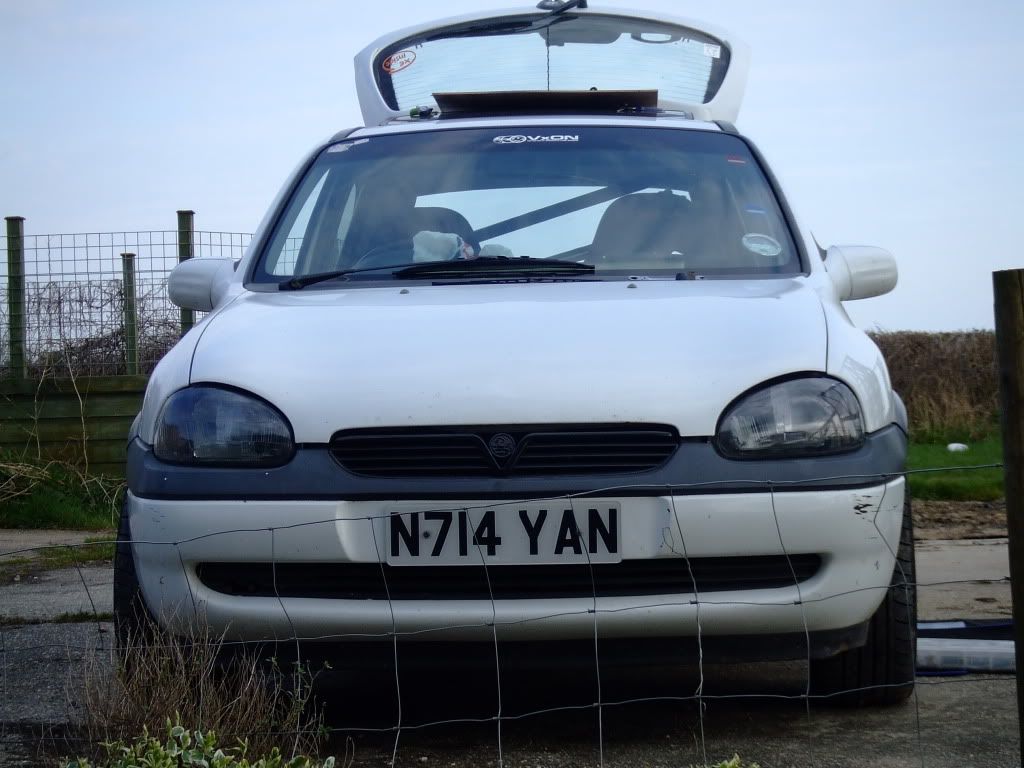
Shitty wiper arm removed and tarted up to see how it would come out - Drivers side left to do;
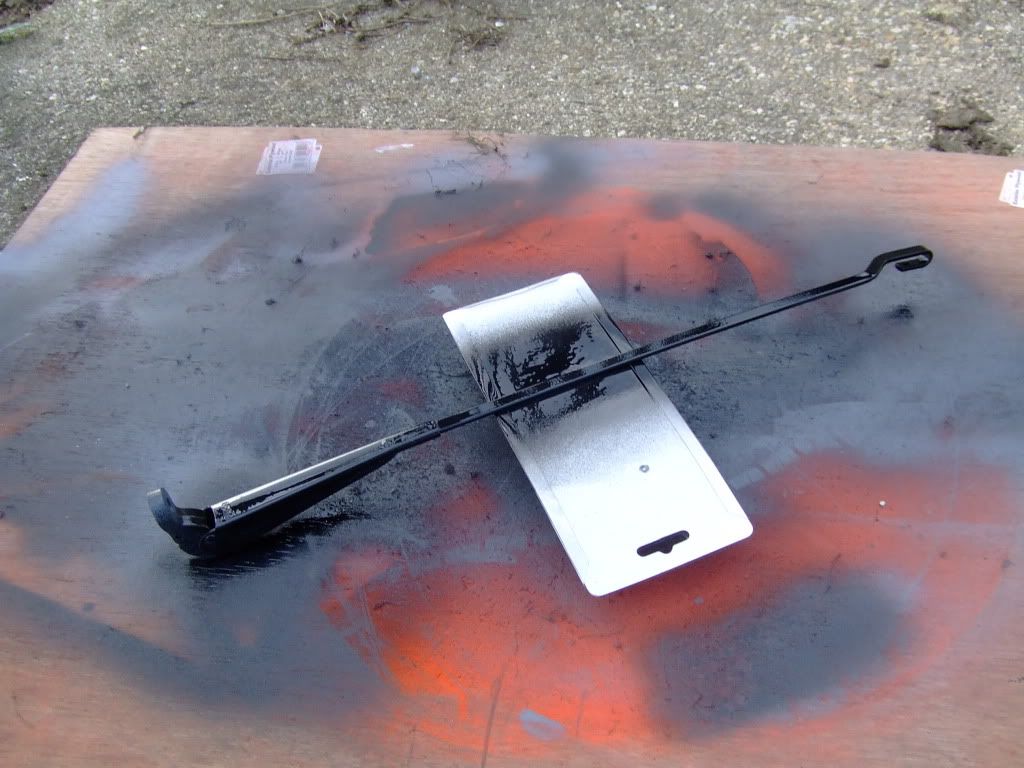
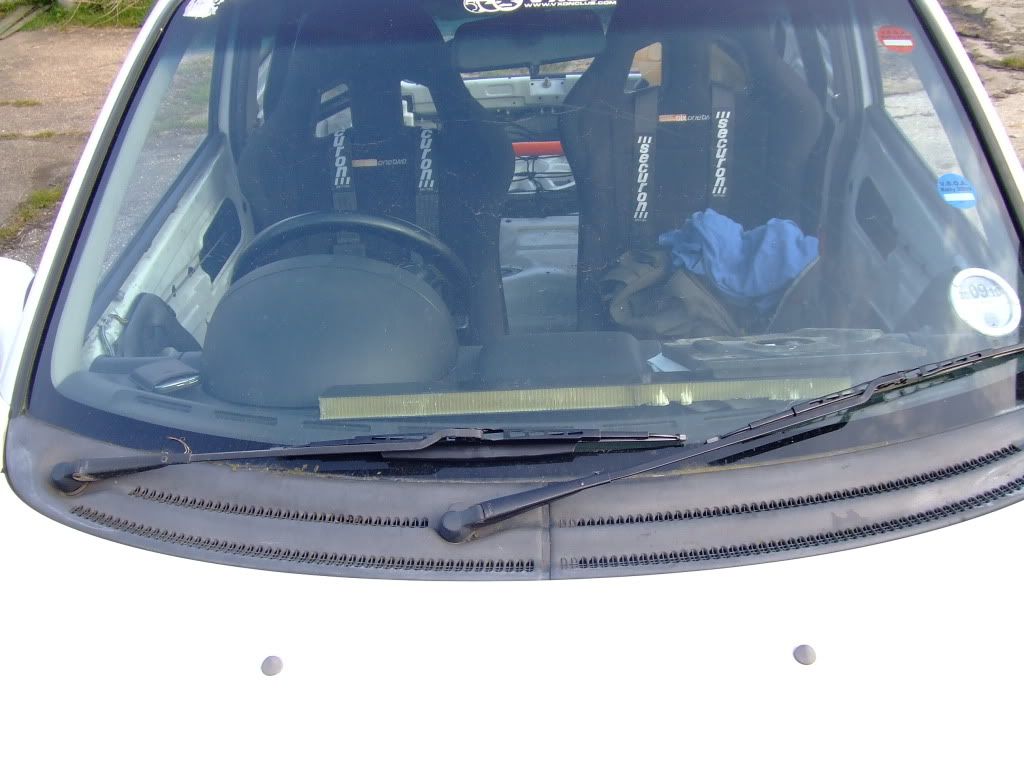
White spirits cracked out and smeared around the Front Footwell and Rear Seat areas to see how well it coped with removing the brownish bonding residue - pretty well IMO!;
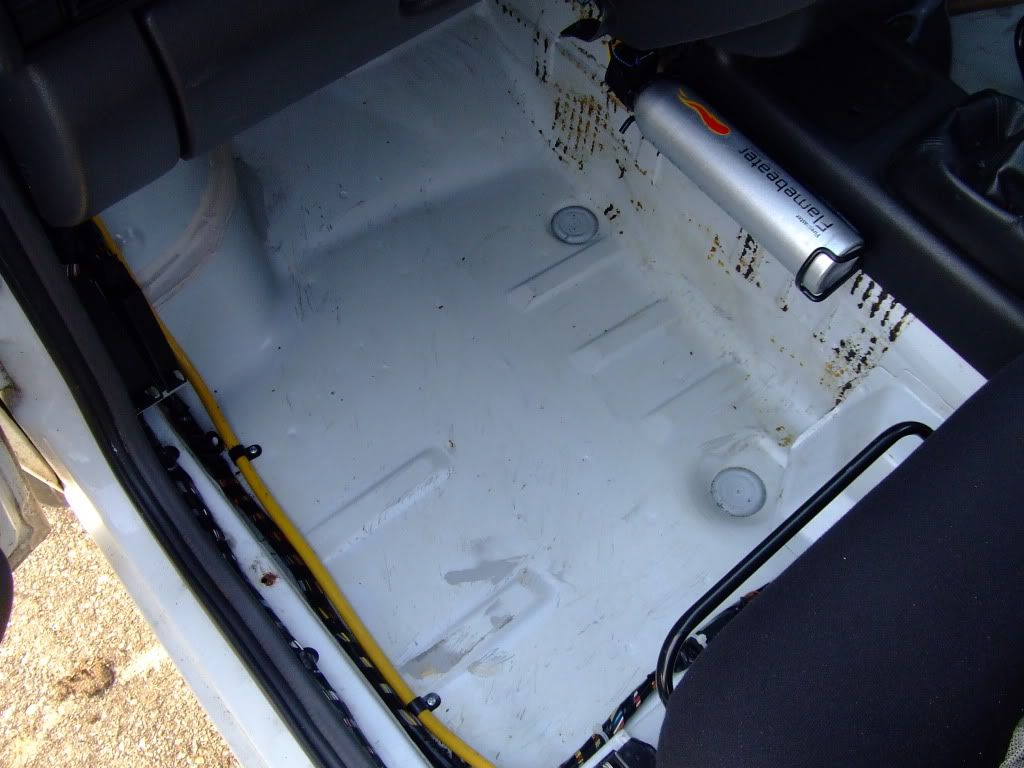
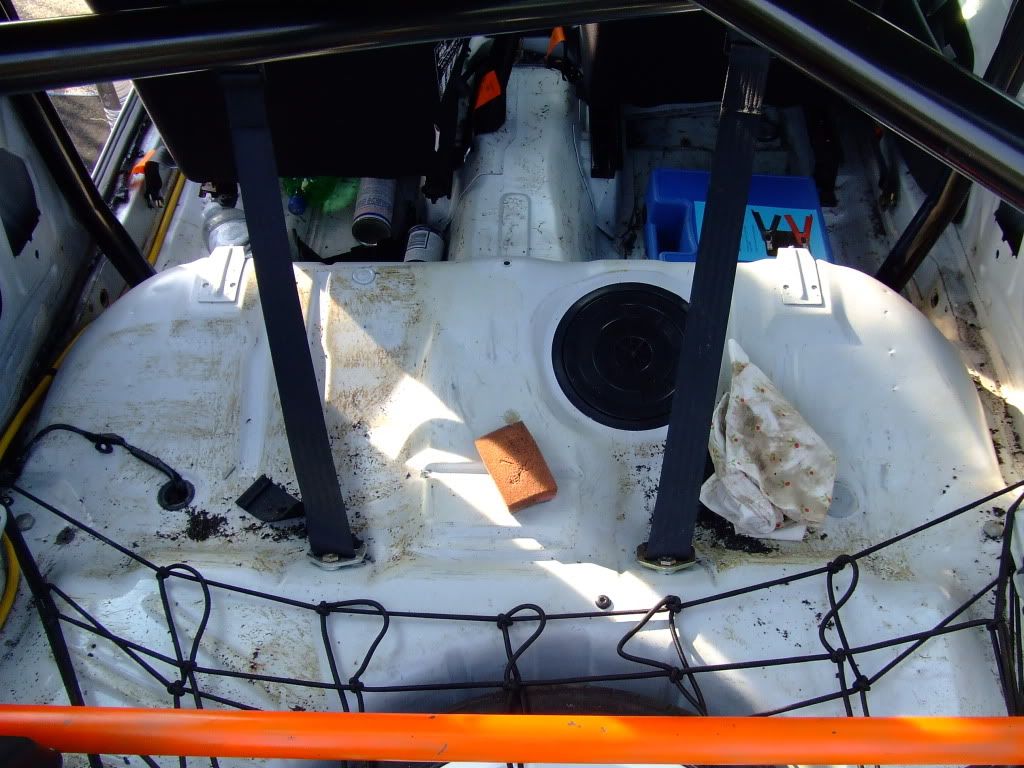
So, now i've decided i'll remove the seats and the like for better access to get in there to get as much of the bonding residue off as possible - really not much left to do to this now before Combe - 2 tyres to get bought and fitted, and then thats it I think.
Might buy some Orange model paint and do a little detailed paintwork around the black front Griffin though...
|
djgritt
Premium Member
 Registered: 1st Nov 07
Location: Dorset Drives: Focus ST / Hyundai i20N
User status: Offline
|
More Updates - had a full day to faff today - Naomi working a split shift means no time to be dragged away - win!
So, wasn't entirely sure of what to do with it, but just started doing something and just got on with whatever popped up in my head.
Started by whipping out the Seats and Crossbars of the Cage - intending to clear up all the Bonding residue that can be seen;
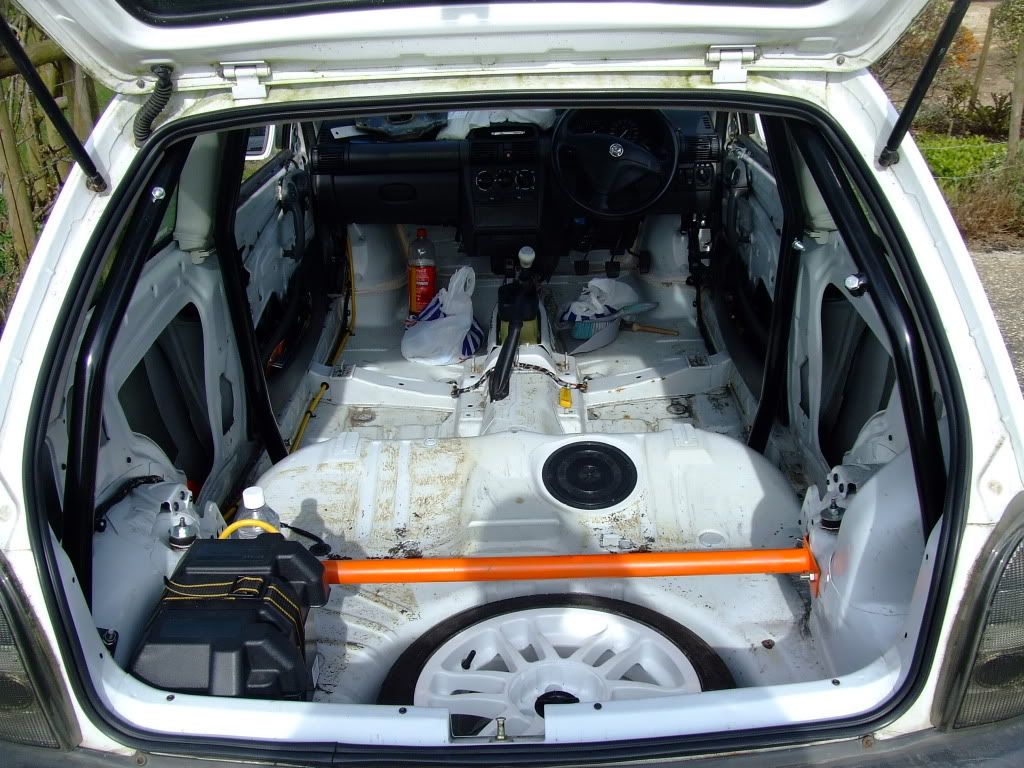
Then, after a bit of a session with a Sponge, Scouring pad, Rags and copious amounts of White Spirit, this was the result;
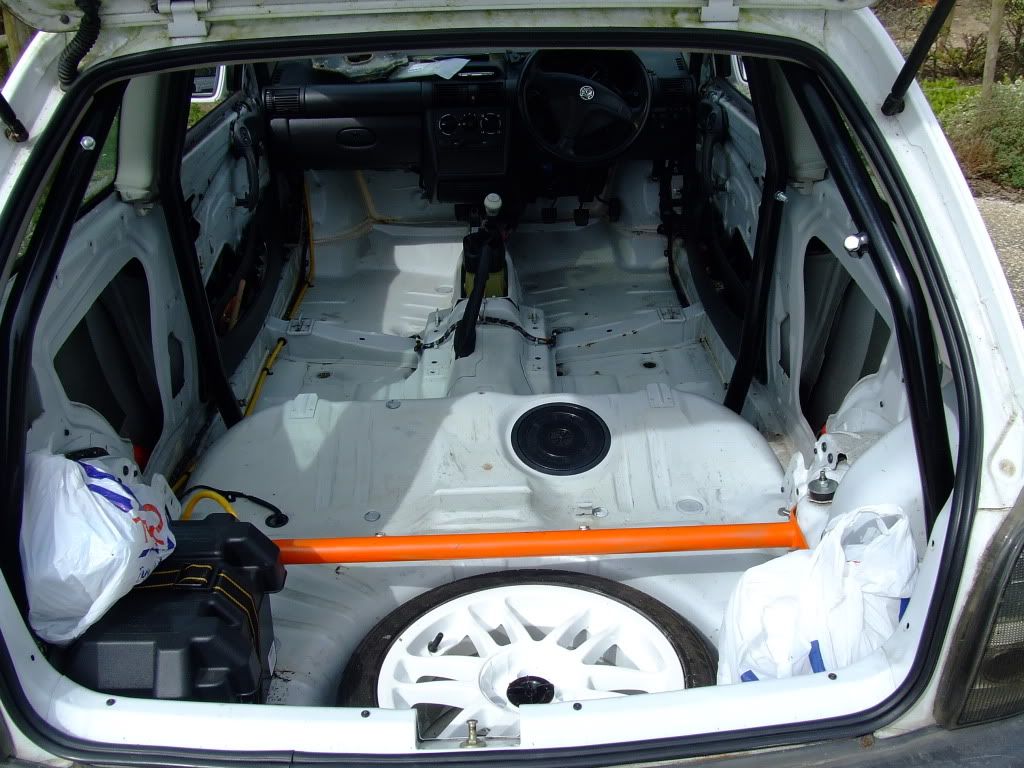
Then, decided to try to tidy up some of the scratches & scrapes, and also the Seam Sealant i'd disturbed removing the Sound Deadening;
Primed;
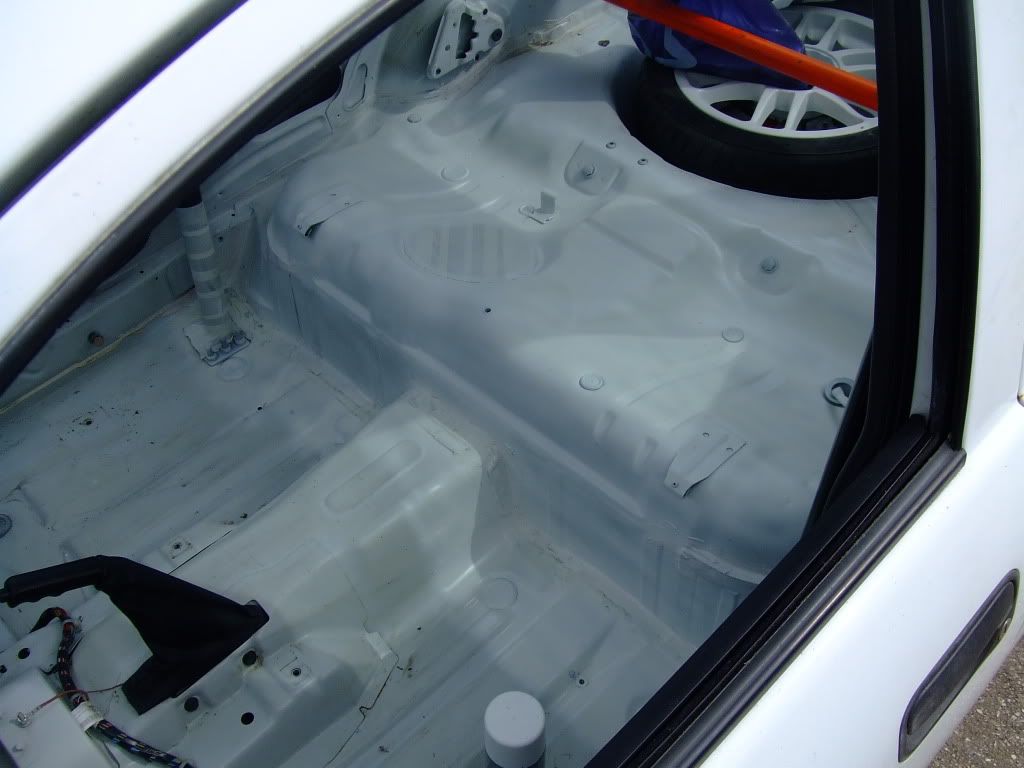
Painted;
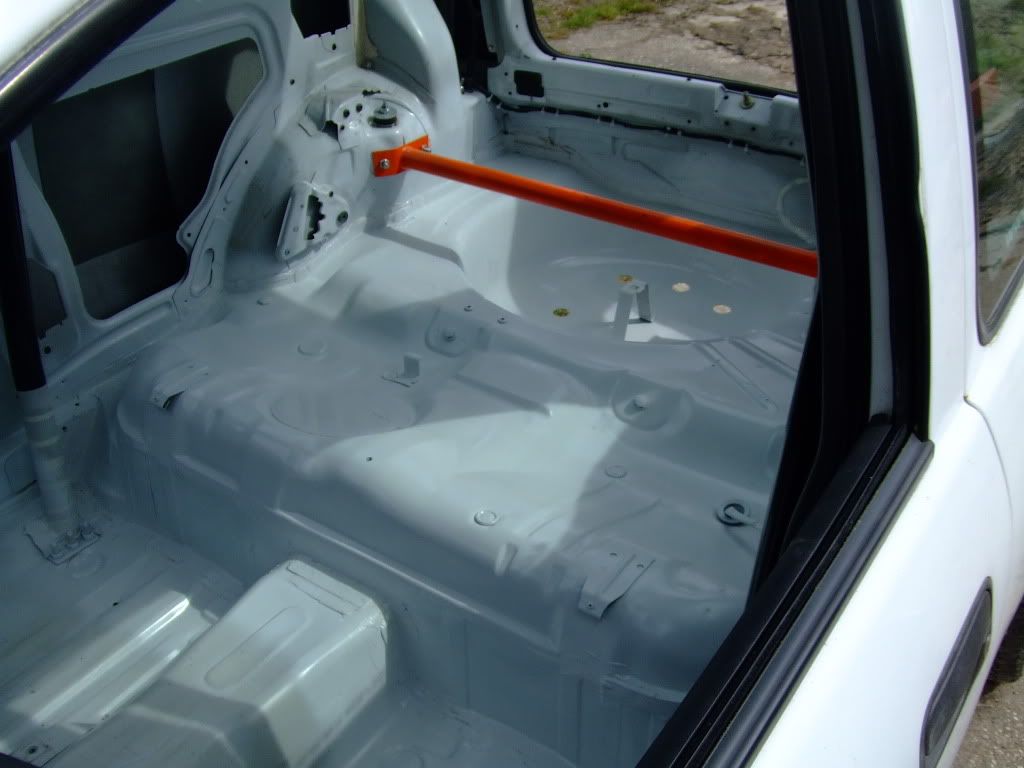
Lacquered;
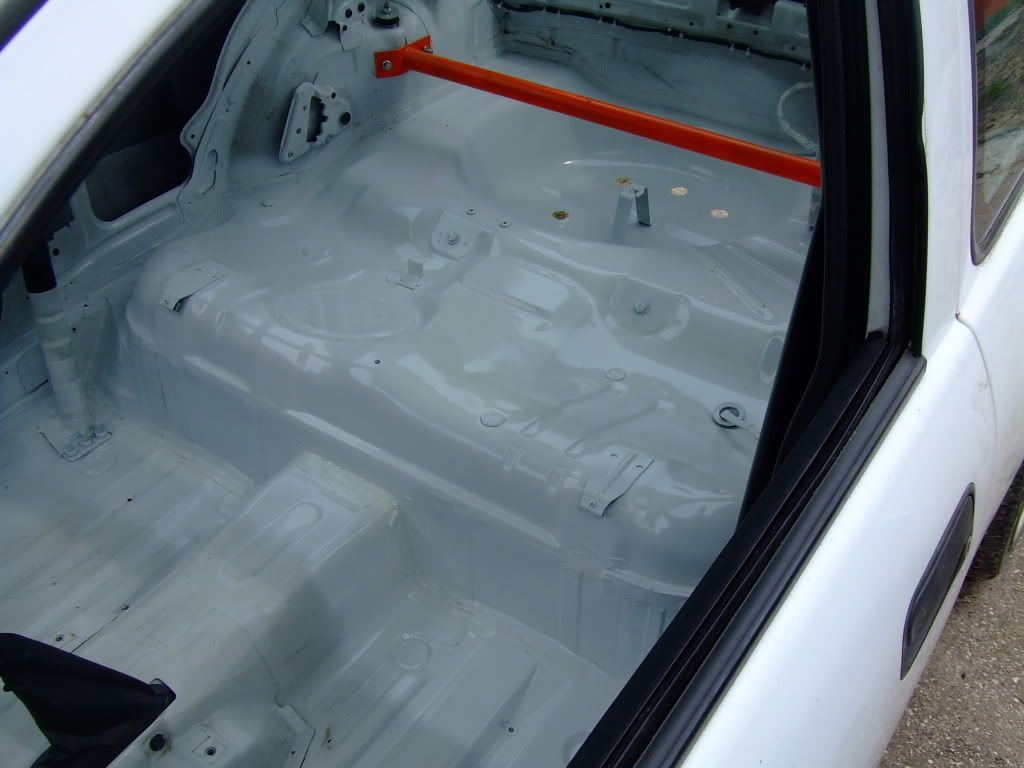
Whilst I was waiting for the Interior to dry, I removed the Grille to do some details around the Griffin;
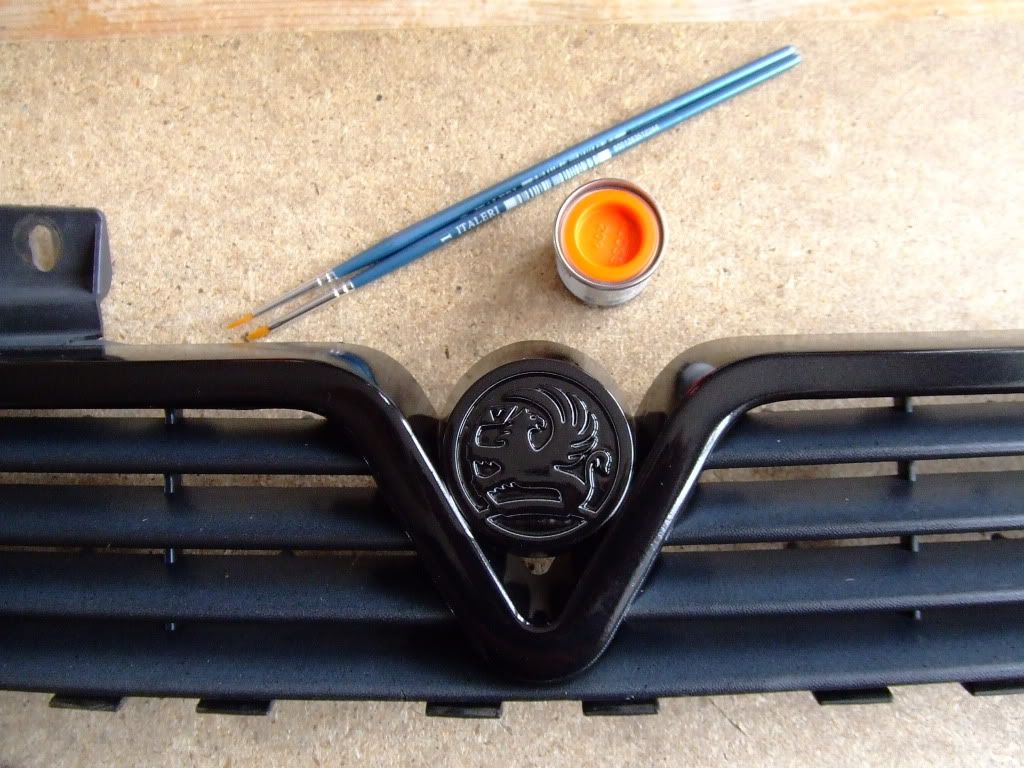
1st Coat didn't do so well on the Black background;
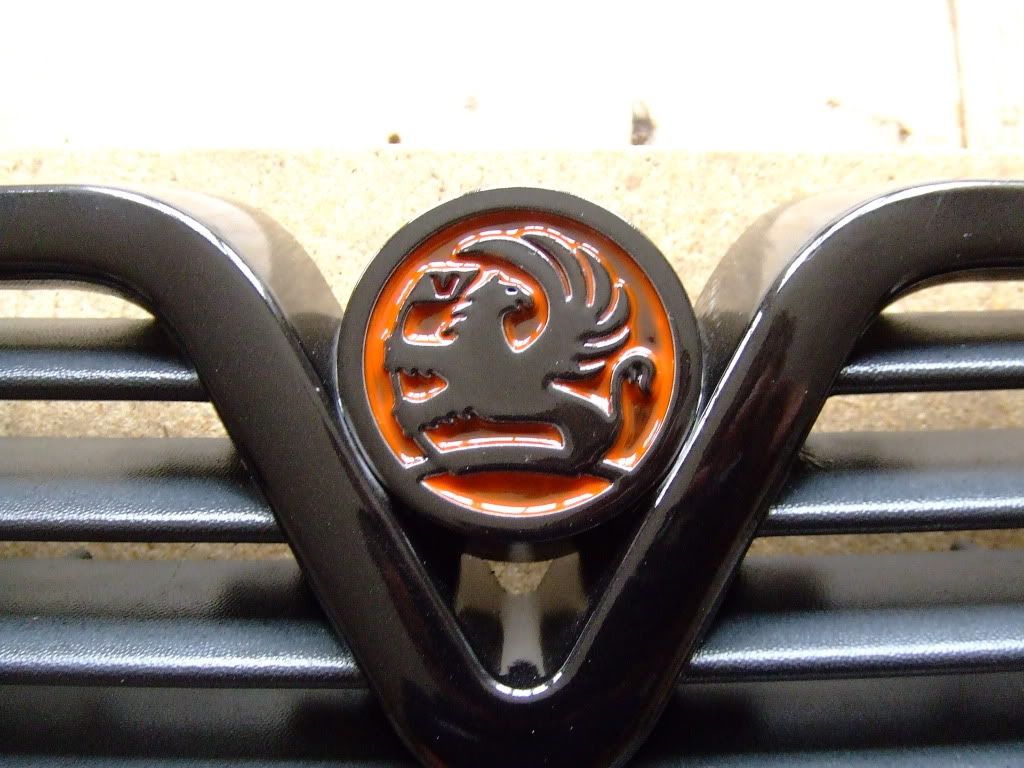
After a few more Coats - bit disappointed it isn't as Fluoro as the tin suggests!
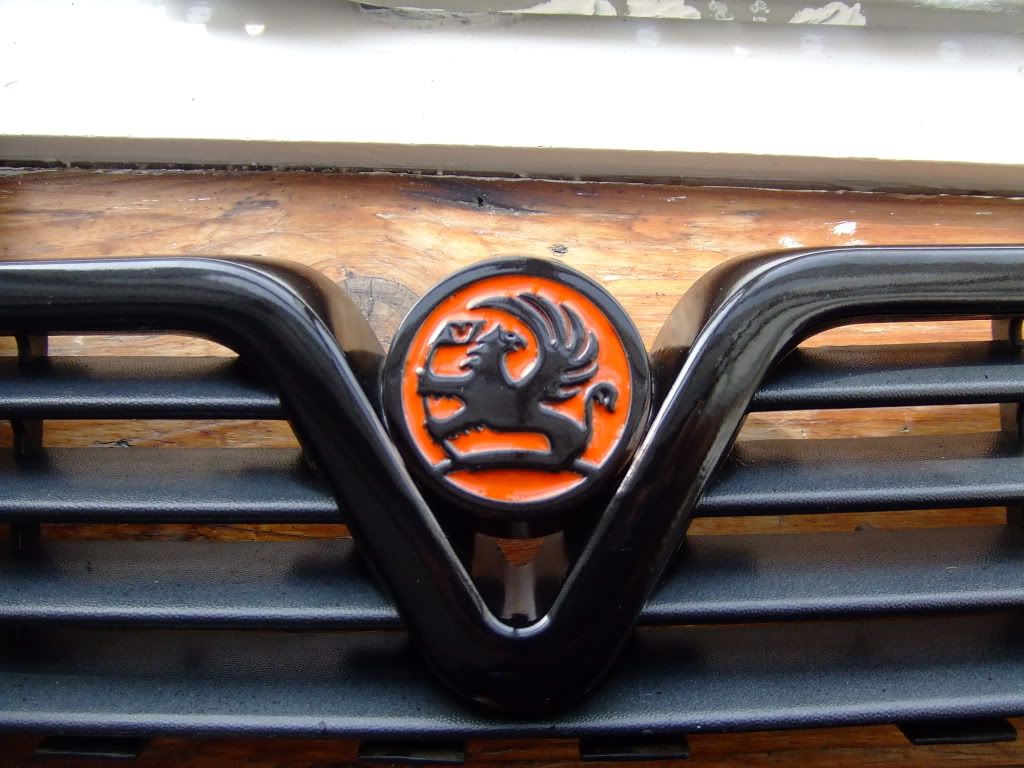
Went back to see how the Interior was going - pretty well - trying to turn the car into a Greenhouse by leaving it shut in the sun worked!
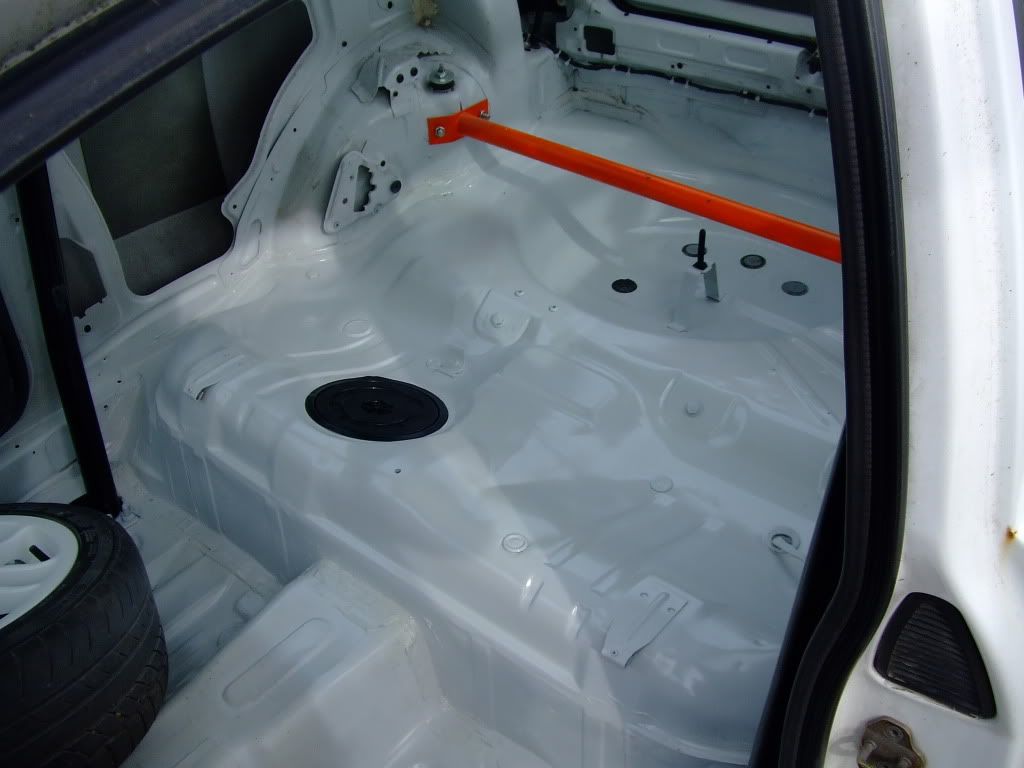
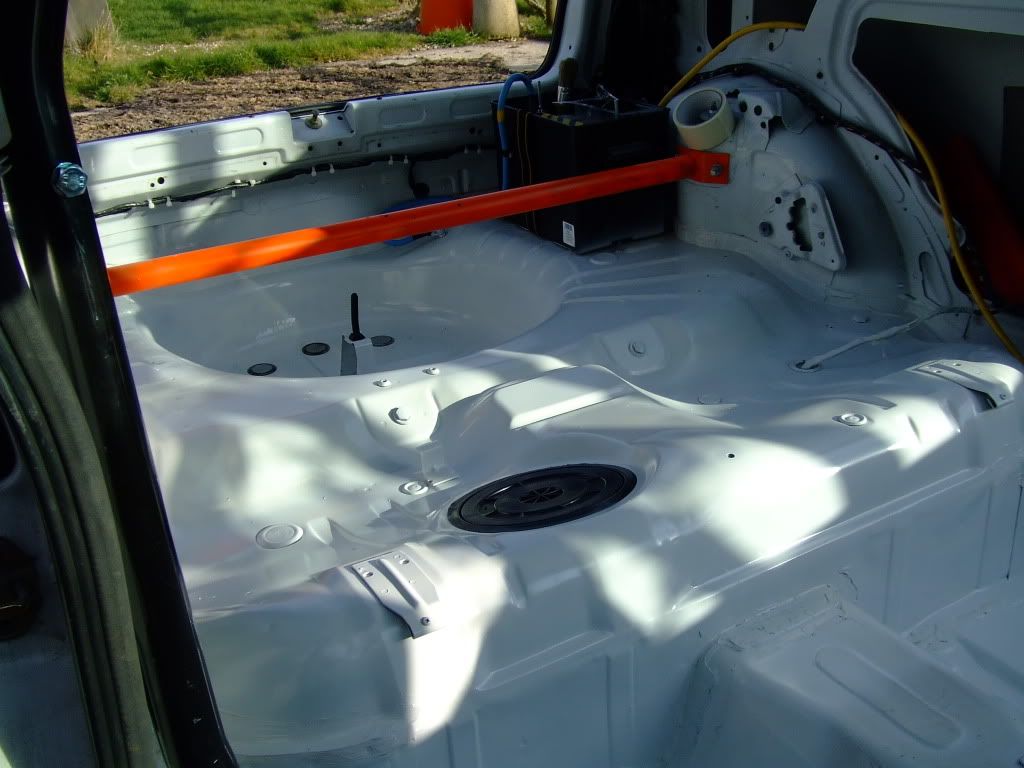
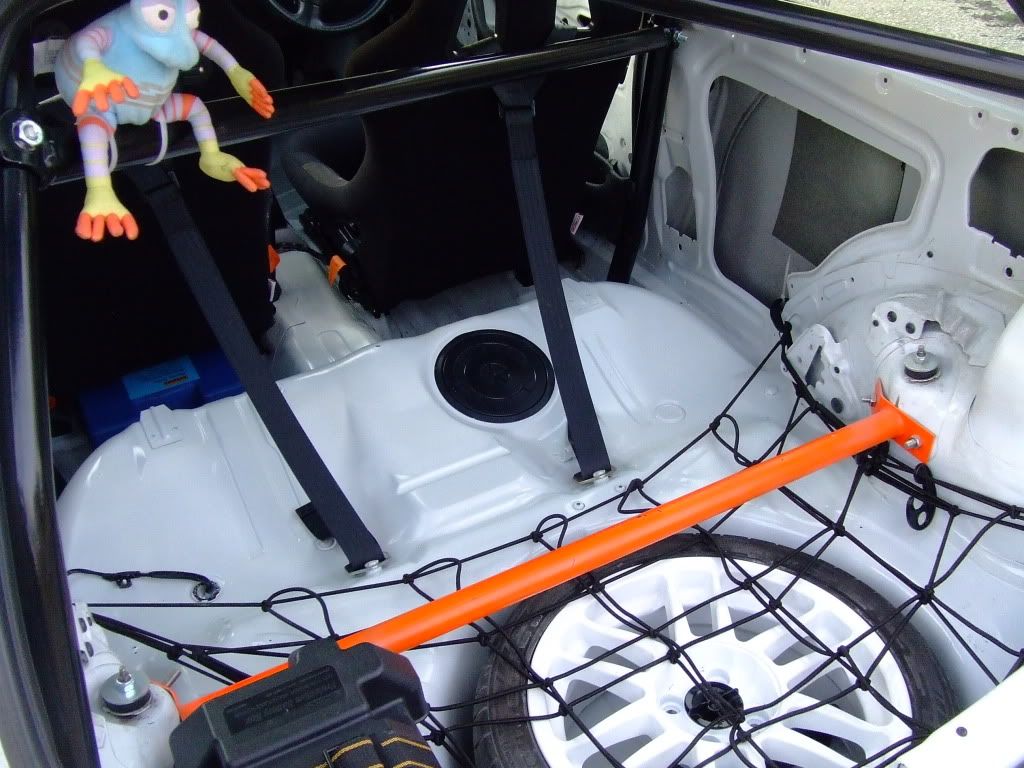
Then refit the Seats, Crossbars, Cargo netting, Wheel etc and reran the Cabling and wiring loom - still looking fresh;
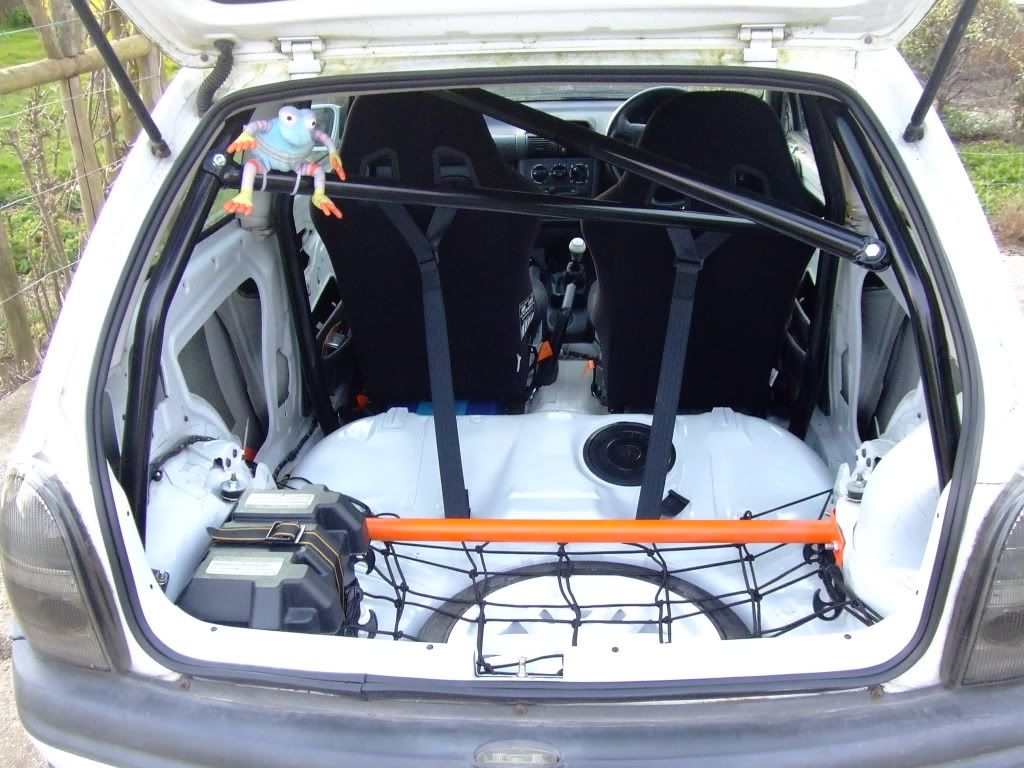
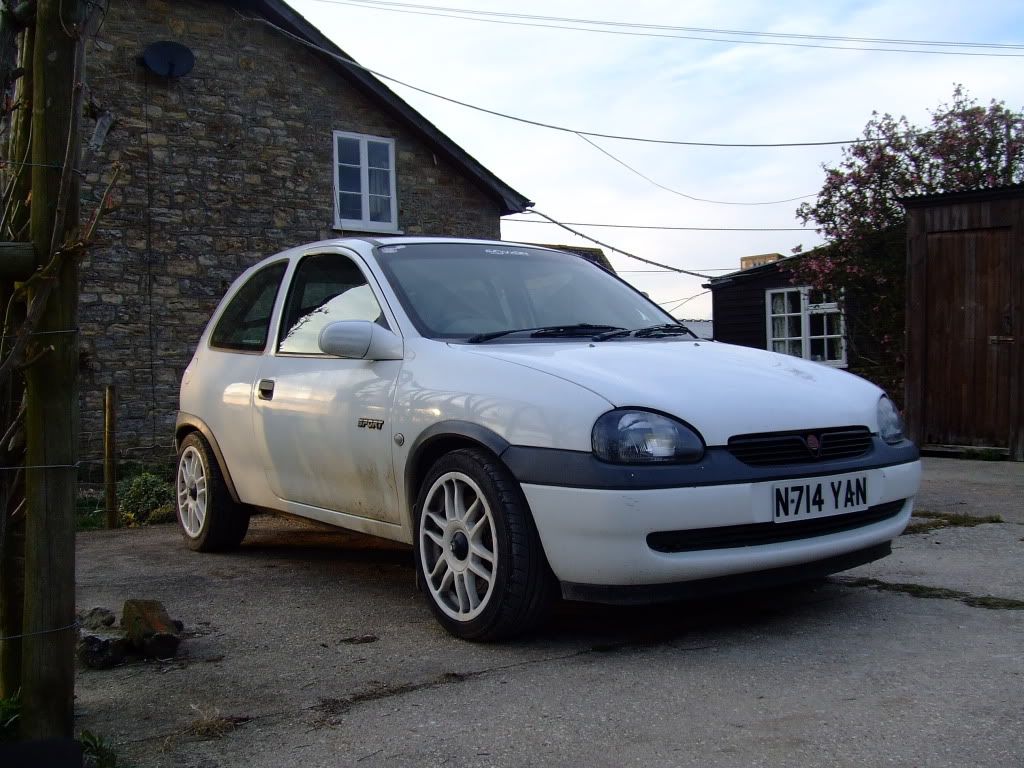
Also refit the Grille - not sure on the Badge now... Still annoyed it's not Fluoro!
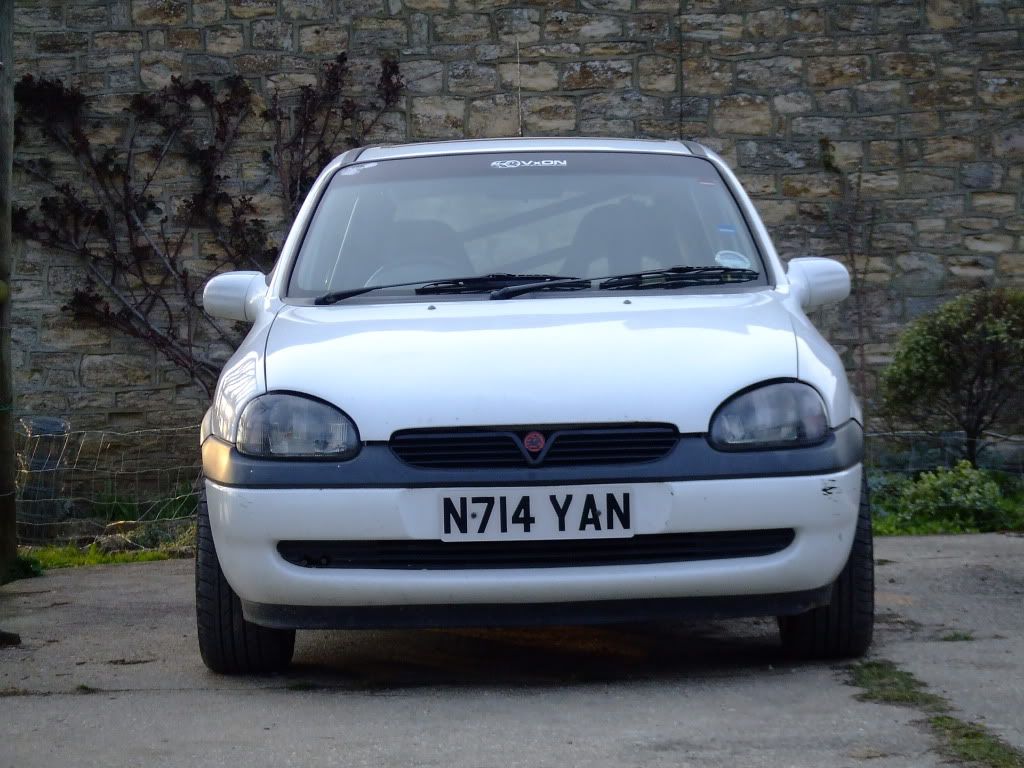
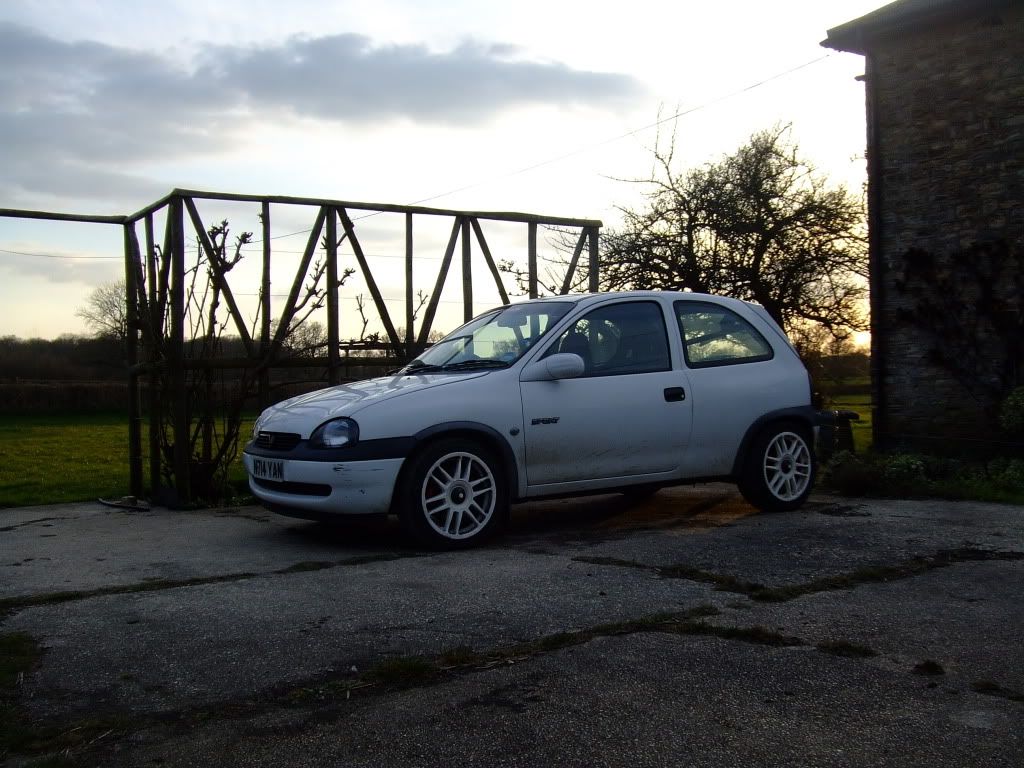
Then tucked it all up for the night. No doubt i'll be harassed more during the week!
|
Ste L
Member
Registered: 3rd Jul 06
Location: Manchester Drives: 106 16v Rallye
User status: Offline
|
need the cage painting the same colour as the strut brace 
|
djgritt
Premium Member
 Registered: 1st Nov 07
Location: Dorset Drives: Focus ST / Hyundai i20N
User status: Offline
|
quote:
Originally posted by Ste L
need the cage painting the same colour as the strut brace 
It will be happening, not for a couple of weeks though - that Orange paint was a proper cunt to work with!
Might get it sent off for Coating with the Brace and a couple of other little bits
|
djgritt
Premium Member
 Registered: 1st Nov 07
Location: Dorset Drives: Focus ST / Hyundai i20N
User status: Offline
|
Haven't done much this week, was at a 3-day conference from Weds, and had a couple of later finished on Mon/Tues.
Plus, there isn't much to be done now this side of Combe anyway.
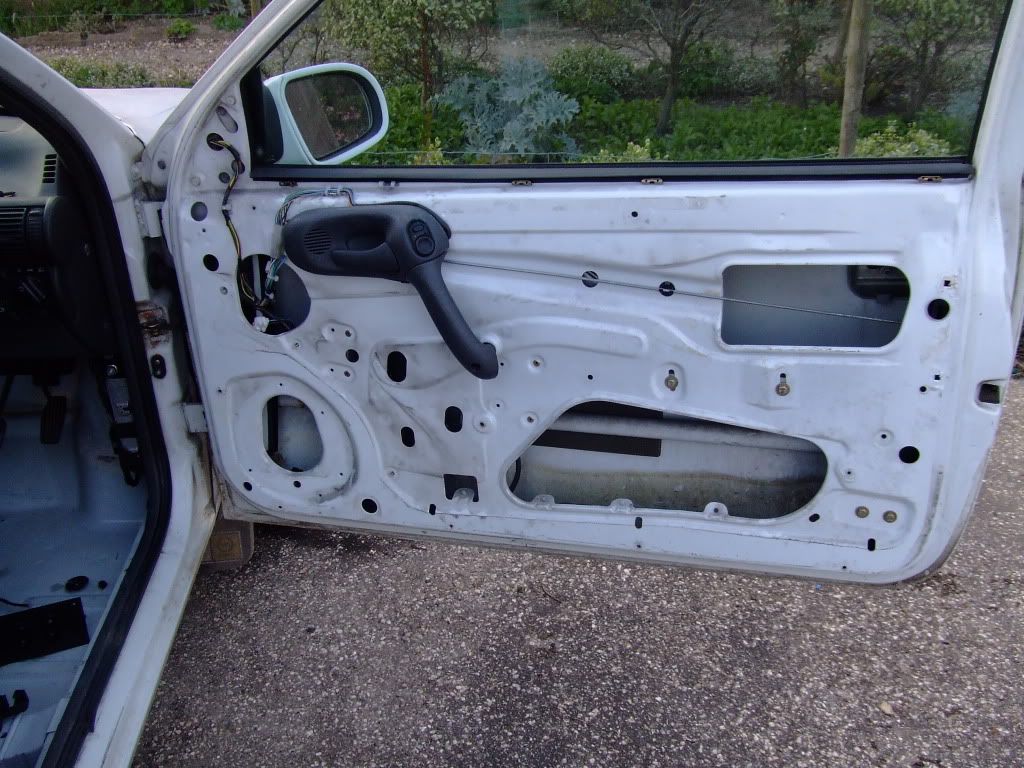
But, today, I got bored, so I decided to remove the Door Pockets - and sort out the reason why I had left them in whilst I was at it - the Electric Window Switches.
Not many pictures taken - but basically I removed the door pockets and switch bank. Measured and sketched the dimensions and shape of the Switch, then measured the space for them to be fitted. Cut and shaped the switch holes, fitted the switches and sorted the wiring.
No contact with the window when it is opened fully, which is good, as they are pretty close!
Will look to remove the Electic system completely eventually, but it can wait for a little bit longer.

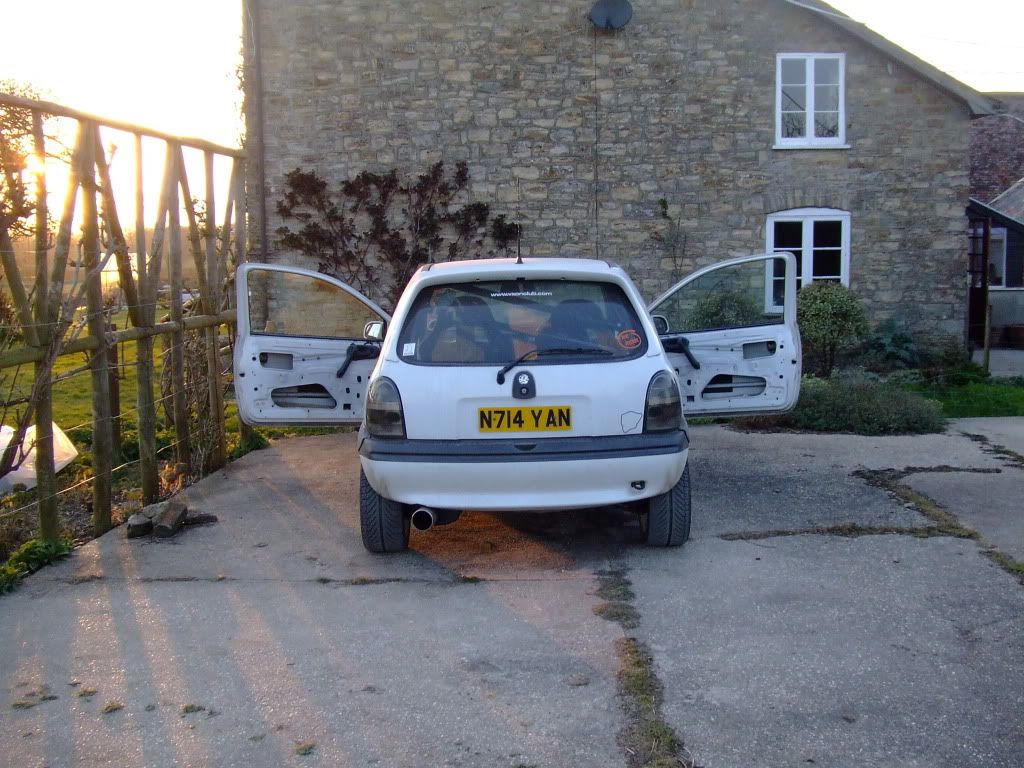
Now, all I have left to do this week is a pair of 195/45 Tyres and a fecking good wash and polish.
|
Darryl H
Organiser: South Central
Premium Member
 Registered: 19th Nov 09
Location: Camberley Drives: Porsche 944
User status: Offline
|
looks sweet i love the orange 
|My Corsa|SC|My Instagram|
|
am4nf
Member
Registered: 27th Jul 08
Location: South Ayrshire Drives: Corsa Sport
User status: Offline
|
What colour of orange were your cesaro's mate
|
djgritt
Premium Member
 Registered: 1st Nov 07
Location: Dorset Drives: Focus ST / Hyundai i20N
User status: Offline
|
quote:
Originally posted by am4nf
What colour of orange were your cesaro's mate
PlastiKote Fluoro Orange
Good when fresh, shite after a few months of fading.
|
djgritt
Premium Member
 Registered: 1st Nov 07
Location: Dorset Drives: Focus ST / Hyundai i20N
User status: Offline
|
Got a few days off Work, to get some car stuff finished and have a bit of a break.
So today I spent the day doing a few little bits and pieces;
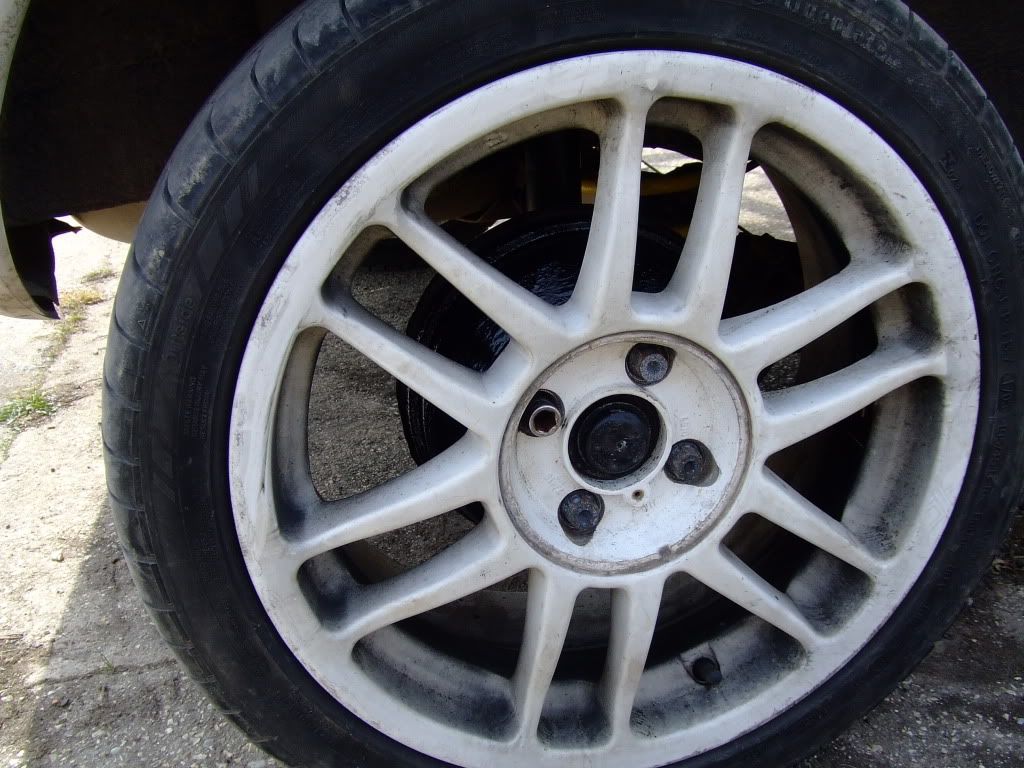
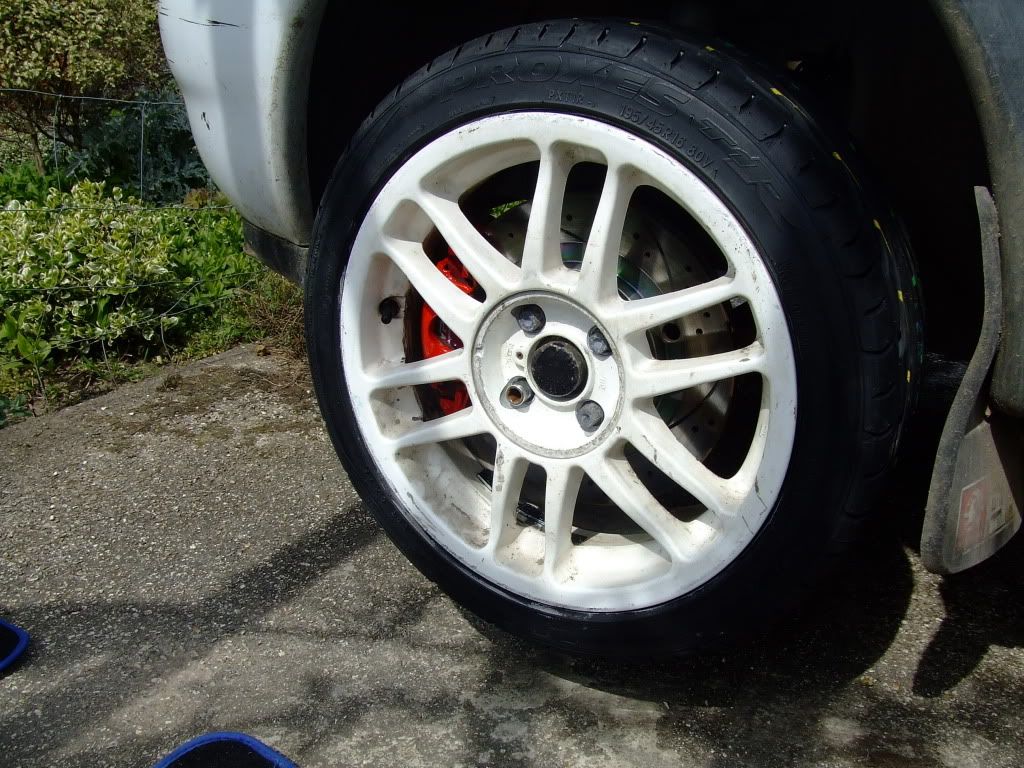
Bought a pair of Toyo T1R (195/45/16) and put them on what were the rear wheels - swapped the fronts (Continentals) for the rears so that it is running the more aggressive Directionals on the Driving/Steering wheels;
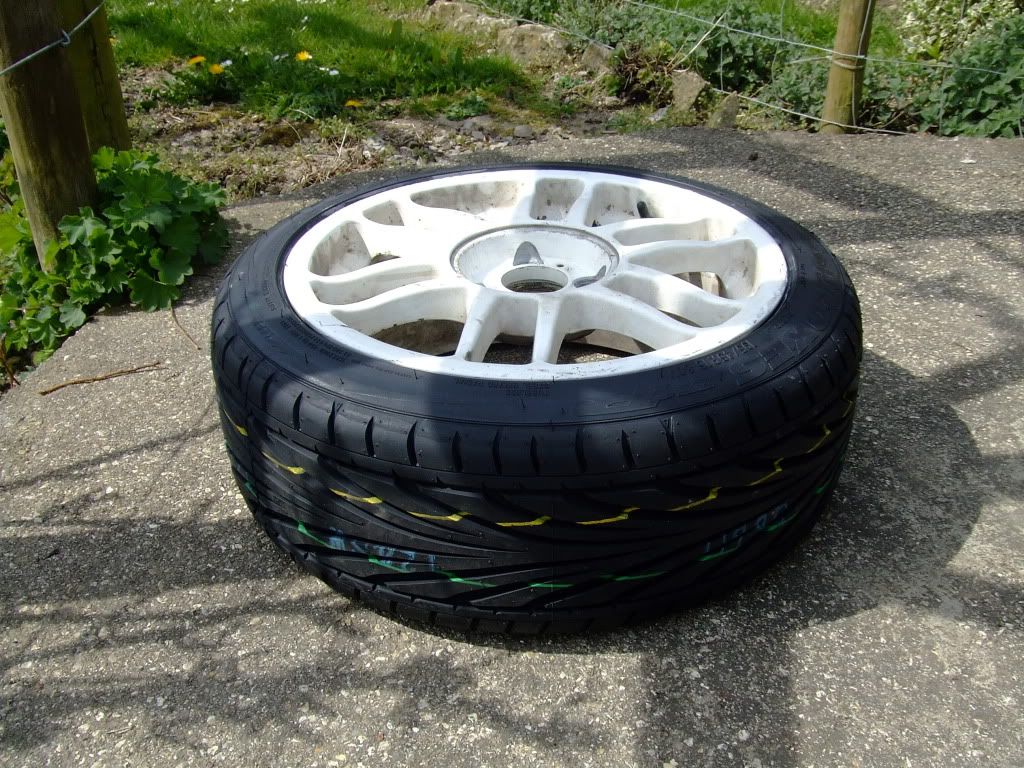
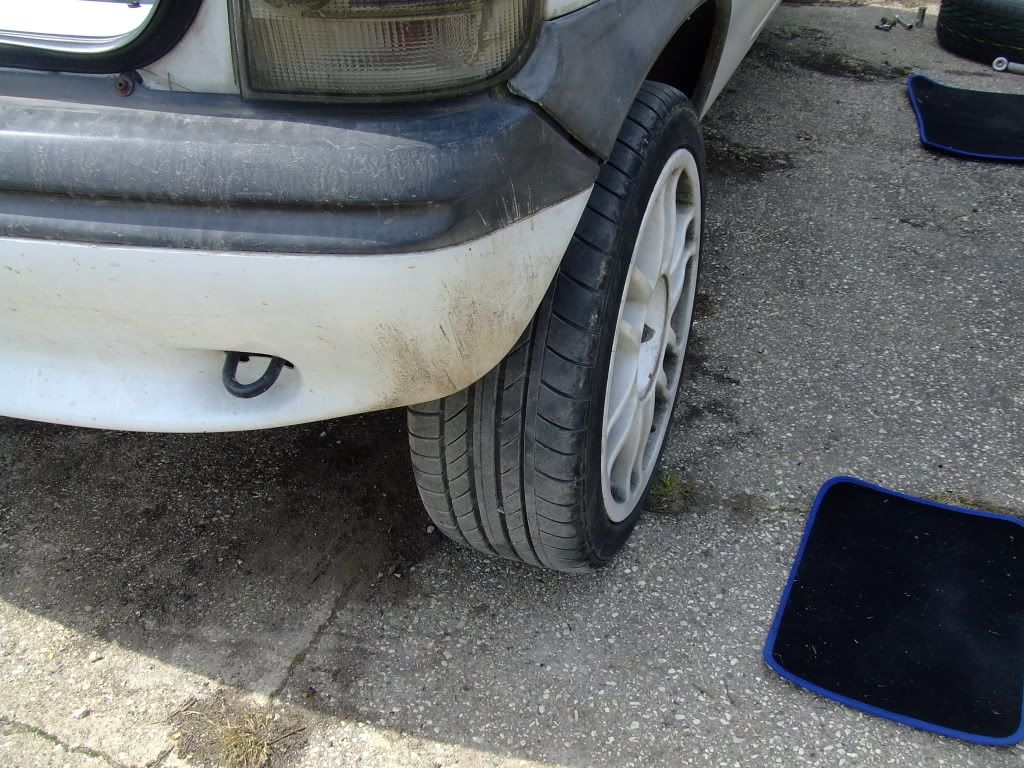
Whilst the rear wheels were off, I repainted the Drums, Black instead of Red - the put the wheels back on and dropped the rear down and got the Front up;
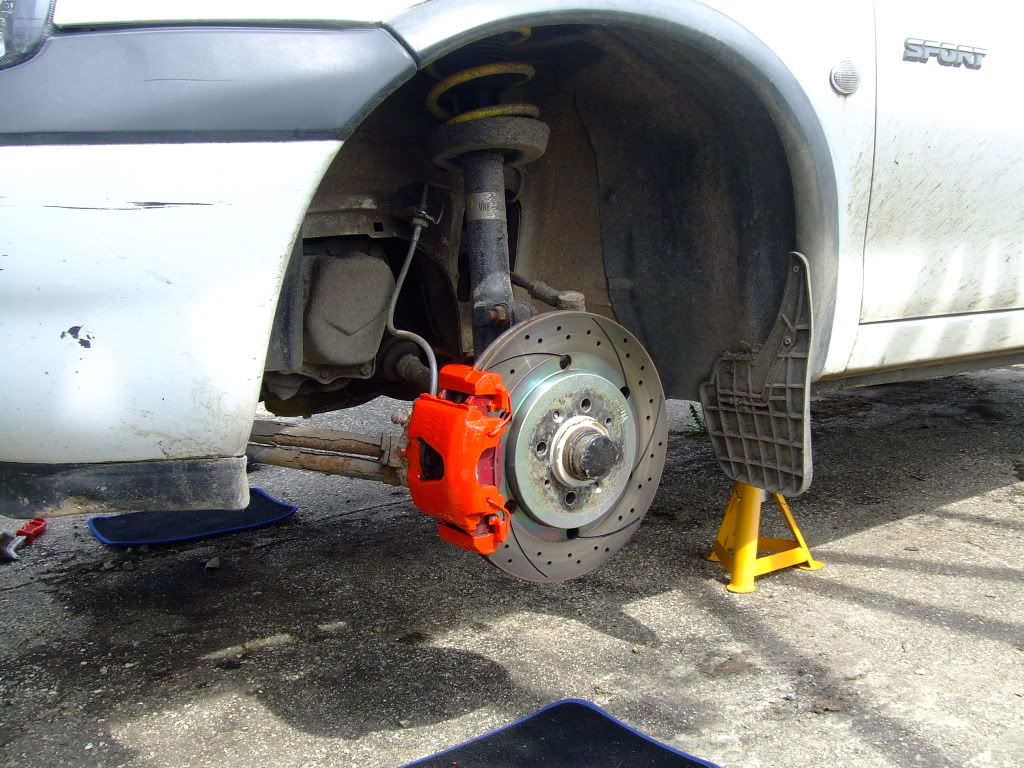
Repainted the Calipers/Carriers Red to freshen them up, then put the wheels back on and put the car back on the ground;
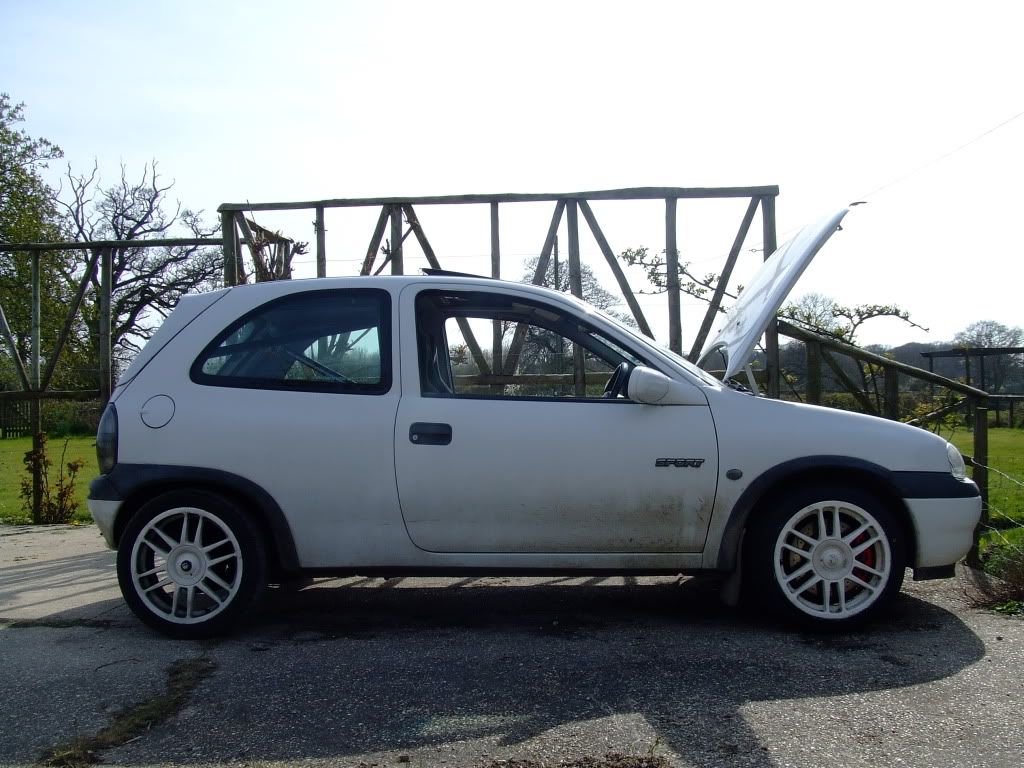
Then, was tidying up under the bonnet - involved butchering the SAI Pump bracket to remove excess Alloy and retain the one part i'm using to mount the Adjustable FPR, as well as a little clean up including cleaing the Cone Filter, cable ties around parts of loom/hose to tidy up, remaking vacuum line connections etc
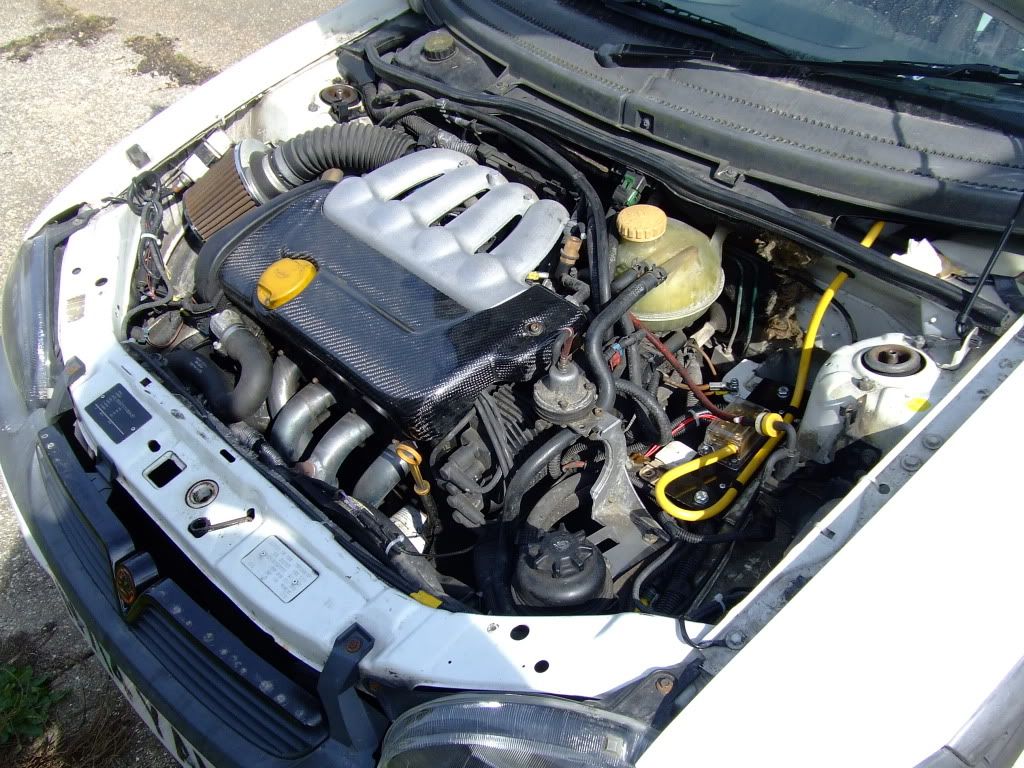
Then, seeing as I had time to spare, and I intended to do it at some point anyway, I got on with the following...
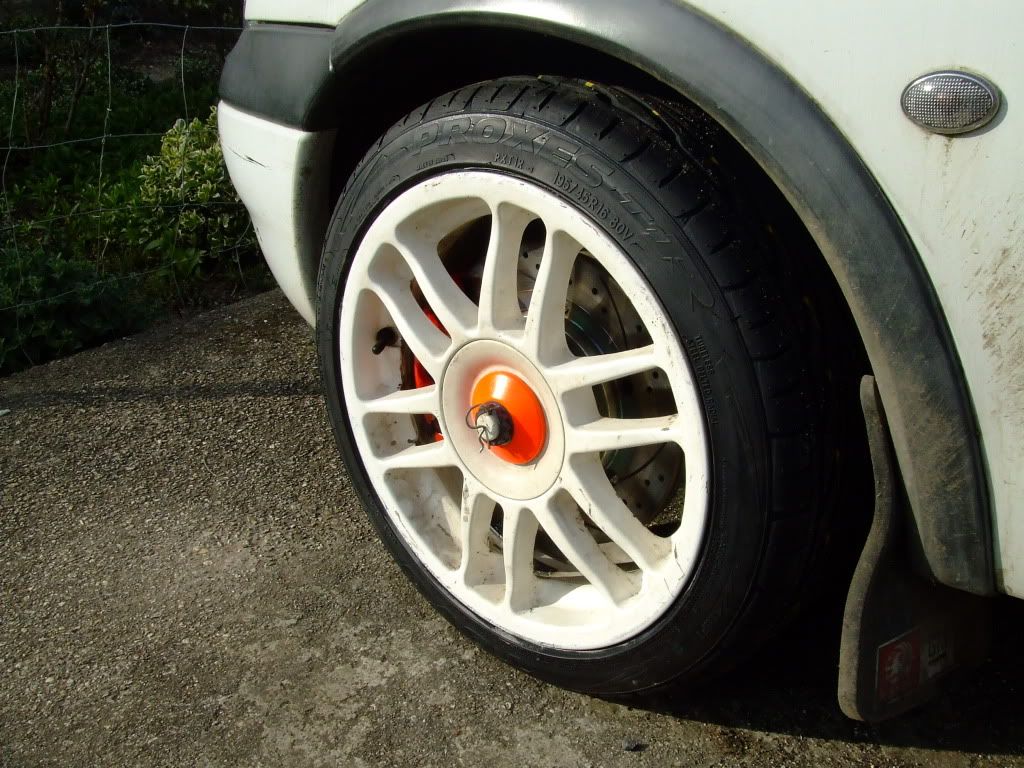
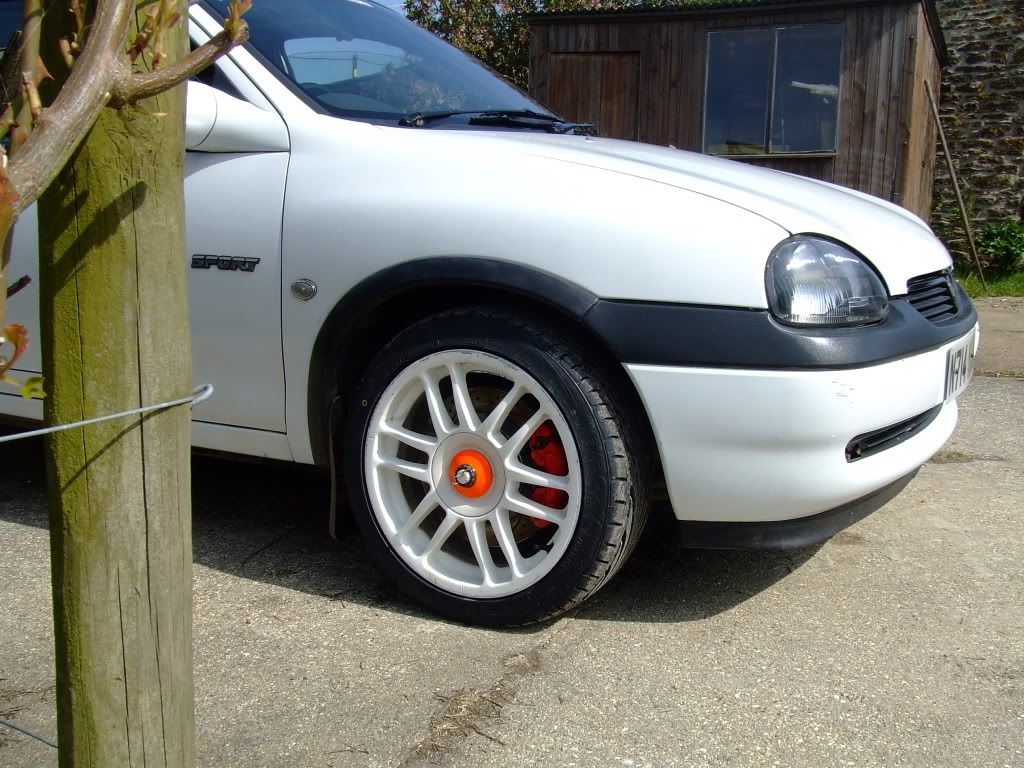
Painting the Centrecap Covers in Orange - looks alright TBH. Bit easier on the eye than full Fluoro. Orange Wheels...
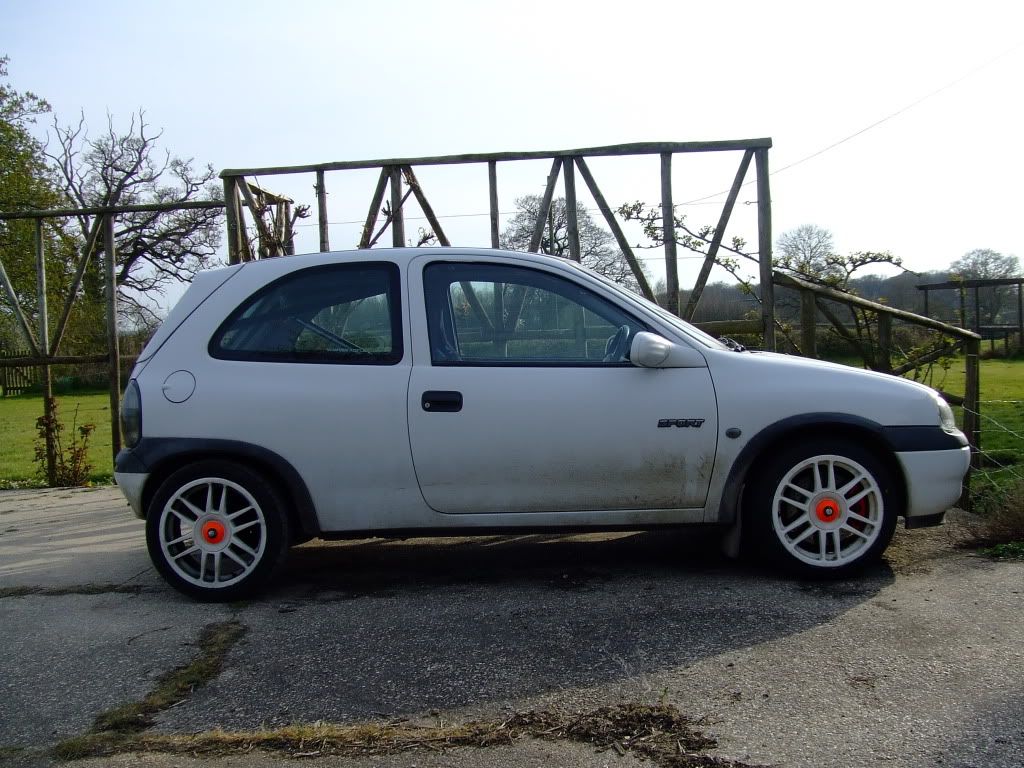
So, tomorrows task is to wash/polish the bloody thing, seeing as its been over 7 months since I last did, and give it a checking over (Levels, Wheelbolt Torques etc) prior to Combe on Saturday.
[Edited on 22-04-2010 by djgritt]
|
djgritt
Premium Member
 Registered: 1st Nov 07
Location: Dorset Drives: Focus ST / Hyundai i20N
User status: Offline
|
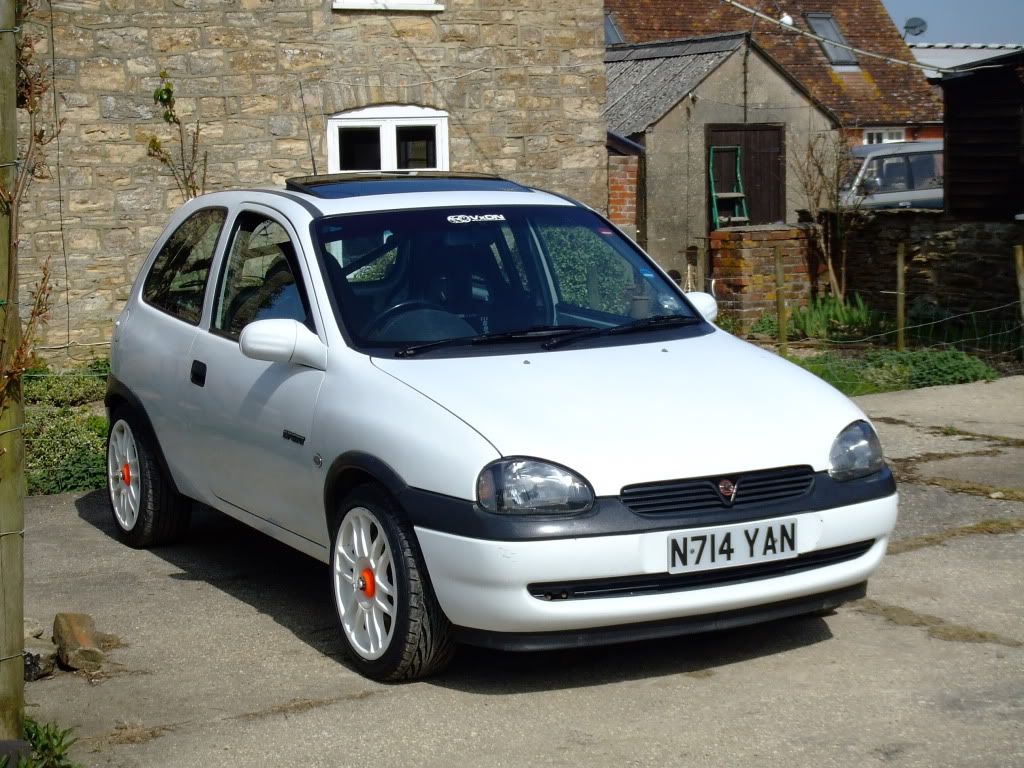
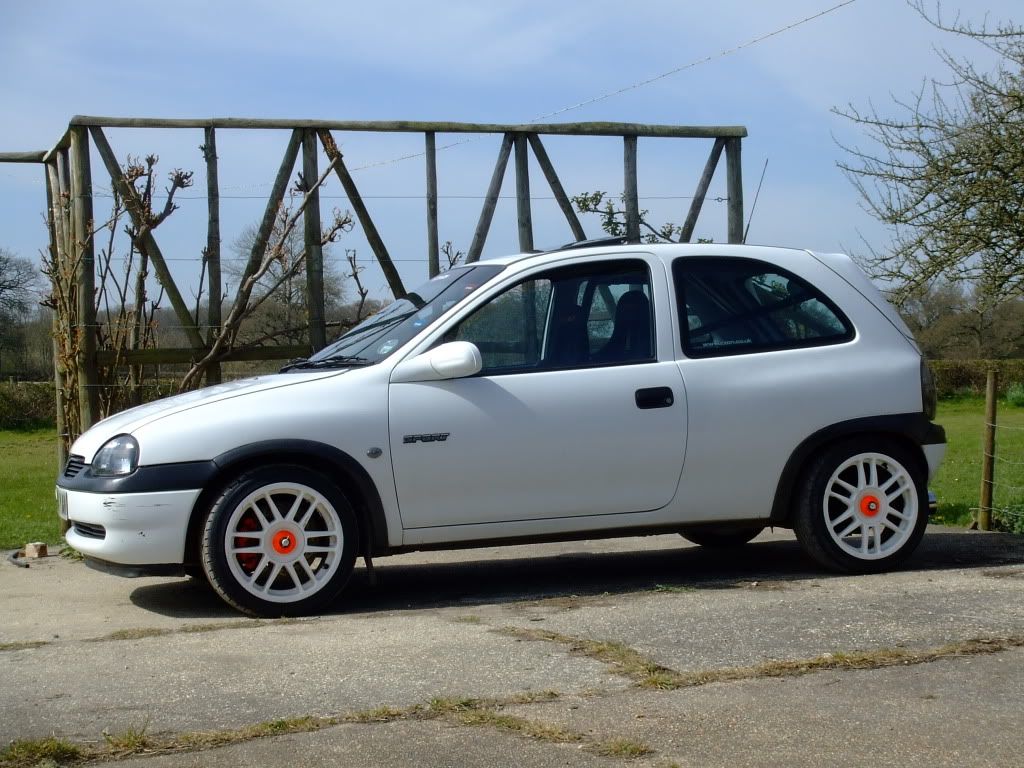
Gave it a well deserved clean this morning...
And also realised I had nowhere to put the Torque Wrench I carry in it since removing the doorcards... So got on with a cheap mod for this weekend - will be buying a couple of pipework clamps to bolt to the floor and clip it in after Combe.
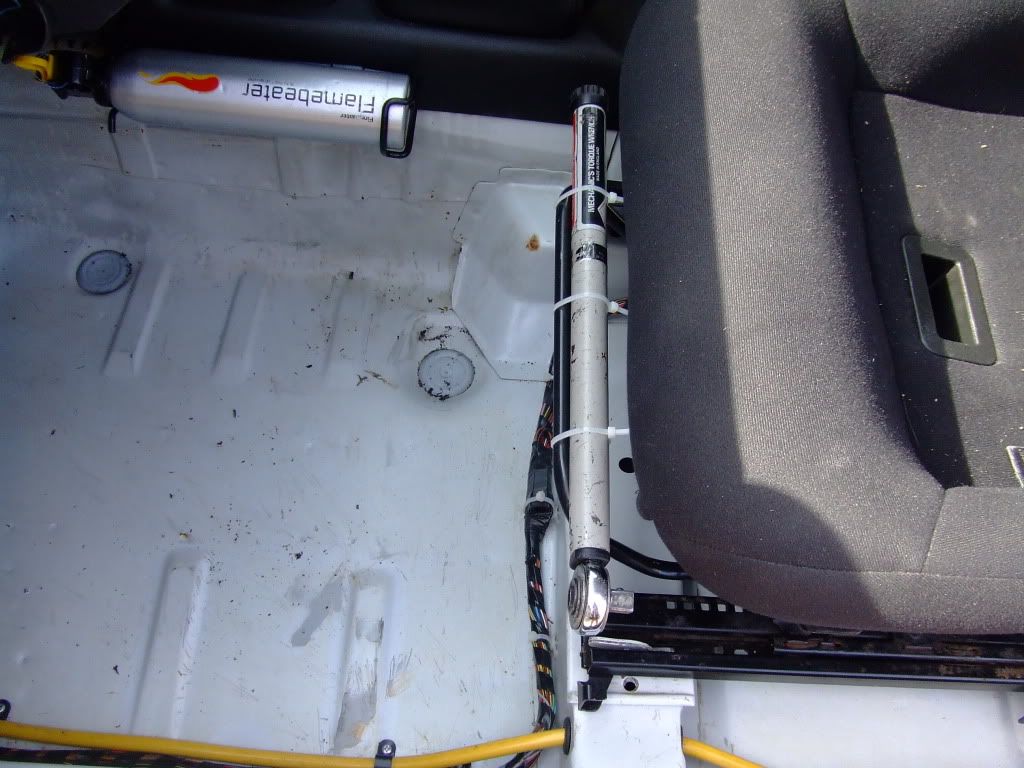
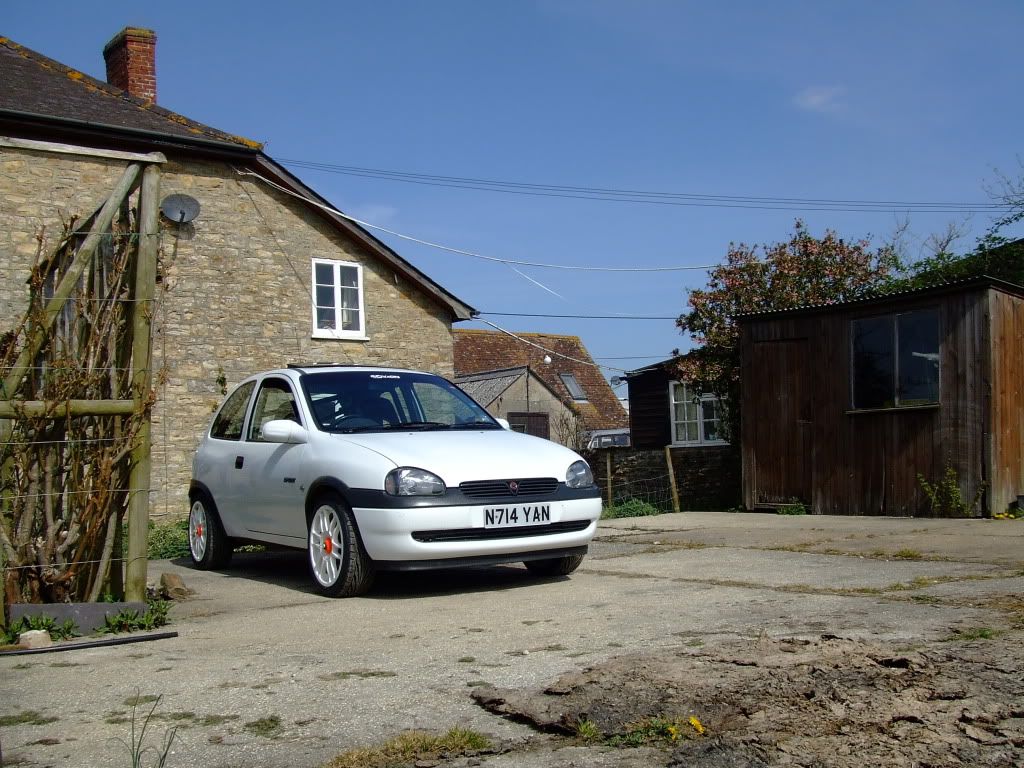
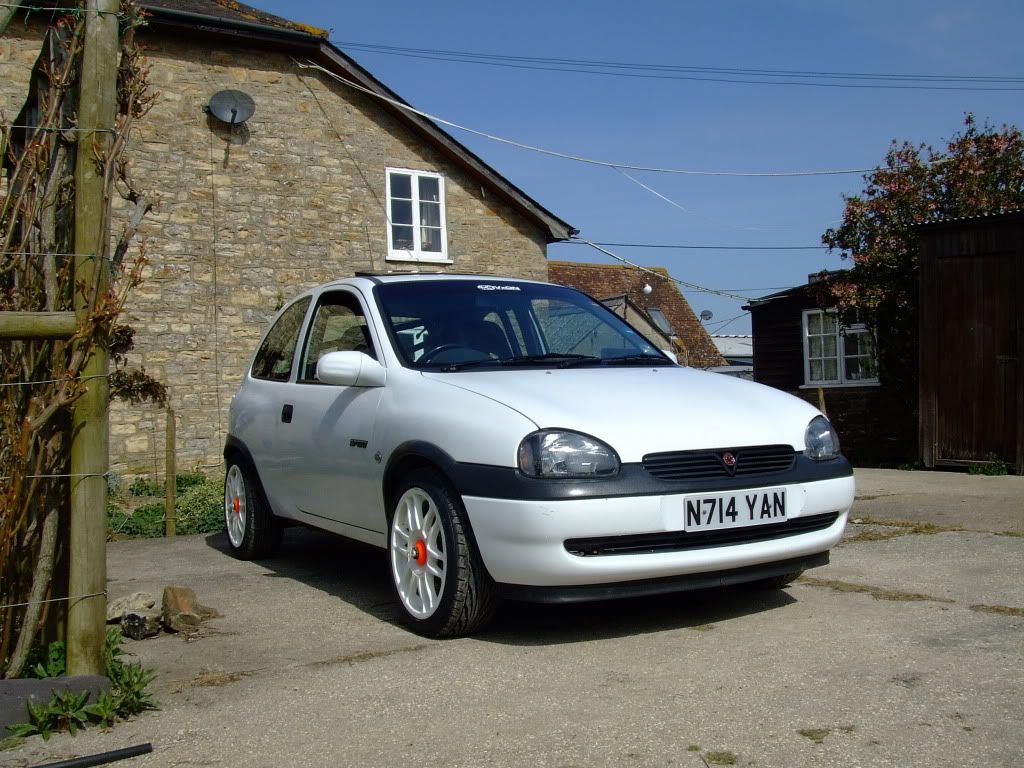
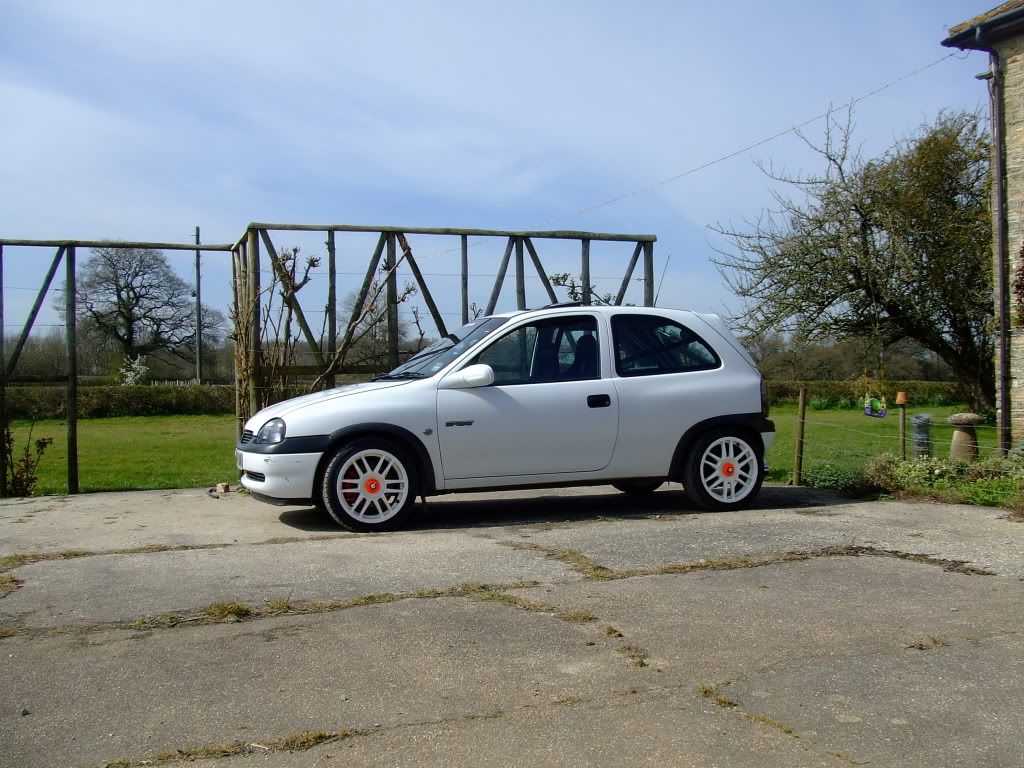
Clean pics - all plastics done, washed, dried, and a little polishing - nothing substantial, too hot and sunny and wont be at home to do it this evening when it cools down - Meh, it'll be reet.
|
djgritt
Premium Member
 Registered: 1st Nov 07
Location: Dorset Drives: Focus ST / Hyundai i20N
User status: Offline
|
Pics from Combe this weekend;
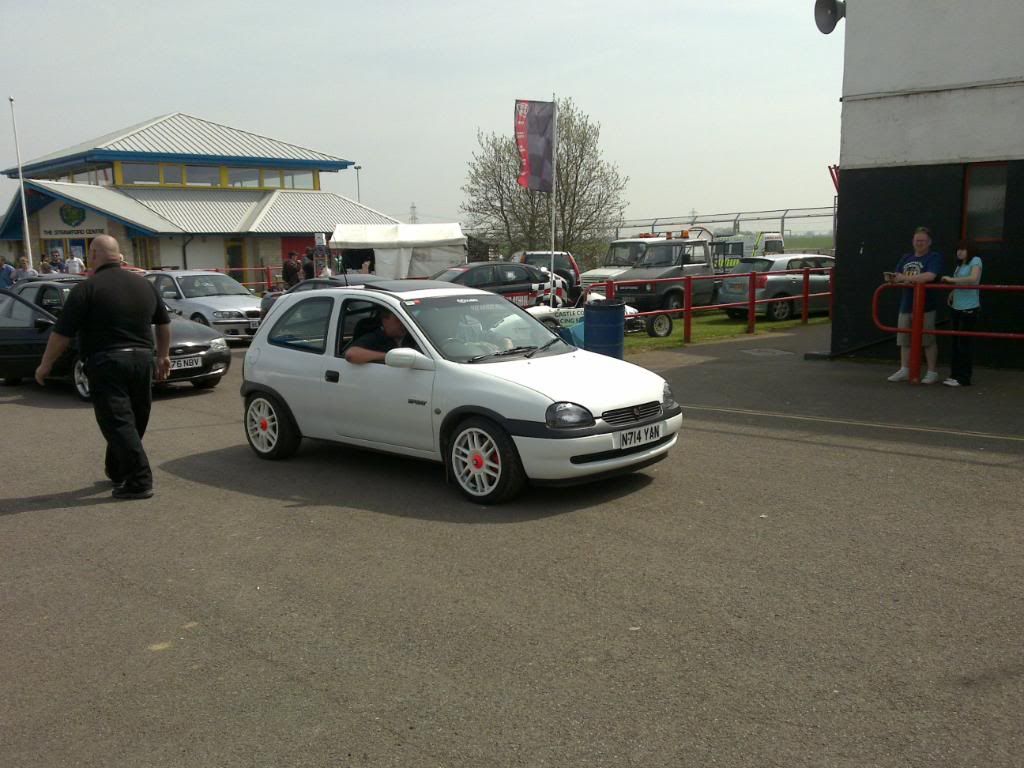
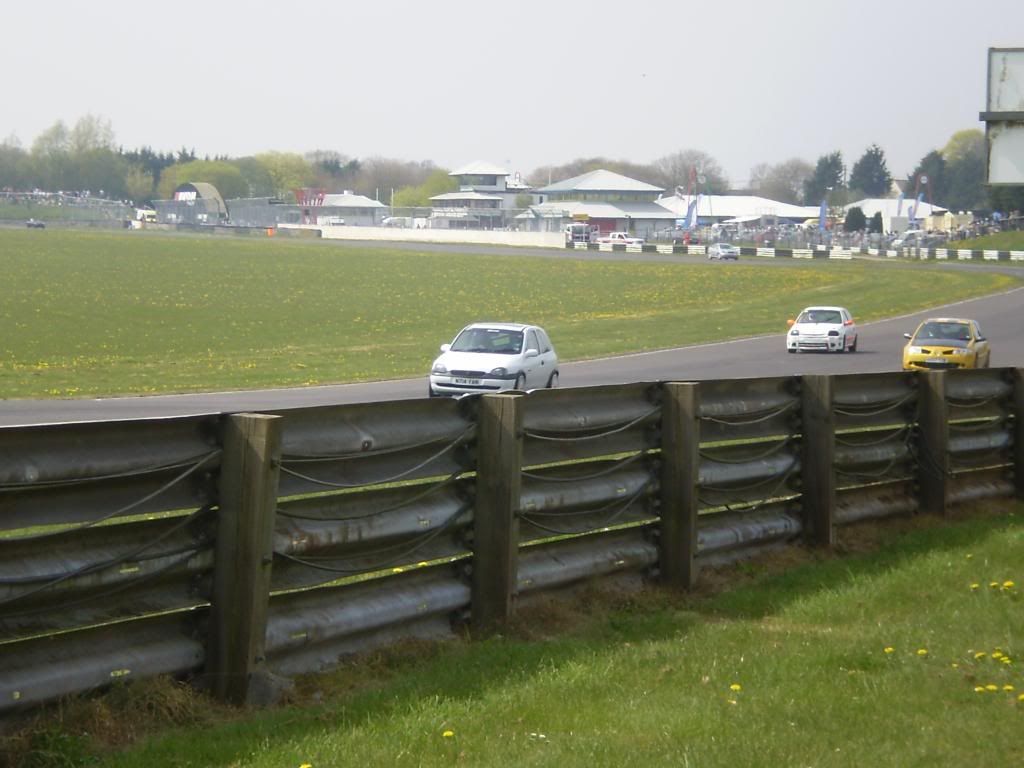
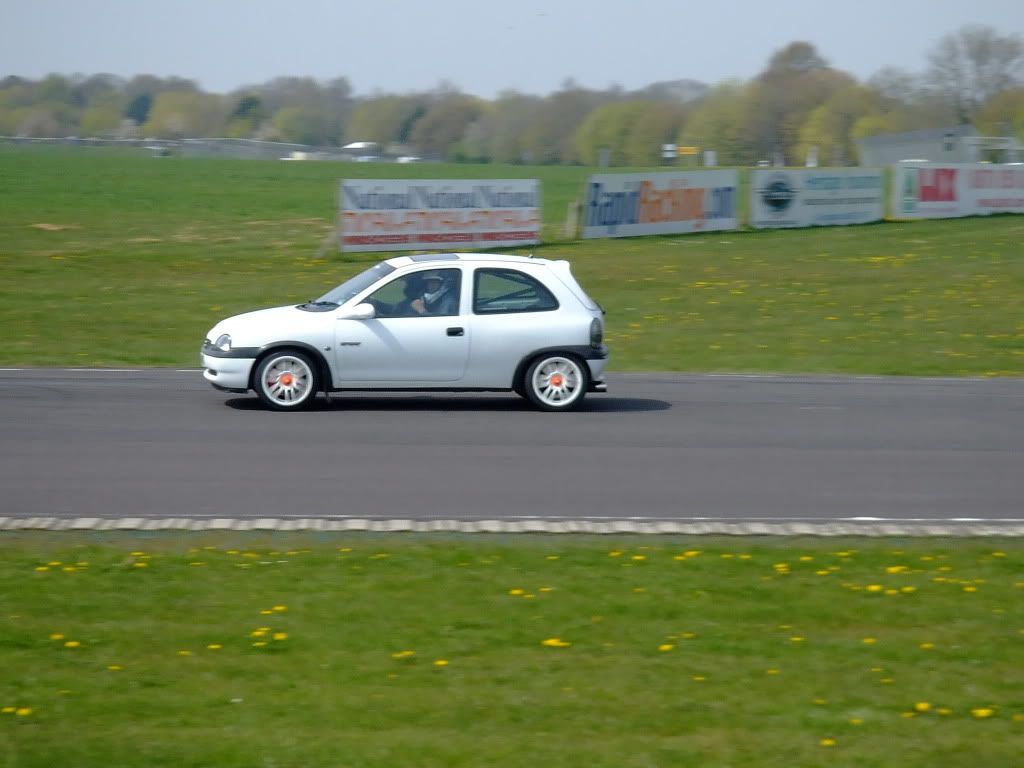
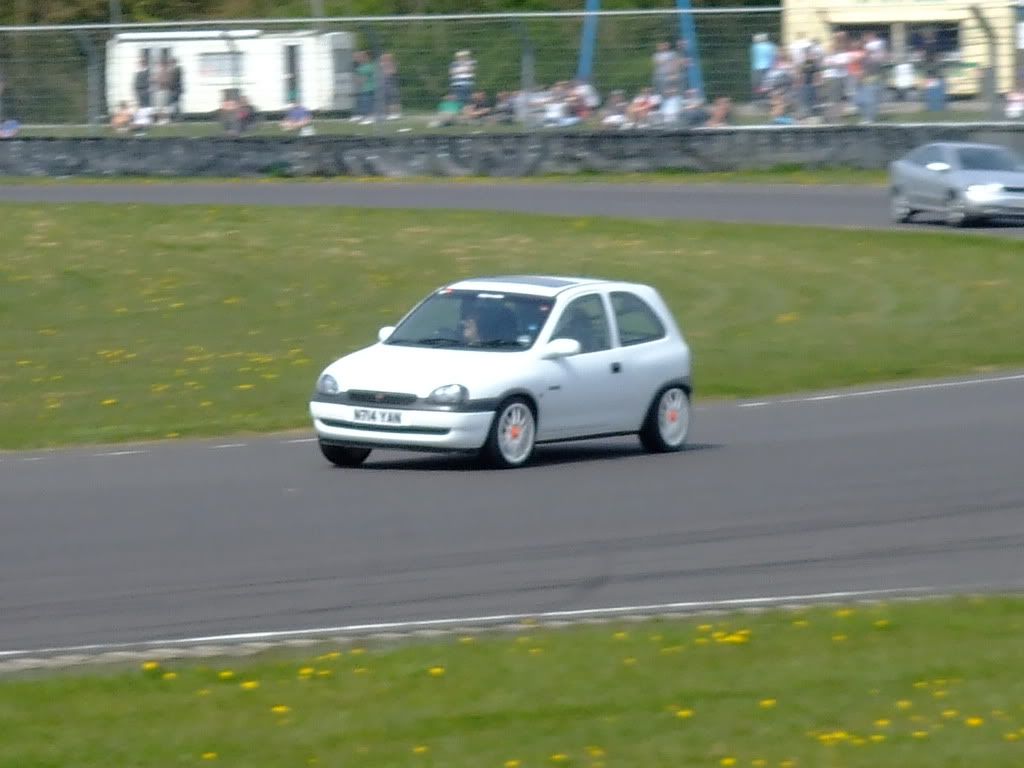

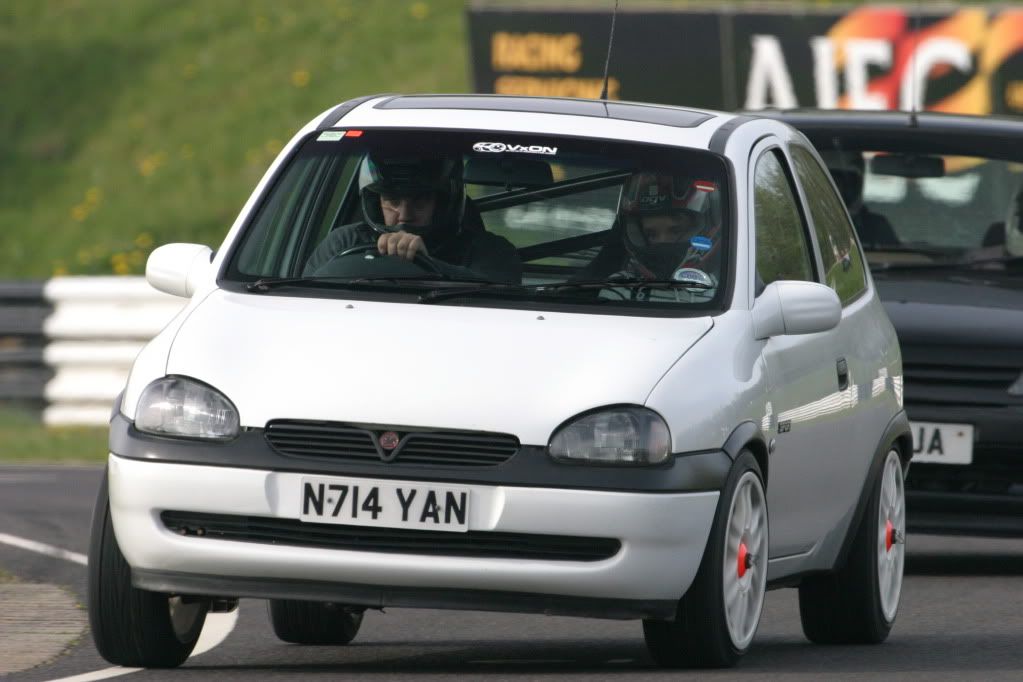
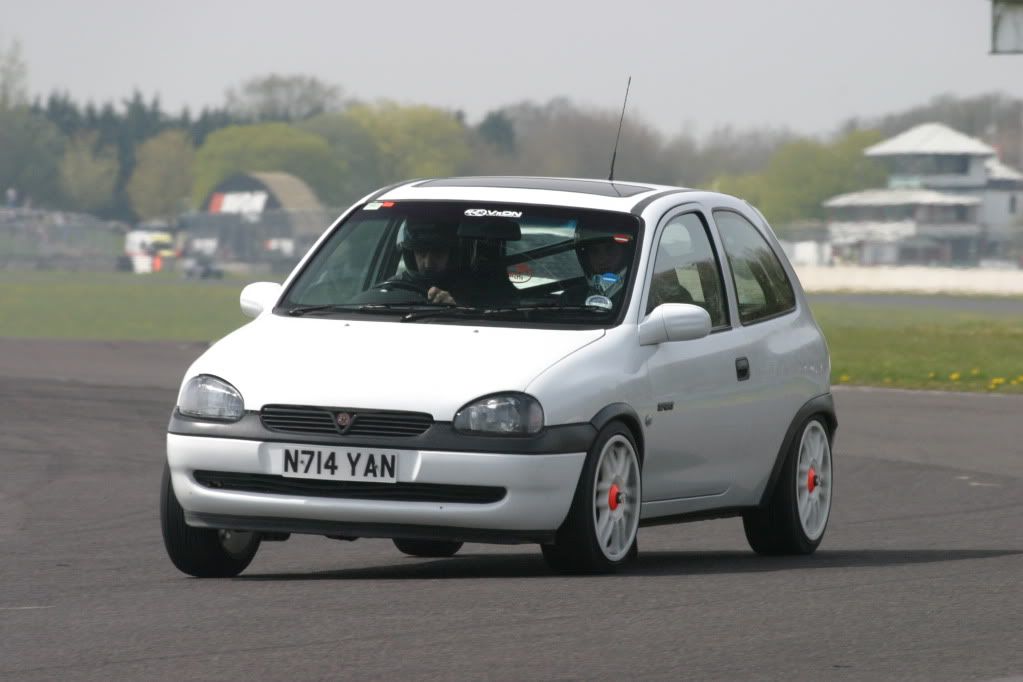
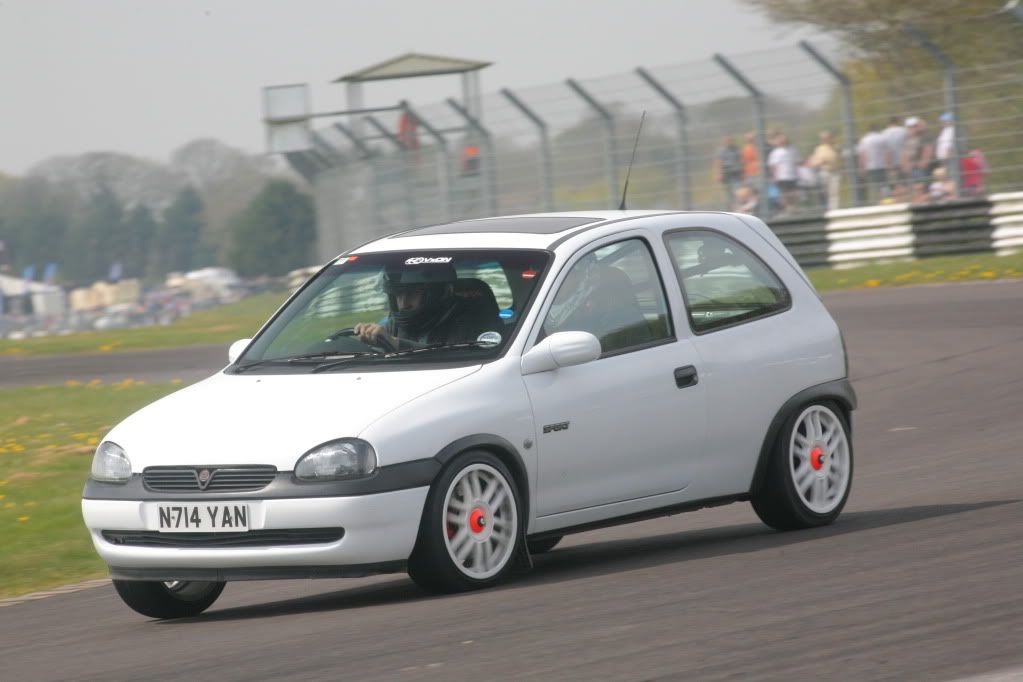
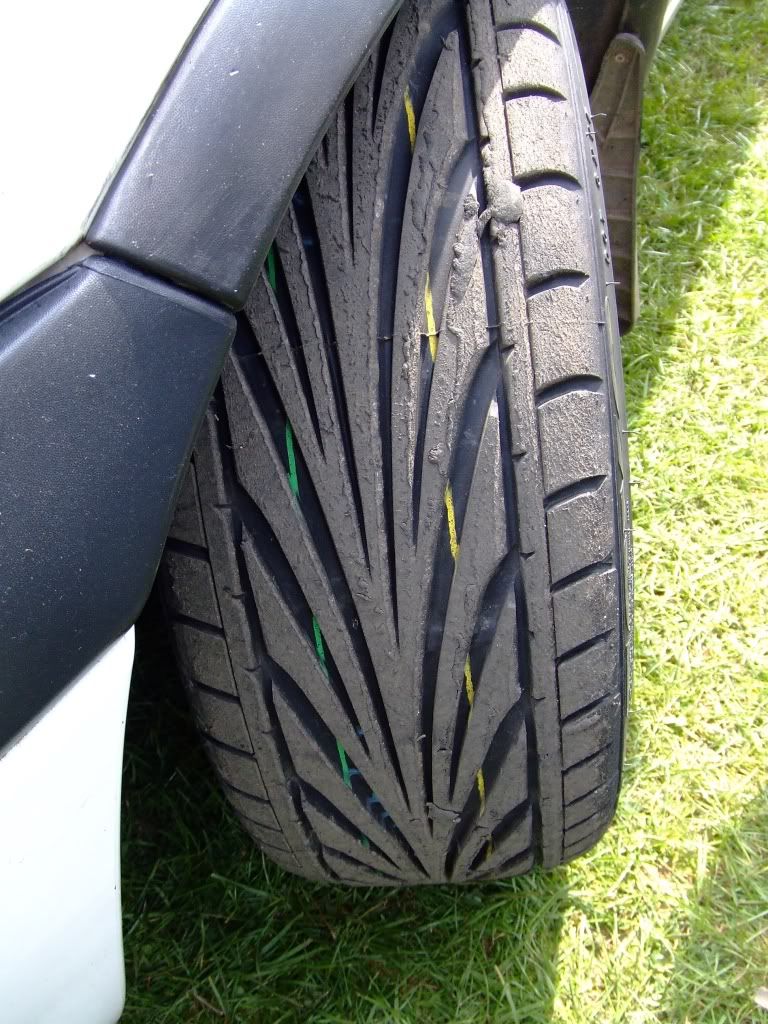
Tyres took a bit of punishment...
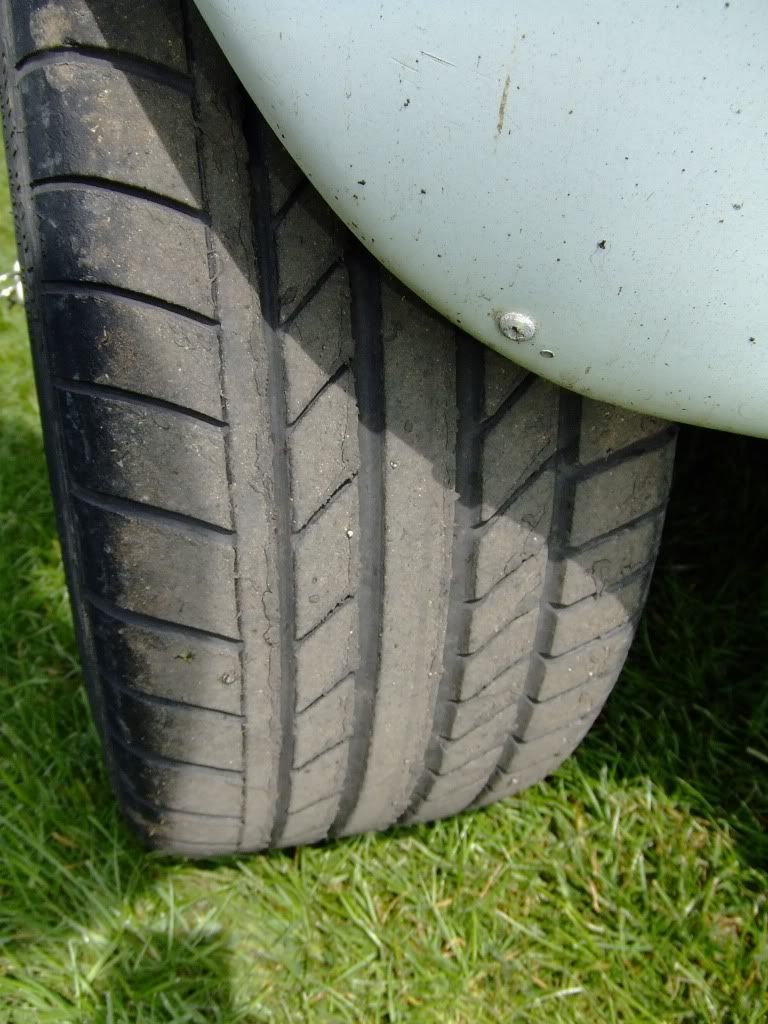
Couple of Videos - some swears inside!
http://www.youtube.com/watch?v=x6zjgAIflXg
http://www.youtube.com/watch?v=PF0R5Ey9ouo
|
AlexW
Member
Registered: 25th Oct 08
Location: Essex
User status: Offline
|
Looks right at home on the track, Loving the tyres lol Worn much?
Love the looks of this car, so simple.
|
djgritt
Premium Member
 Registered: 1st Nov 07
Location: Dorset Drives: Focus ST / Hyundai i20N
User status: Offline
|
quote:
Originally posted by AW06
Looks right at home on the track, Loving the tyres lol Worn much?
Love the looks of this car, so simple.
Cheers 
Tyres are fine, the fronts had only done about 80 miles since purchase when I took that photo, the rears a fair bit more... 
All fine though, nicely bedded in now 
|
mike56gte
Member
Registered: 23rd Jun 09
Location: Fife, scotland Drives: Audi S3
User status: Offline
|
love this build thread! think it looked 10times better with the orange cesaros and the pre 97 bumper and irmy spliter. could you not have takin the grinder to the brake calipers??? lovin the car tho what does it handle like with the bigger wheels on?
|
djgritt
Premium Member
 Registered: 1st Nov 07
Location: Dorset Drives: Focus ST / Hyundai i20N
User status: Offline
|
I could have ground the Calipers, but preferred not to, hence why I went for the bigger wheels
Wasn't ever a fan of the Pre-97 front end, only bought the Irmscher Apron in an attempt to improve it!
Handles just as well on the 16s as it did on the 15s IMO, hasn't done anything detrimental anywho.
|
djgritt
Premium Member
 Registered: 1st Nov 07
Location: Dorset Drives: Focus ST / Hyundai i20N
User status: Offline
|
Update...
Been faffing a little today;
Before;
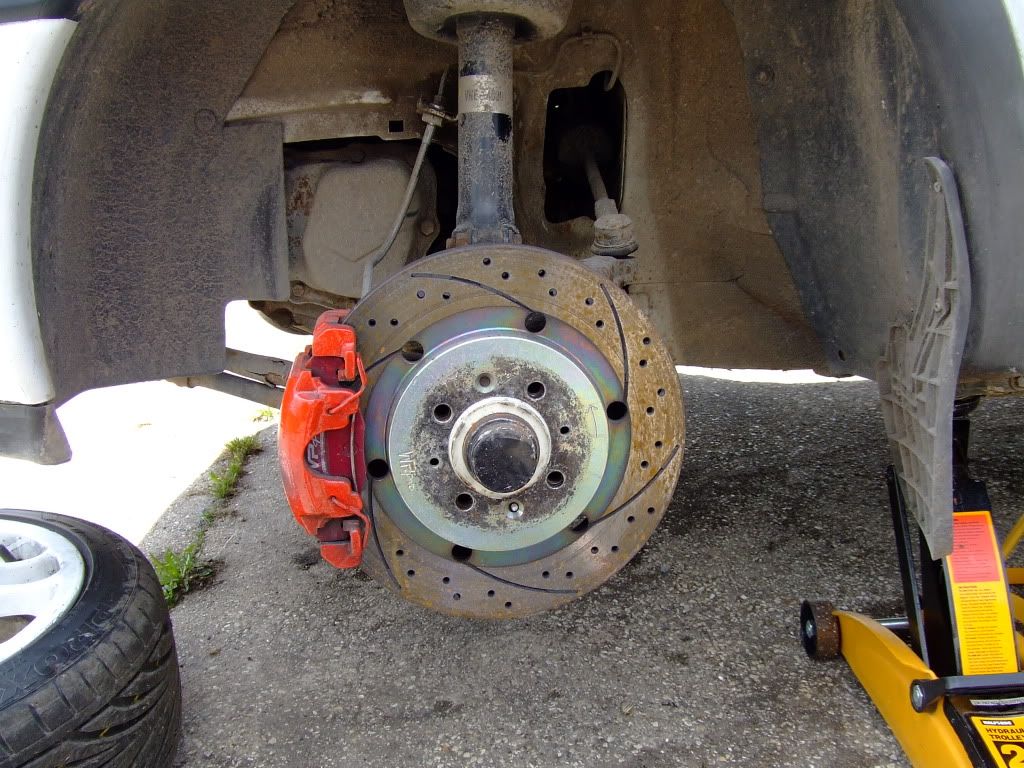
During;
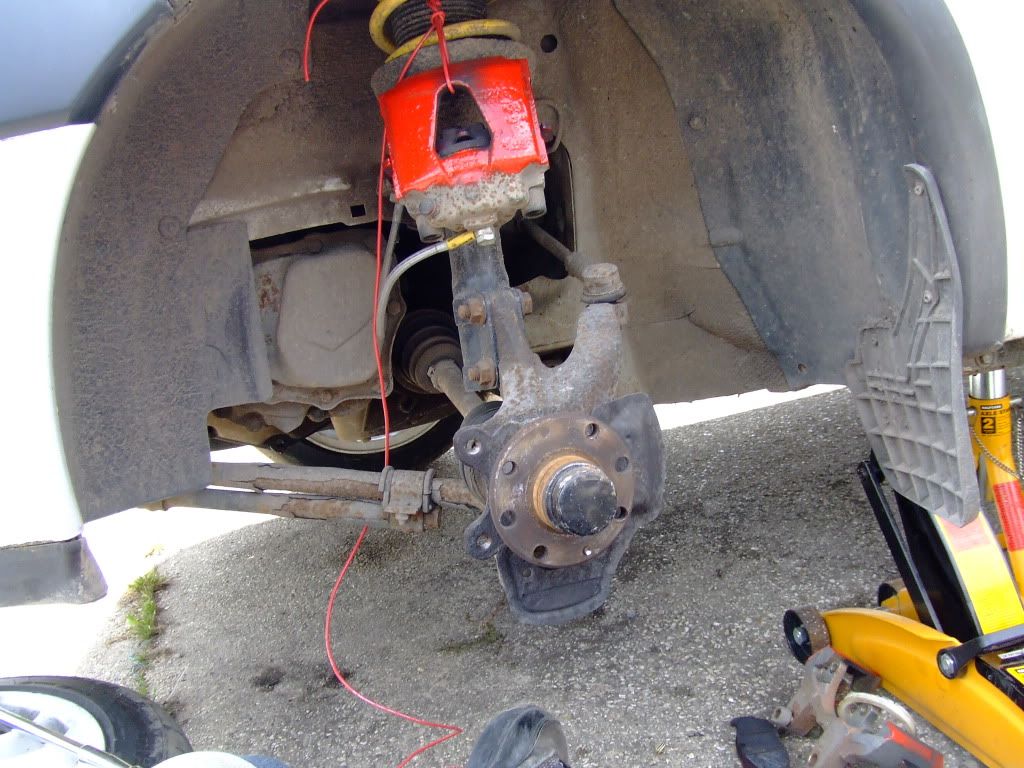
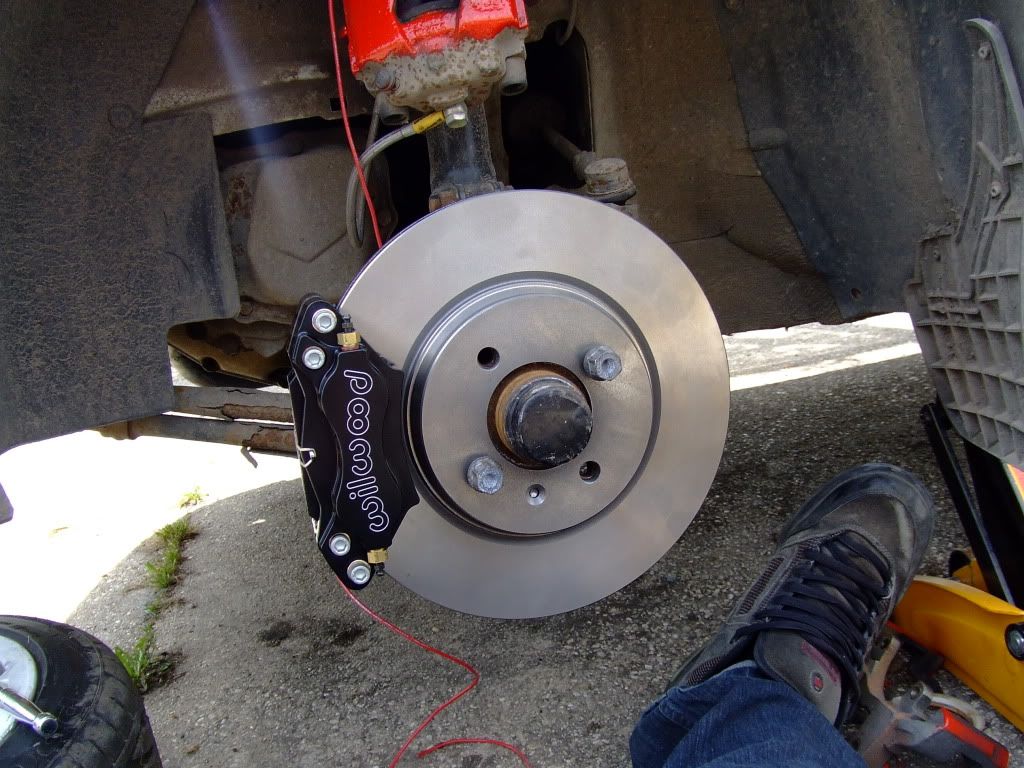
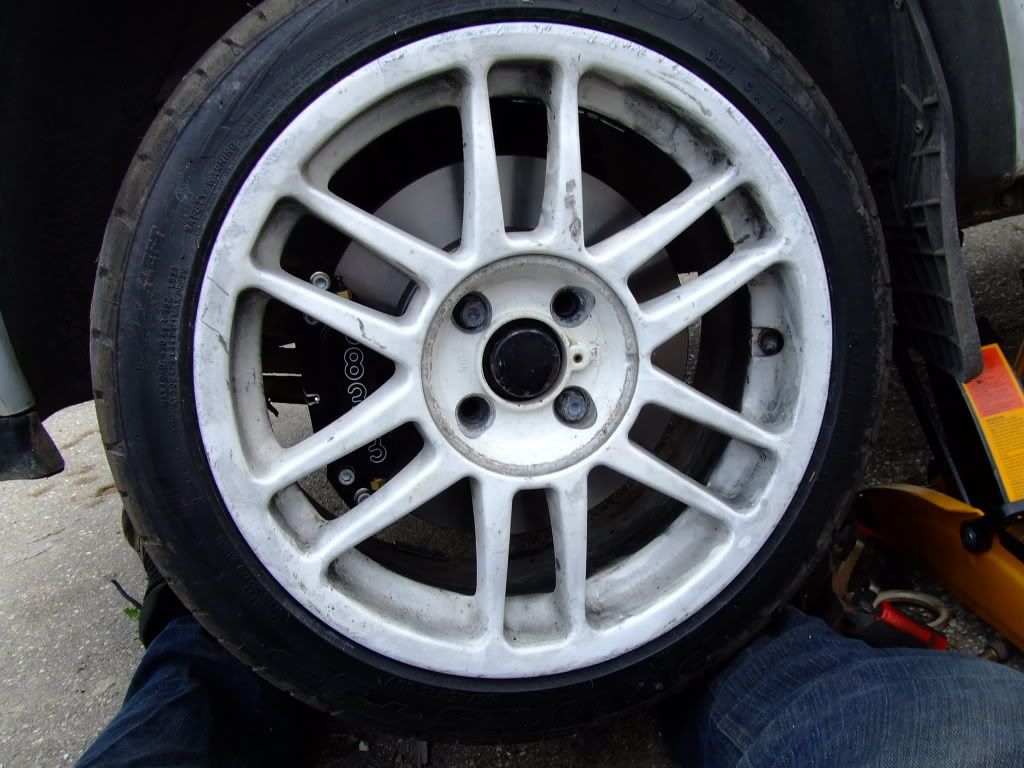
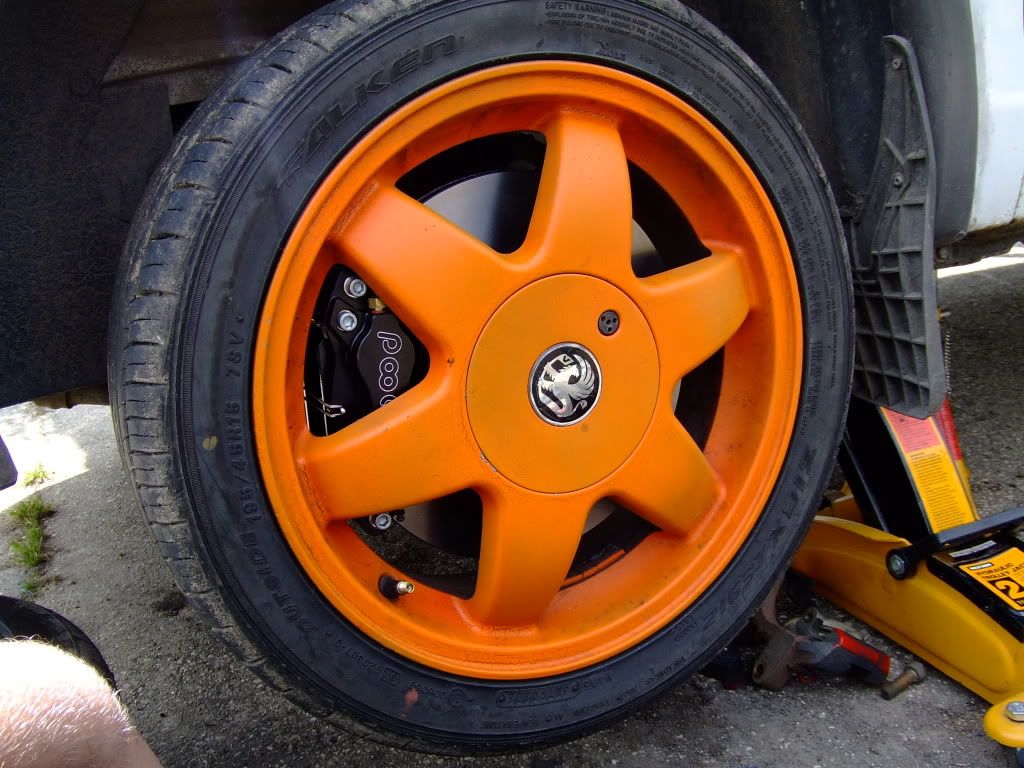
After;

Then, butchering and fitment of a new part;
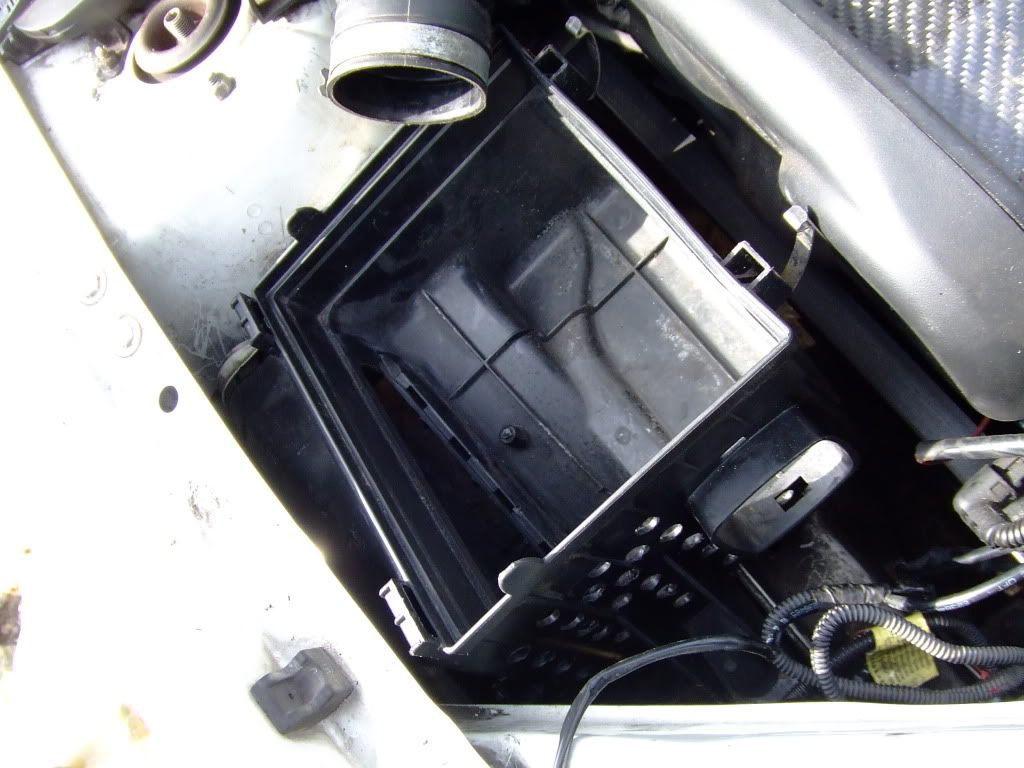
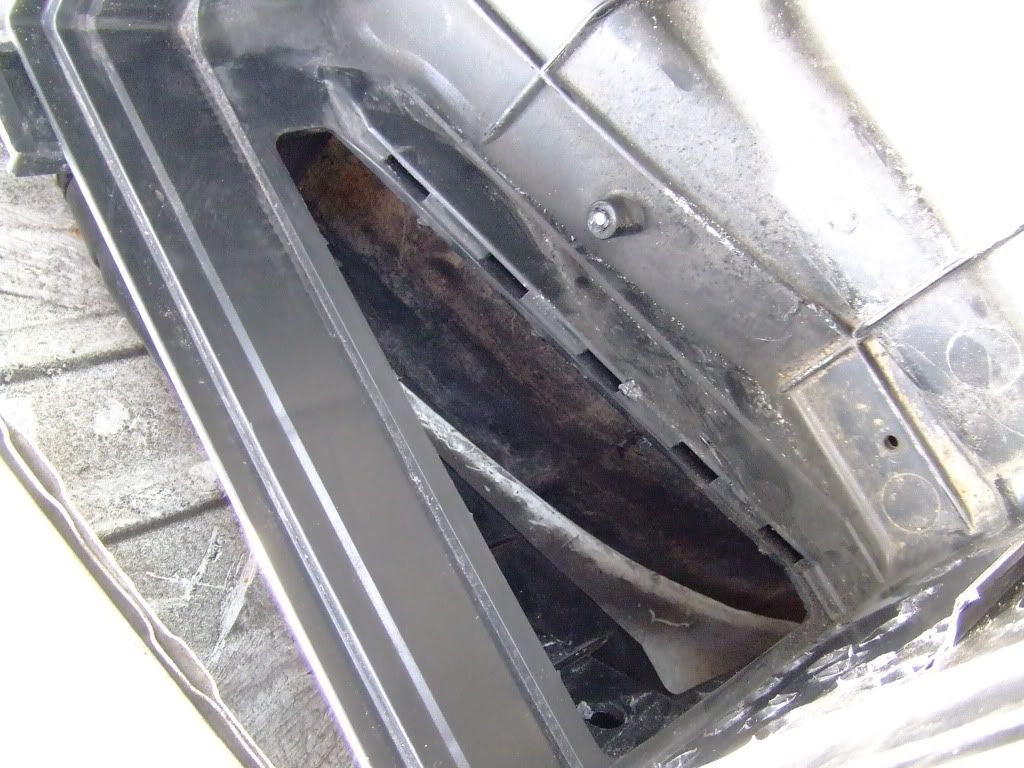
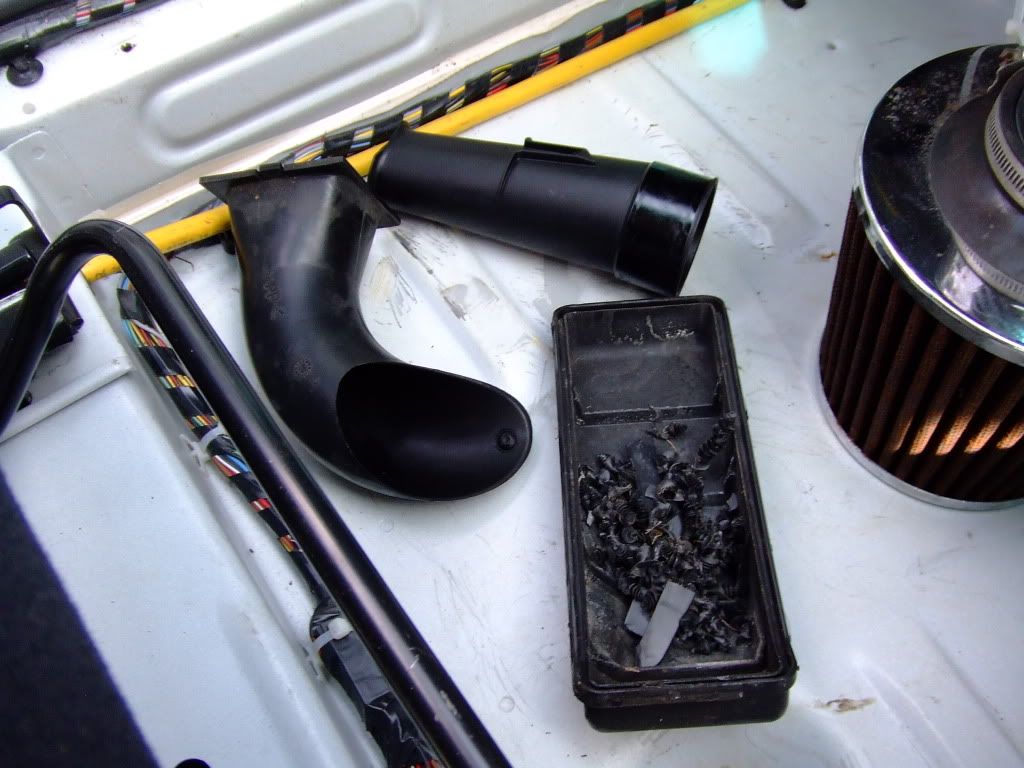
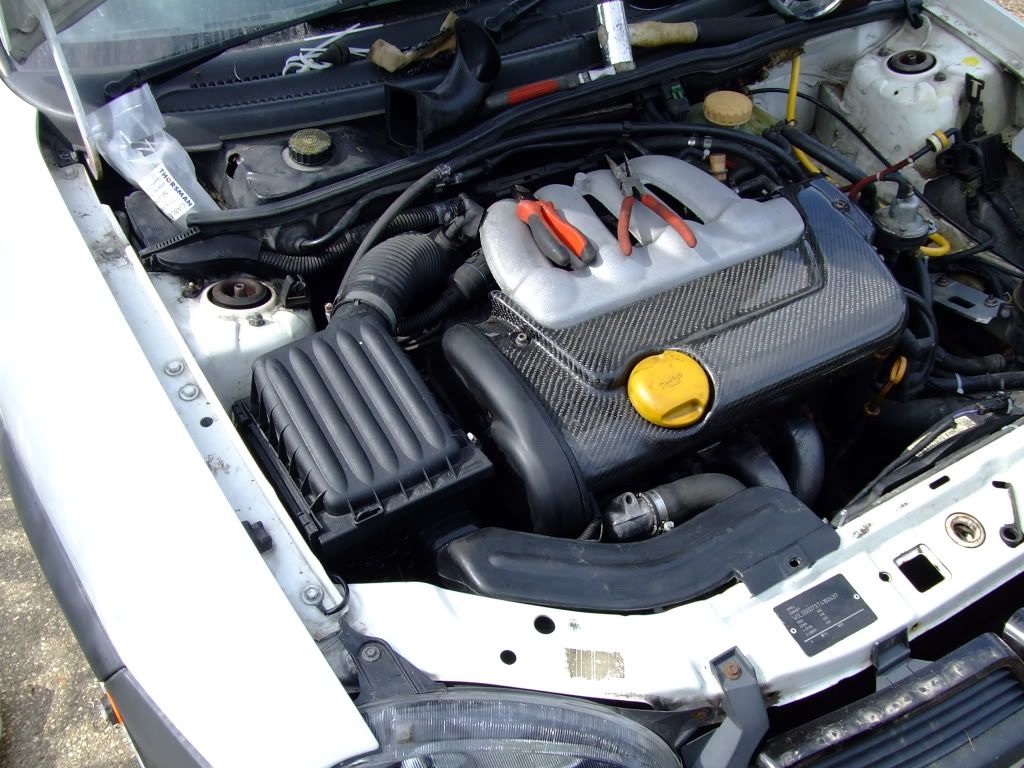
I derestricted it by removing the internal trunking pipes, and the cover & diffuser blades from the resonation setion (which is now a large inlet). I also drilled the forward face of the Box - took it out for a blat afterwards - seems a bit more eager than it did with the cone, responsiveness has improved marginally...
Got plans that involve a new Cambelt Kit & Engine Mounts, plus a big sheet of Carbon Fibre... 
|
djgritt
Premium Member
 Registered: 1st Nov 07
Location: Dorset Drives: Focus ST / Hyundai i20N
User status: Offline
|
Faffing again today...
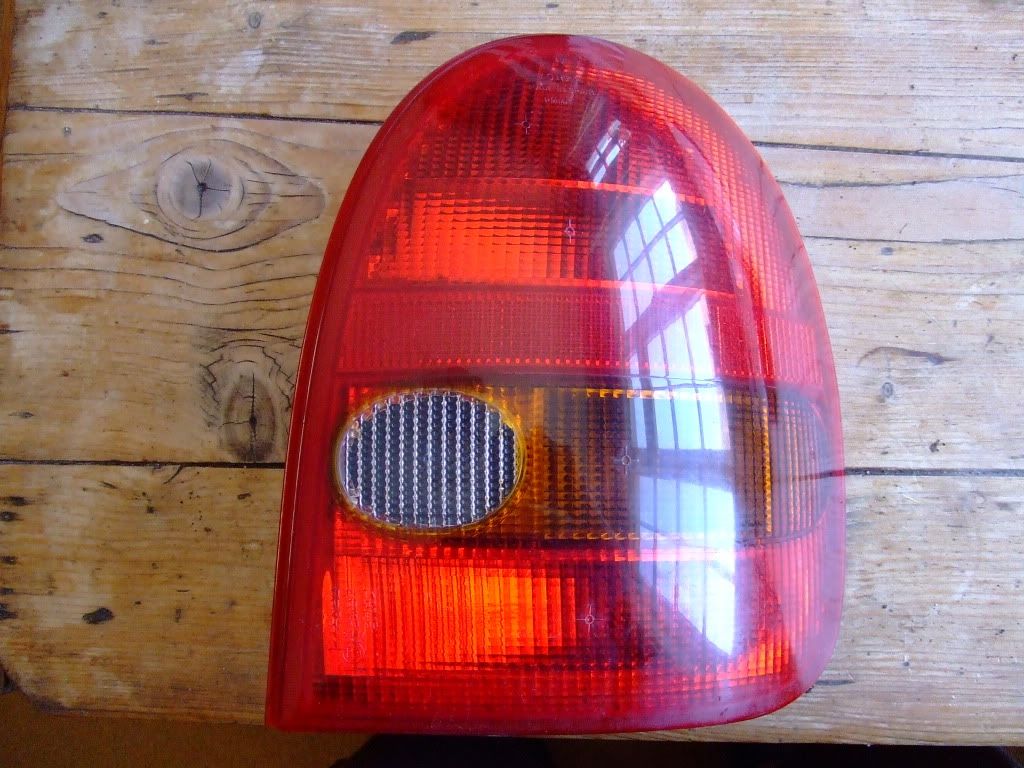
Started with a trip to the local Scrappy, returning with a pair of these;
Which both then looked like this;
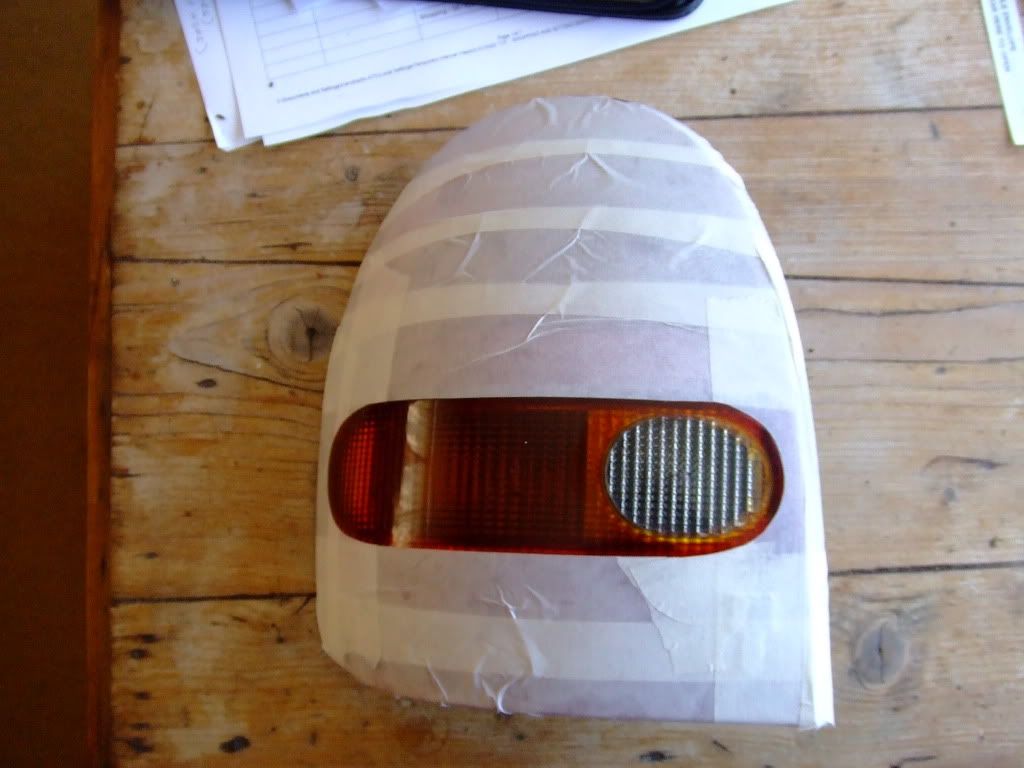
They both had a coating of Tint Spray done, and regularly repeated until I was happy with the tint, then after they had dried during the day, they were fitted;
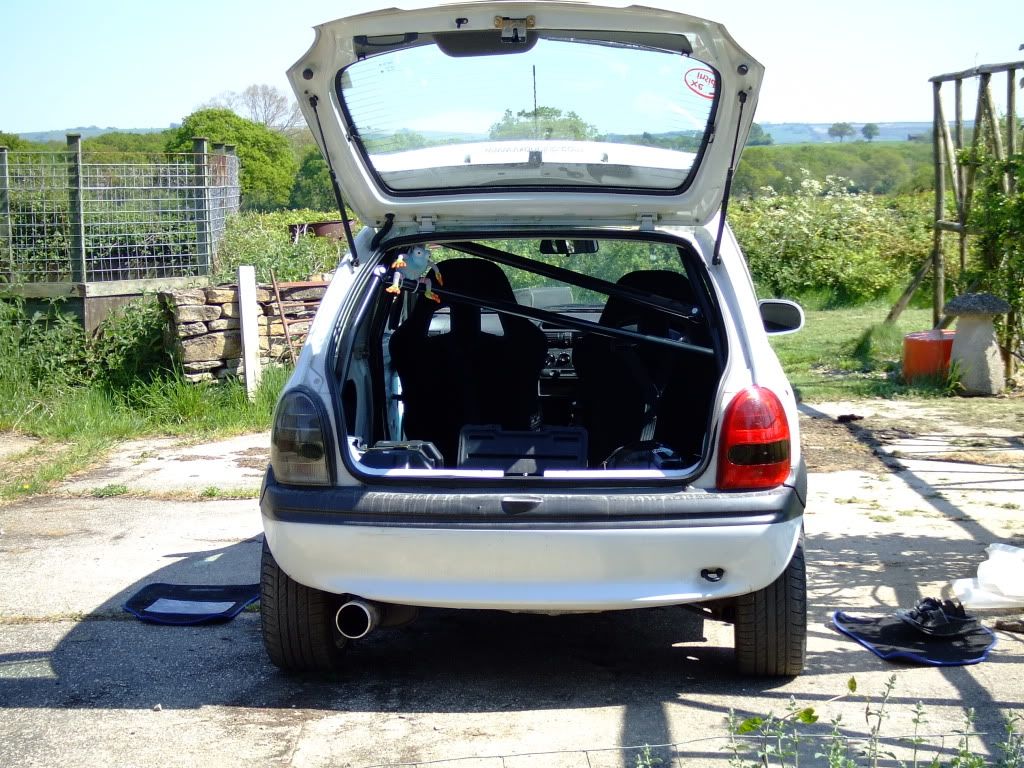
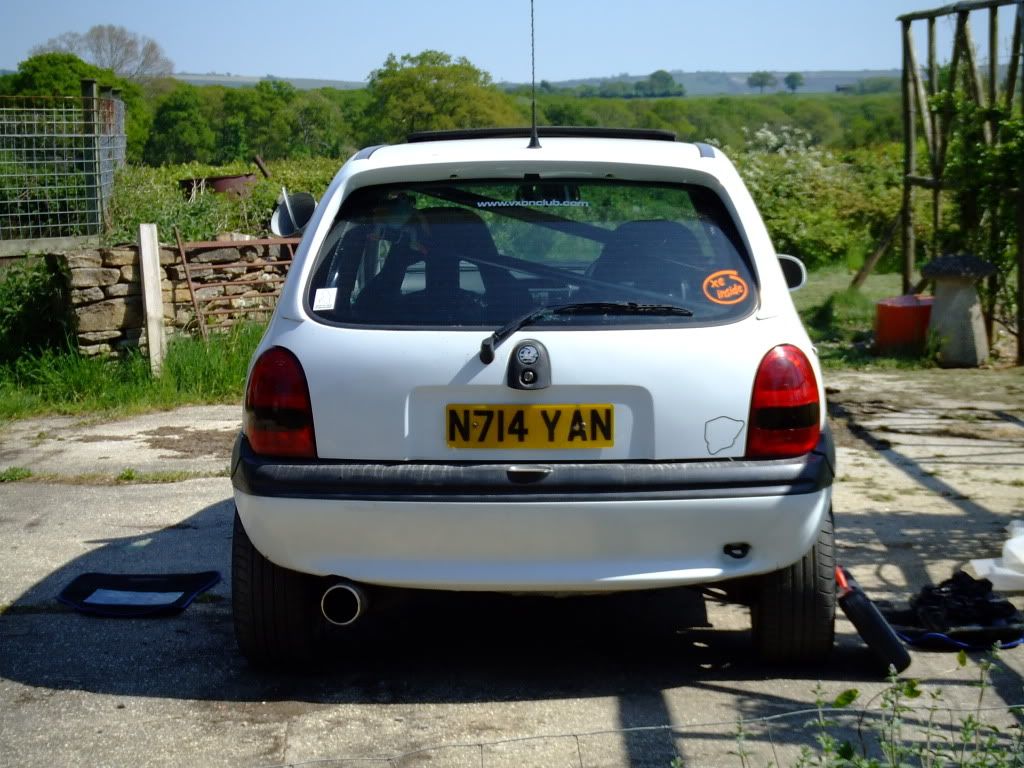
Whilst the lights were drying, I got on with some other stuff -
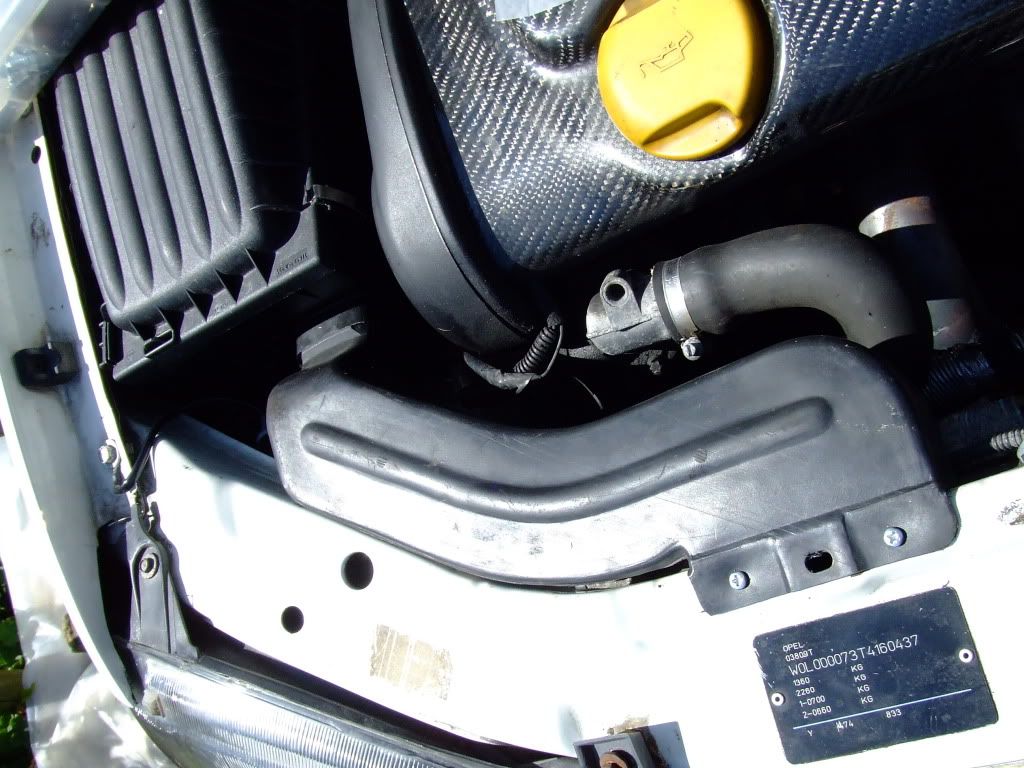
Mounted the Airbox Inlet securely with the use of a couple of self-tapping Screws;
Then, had the front bumper off again;
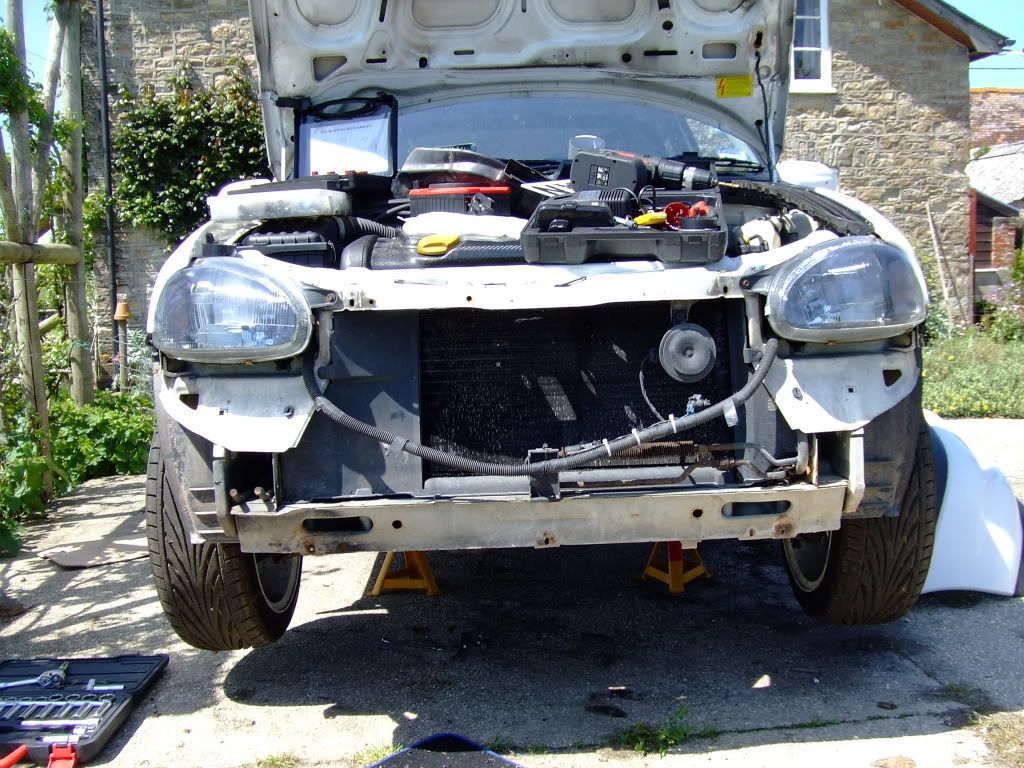
Hadn't really thought about it when I replaced the old Bumper with this one, but, the Crash Bar is missing... Really does suggest that the previous owner had a Bodykit bumper on it, with that missing and the tow-eye being cut. Penis.
Anyway, may fit another one, not sure yet, doesn't bother me too much TBH.
Part of the reason of removing the bumper was to see what can be done about the tow-eye. It's welded to the Chassis Rail, so repair will be difficult. But, I am considering the use of a Towing Strap instead - as this will require a single hole to be drilled, and the acquisition of a HT Bolt with decent spreader washers and a Locknut - I can get some perfect stuff for this through work. Also, it is the cheaper option for me, and I can DIY it...
Strap is this if you are unfamiliar - not sure which brand to go for (TRS as pictured or Willans do them also) - the pictured one is rated to 5000kg though, so will be MORE than adequate to pull a stripped Corsa;

Rebuilt the front end and tidied some wiring that was behind the bumper - cable tied out of the way.
Then, went for a blat to get some stuff, so took the opportunity to get more Pics;
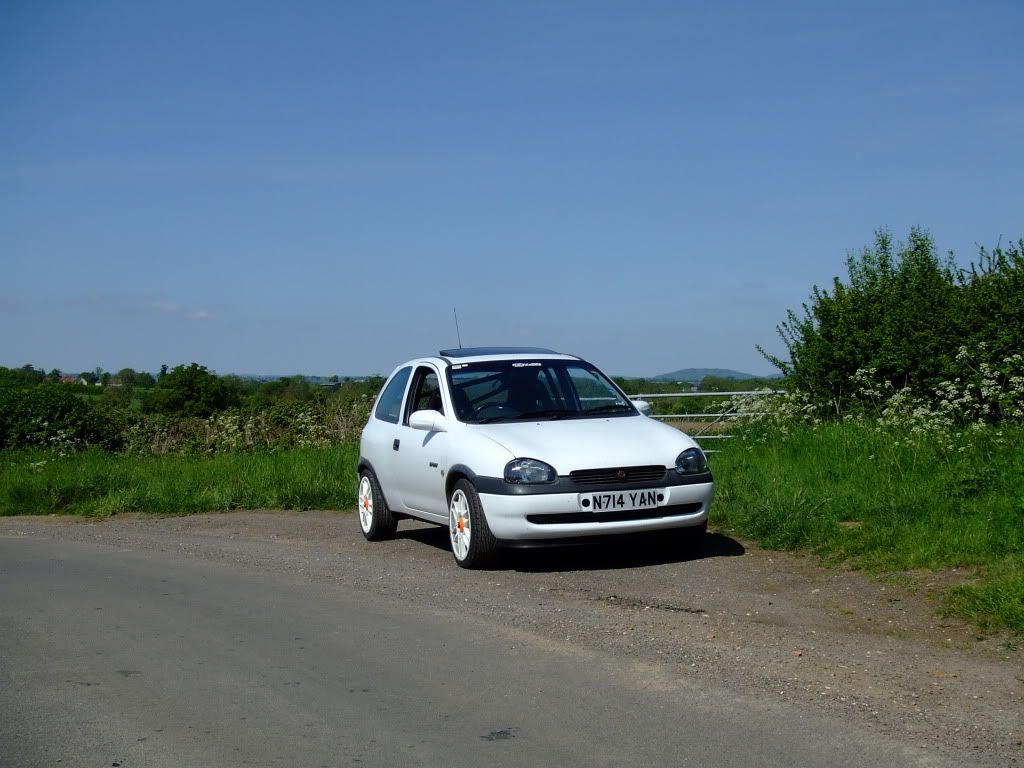
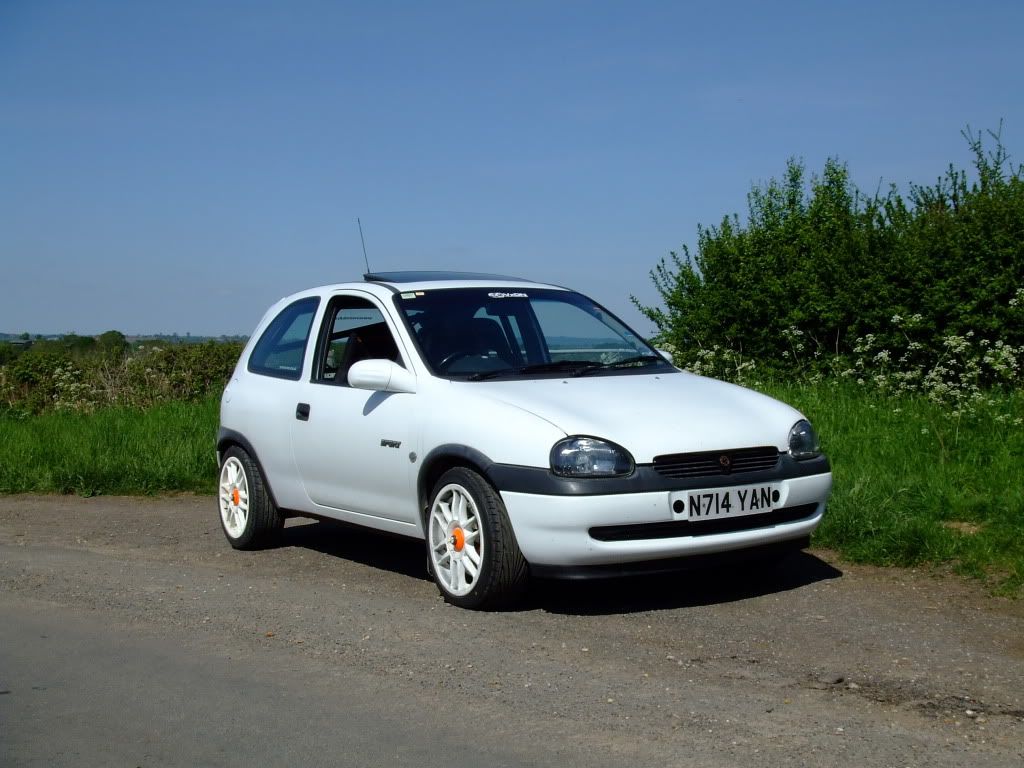
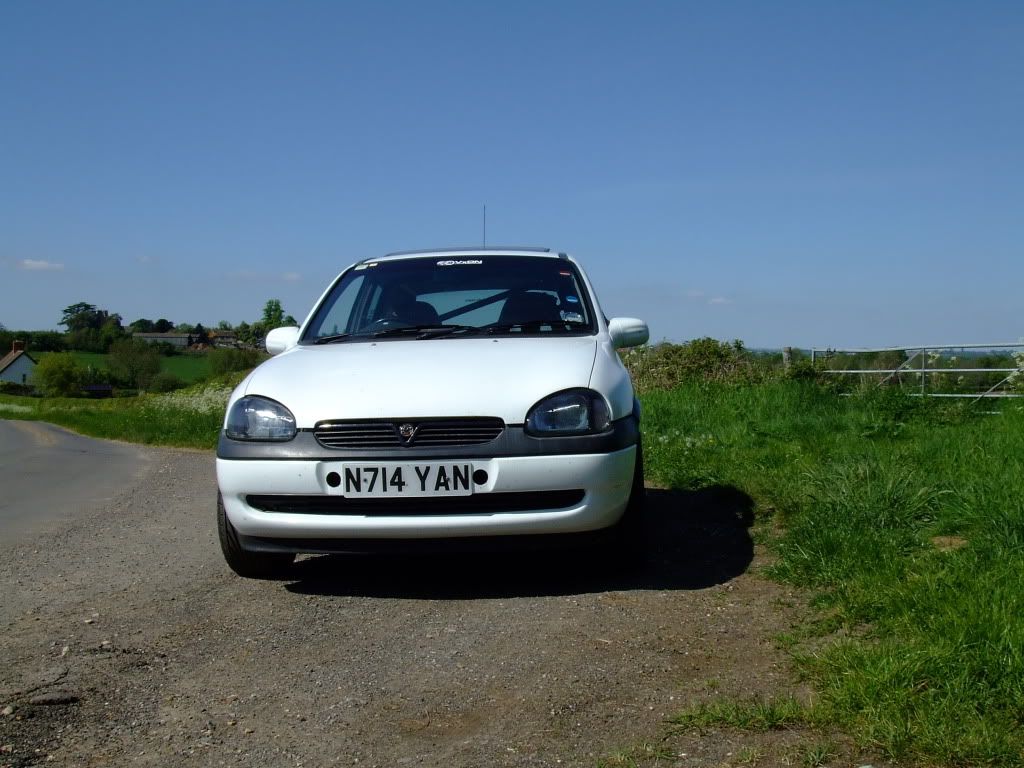
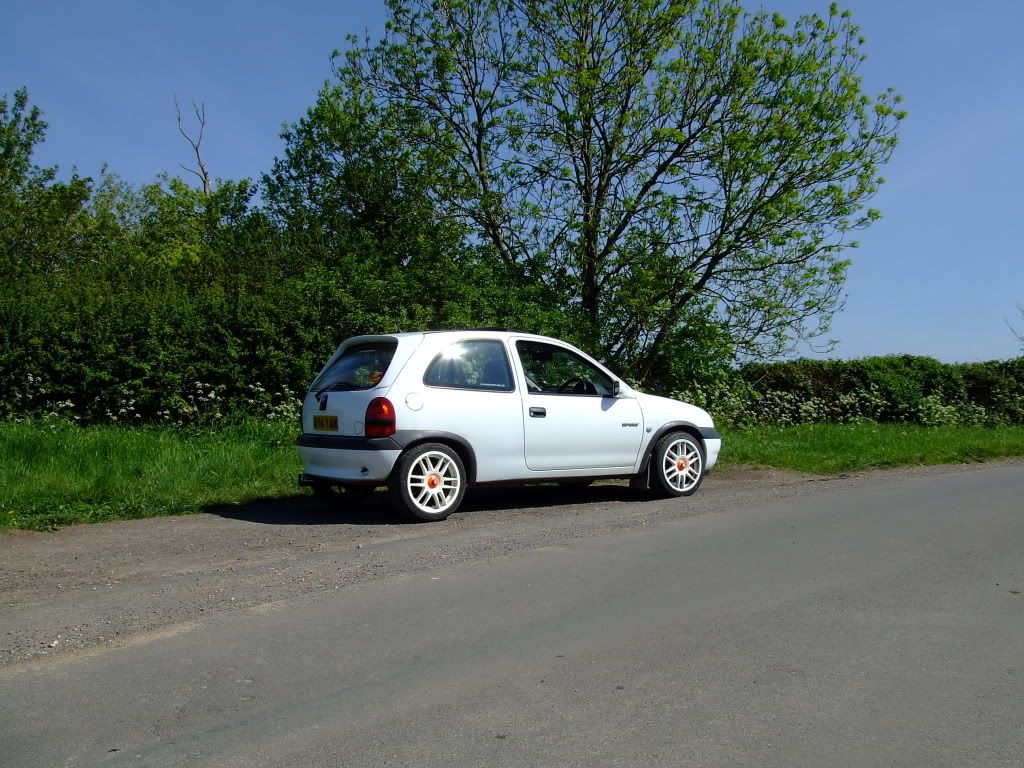
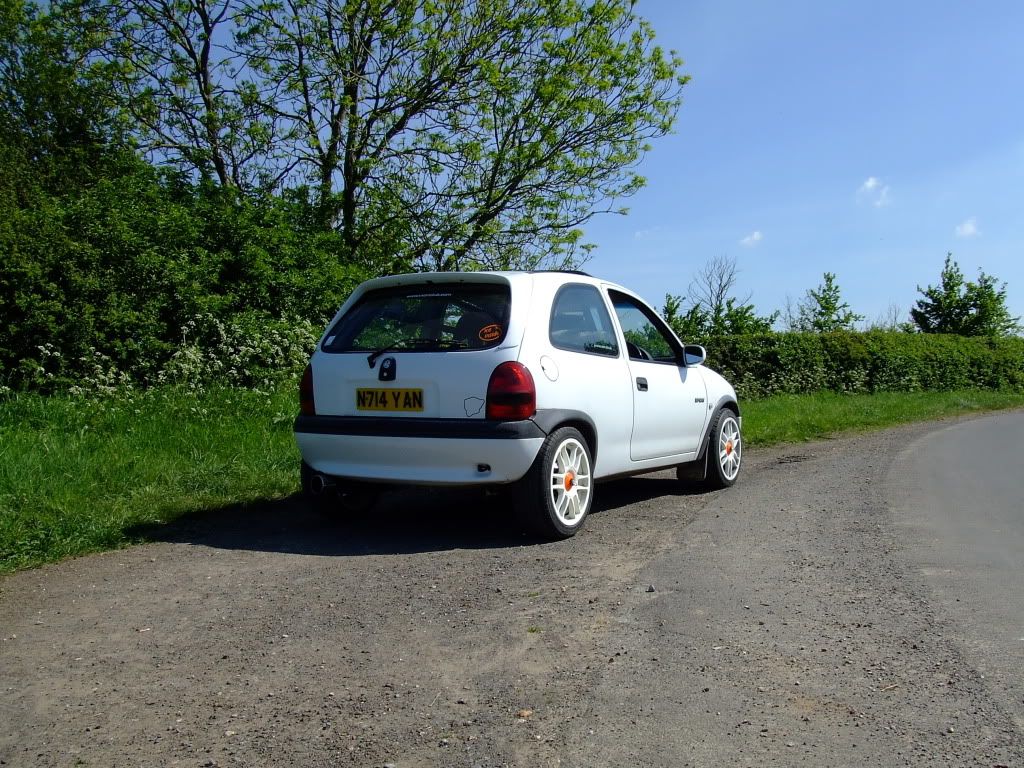
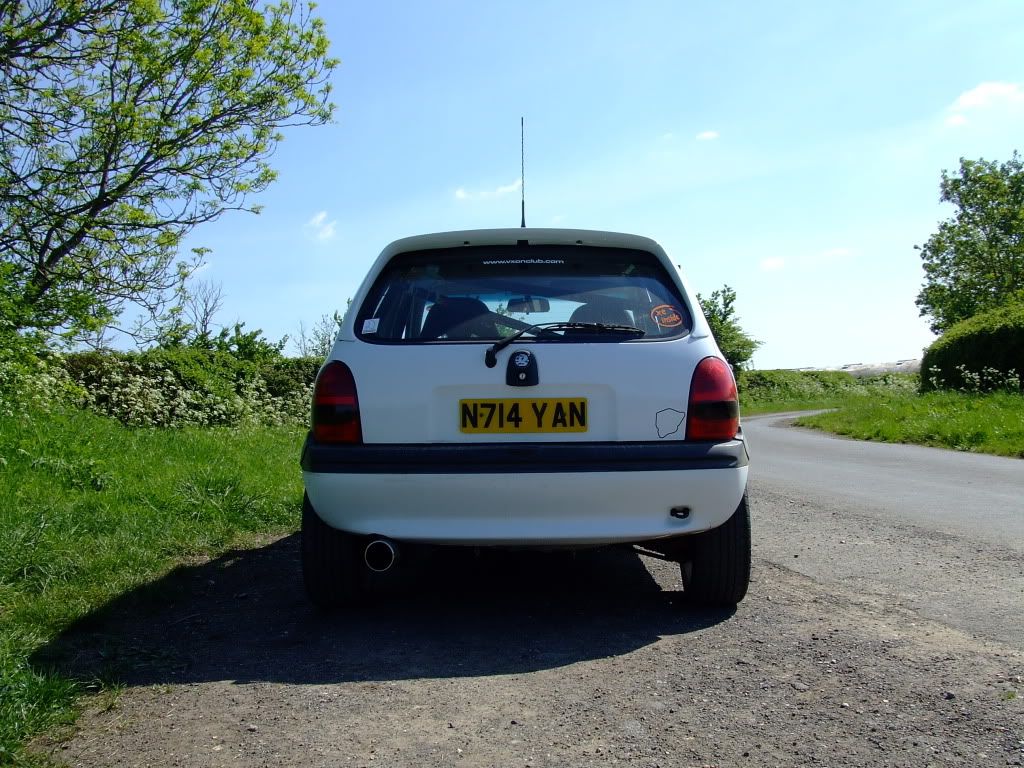
The extra holes are for when it is used on Track - it didn't overheat last month, but did get warm on the sessions - there are a total of 7 holes along the Bumper - so 5 will be hidden when the Plate is fitted.
|
AlexW
Member
Registered: 25th Oct 08
Location: Essex
User status: Offline
|
Any pics with the reverse and indicators on? Something i have thought about for mine.
Tow Strap seems a good idea, nice and simple.
Good progess as always tho!
[Edited on 22-05-2010 by AW06]
|
djgritt
Premium Member
 Registered: 1st Nov 07
Location: Dorset Drives: Focus ST / Hyundai i20N
User status: Offline
|
quote:
Originally posted by AW06
Any pics with the reverse and indicators on? Something i have thought about for mine.
Tow Strap seems a good idea, nice and simple.
Good progess as always tho!
[Edited on 22-05-2010 by AW06]
I'll get some tomorrow.
|


