neoquip
Member
Registered: 12th Aug 02
Location: Nottm
User status: Offline
|
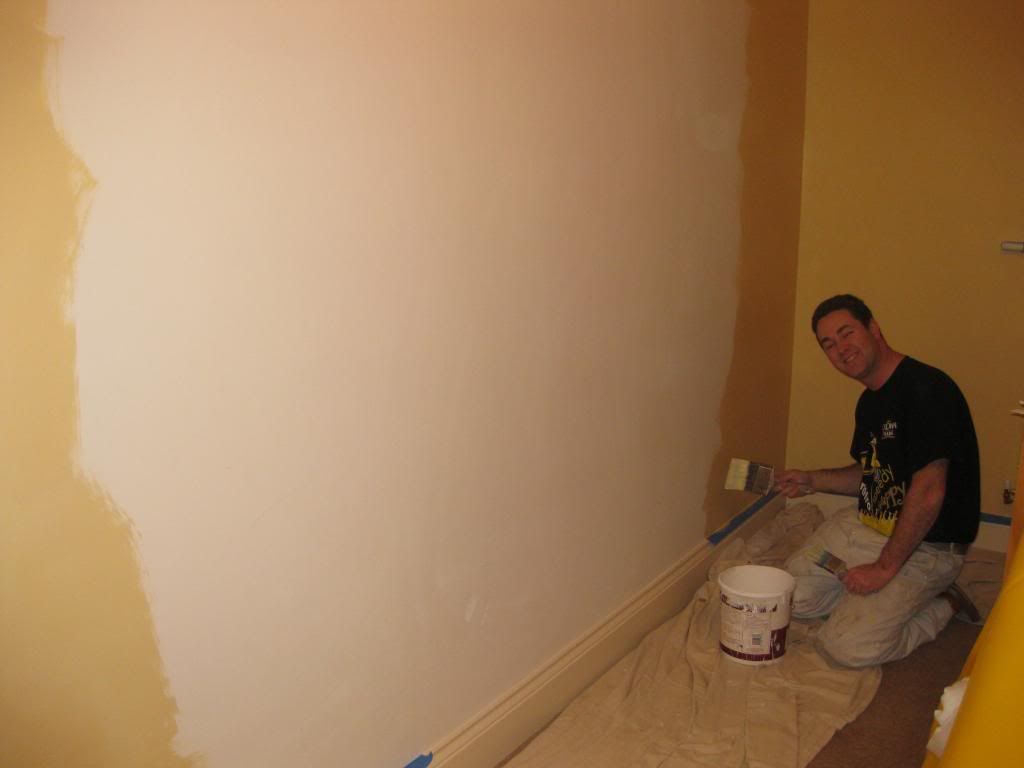
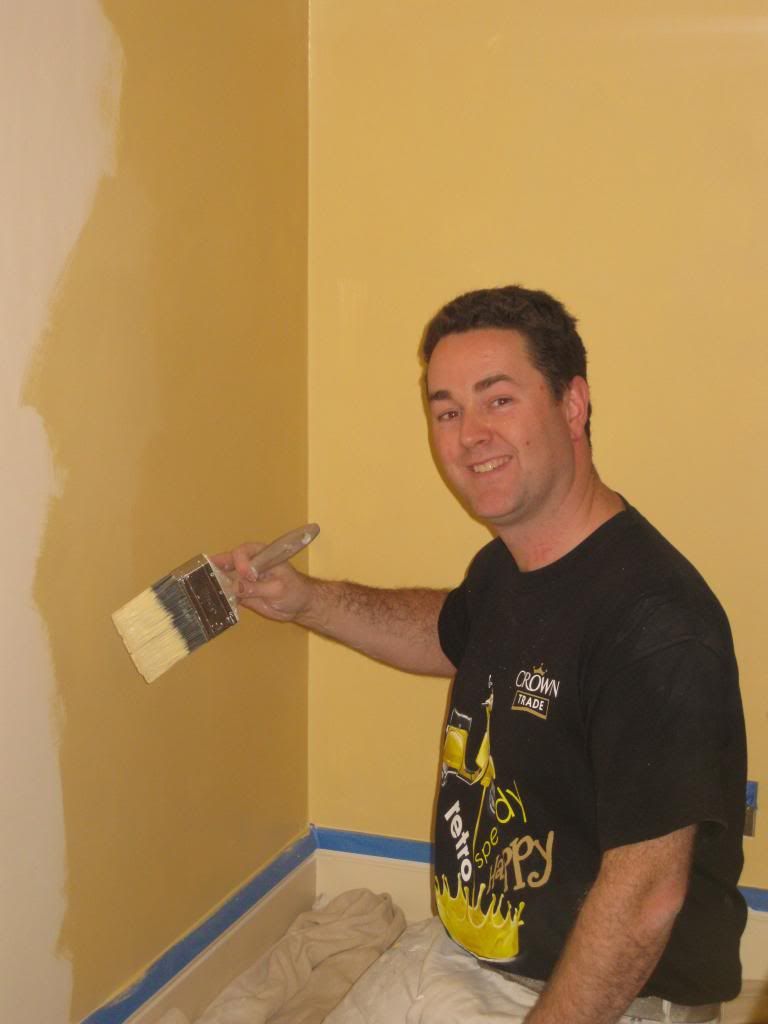
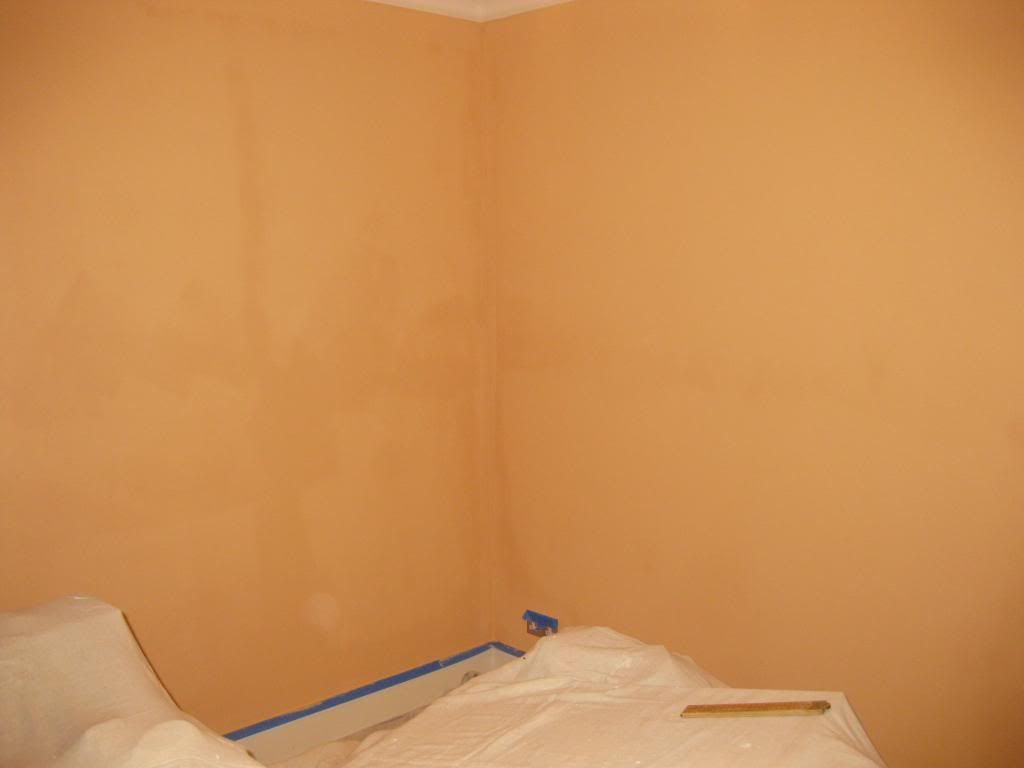
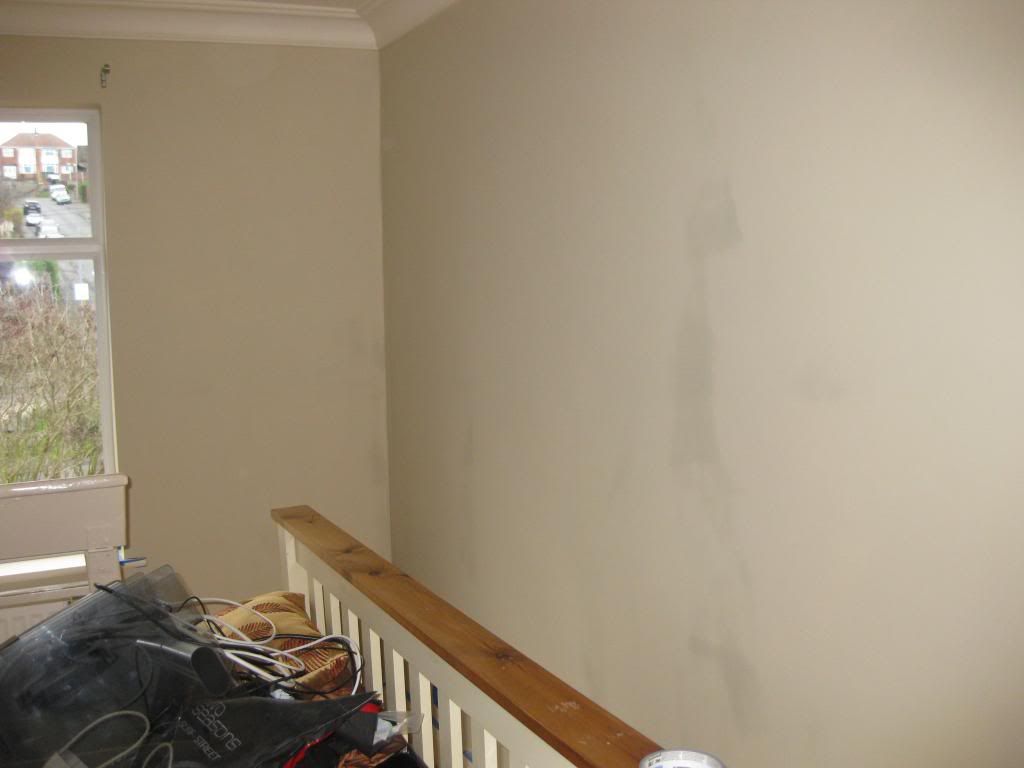
Since doing the house up 6/7years ago, I've done nothing to the rooms inside.. in particular the bedrooms. They are still magnolia.
So while I'm of this holiday I'm starting on our little lads room.
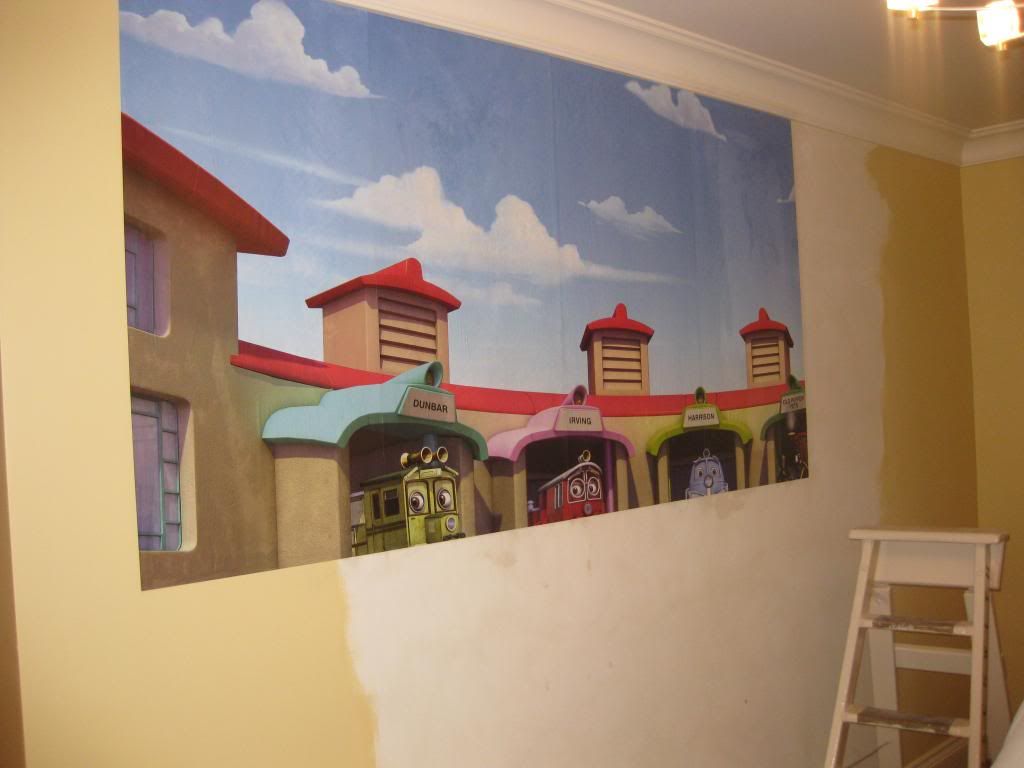
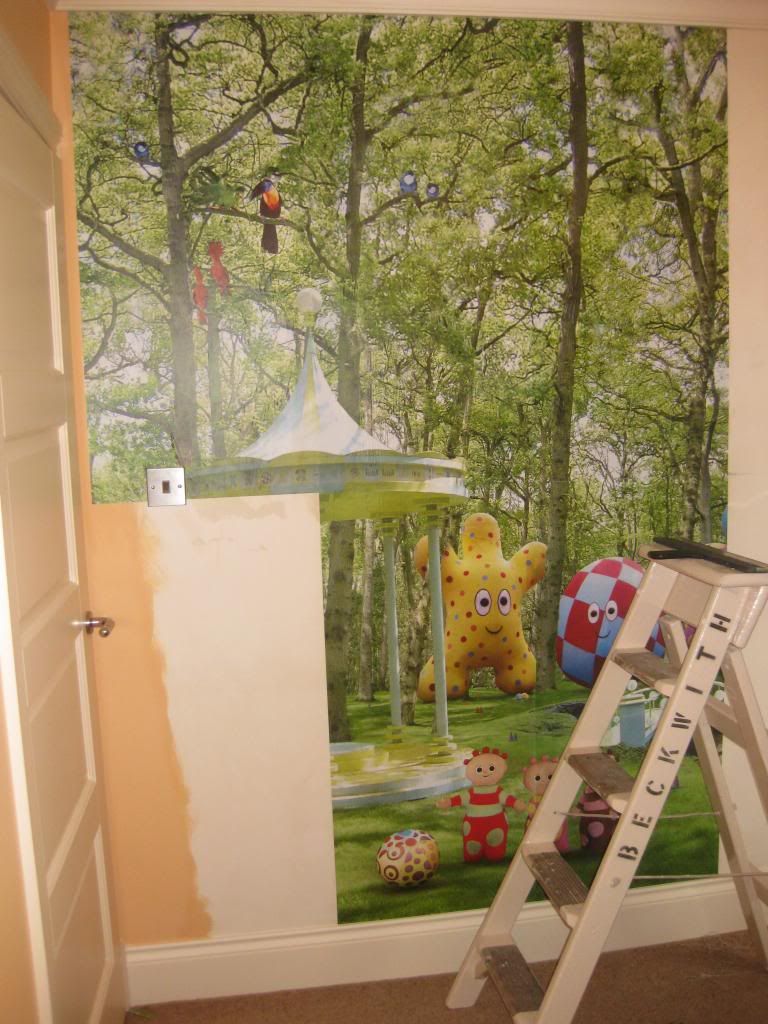
I've pick up a Chuggington Mural wallpaper off the net (10'x8' - in 12 panels). So after work this afternoon I started on painting a few walls out ready to hang the paper tomorrow.
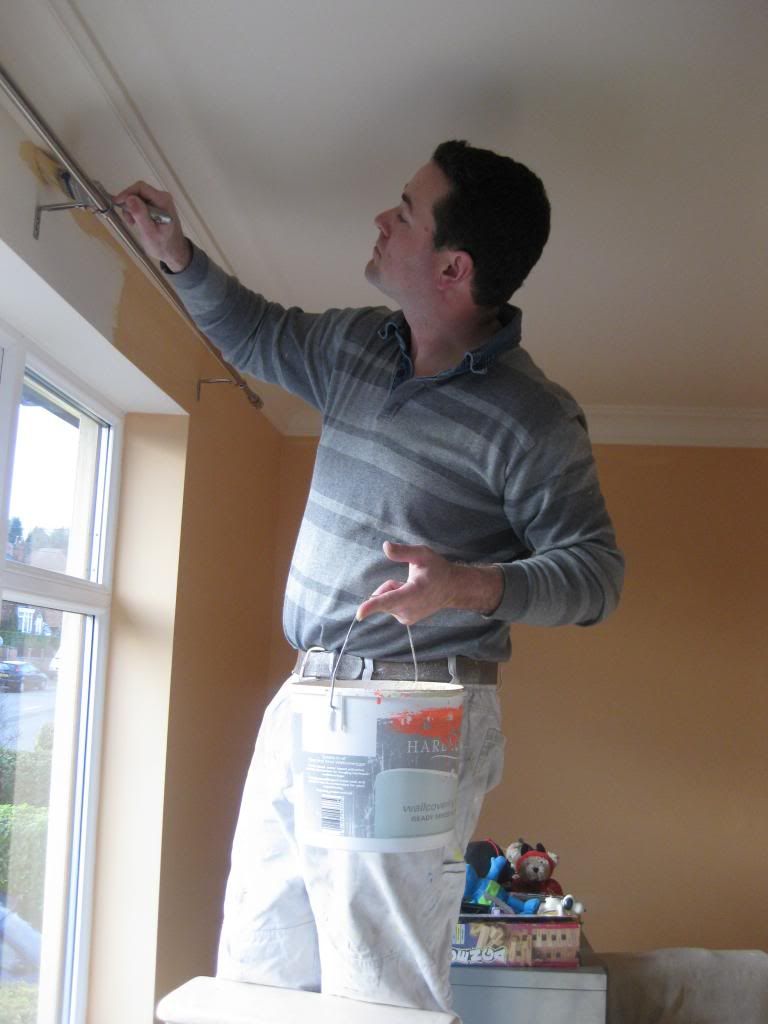
The ceiling and wood work are all very good condition, so I'm not doing those. Low tack tape across the skirting just to protect it from any splashes.
I've found 2:1/2 litres of some Crown Soft Sheen paint in our work shop, so thought I'd use that up and the colour goes ok with the magnolia and the all paper colours.
I'll update this thread with progression pix.
Once the lad's bedroom is done. I have another Mural 'In the Night Garden' wall paper to put up in the nursery (as we have a baby due in February).. pick the paper up off Ebay. So will paint that out ready for the paper to go on.
Then... I have another OFFICE VIEW Mural style wallpaper to use in the 'guest' bedroom. Again, I'll repaint the walls before I hang the paper.
That means I'll be busy over Christmas 
|
neoquip
Member
Registered: 12th Aug 02
Location: Nottm
User status: Offline
|
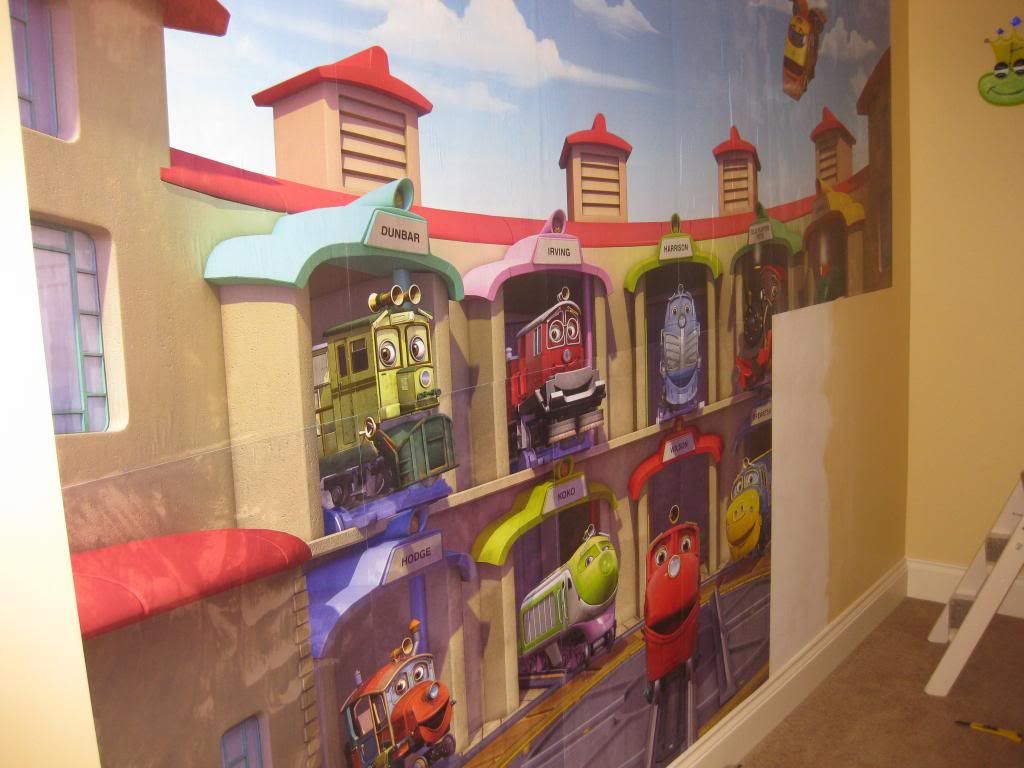
finish it off today.... all I can say is the quality of the paper isn't very good. It's more like a Bill Board poster paper, instructions say don't allow to soak too long.
It curls up as soon as paste gets on it, bubbles and creases lol
In the end I just banged it on, lined it up, smoothed out and trimmed. Then onto the next length.
The end overall result is effective though.
I'll see how it dries out in the morning 
|
Daniel_Corsa
Premium Member
 Registered: 21st Apr 04
Location: Wigton, Cumbria
User status: Offline
|
Looks good, when I done my NY mural it took a bit of drying, depends on paper quality as well to how quick it dries.
One I used was per pasted also so just needed to soak then apply.
Look forward to seeing tomorrows updates
April '06' Corsasport Feature Car | Aug '08' Total Vauxhall Feature Car | Spring '09' Fast Car Feature Car
|
neoquip
Member
Registered: 12th Aug 02
Location: Nottm
User status: Offline
|
lol, this wasn't pre pasted.. that would have been easier as I could have had the paste thinner. checked a fewmins again and it looks like the bubbles are pulling out a bit more now its drying off.
|
neoquip
Member
Registered: 12th Aug 02
Location: Nottm
User status: Offline
|
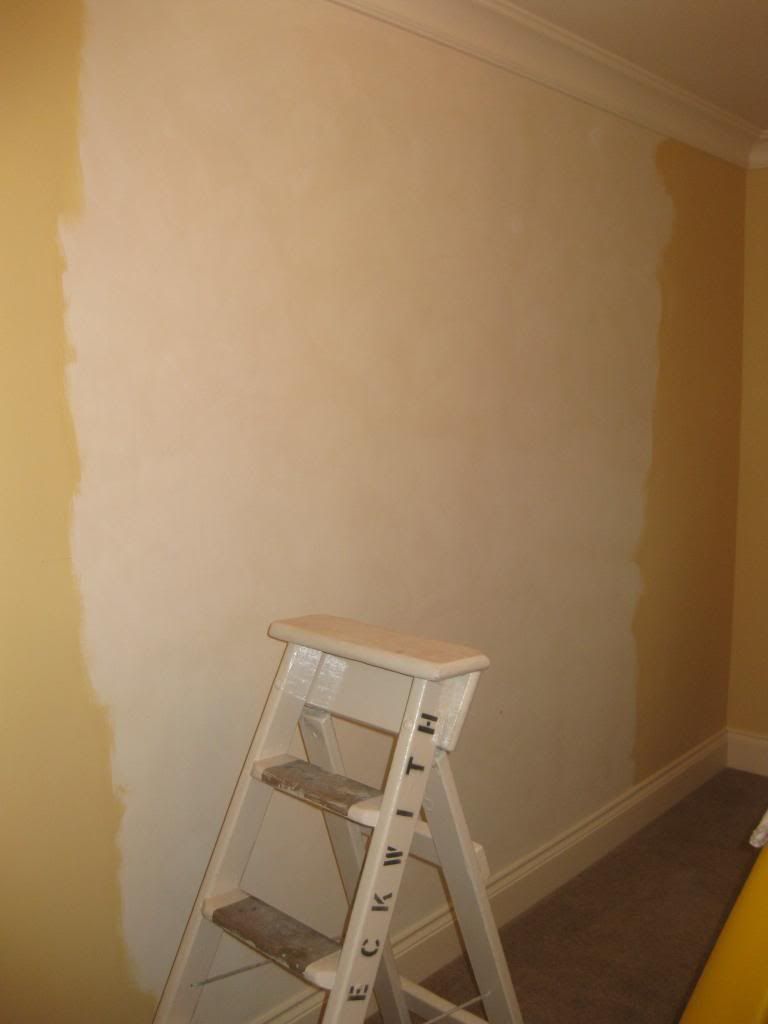
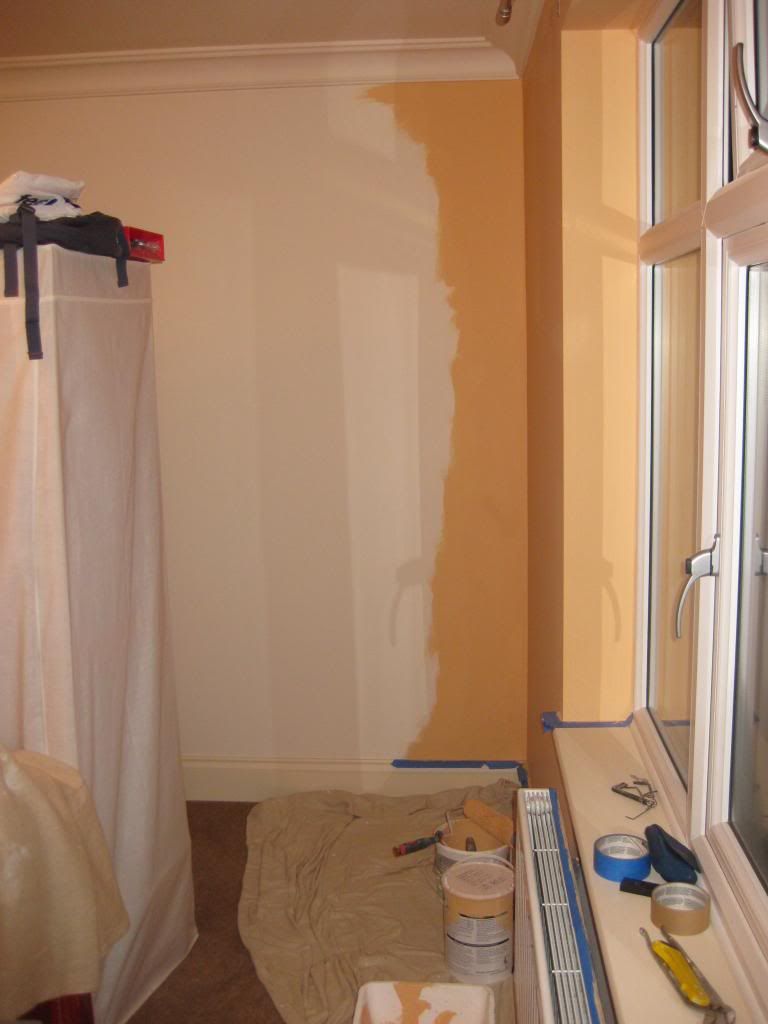
round two: I mean front bedroom... didn't start painting till this afternoon got paint on the wall by about 2:30. Once first coat was on, windows opened and heating went on. left it till 4pm then stated 2nd coat (you should leave longer but the walls were dry enough to give another coat.
again, i have another Mural to go on, IN THE NIGHT GARDEN from Cbeebies.
Painted all the walls this time but left the gap where the paper will go, coming in at the sides by a few inches as the paper is 10' wide and the wall is 10'4"
That'll go on tomorrow, but I'm doing it my way and not the instruction way. I'll hand top and bottom papers from the middle and work from the middle to the sides. That way I think I'll keep the plumb line and pattern going better.
roll on tomorrow
|
neoquip
Member
Registered: 12th Aug 02
Location: Nottm
User status: Offline
|
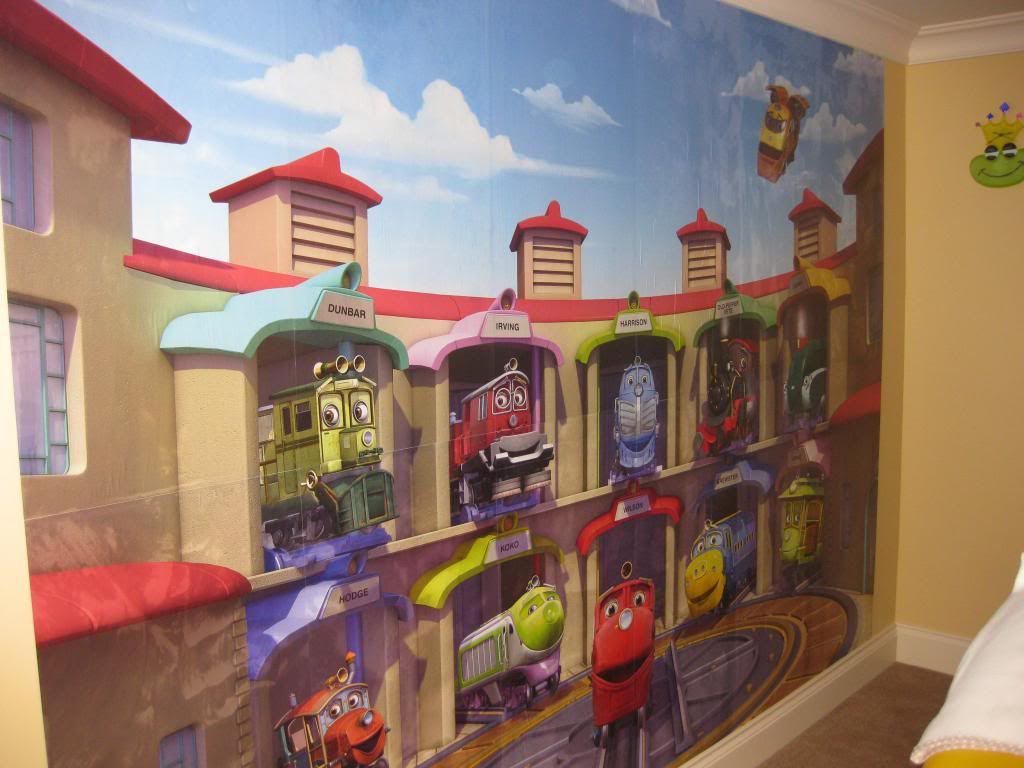
papered this afternoon, but done it my way and not the way the instruction say.
I've hung from the middle, top first then the corresponding bottom and keep in that sequence. So much easier to keep the pattern matching. It allows you to keep an eye on the paper stretching too. But this time I did do what the instruction said about pasting it and hanging straight away and not soaking it. So I made sure the paste wasn't brushed out too much and got it on as soon as I'd pasted.
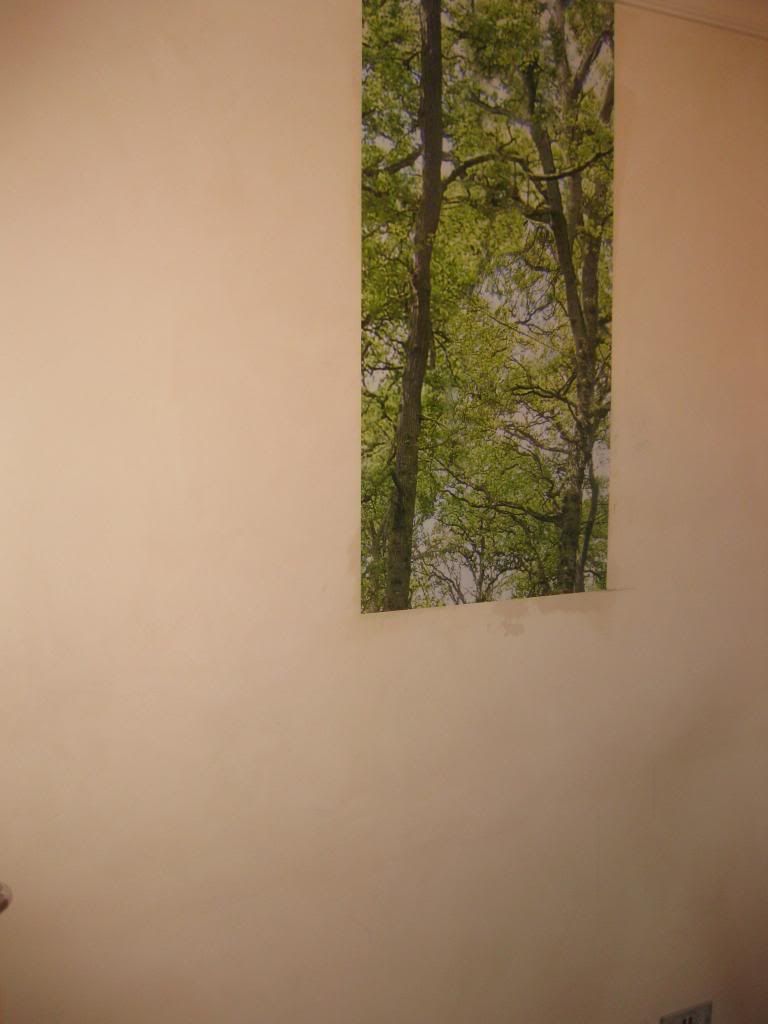
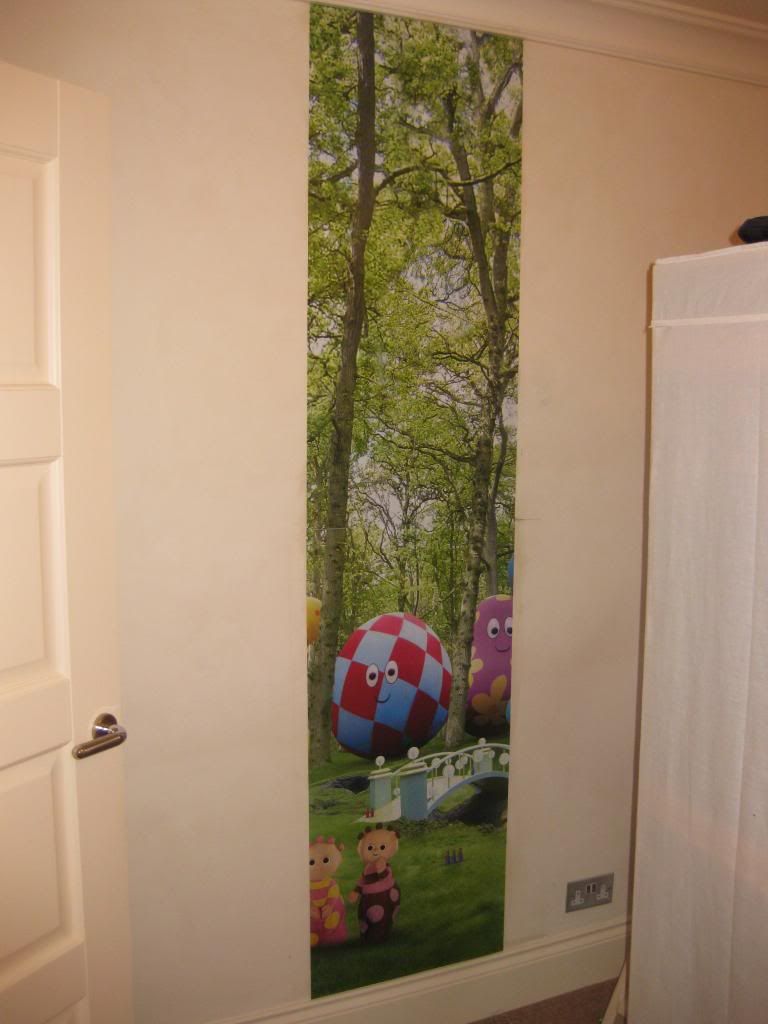
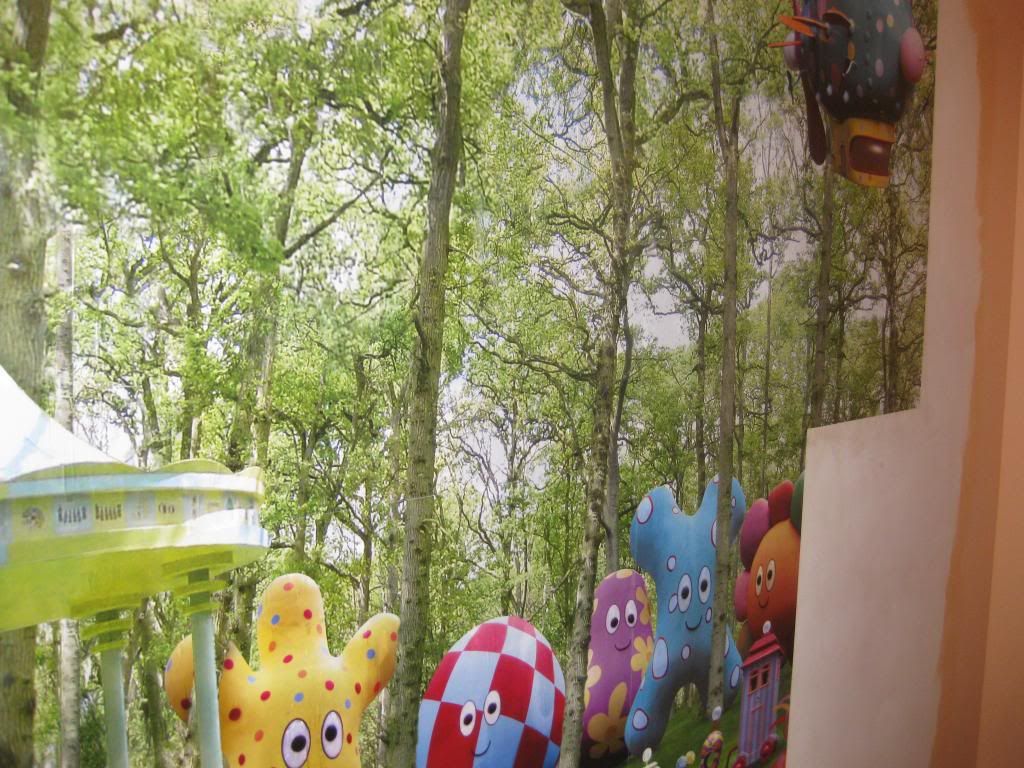
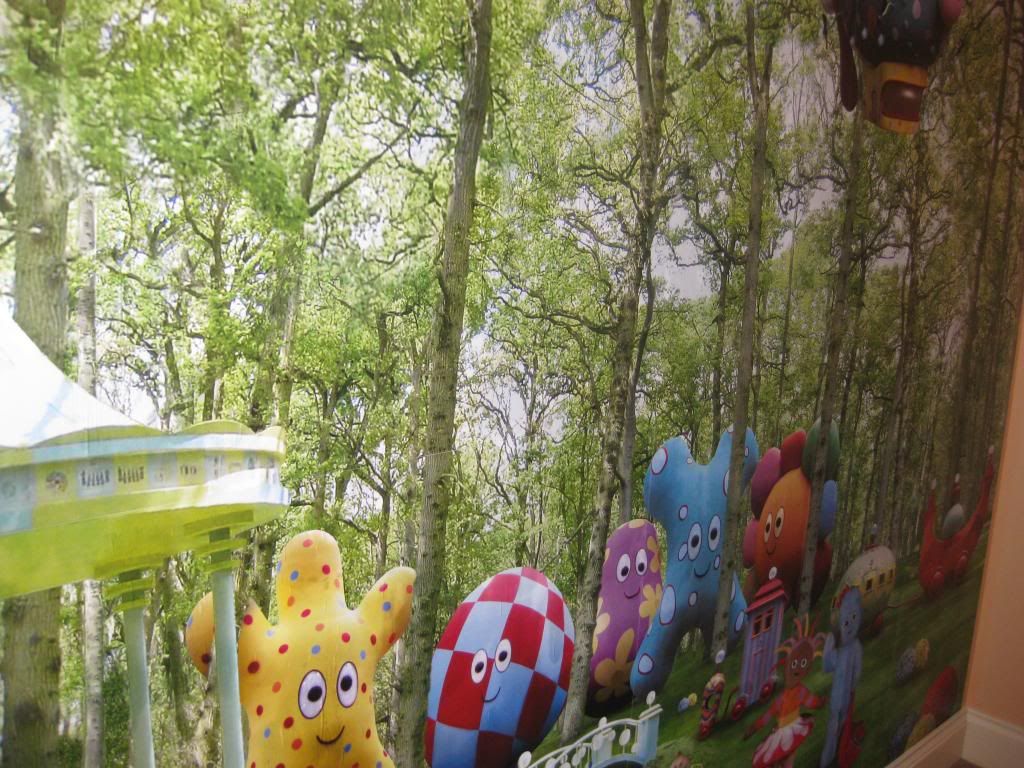
It is very effective 
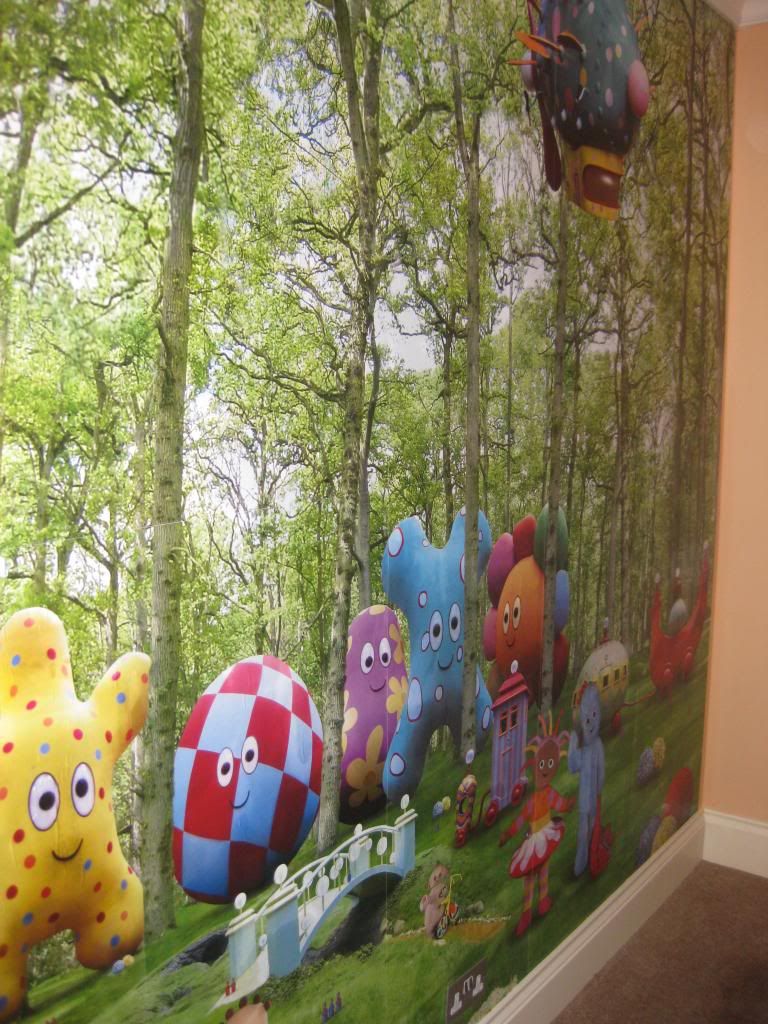

Joints I've done really tight to the point of overlapping, hoping they will pull back when dried and I can re roll them with the seam roller. The paper still crease up and went like a wet dish cloth. But all in all now this is the 2nd one of these poster style apers I've hung.. I'm feeling happer how it went on. It still have some paste bubbles in it that will pull out and dry. That will take a while and I'll see how it is tomorrow.
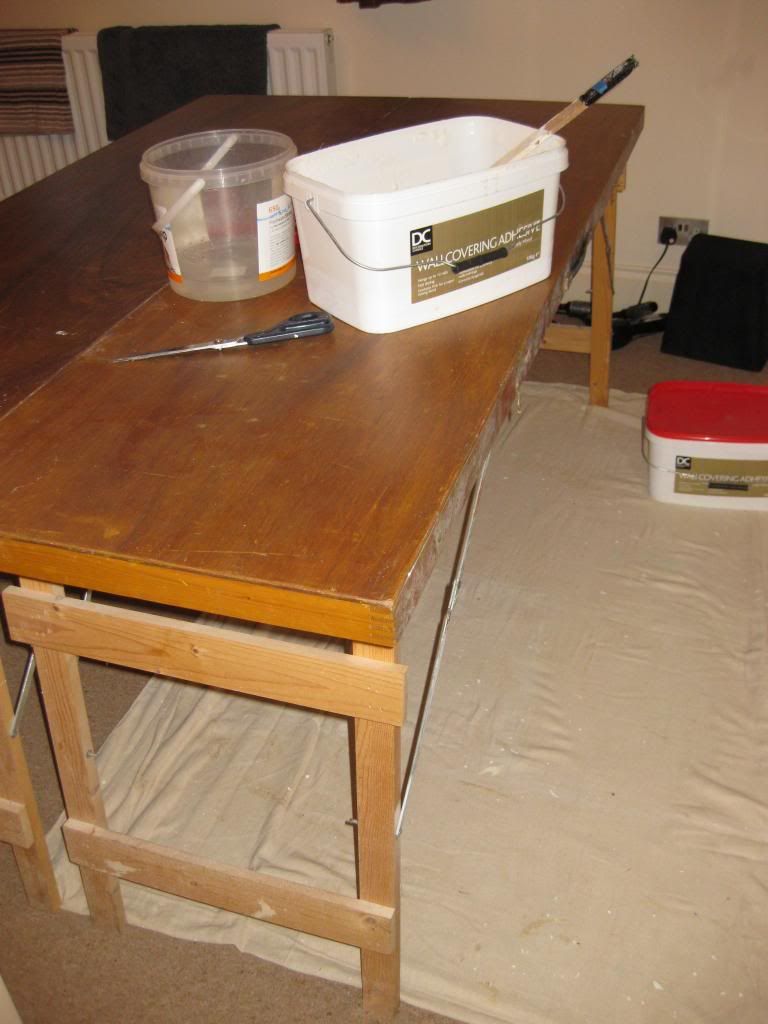
Come Thursday I'm starting the Front guest bedroom and this paper arrived from Germany this morning...
http://www.yourdecoshop.co.uk/en/Shop/detail/Id/10204193/?typeGroup[]=Wallpaper&type[]=WallpaperWithGlue&offset=2&
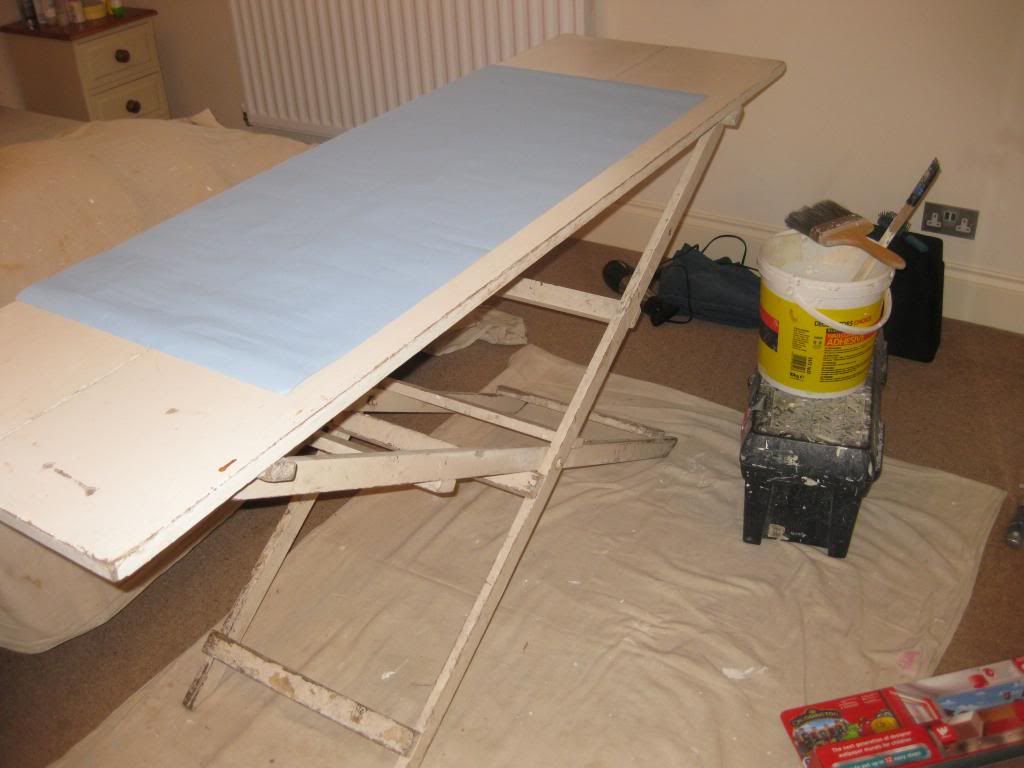
It'll be interesting to hang being 1m (39") widths. Our Wide Paste table will be coming out.. that can take 52" wide stuff ... it's such a big paste table we have used it as a family dinner table at Christmas a few years ago 
|
neoquip
Member
Registered: 12th Aug 02
Location: Nottm
User status: Offline
|
Yesterday was the start of the 'guest' bedroom. I had a colour in mind.. started on the window reveal and hated it so popped off to Dulux Decorators Centre and got another colour that was so much better... after 1st coat
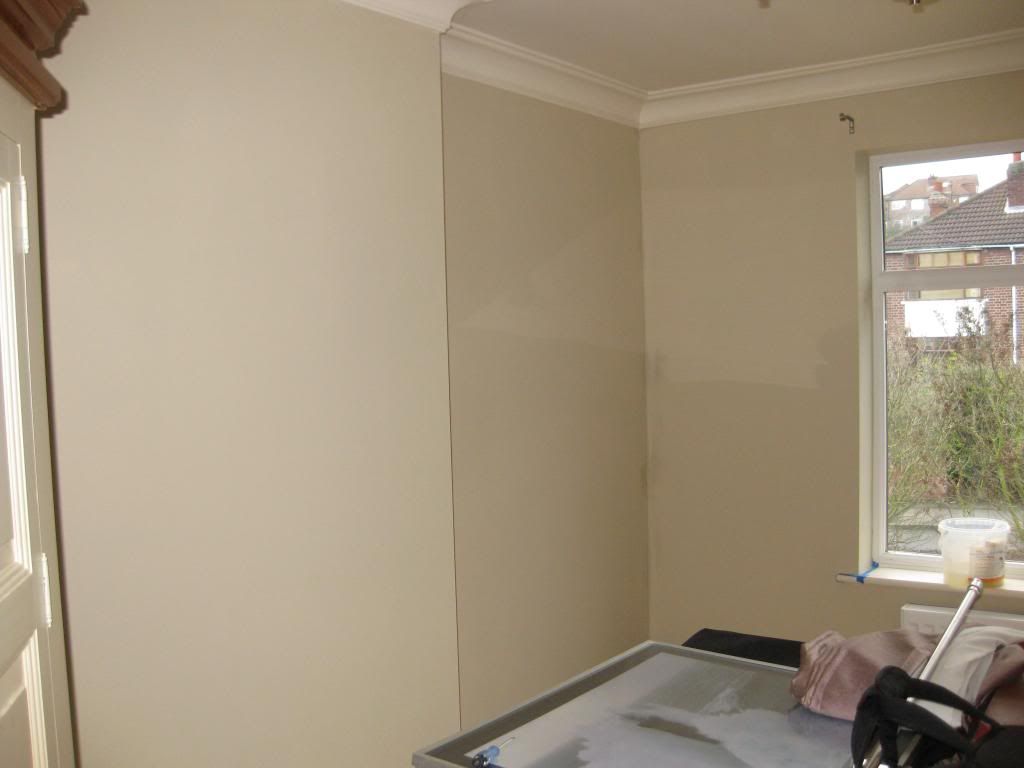
This morning I started on the OFFICE VIEW mural wall paper. Having now done two of these this week I decided to use Tub/readymix paste thinned down. I also worked out how the pattern ran/fell on the chosen wall. I trimmed about an inch off the sides of the left and right panels so it balanced better to the door frame.
These are 1m lengths so the big boy paste table came out
This paper was hung from the bottom length first on the left hand side so I could get the pattern right across the skirting. No an easy task when you come to hand the length above. lol
Quite a bit of excess paper got chopped off from the pattern at the bottom as I didn't want all the floor picture on the wall, this way I kept some of the picture showing the shirting. If I had a taller wall I could have included it. It looks better how I've cut it though IMO.

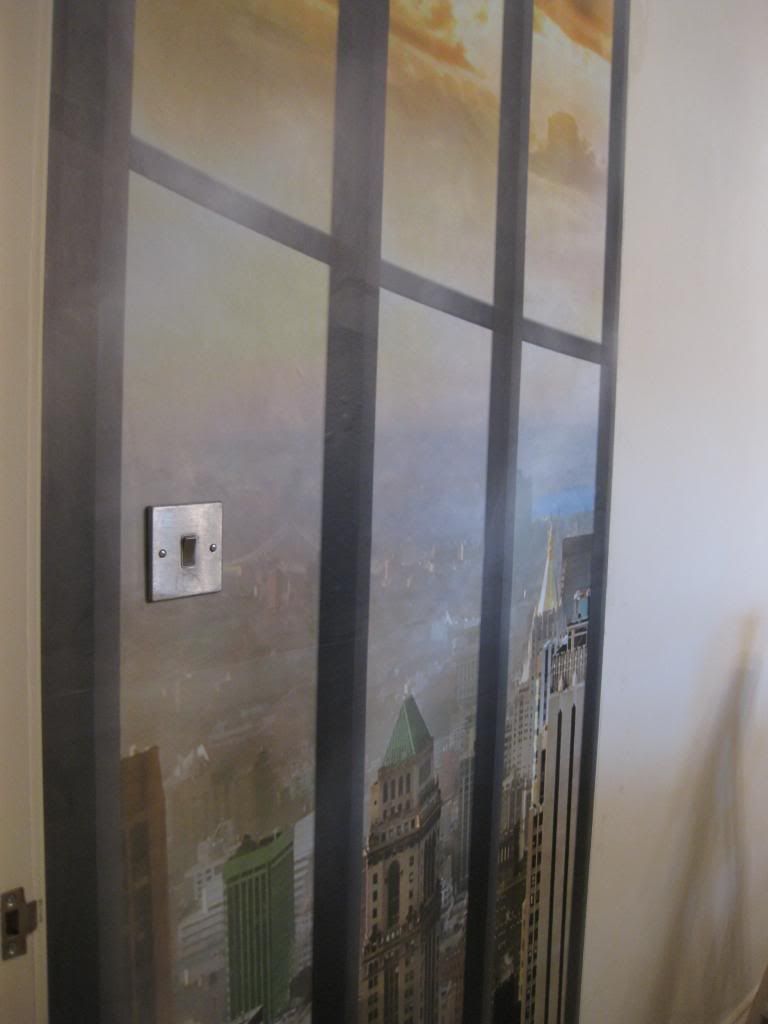

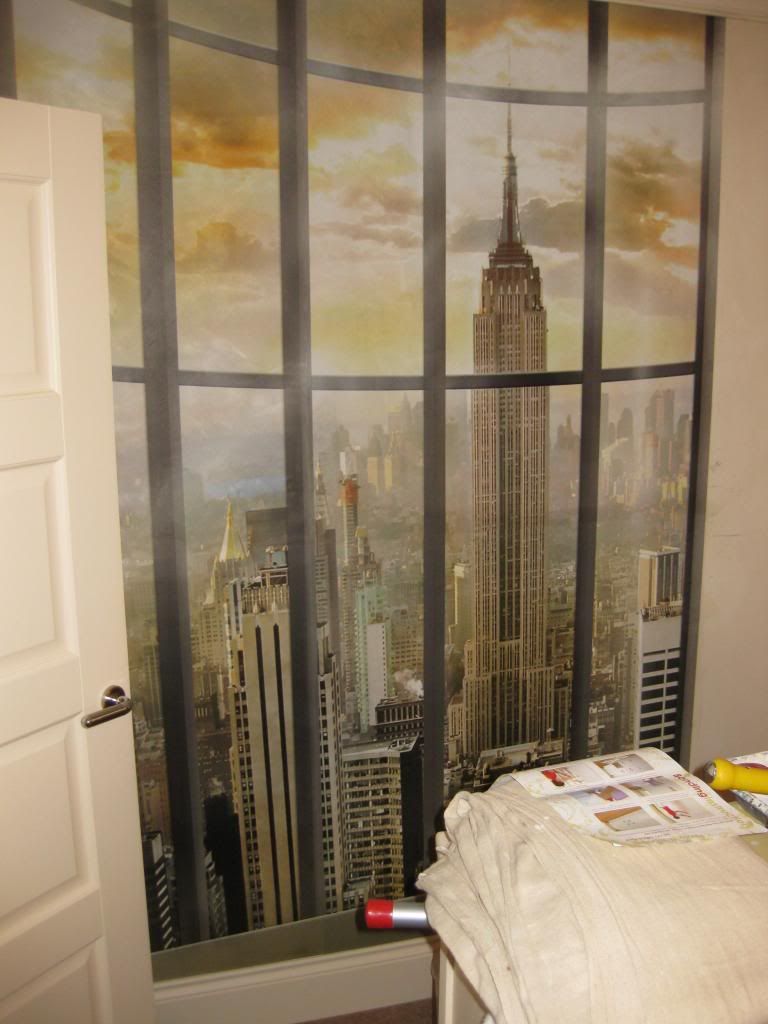


The paste was better, it allowed me to work with the paper, giving it no more than a couple of minutes to soak then hang. It's better quality paper than the previous two mural I've done this week. It didn't over saok and bubble up and crease like teh others. I really pushed the paper on the joints to the point of almost overlapping, then when dry just rolled them down with a seam roller. a tip is not to hang the paper just using a wet/damp sponge. It made the paper too wet. Using a hanging brush was better..
Overall it's very effective.
|
IvIarkgraham
Premium Member
 Registered: 27th Mar 04
Location: Ellesmere Port, Cheshire
User status: Offline
|
why didnt you take the curtain pole off to paint?
|
neoquip
Member
Registered: 12th Aug 02
Location: Nottm
User status: Offline
|
why?
its metal
|
IvIarkgraham
Premium Member
Registered: 27th Mar 04
Location: Ellesmere Port, Cheshire
User status: Offline
|
so that if you ever need to change it you dont leave a square that is unpainted
i.e. the proper way to do things
|
neoquip
Member
Registered: 12th Aug 02
Location: Nottm
User status: Offline
|
if you knew how tight the screws were to get in, you wouldn't even attempt to remove them. So they're not going anywhere soon.
& the skill comes in cutting round them with paint
|


