|
|


|
Not logged in [Login - Register] |
 |
You Are Not Registered Or Not Logged In |
|  |
|
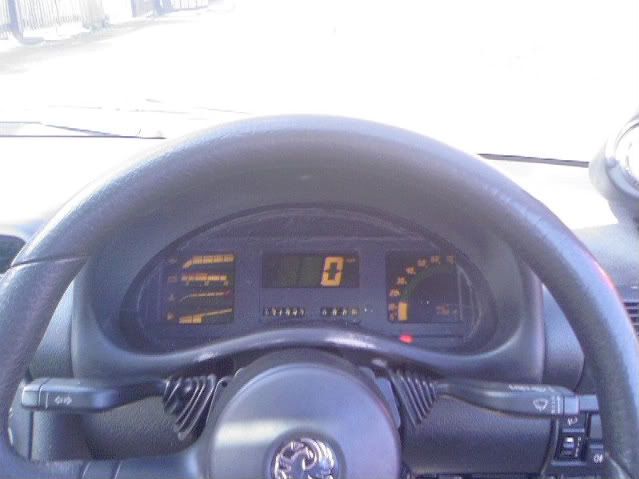
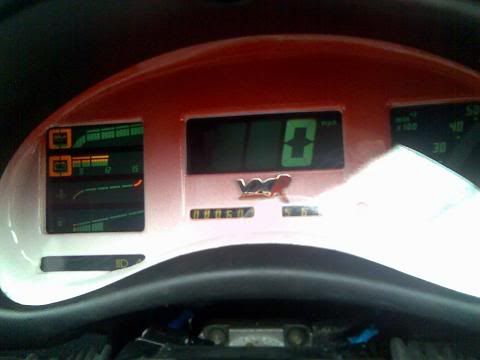
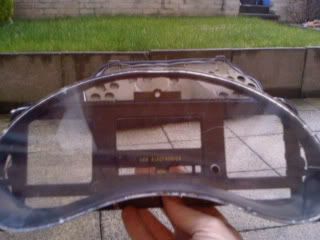
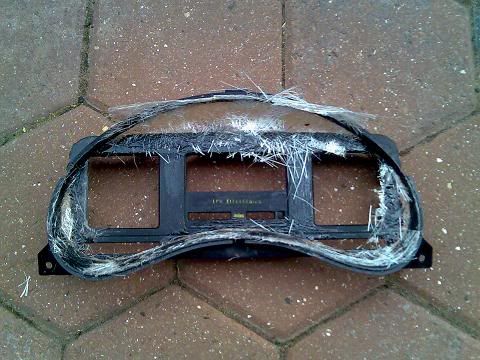
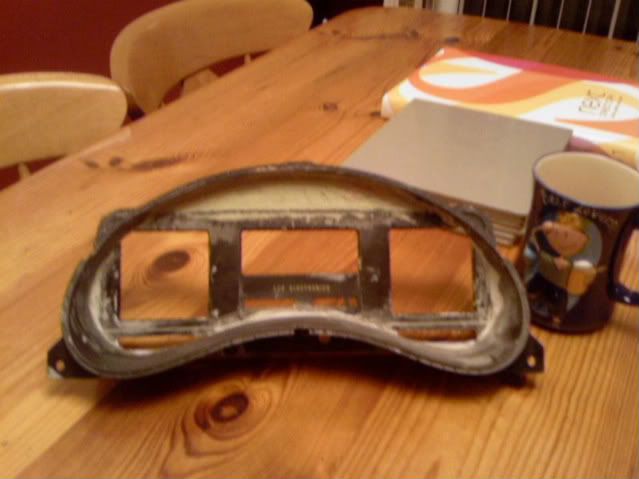
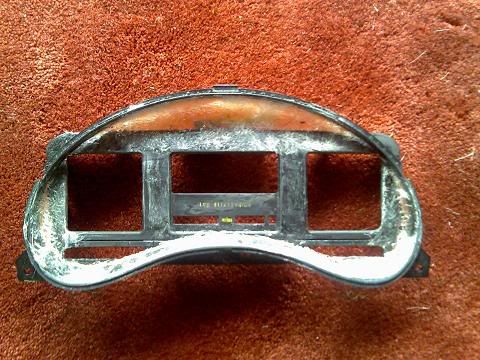
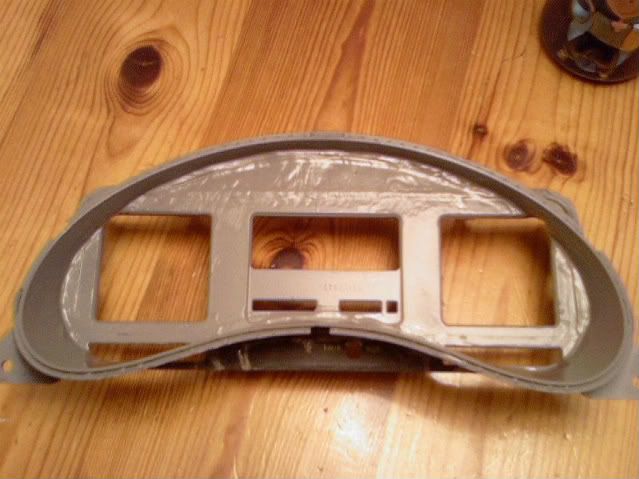
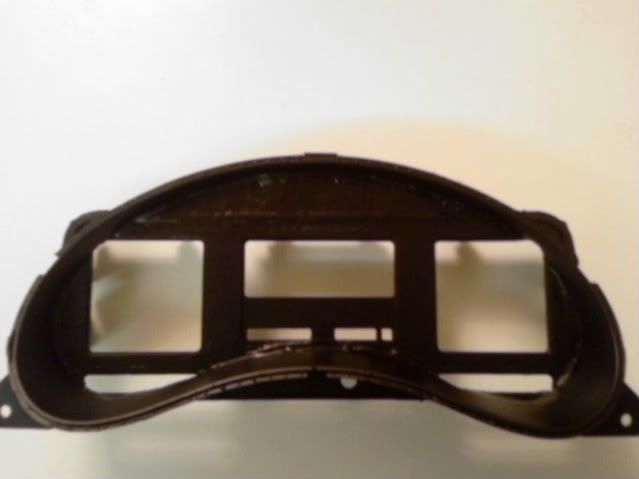
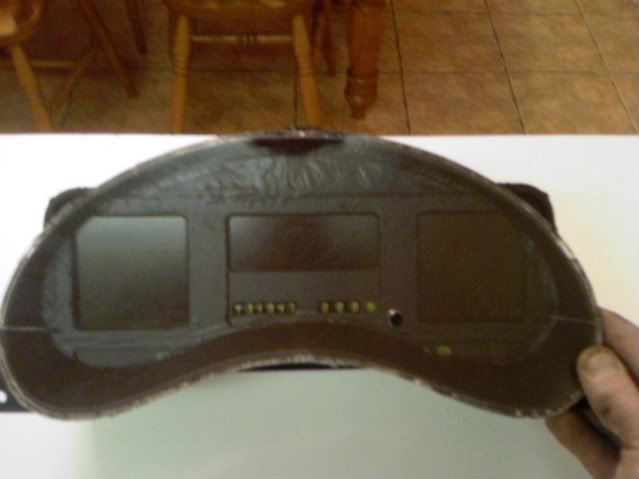
Corsa Sport » Message Board » Help Zone, Modification and ICE Advice » Fittine GTE Digital Dash Into a Corsa B
|
|
 |
You are not logged in and may not post or reply to messages. Please log in or create a new account or mail us about fixing an existing one - register@corsasport.co.uk There are also many more features available when you are logged in such as private messages, buddy list, location services, post search and more. |
|
|
| Corsa Sport » Message Board » Help Zone, Modification and ICE Advice » Fittine GTE Digital Dash Into a Corsa B | 27 database queries in 0.0116332 seconds |
|


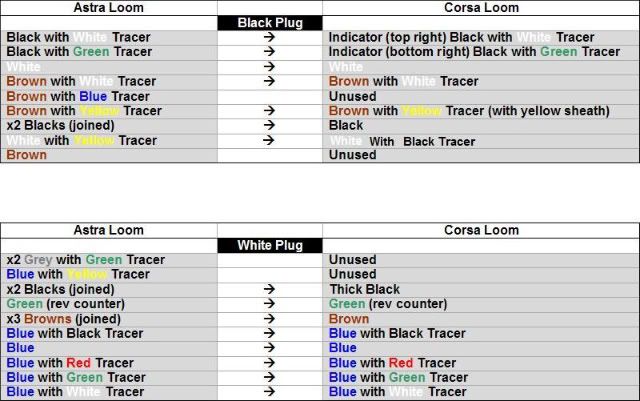
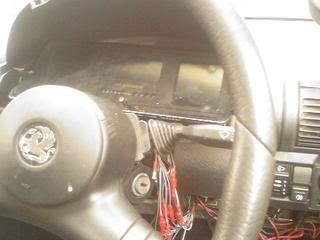
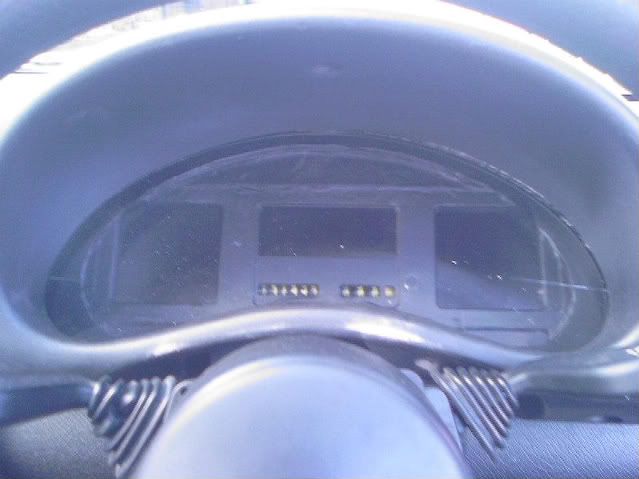
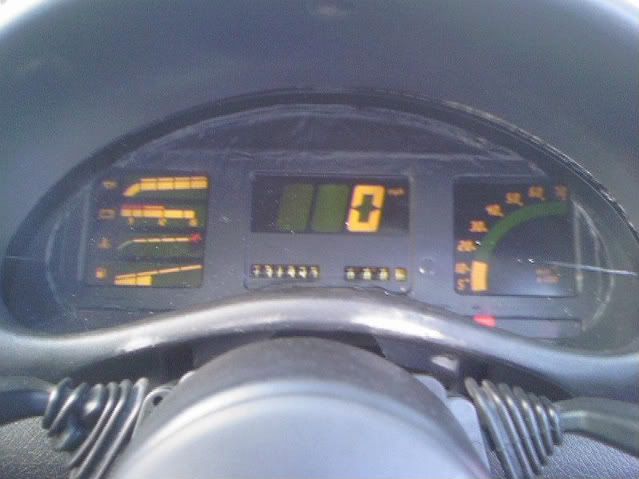
 cut you old dash plug off and if you can pull all the wires from the back of the dash down to you fuse box and out there will make it alot better for pulling the wires together to the digi loom then all you will need to do once all the wires are together id feed it back into the dash... heres the wiring for the GTE loom to the corsa loom i've added another wire in for the lights icon on the digi... for the indicators you need to take the need for the digi from the back of the stork this is the black with breen trace and you miss the first black with white trace and connect to the next black with white trace thats for your left and right indicator lights.