Marbro
Member
Registered: 1st May 11
Location: South Africa
User status: Offline
|
Basically gonna repost a repost... but will update from tuesday on
I would like to share what I have done.
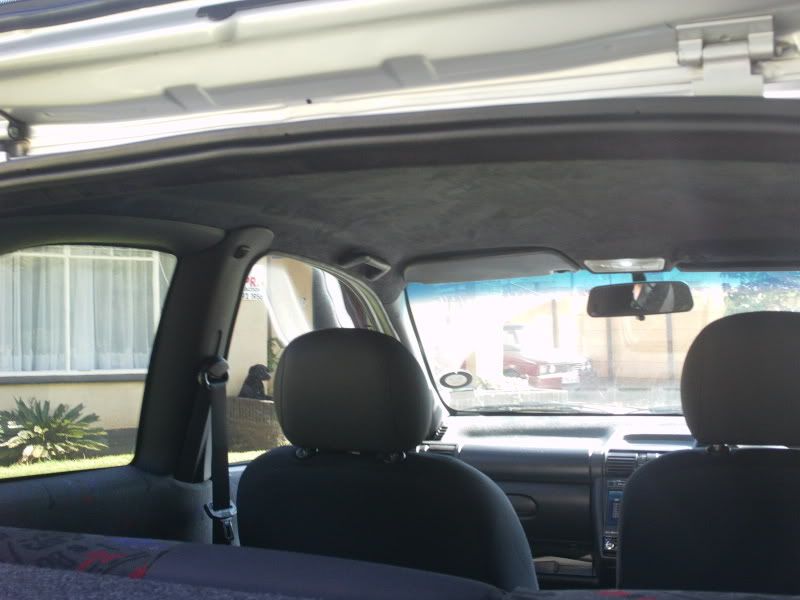
So because we did alot, ill start from the top... The roof.
Unfortunately i dont have many pics of the disassembly, but each pillar uses a torque screw, and the seat belts are on with a 17 wrench. be gentle as there are some clips that can break.
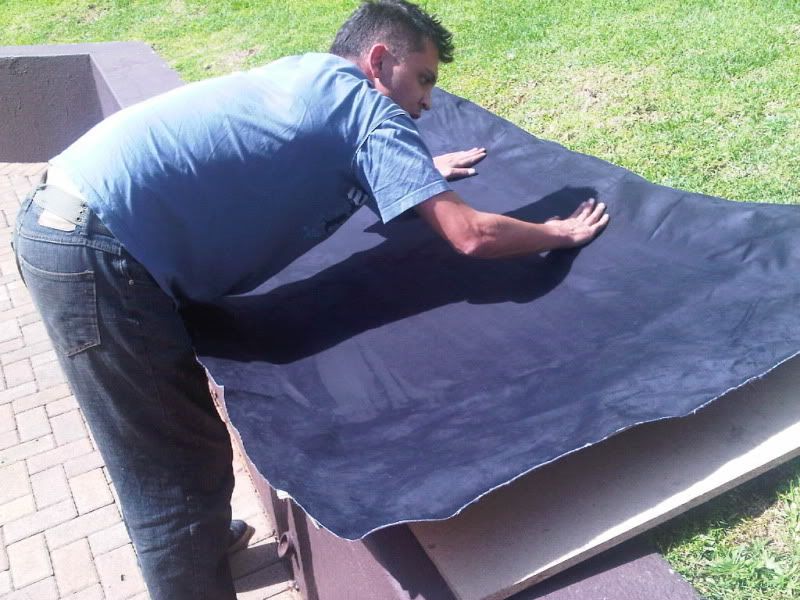
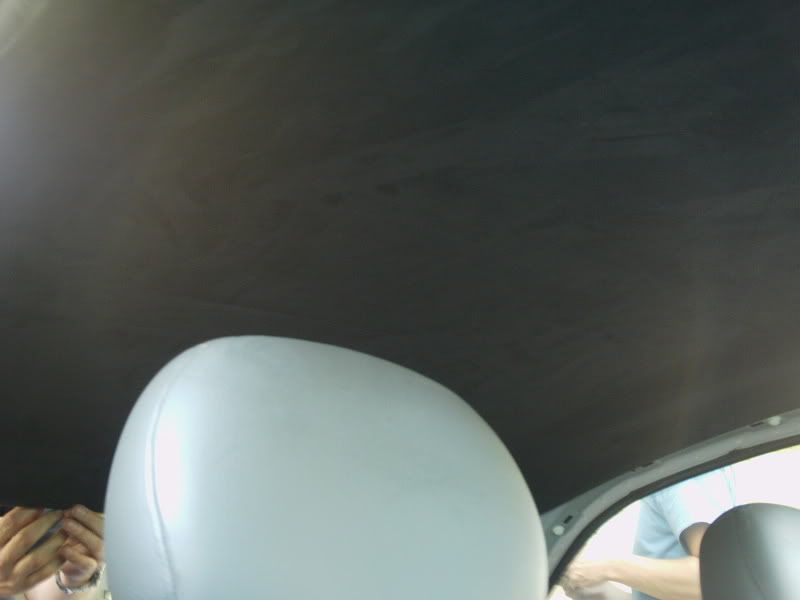
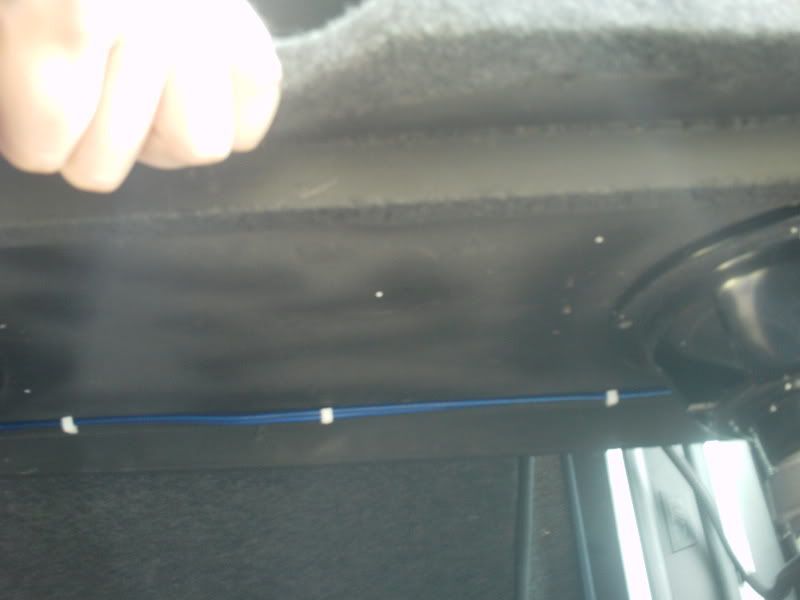
So we got a huge plant, layed the roof on it, and spread the suede over it, making sure we had excess on each side. We bought a 2m x 2m section and had enough excess at the end
Using simply contact adhesive (genkem) work your way from the centre out, leave the last 5 or so cm's unglued, also any areas that need to be moulded (ie the sunvisor area)
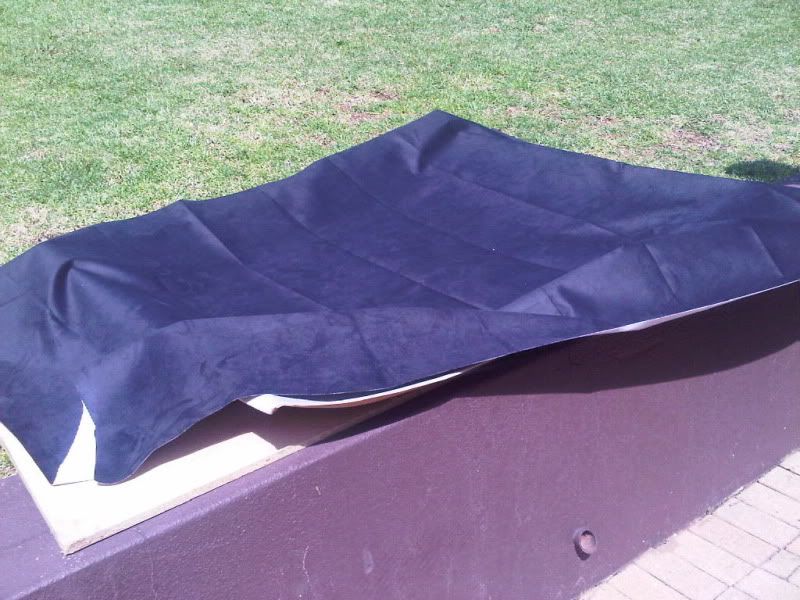
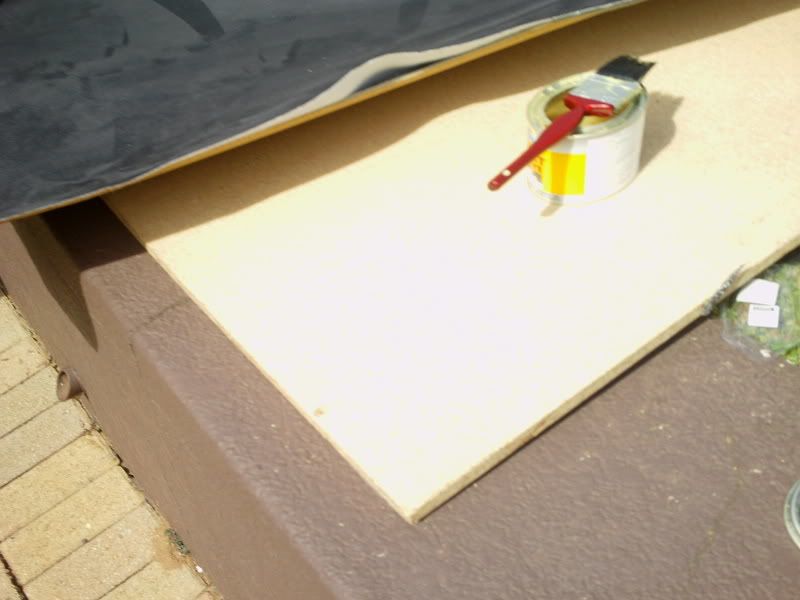
like this
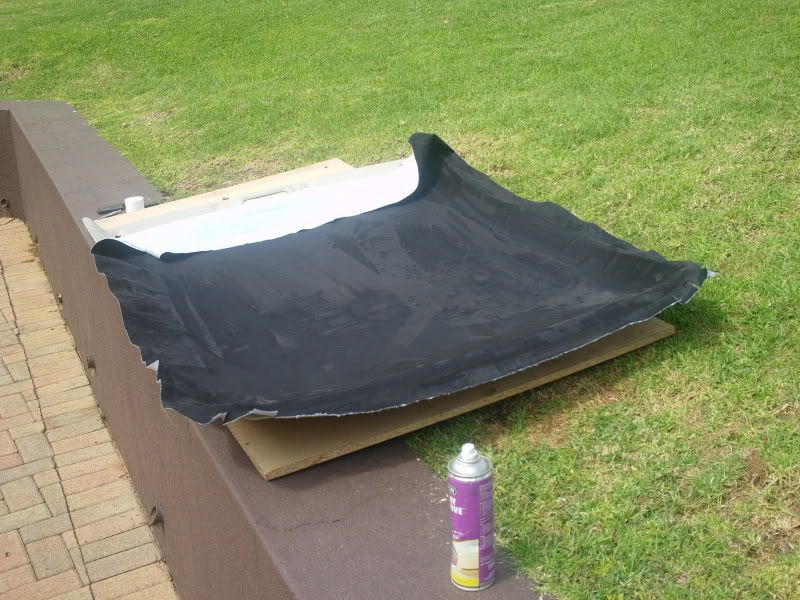
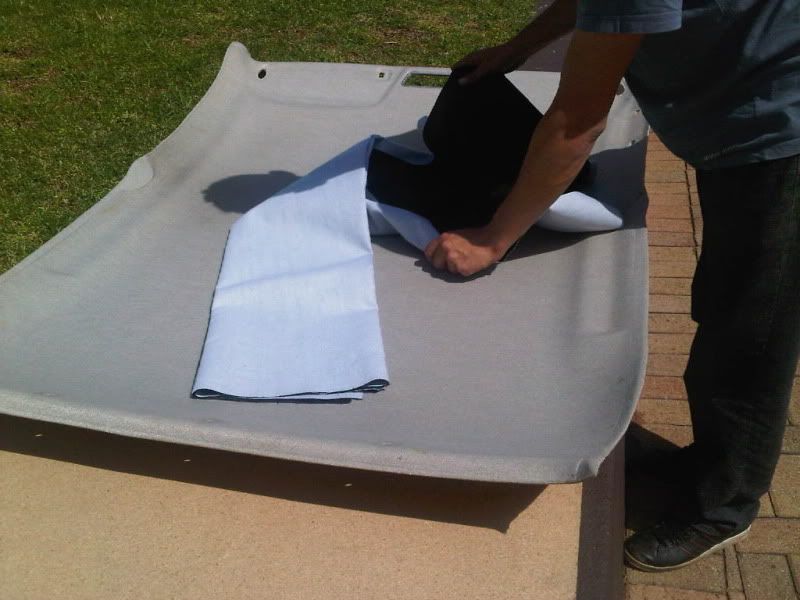
As with all projects, take your time and an extra set of hands helps
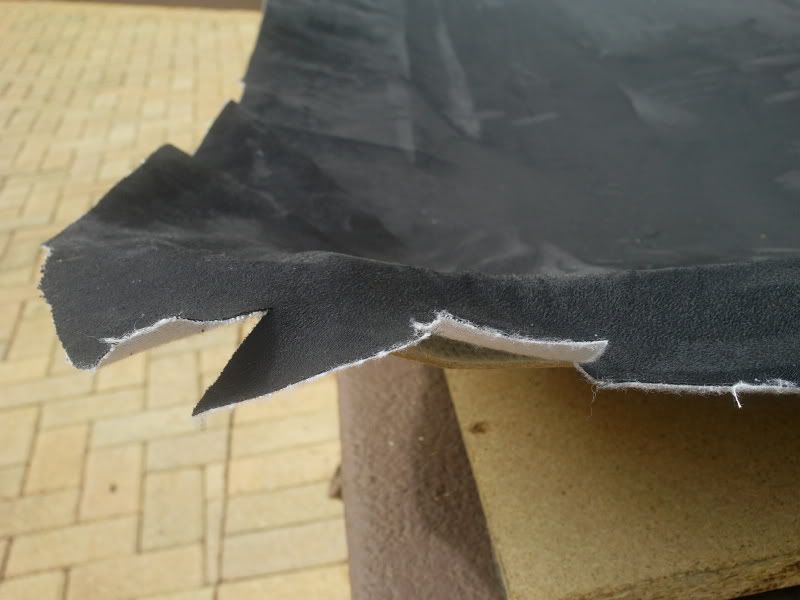
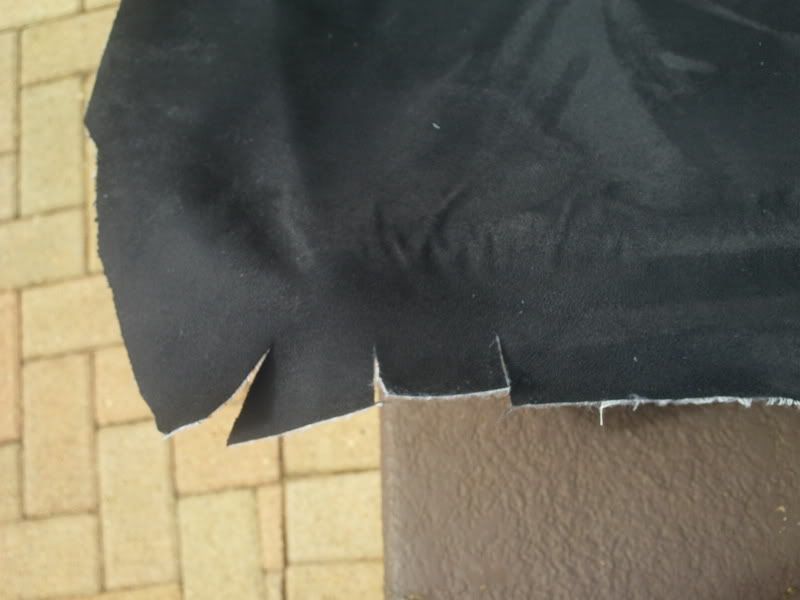
For the edges, We cut slits into the suede, this helps it with the corners and we ended up only having two wrinkles. (near the interior light)
Installing the roof is simple, the rubber around the car seems to hold most of it up, I would suggest cutting out the holes for your visors mounts and so on while the roof is out
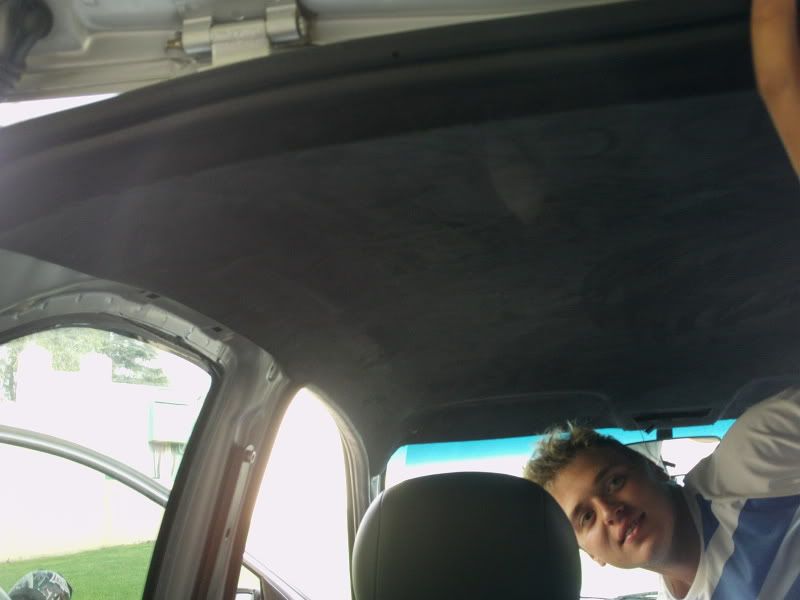
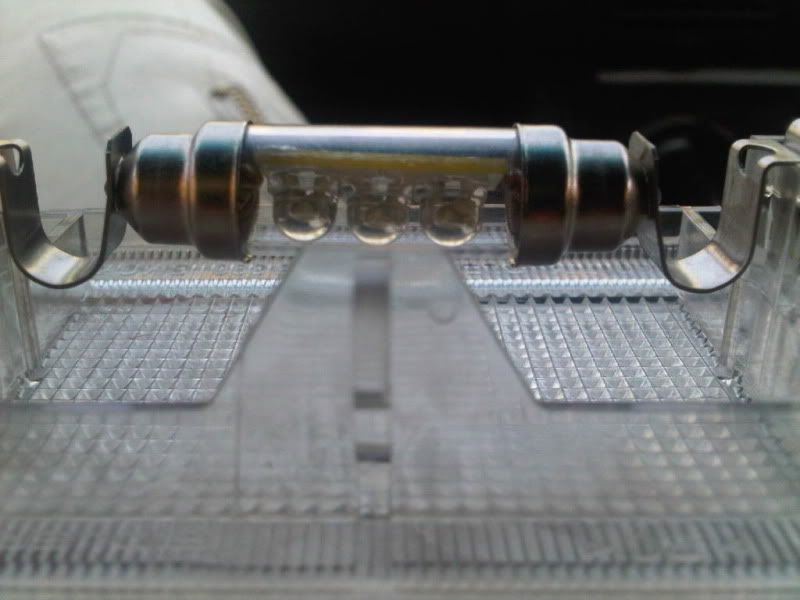
The interior light just didnt look right so we replaced the normal globe with a LED light from Autostyle (local store)
Sorry for the crappy pic, but this is what it ended up looking like.

I havent had time to do a proper shoot, so these pics will have to do for now, Next, the panels.
We removed the pillars, B pillar parts come off last.
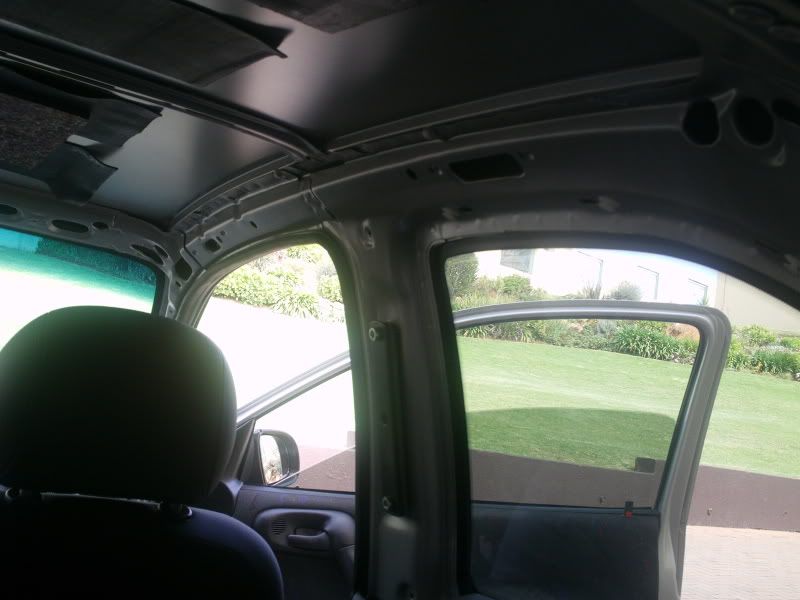
Be sure to wash the plastic bits properly. We used a washing up sponge and washing up liquid. Little warm water and lots of elbow grease. Be sure to rinse it and then dry them off.
We went for Mat black rattle can spray, using about 4 cans in the ends, but you can get away with 3,
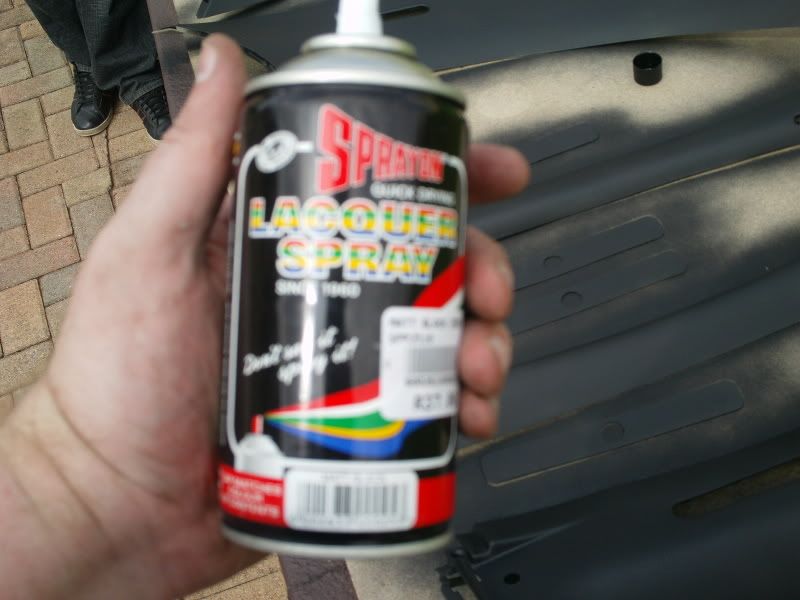
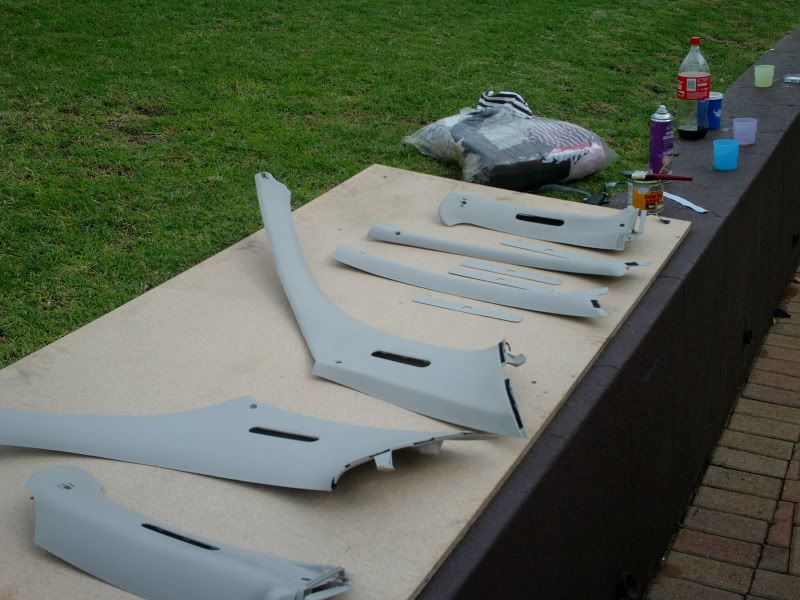
When painting make sure you use light coats (someone here posted rather have 7 light than 2 thick, Cant agree more!!
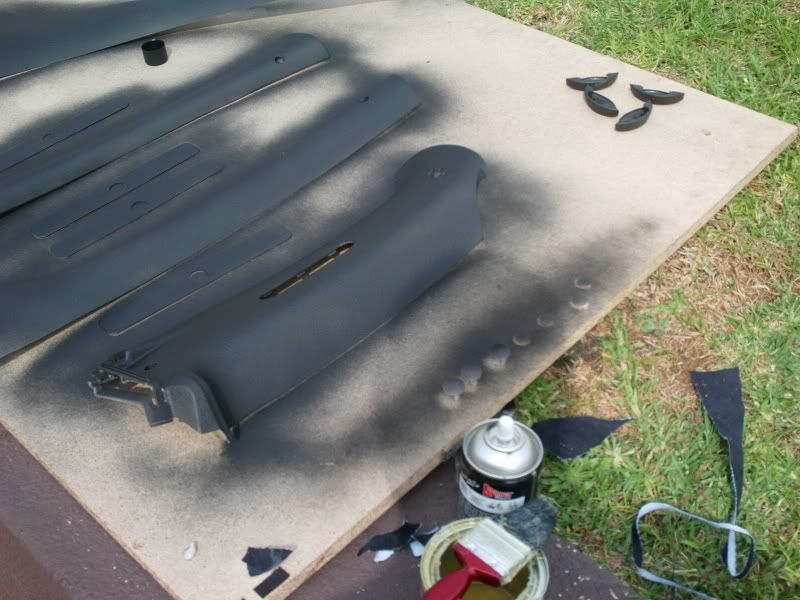
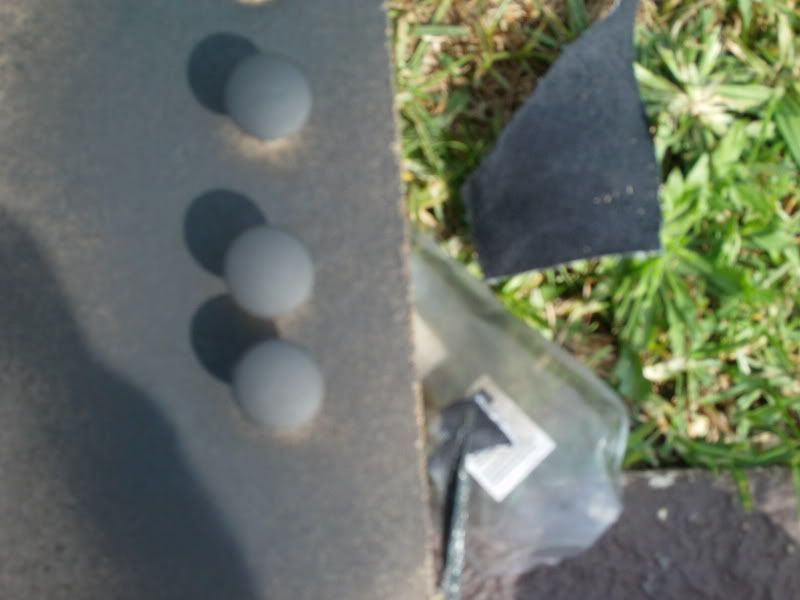
Now remember when I said clean it properly...
if you dont, you get to do it all over, once the panels start to flake.
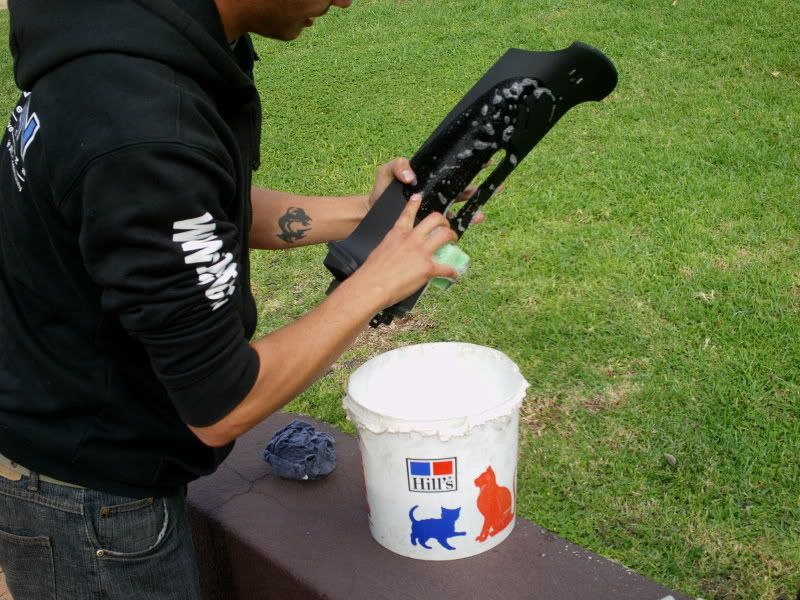
ok, so scrub again and start from scratch
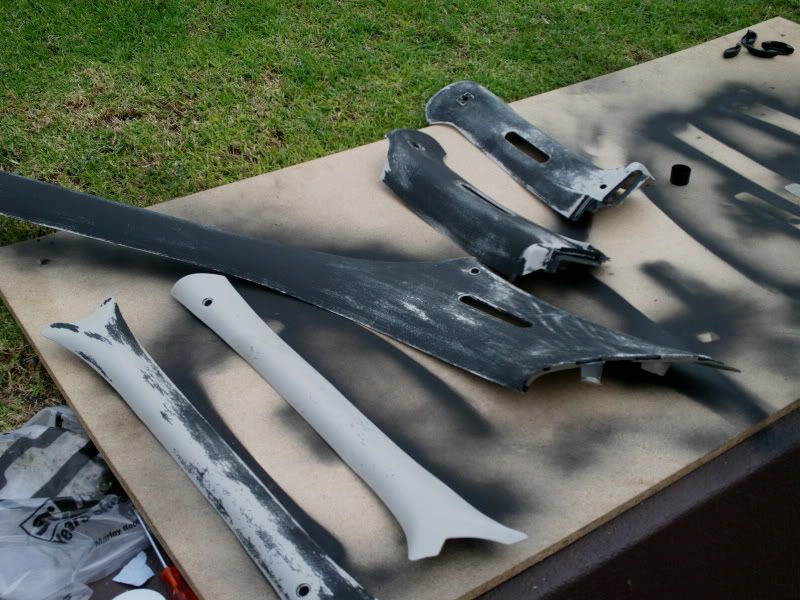
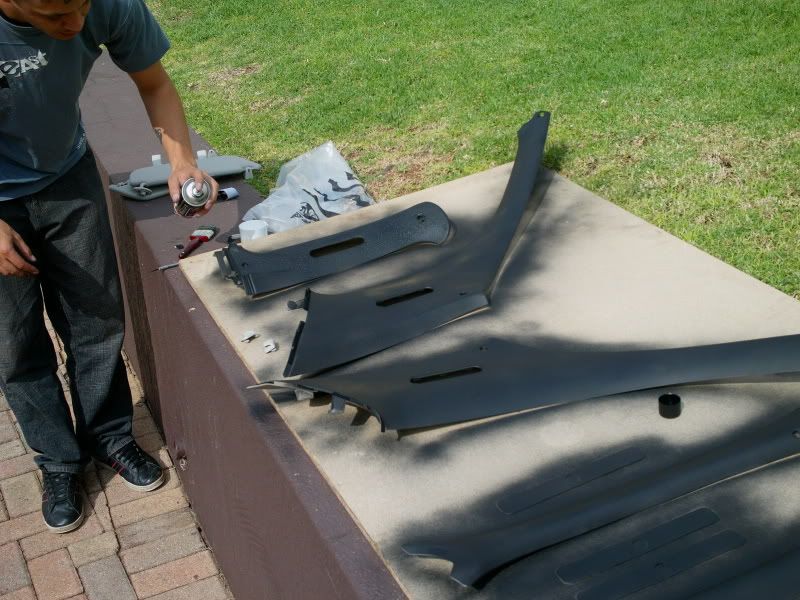
End up with this,

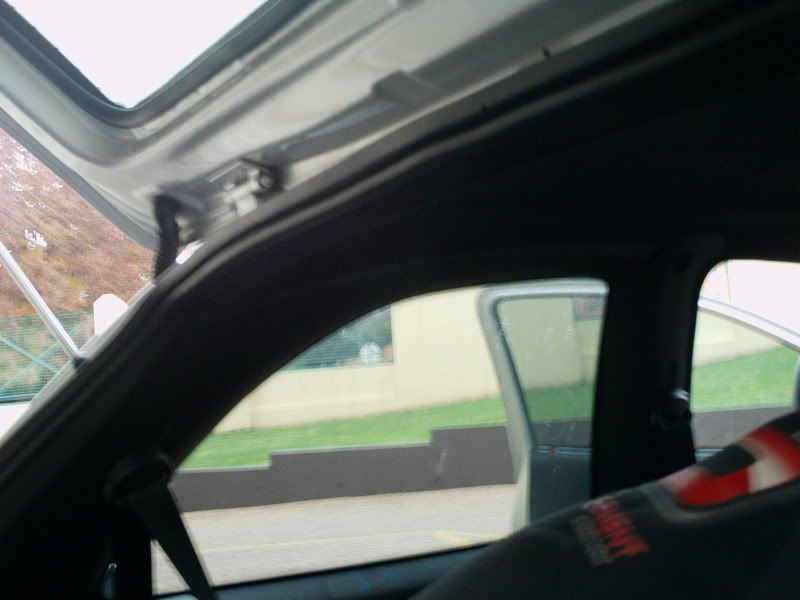
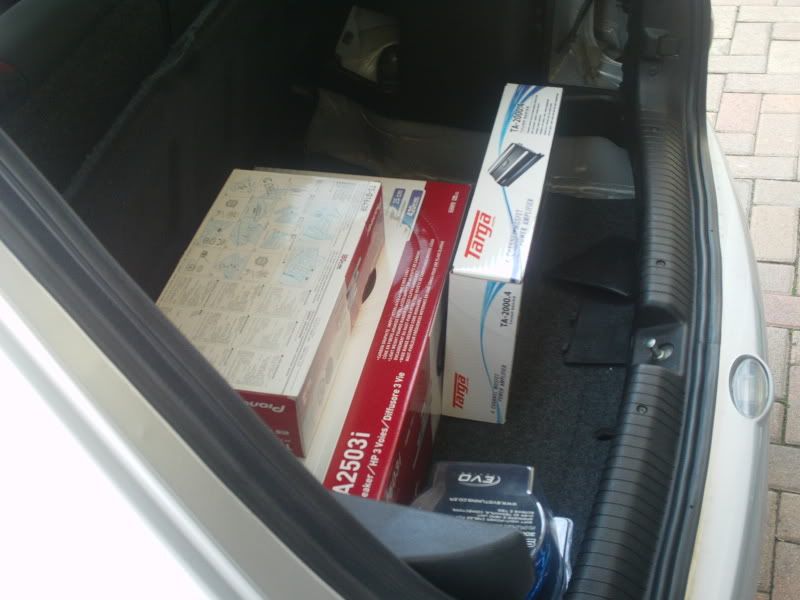
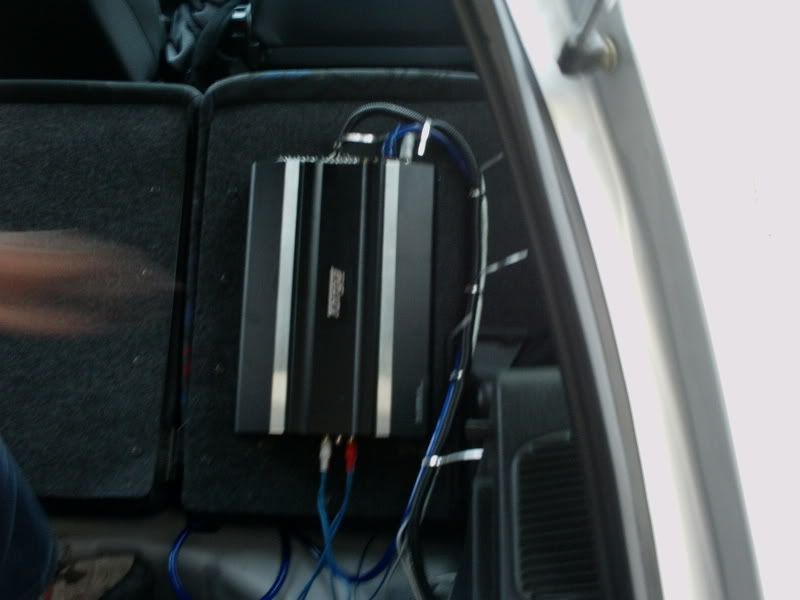
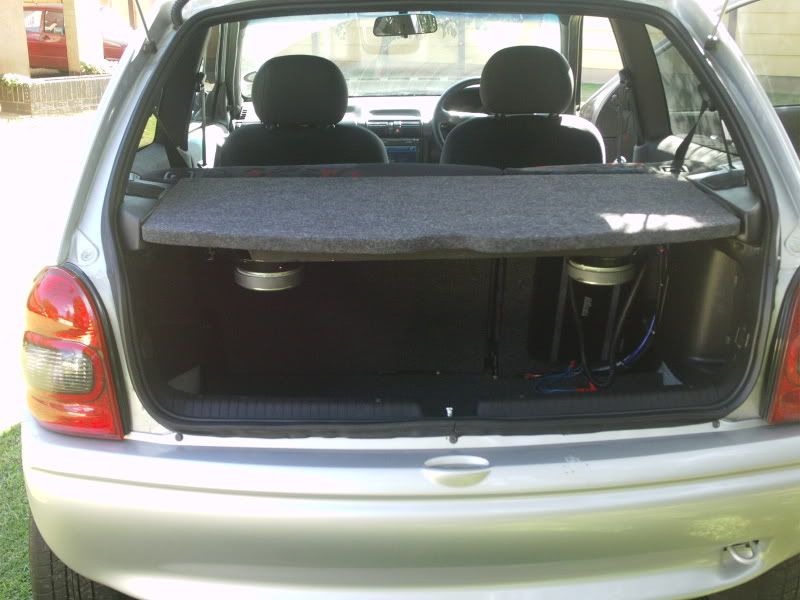
We also upgraded the sound in my corsa a little.
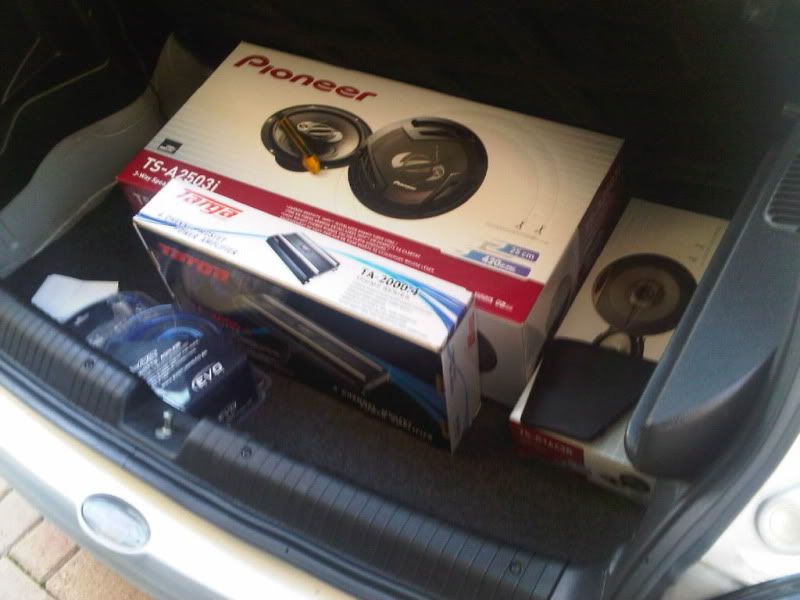
It now has 2 10" limpets,
a targa 2000w 4 channel amp
2 5" pioneer mids
heres a pic of the stuff before we installed,
|
Marbro
Member
Registered: 1st May 11
Location: South Africa
User status: Offline
|
Splitting the posts,
Heres what the car looks like
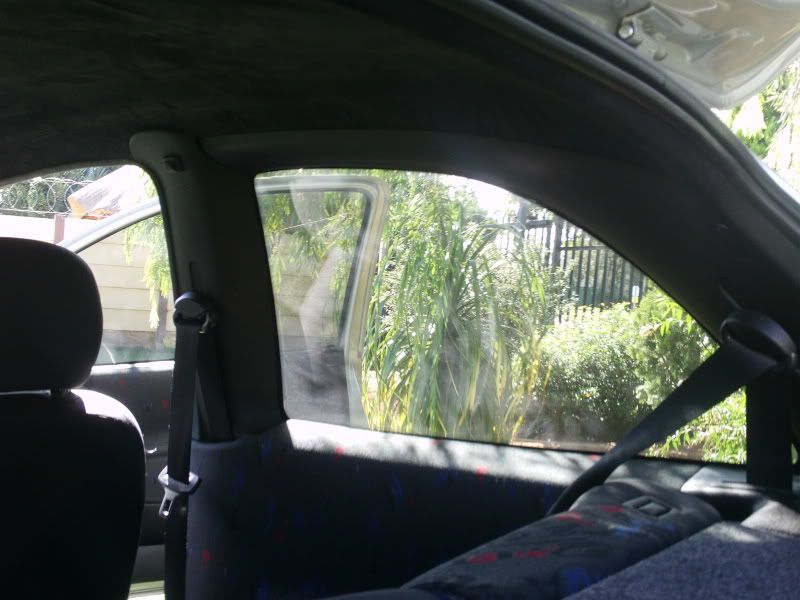
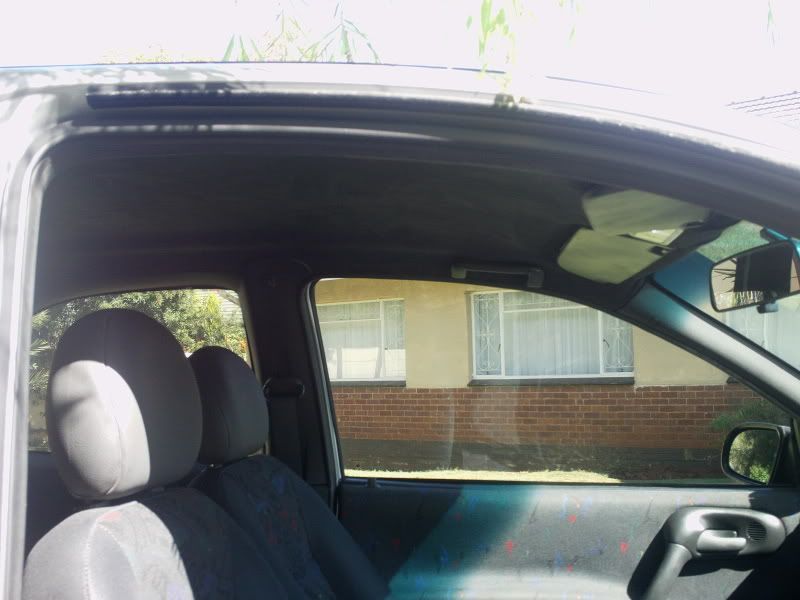
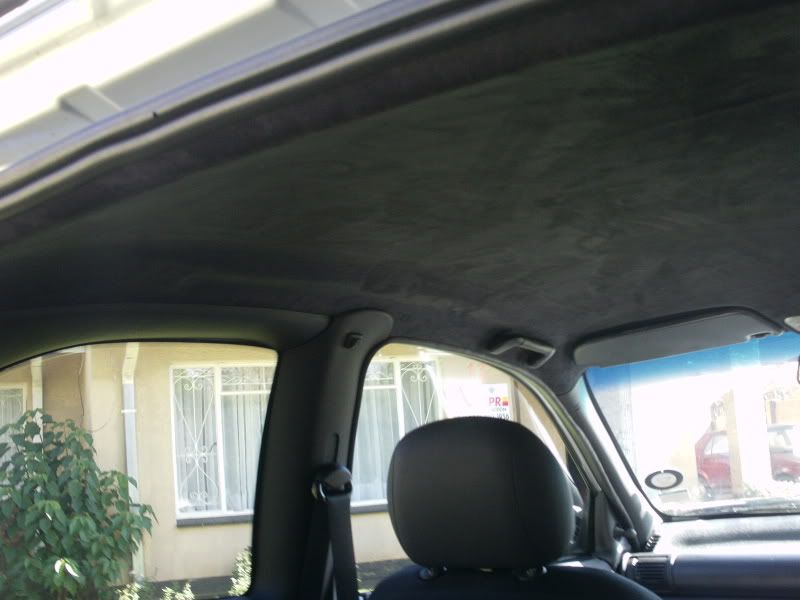
and Finally.... The exterior...
which apart from the rims is standard
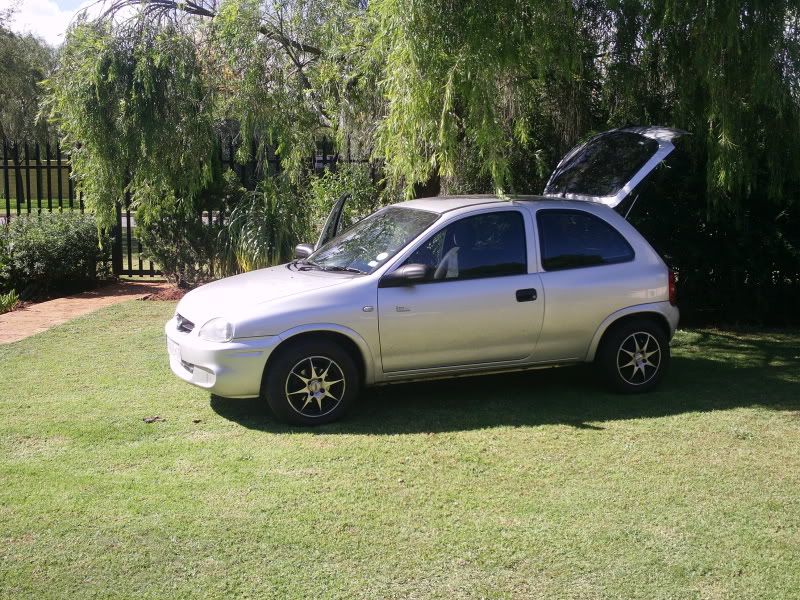
After the interior trip, i got
A new exhaust, (50mm as anything bigger would just be a waste)
New branches
New disks and pads!
Ok, so the exhaust was done at an ex cowley shop (same owners, but they just changed the name)
firstly, the old pipe
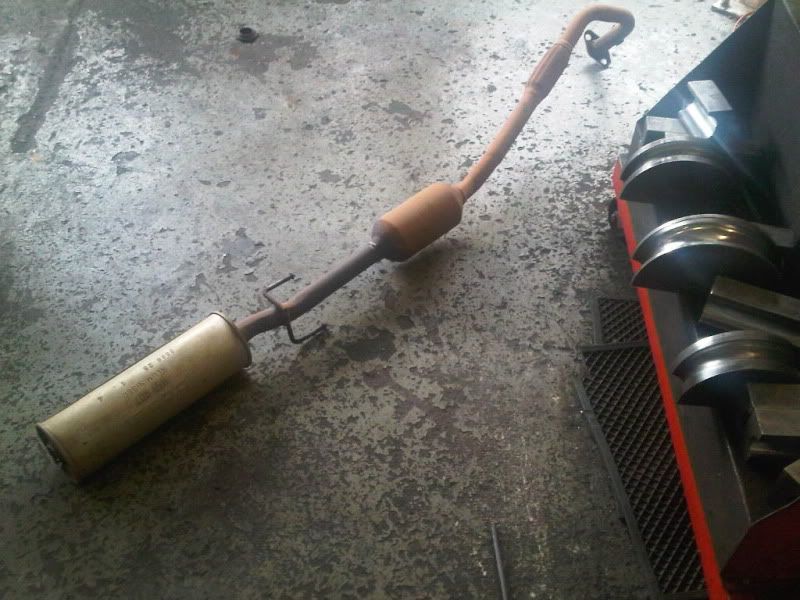
For some reason it had a cat on, We dont need to have them on so its now.... GONE!
We got there as they were doing the final touches
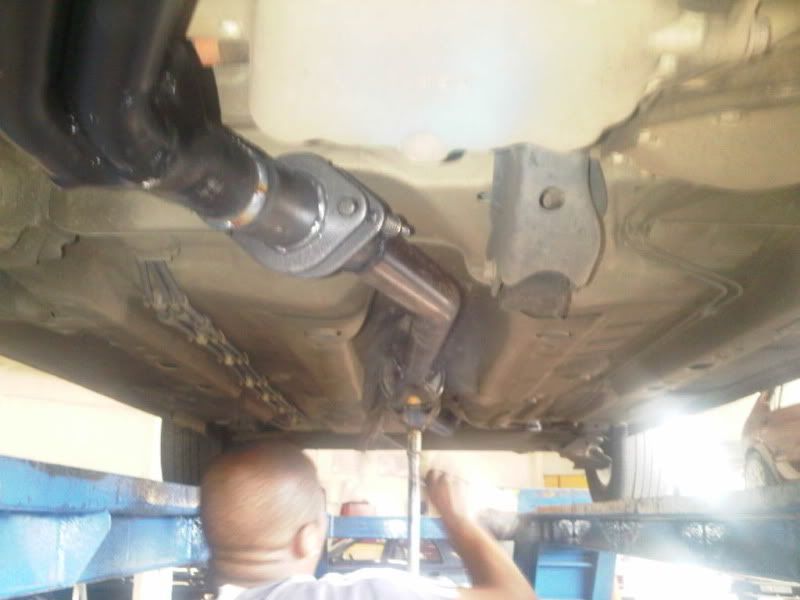
One from under the front bumper
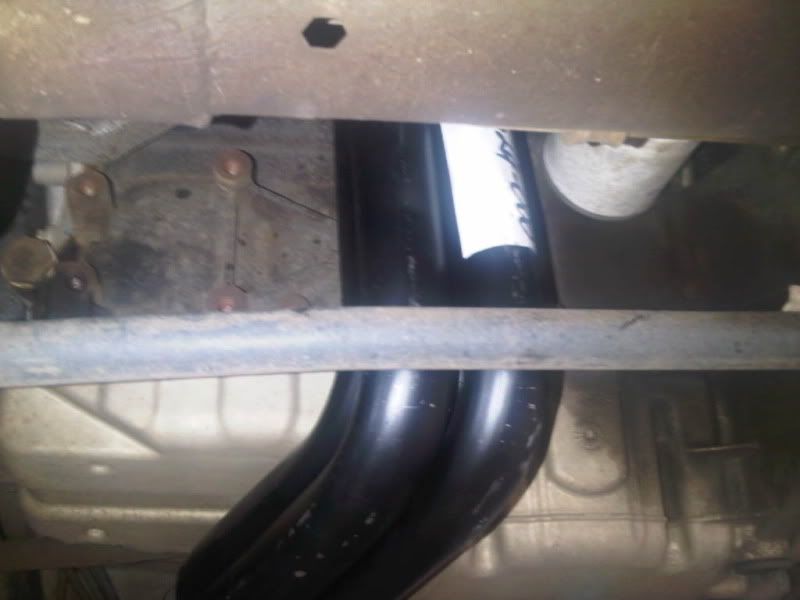
and the sad little 1.4, with a nice heat shield
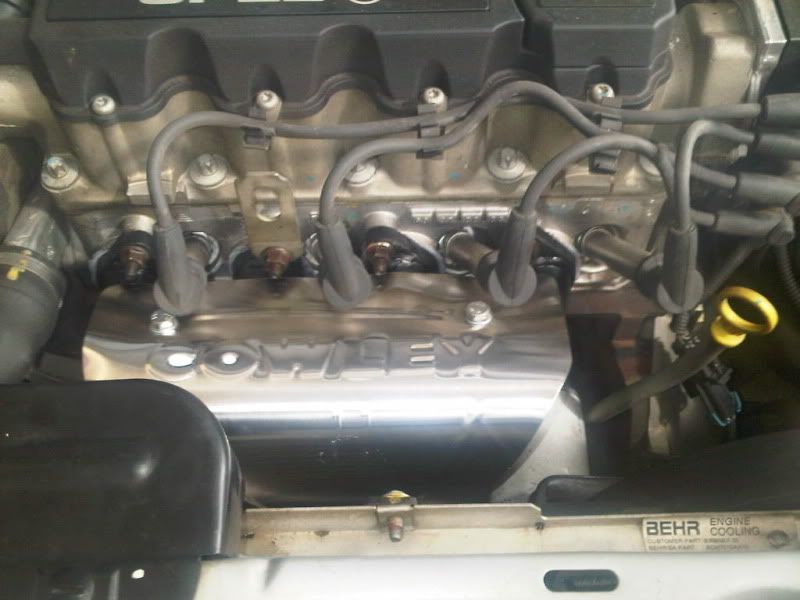
Once started,
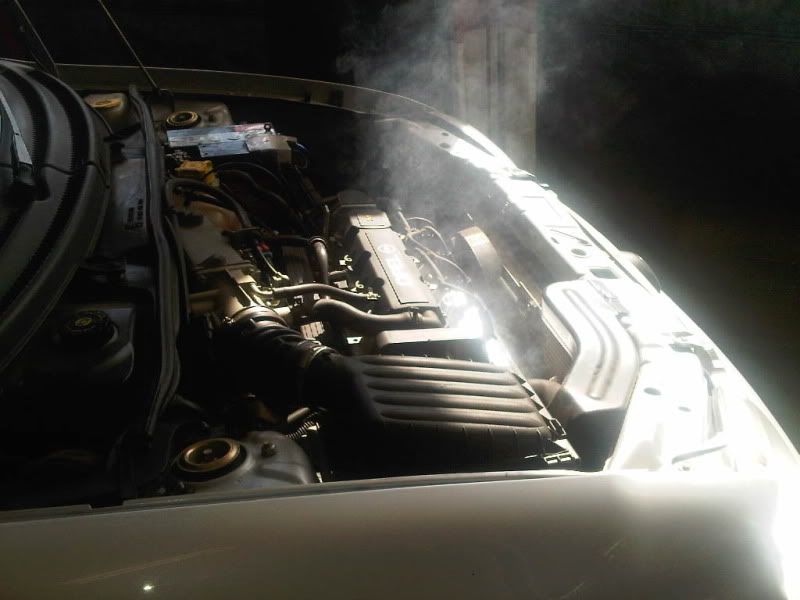
that stopped after a few minutes. the smell lingers
ok, so the brakes,
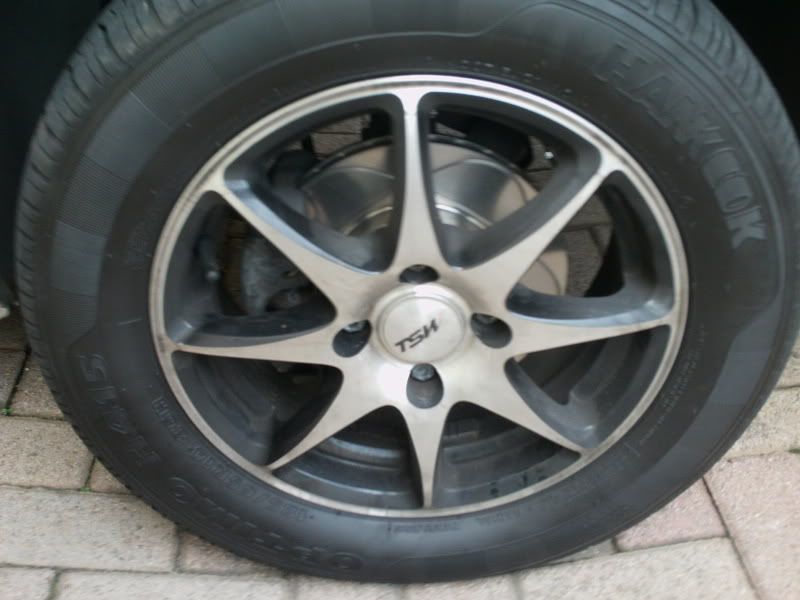
Its a set of ventilated slotted? ATE disks
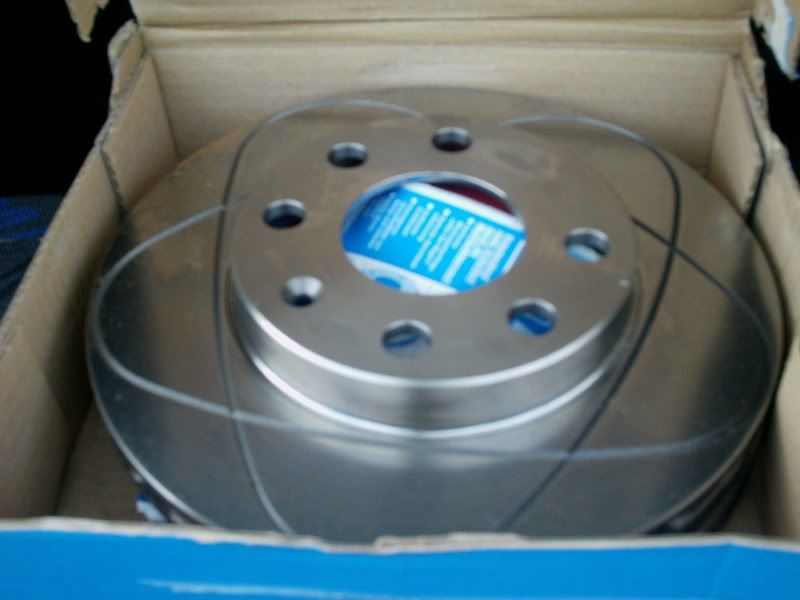
Installed
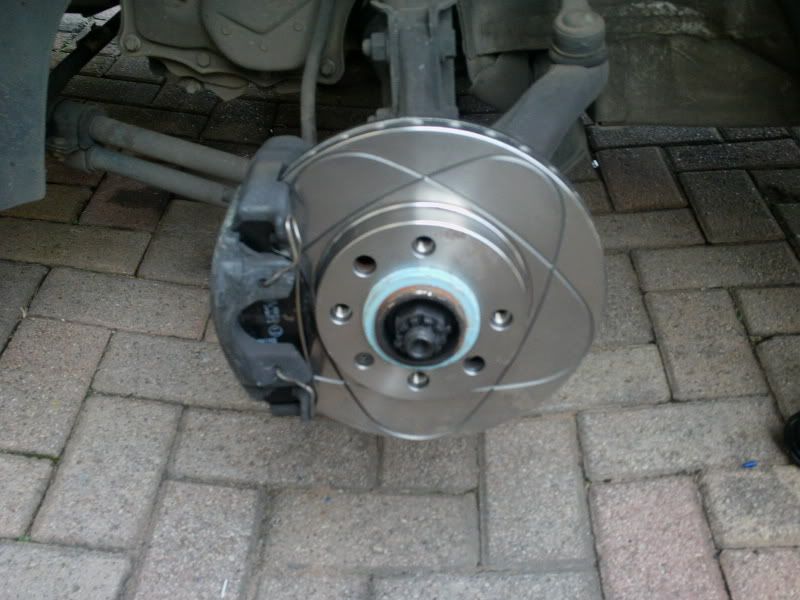
|
Marbro
Member
Registered: 1st May 11
Location: South Africa
User status: Offline
|
I decided to change the lights, and thats when my first unique bit came in,
So heres the start,

Removal was rather easy, Three bolts (size 8's)
flex the bumper a little and try to move the grill as much as possible, The light should pop out.
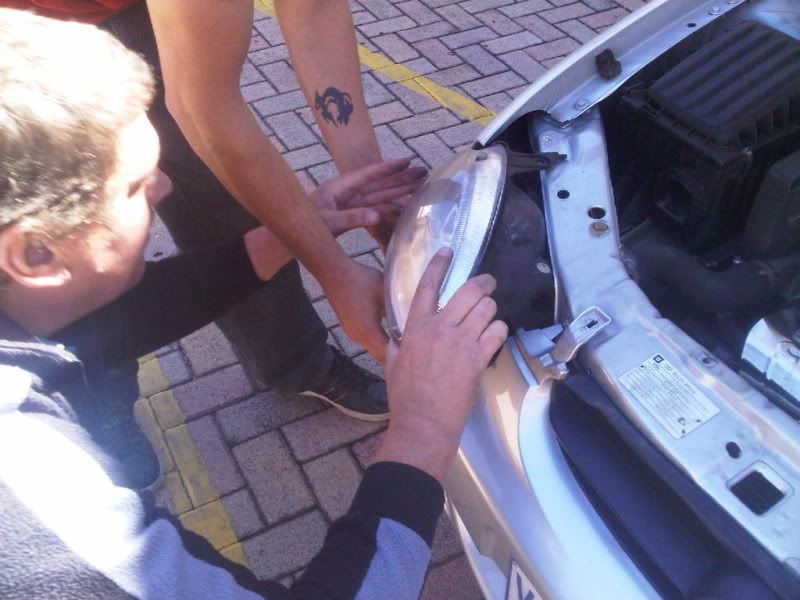
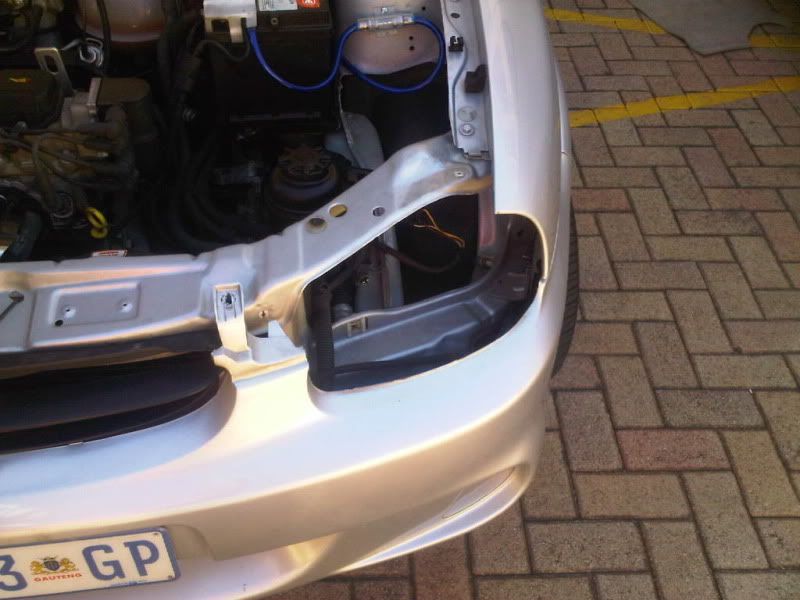
seperating the light from the back is the hardest, I suggest having a friend on standby to go purchase a new light, just in case.
We separated the light from the backing by cutting, wedging and pulling. once apart you get to start picking off the glue.
The chrome bit that comes off needs to be sanded. This is where i finished off. Normally guys paint it black, but the colour is close to my cars color...
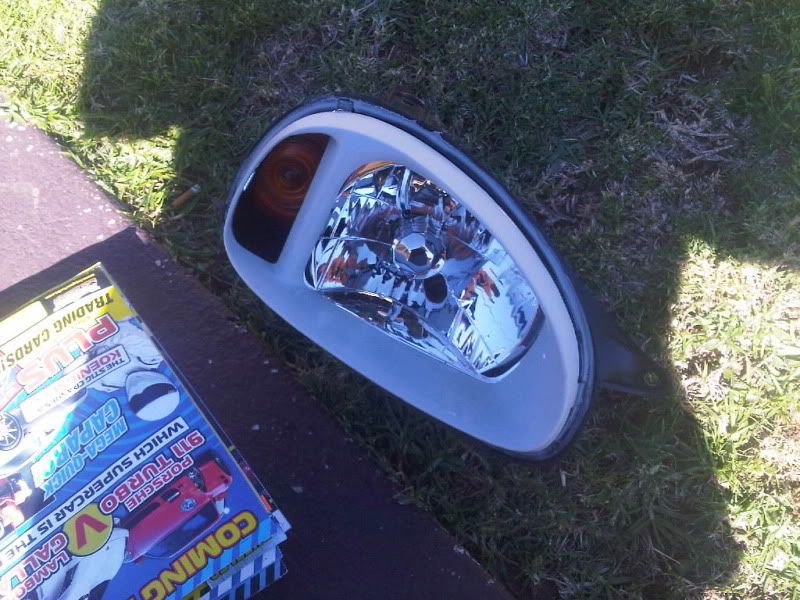
Spread a strip of silicon (grey in this case) around the outside of the lights back.
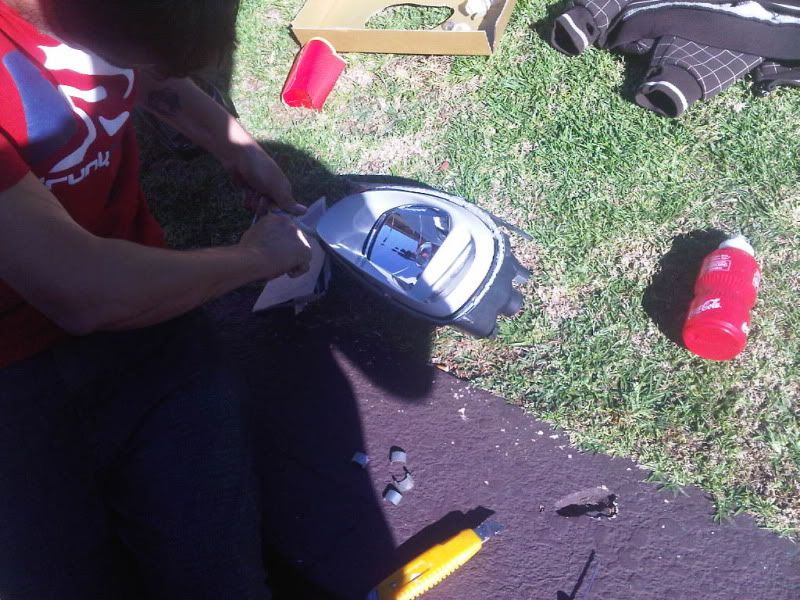
then reverse the process and slap the lights back in
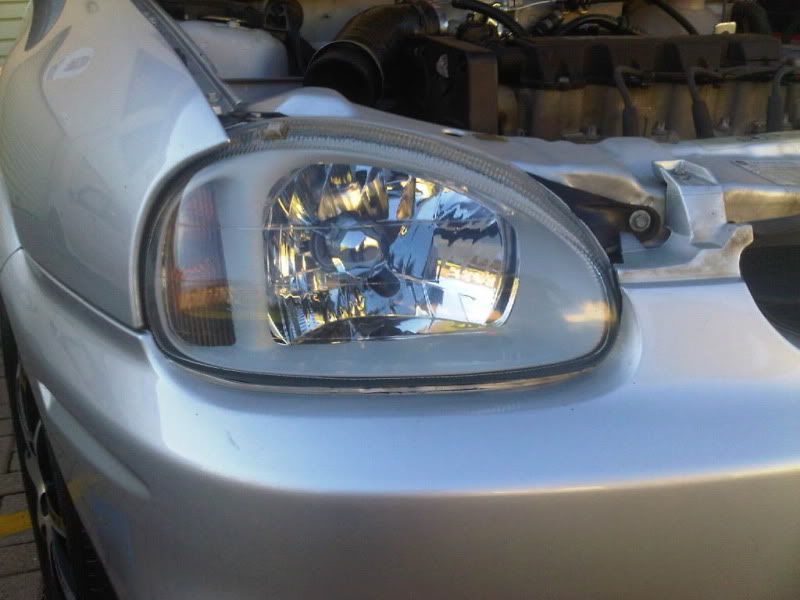
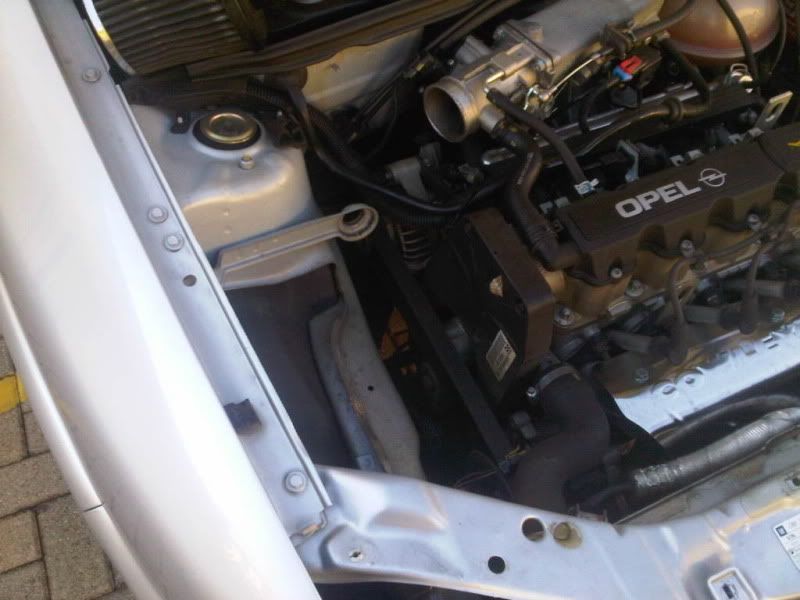
I also added a cone filter,
bye bye airbox!
Now on the list, LED color change in the dash, to white,
Installing LED strip in the boot, Getting tired of looking for things in teh dark
and a rat bonnet, like a certain other car that kinda led me here.

|
DannyB
Premium Member
 Registered: 6th Feb 08
User status: Offline
|
Awesome, good to see what people in other countries do 
|
Kieran
Premium Member
 Registered: 12th Sep 08
Location: Kent
User status: Offline
|
Looks so clean. I wish we didn't have rain in this country, cars would be so much better kept like yours
|
Marbro
Member
Registered: 1st May 11
Location: South Africa
User status: Offline
|
Just a reminder that last one is a british car, Jimmy's old wheels
just posted for inspiration
|
Kieran
Premium Member
 Registered: 12th Sep 08
Location: Kent
User status: Offline
|
I know  but yours seems very clean lol but yours seems very clean lol
|
Marbro
Member
Registered: 1st May 11
Location: South Africa
User status: Offline
|
thanks, sadly i hadn't washed it for about 2weeks before that. gotta love the sunshine
|
nath2905
Premium Member
Registered: 6th Sep 10
Location: Staffordshire
User status: Offline
|
that looks good mate 
|
MurderDoll
Member
Registered: 1st May 11
User status: Offline
|
Oddly enough when we were doing his roof and sound.
We had what you would call typical London weather. lol.
Oh. And Im the sod in the pictures thats doing all the hard work.
Marbro took easy street and did the photos. ha ha!
|
arizona ste
Member
Registered: 15th Jan 10
Location: Delves, County Durham
User status: Offline
|
i want the heatsheild the throttle body and cam cover... lol
|
Jamie-C
Member
Registered: 3rd Jun 08
Location: Ballycastle
User status: Offline
|
Welcome mate 
If only I could have one of them bumpers 
|
scaron5188
Organiser: South West
Premium Member
Registered: 17th Apr 08
Location: Chippenham, Drives: arden 2.0 sport
User status: Offline
|
Nice mate.. As Jamie said.. I also wish I could have one of them bumpers lol summit different to the normal!
|
Paul W
Premium Member
 Registered: 26th Aug 09
Location: Northamptonshire
User status: Offline
|
Welcome to CS! It's always good to see some international stuff. Some nice touches there, i was tempted to do the same with my lights.
Rio Verde Bagged More Door Project
|
Marbro
Member
Registered: 1st May 11
Location: South Africa
User status: Offline
|
thanks guys, had pretty much the same response from allcorsa about the front bumpers. I reckon they look awesome here
|
essexjohn
Member
Registered: 8th Nov 10
Location: england
User status: Offline
|
I'd love a set of your rear lights, how much can you get a set out of a scrap yard for? or do you want to swap for a set of smoked rears! 
|
Mark.W
Member
Registered: 3rd Jan 07
Location: County Durham
User status: Offline
|
Looks good.Any plans for new wheels??
Once B's become very hard to get hold of over here i think il get one imported 
Do they come in Arden blue over there??
|
Marbro
Member
Registered: 1st May 11
Location: South Africa
User status: Offline
|
essex, we can look at working somthing out, probably going to be around 100gbp including shipping (thats the priciest)
Mark, Well the wheels are getting painted, going to nail the silver bit, make it mat black or something, leave the glossy black bit as is...
|
Marbro
Member
Registered: 1st May 11
Location: South Africa
User status: Offline
|
So I installed my HID kit today.
Its a cheap kit, but it works, cost around R500, more than half the price of the others we have lurking around here.
still not dark here.... so i cant really test them but here are pics.
I replaced the little park light bulb with a white led, it looks blue though,
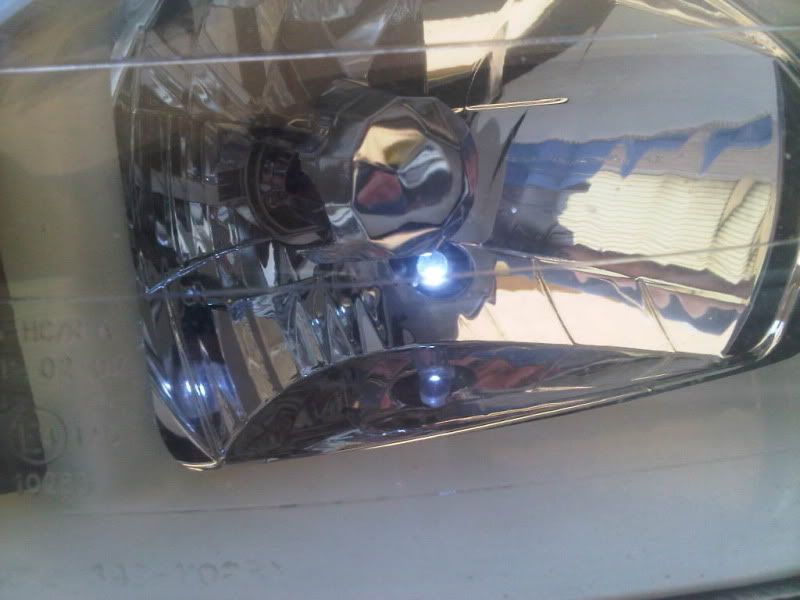
From the side,
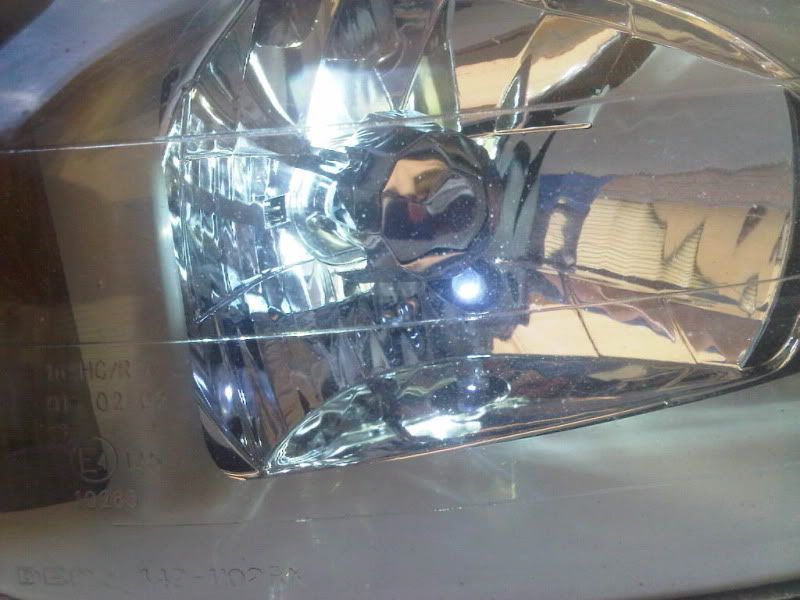
Not bright yet, but its not coming to camera right,
Better...

SUNTAN!
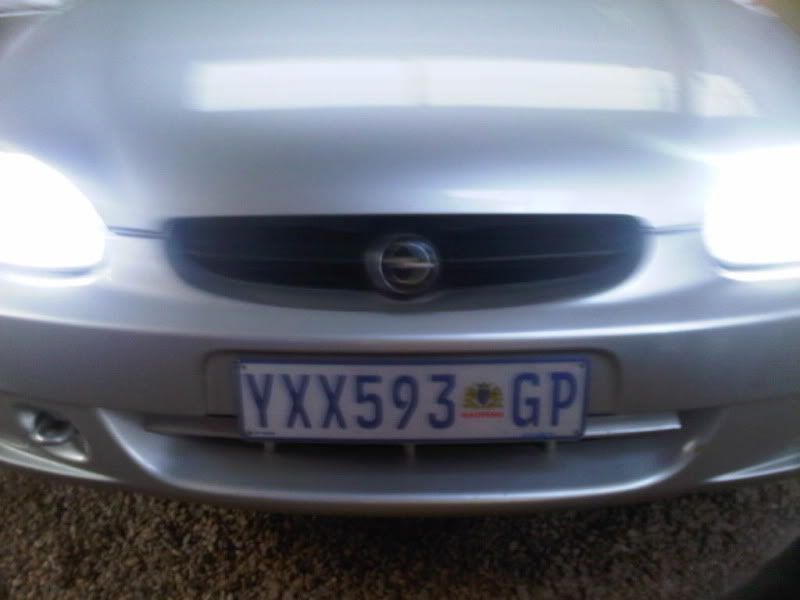
|
scaron5188
Organiser: South West
Premium Member
Registered: 17th Apr 08
Location: Chippenham, Drives: arden 2.0 sport
User status: Offline
|
How much for a bumper 
|
Marbro
Member
Registered: 1st May 11
Location: South Africa
User status: Offline
|
excluding shipping i think its about 40pounds.... shipping will be about the same i think, (i really have no idea)
|


