djgritt
Premium Member
 Registered: 1st Nov 07
Location: Dorset Drives: Focus ST / Hyundai i20N
User status: Offline
|
quote:
Originally posted by AlexW
With the headlights, assume they go the same as Clio ones (although clio ones go bloody bad), Take your time doing it and I recommend buying the 3M kit you can get, come up mint then!
Yeah, i think it's the same, that slightly brown haze - is the 3M kit good then? I've seen it online but wasn't sure which one of theirs would be better. There's also a Meguiars one too, but not sure of that either.
|
Robin
Premium Member
 Registered: 7th Jan 04
Location: Northants Drives: Clio 182 Cup
User status: Offline
|
3m kit is amazing.
|
djgritt
Premium Member
 Registered: 1st Nov 07
Location: Dorset Drives: Focus ST / Hyundai i20N
User status: Offline
|
Boring bits.
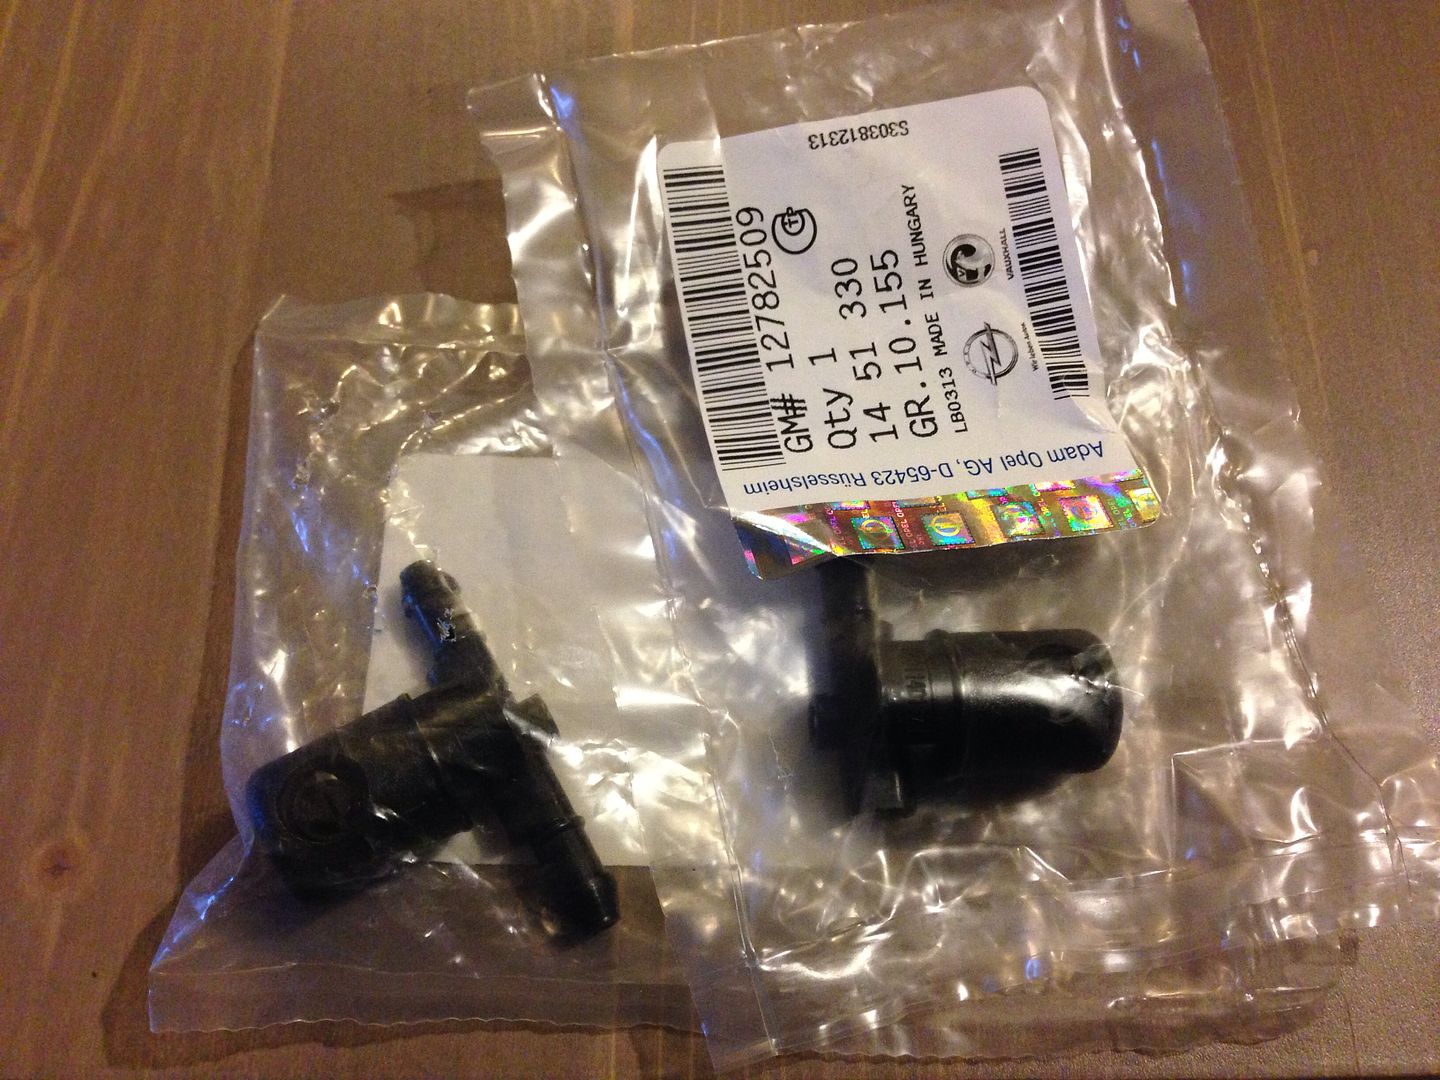
Insignia Washer Jets.
Will be making a start on tidying up the AFLs this week too, recently been rather busy with a workload which doesn't look like it'll be quietening down much before Christmas.
|
AndyCorsaSport
Member
Registered: 12th Feb 06
Location: Horsforth, West Yorkshire
User status: Offline
|
We have a great kit at work for headlights. Believe it or not, you sand the full headlight face with 80grit sandpaper, then work up softer and softer all the way untill 3000grit. Removes a thin layer of the actual light, then mix the substance together. Which is a mixture of like a laquer and also a UV protector. Apply it with a spray gun like normal laquer. And they look like brand new! Think I have a pic of some I did on a golf a few month back I'll have to have a look.
|
AlexW
Member
Registered: 25th Oct 08
Location: Essex
User status: Offline
|
Thats basically how I did mine, Its okay if you have a fair bit of time, I normall start with 400grit though.
3M kit is so easy though.
|
djgritt
Premium Member
 Registered: 1st Nov 07
Location: Dorset Drives: Focus ST / Hyundai i20N
User status: Offline
|
Didn't get a chance to start them this week in the end. I've got a variety of fine grit Wet & Dry to use by hand, didn't get a kit in the end but still considering one...
Won't be starting them for a week at least anyway, just about to fly to Saudi for another work trip. 
|
djgritt
Premium Member
 Registered: 1st Nov 07
Location: Dorset Drives: Focus ST / Hyundai i20N
User status: Offline
|
Next to no progress with this due to heavy work loads before Christmas, dire weather, family commitments and a pure lack of enthusiasm/interest recently.
The car WILL be getting advertised for Sale at/after the VBOA rally at Billing this year as it'll free up some monthly outlay that can go towards a house. It's a shame, but it rarely gets used and it costing me a significant wedge to just sit in a garage
However, it still has some outstanding work that needs completing before it is moved on... Both in terms of incompleted modifications and maintenance.
The only thing that has been done recently is a check of the AFL Lamps, where it was found that the control module was not installed, so I've ordered a new one which will arrive with me this week. Although this has now cost me a bit more, the lights as a package are still a fair bit cheaper than any others I've seen advertised.
I'm hoping I can get a couple of hours free over this coming weekend to get the lamps fitted to the car to begin/complete polishing them up, as I have all of the materials I need for this already here already, I've just not had the time or weather on my side to have gotten stuck in yet.
|
Ian
Site Administrator
 Registered: 28th Aug 99
Location: Liverpool
User status: Online
|
I still fancy TPMS on my Astra, gave up a while ago when I read that I had the wrong ABS modulator, would have been prohibitive a few years ago but the parts aren't daft money any more.
|
Jambo
Member
Registered: 8th Sep 01
Location: Maidenhead, Drives: VXR Arctic
User status: Offline
|
You retro fitting self levelling too? Headlights seem like a good idea, we had corer wrong lights in out old Clio which was just turning fog/driving light on in direction of corner and it was a brilliant application in the real world, imagine these are even better!
Like the upgrades, would have loved to buy this off you when you sell but the tax just makes my sphincter twitch 
|
djgritt
Premium Member
 Registered: 1st Nov 07
Location: Dorset Drives: Focus ST / Hyundai i20N
User status: Offline
|
It already has all the Self Levelling etc due to the Factory Xenons... 
AFLs are brilliant - this daily hack of mine has them, also in Bi-Xenon.
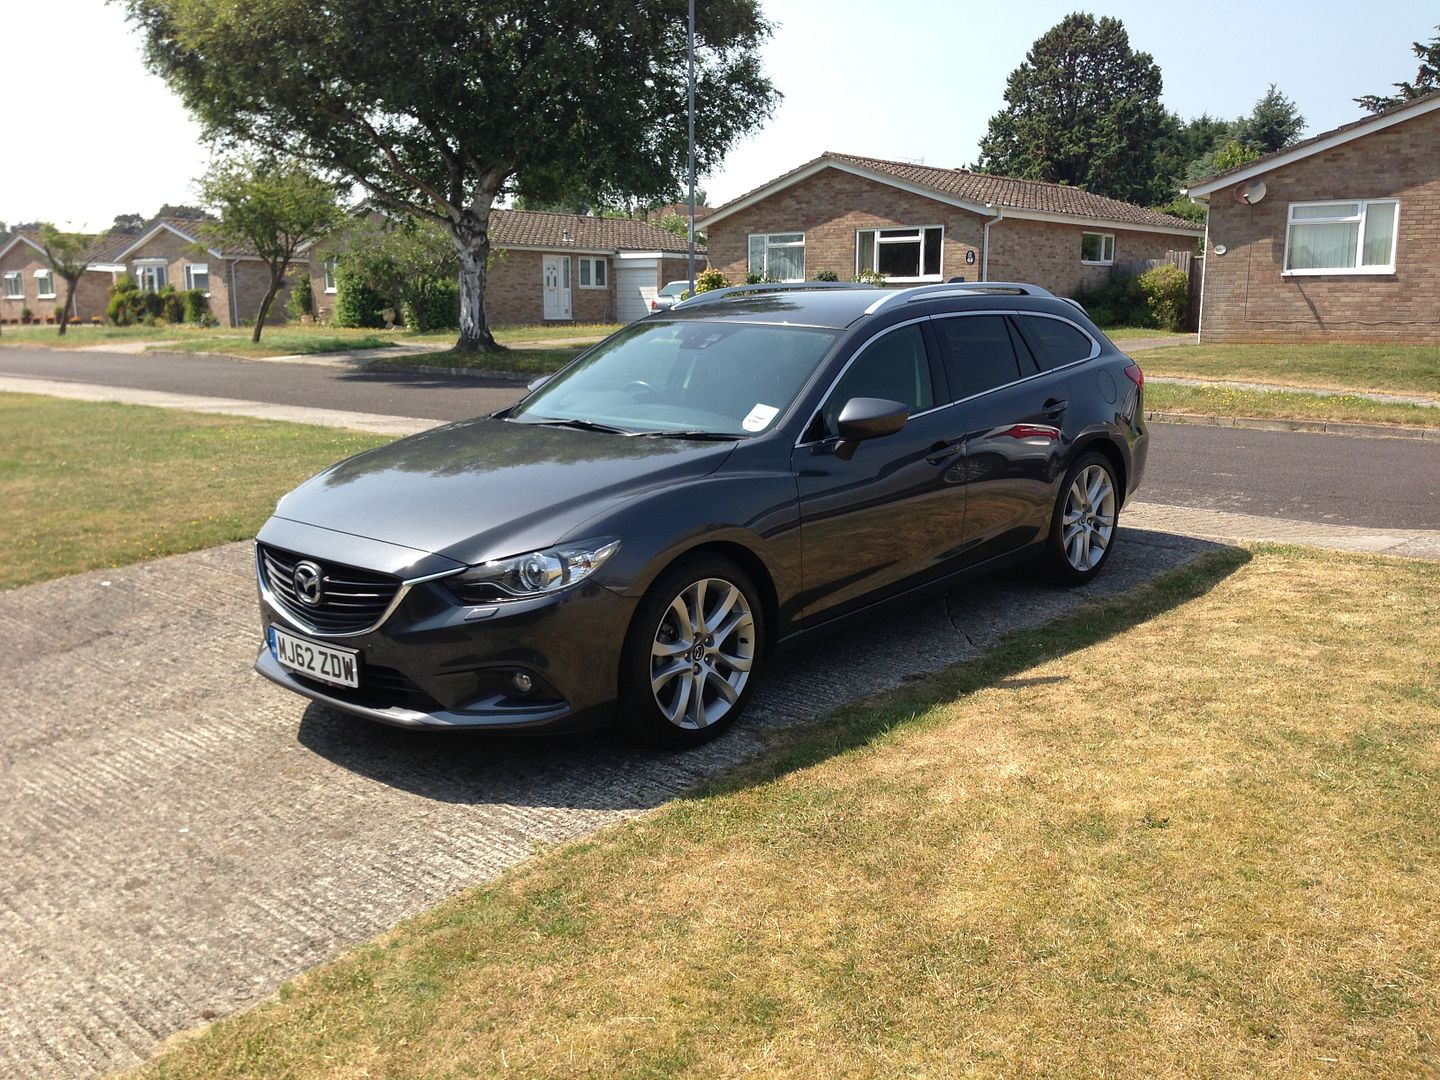
Brilliant for all of the local rural roads, and they really do make visibilty better as you pass through bends
|
Jambo
Member
Registered: 8th Sep 01
Location: Maidenhead, Drives: VXR Arctic
User status: Offline
|
Awesome mate. Lovely car 
|
djgritt
Premium Member
 Registered: 1st Nov 07
Location: Dorset Drives: Focus ST / Hyundai i20N
User status: Offline
|
Made a start on the AFL Swap today - the main effort was spent on trying to polish out the oxidisation on the Plastic Lenses. Didn't get them entirely finished as had a couple of rains showers to contend with, along with a Sofa delivery halfway through the day too. Hopefully I can get the remaining stuff done tomorrow.
The Drivers side was the worst, and after a lot of effort it's still not great. It is much better though, so I will try to improve them again with a different kit later this month. The Passenger side isn't too bad though.
I tried to polish the hazing out manually with various Wet & Dry sheets with combinations of soapy water and scratch removal paste, and then went over them with a Meguiars Headlight Restoration kit to buff them up finally. I'll try the 3M kit at a later date as it includes rotary abrasive polishing mats for the Drill, which the Meguiars one doesn't.
Whilst the Headlights were out, the AFL Control Unit I received this week was fitted, the Diadem Indicator Bulbs were swapped from the old to new lamps, the Sidelight SMDs were swapped and the Xenon Bulbs & Ballasts were also swapped across.
I just hope that the Oxidisation isn't on the inside of the Lenses, as that won't be able to be rectified...
Partially dismantled;
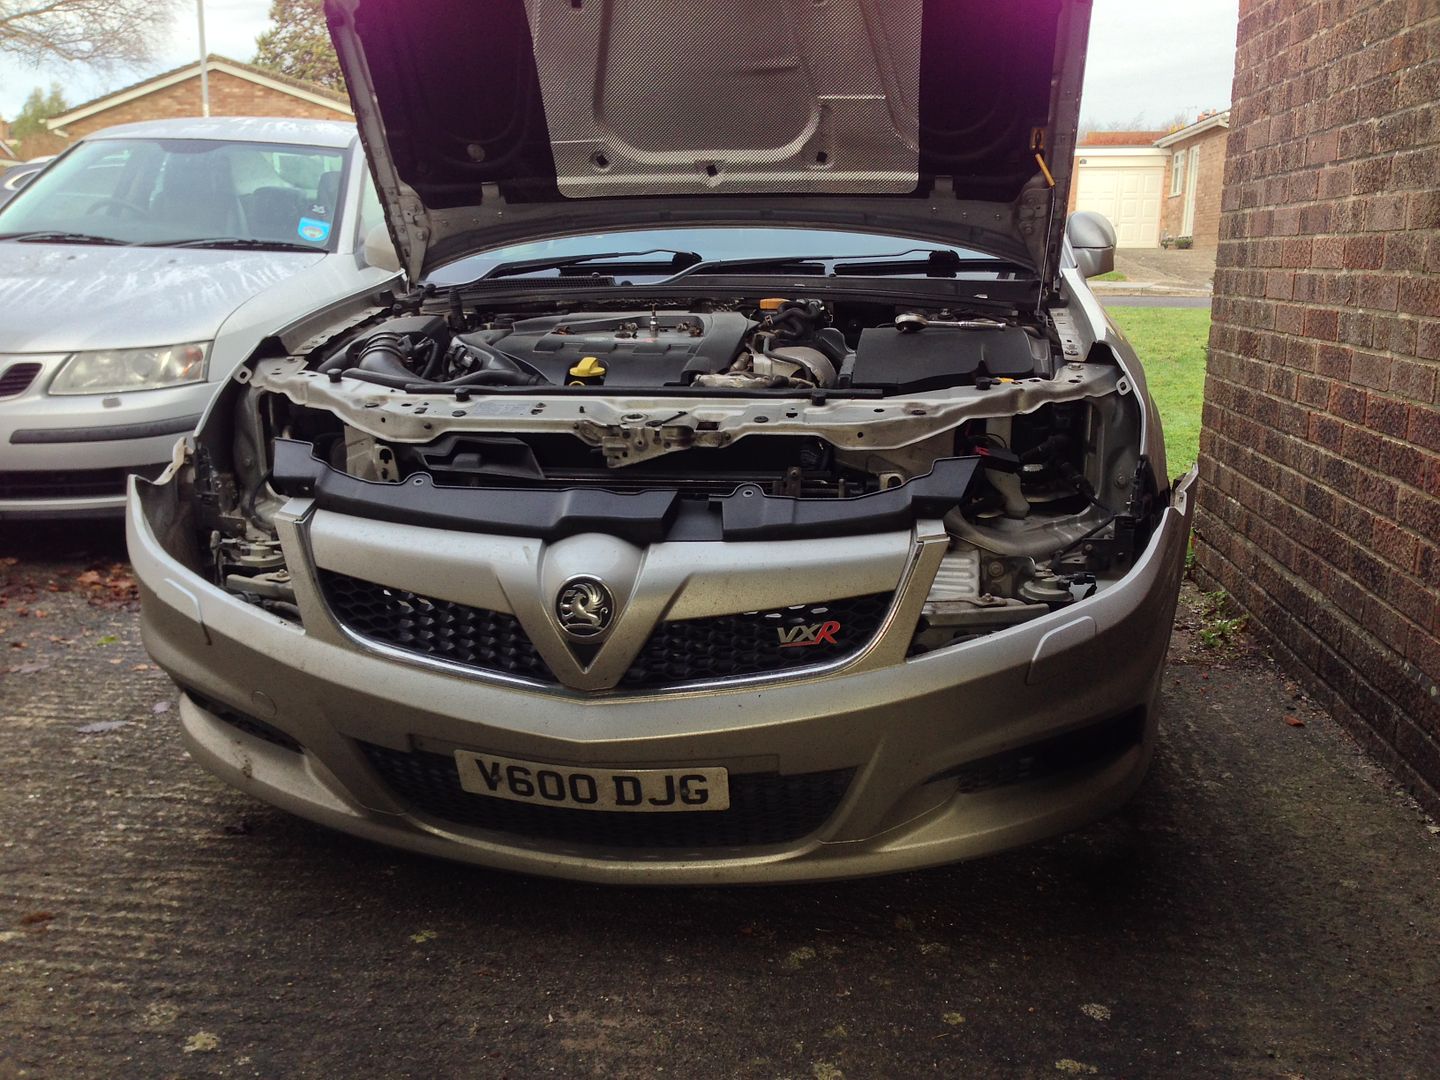
AFL Lamps in and undergoing Polishing;
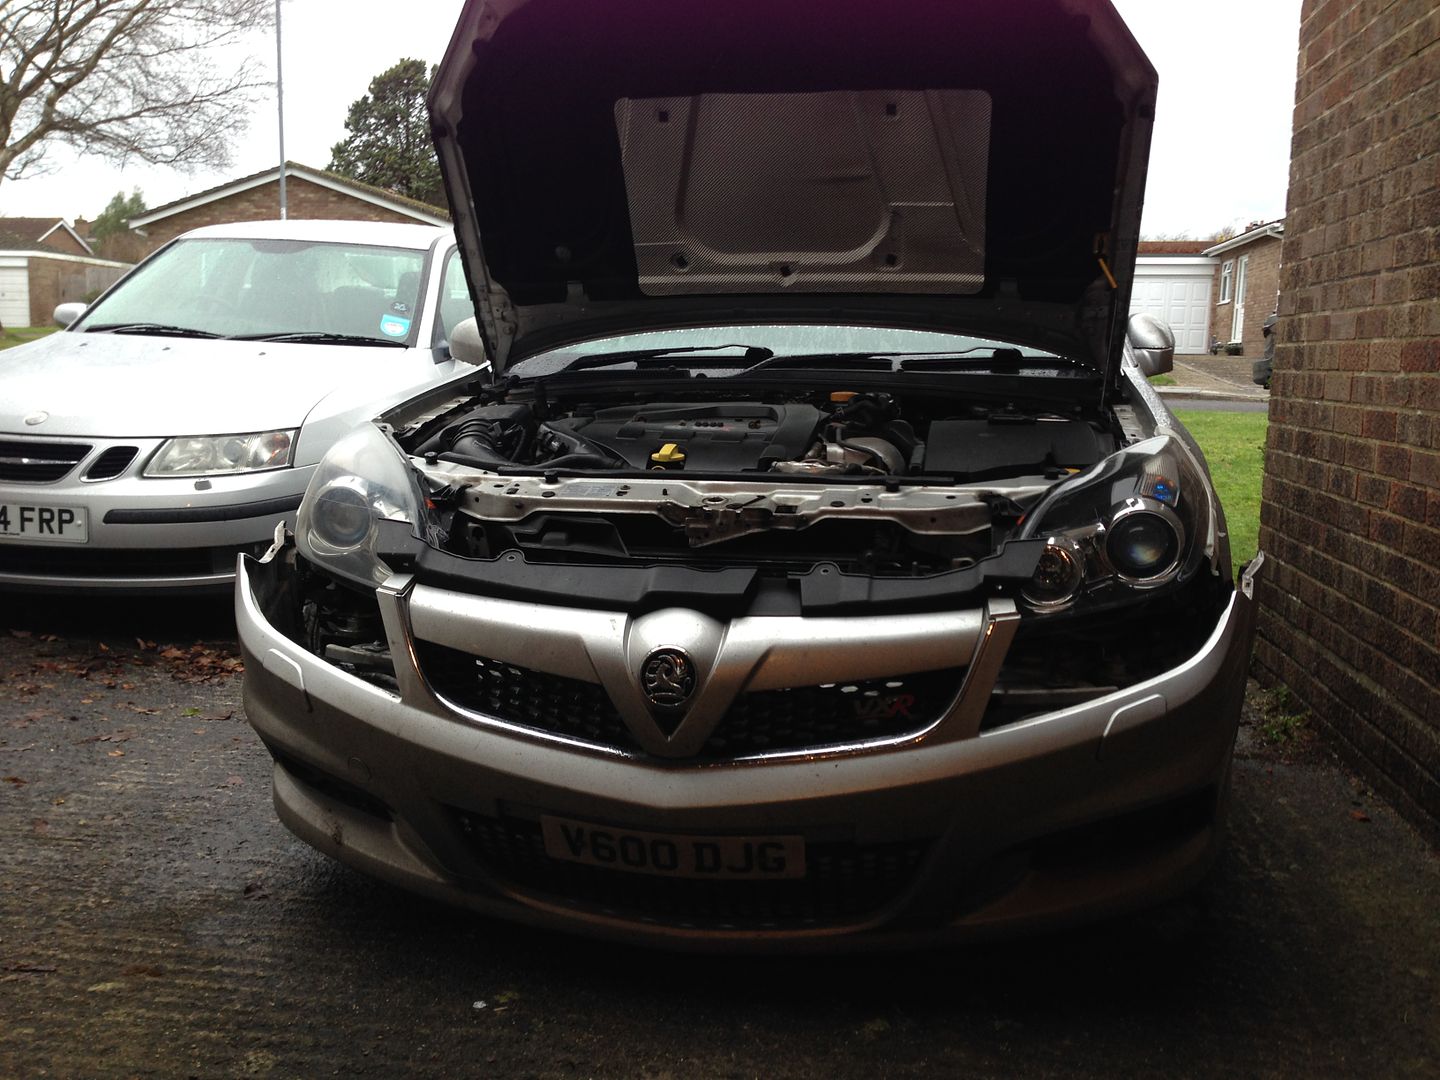
Complete AFL Lamp installed;
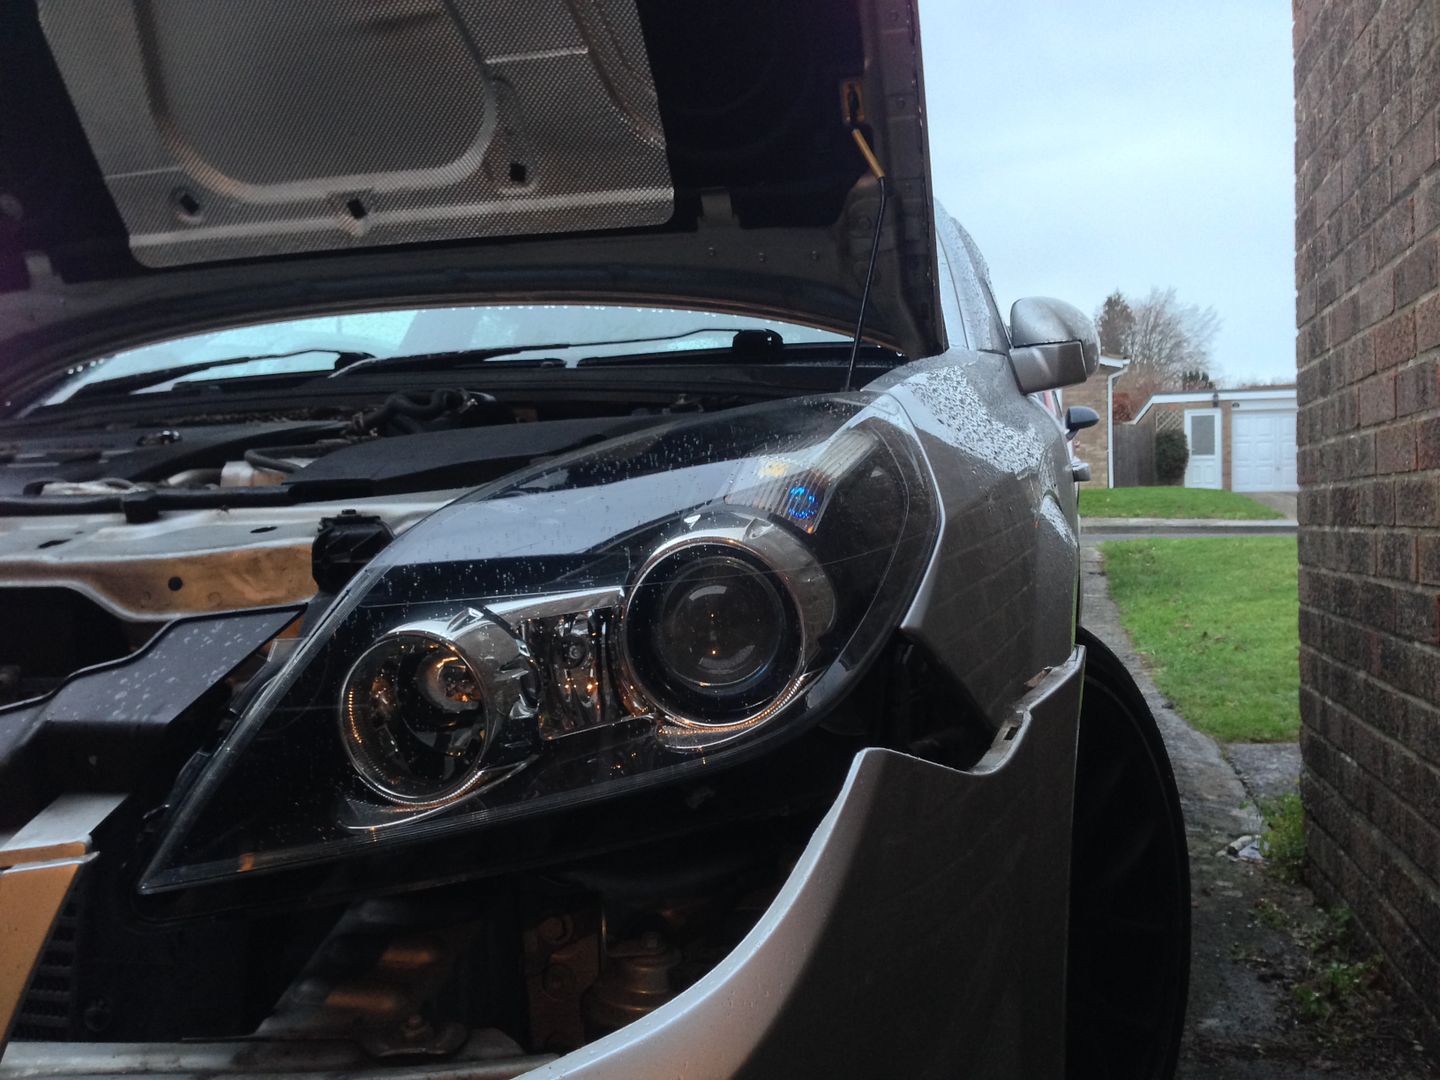
They were reconnected electrically, and tested to work for now - the Movement isn't yet activated however. The passenger light also needs alignment as it is way out compared to the drivers side.
|
corsadonk
Premium Member
Registered: 4th Jul 09
Location: Marlborough, Wiltshire
User status: Offline
|
Is it now just a case of plugging it into Tech-2 to make them work?
|
djgritt
Premium Member
 Registered: 1st Nov 07
Location: Dorset Drives: Focus ST / Hyundai i20N
User status: Offline
|
quote:
Originally posted by corsadonk
Is it now just a case of plugging it into Tech-2 to make them work?
Not quite - some hard wiring Mods to be done too... The Tech2 work will tell the system they are installed to allow for the Fault systems (Dash warning lamp) to work correctly, so I believe.
I think I've finished them, they all seem to work on the driveway, so I'm going out later to do a running test, so will do a full update later this evening. 
|
djgritt
Premium Member
 Registered: 1st Nov 07
Location: Dorset Drives: Focus ST / Hyundai i20N
User status: Offline
|
AFLs finished. 
Bit of a long day, and a bit cold too.
Stripped the front end of the Car down firstly, to get maximum access to all of the wiring etc. also, as a Foglight mounting had snapped previously, the bumper being off would make swapping them for the originals easier;
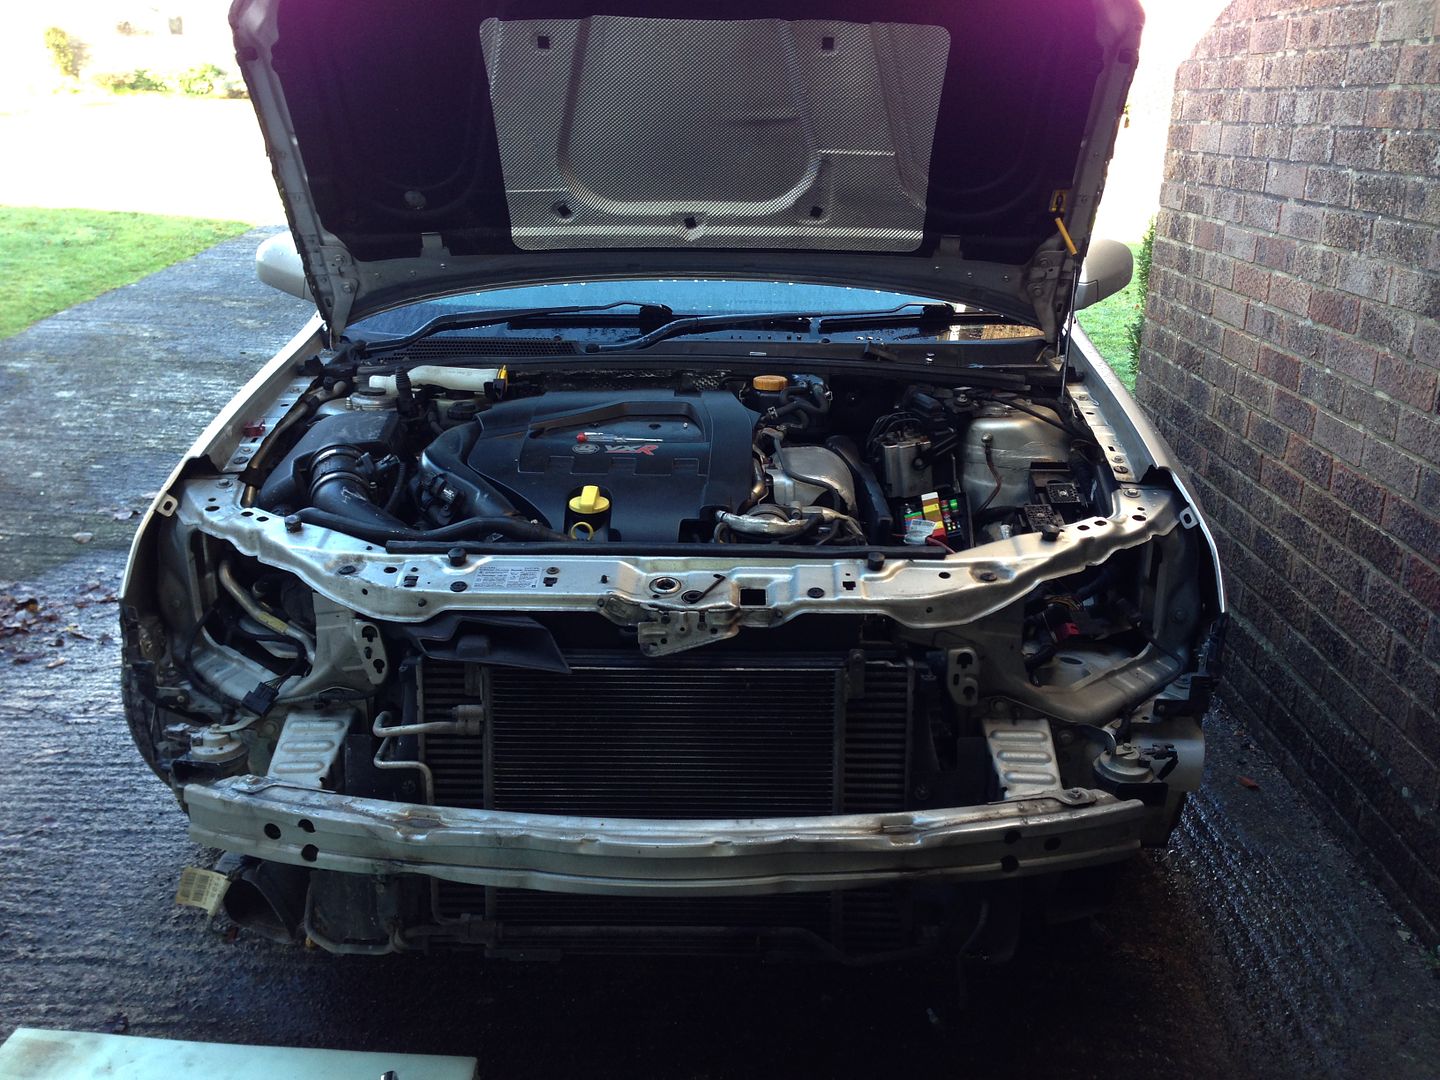
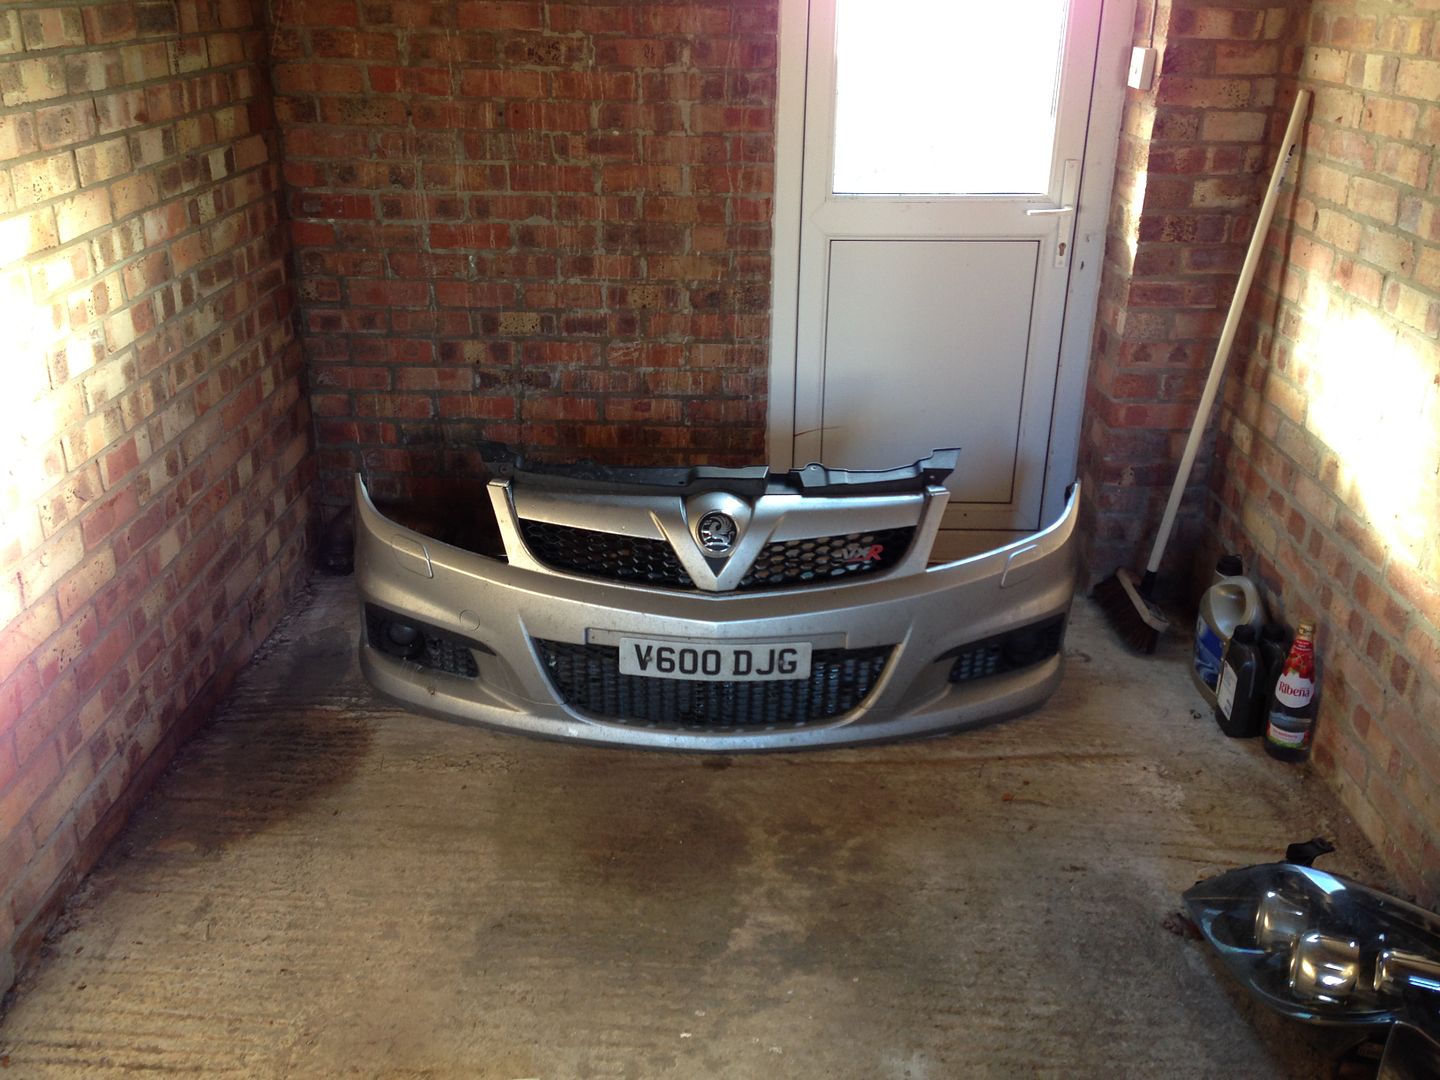
Then, worked out what crimps I would need (roughly) for the Multiplugs, and ran over to Maplins to find something as suitable as possible.
On the Passenger side, 2x cables needed adding and on the Drivers side just 1x cable (linking the headlights together) - the other cable was to be connected to the UEC (Underhood Electrical Centre - Fuse/Relay box essentially) to provide power to the AFL modules. This required quite a bit of dismantling of the Electrical system to gain access for the wiring plugs.
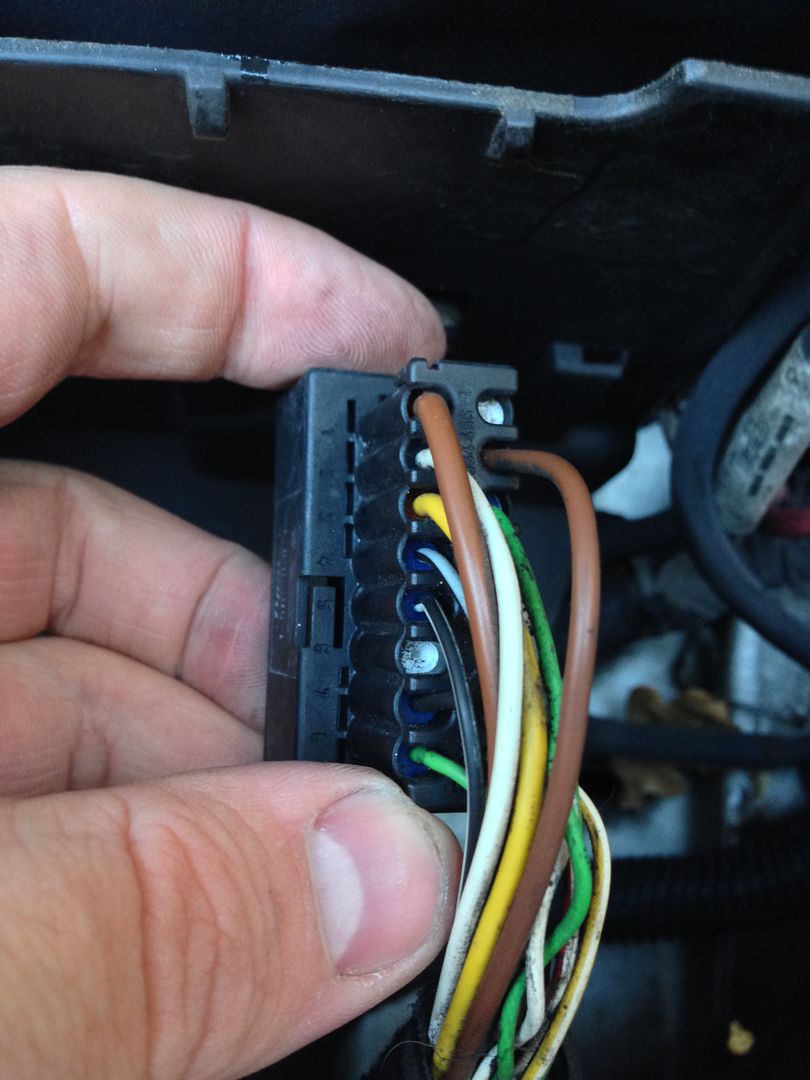
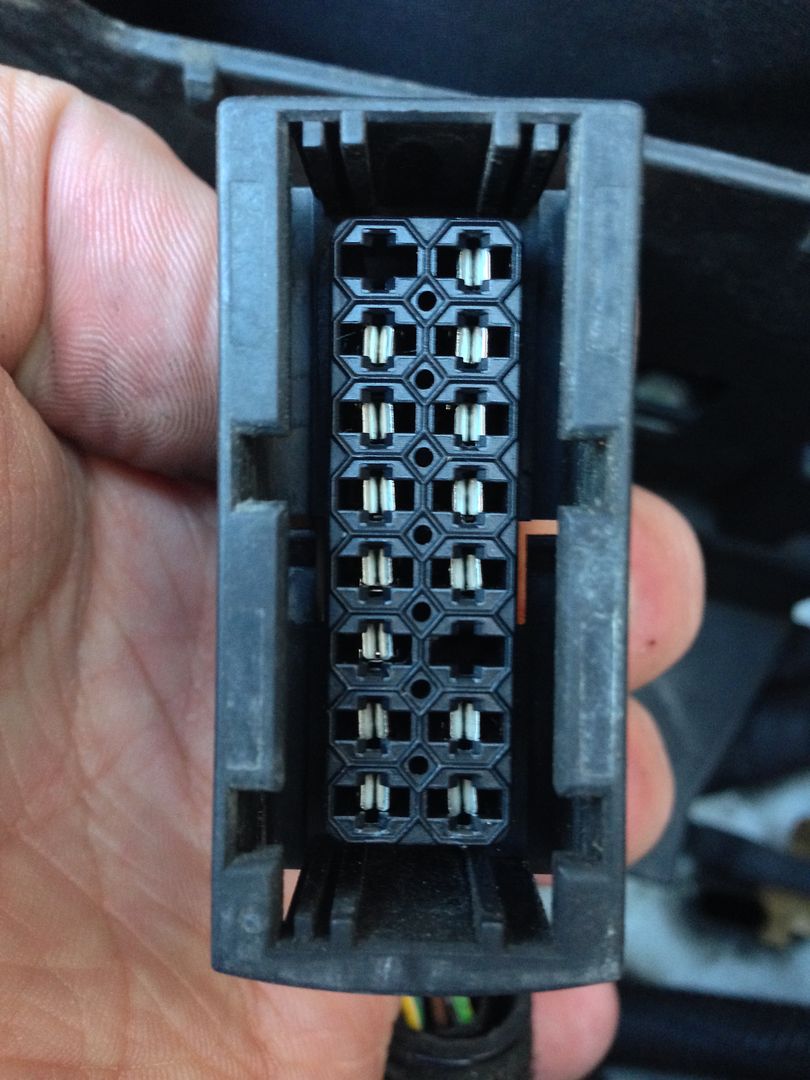
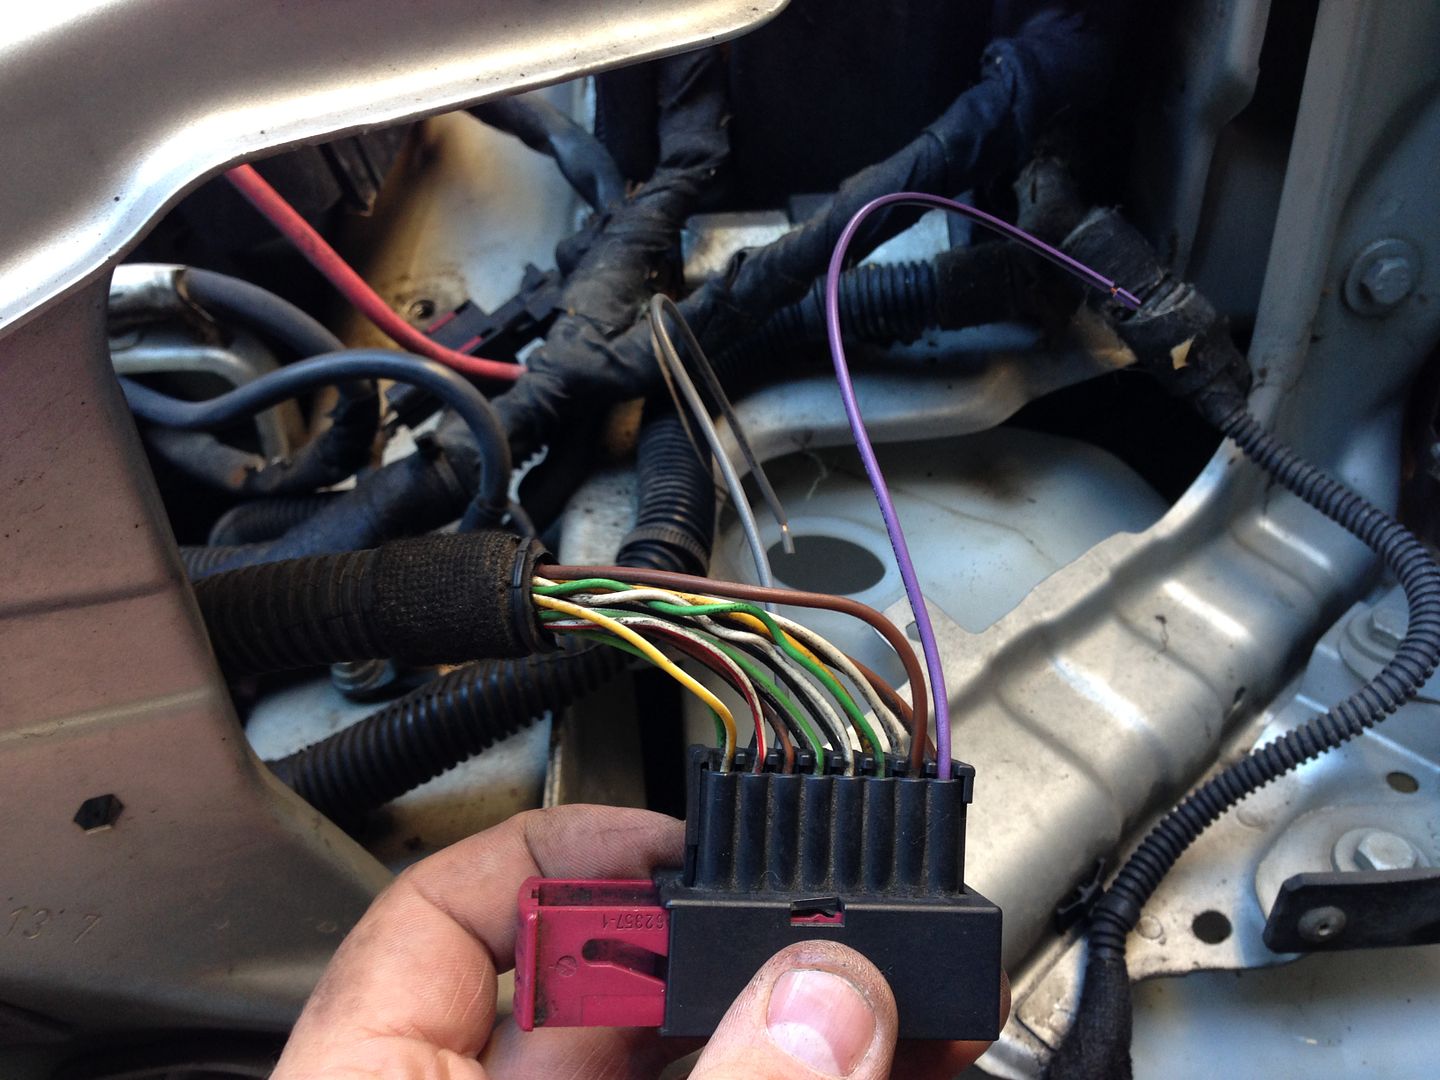
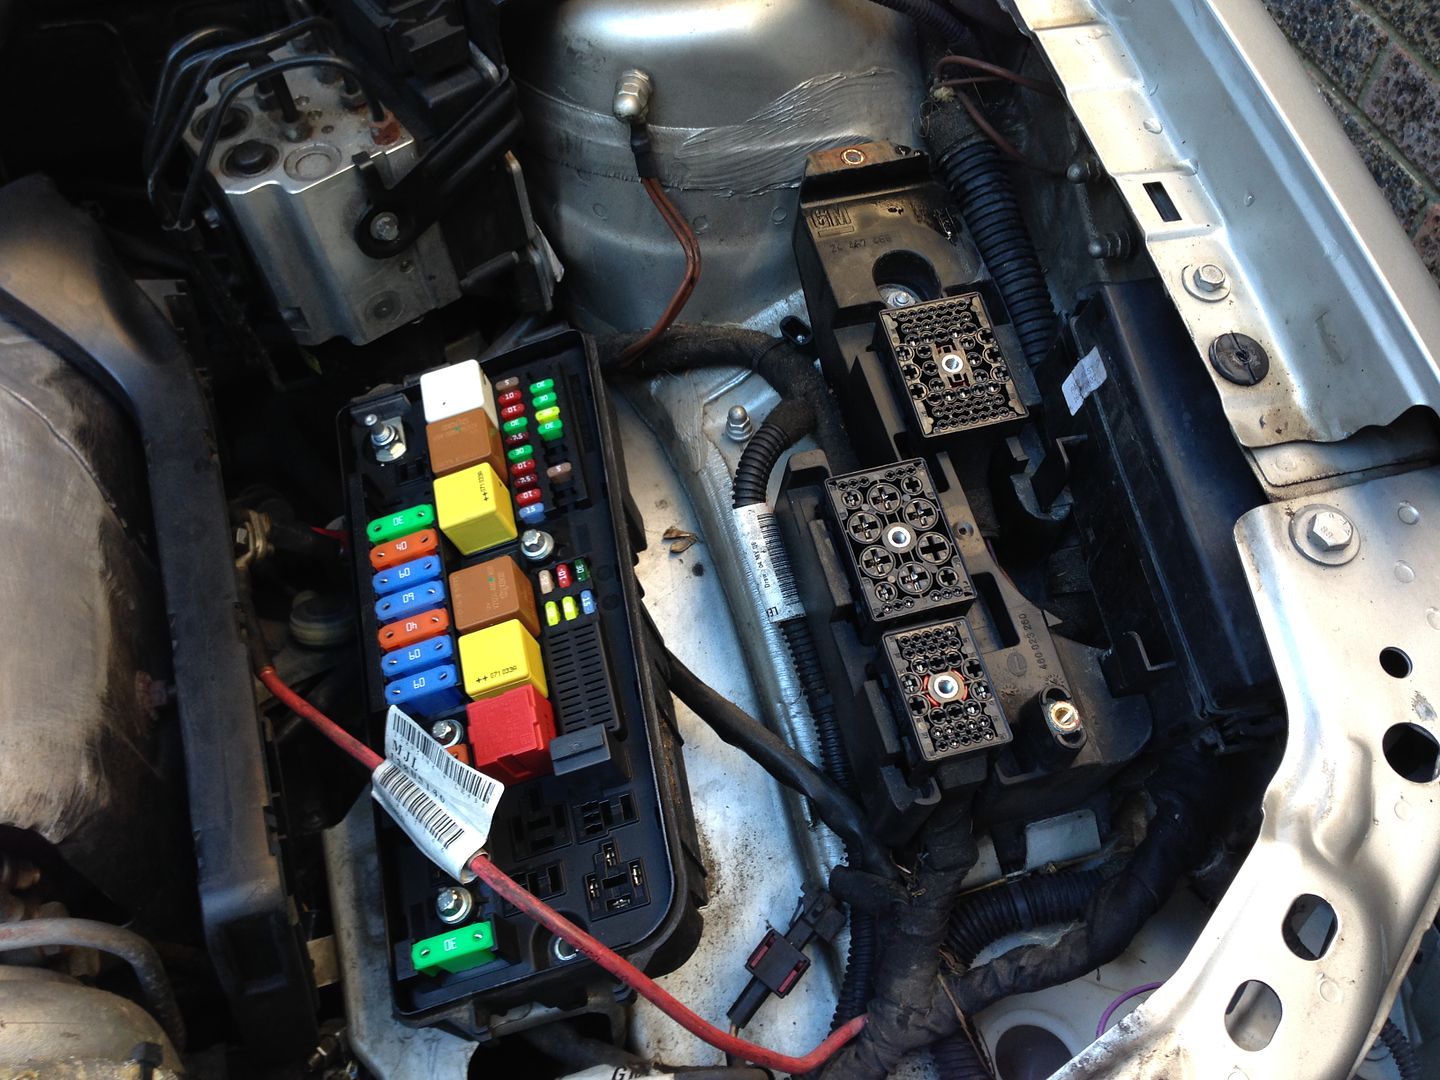
I then faffed about for a while, as had some slightly confusing information regarding the wiring. I was expecting to find some wiring to splice into at the required Pin in the UEC plug, but it wasn't there. I eventually decided that the UEC worked by having a common 12V power input, and the relevant pins on the plugs related to Outputs on the other side of Fuses/Relays etc. The Pin I was advised to use seemed to show a circuit with a Multimeter, so I bit the bullet and just terminated against it. I then tested the Lights on the drive and found they worked, although the Passenger lamp was still aimed very high. I did notice upon testing that the lamp self check moved them left/right, but only the Drivers side dropped down and back up.
I removed the Passenger light and checked the height adjustment motor and found the mechanical drive disconnected, due to the lights being adjusted to maximum height on the manual adjustment screw, which must have popped the ball of the motor from the socket. I reconnected all of this, refitted the lamp and tested it again, where it was fine. I then rebuilt the front endas it was getting Dark.
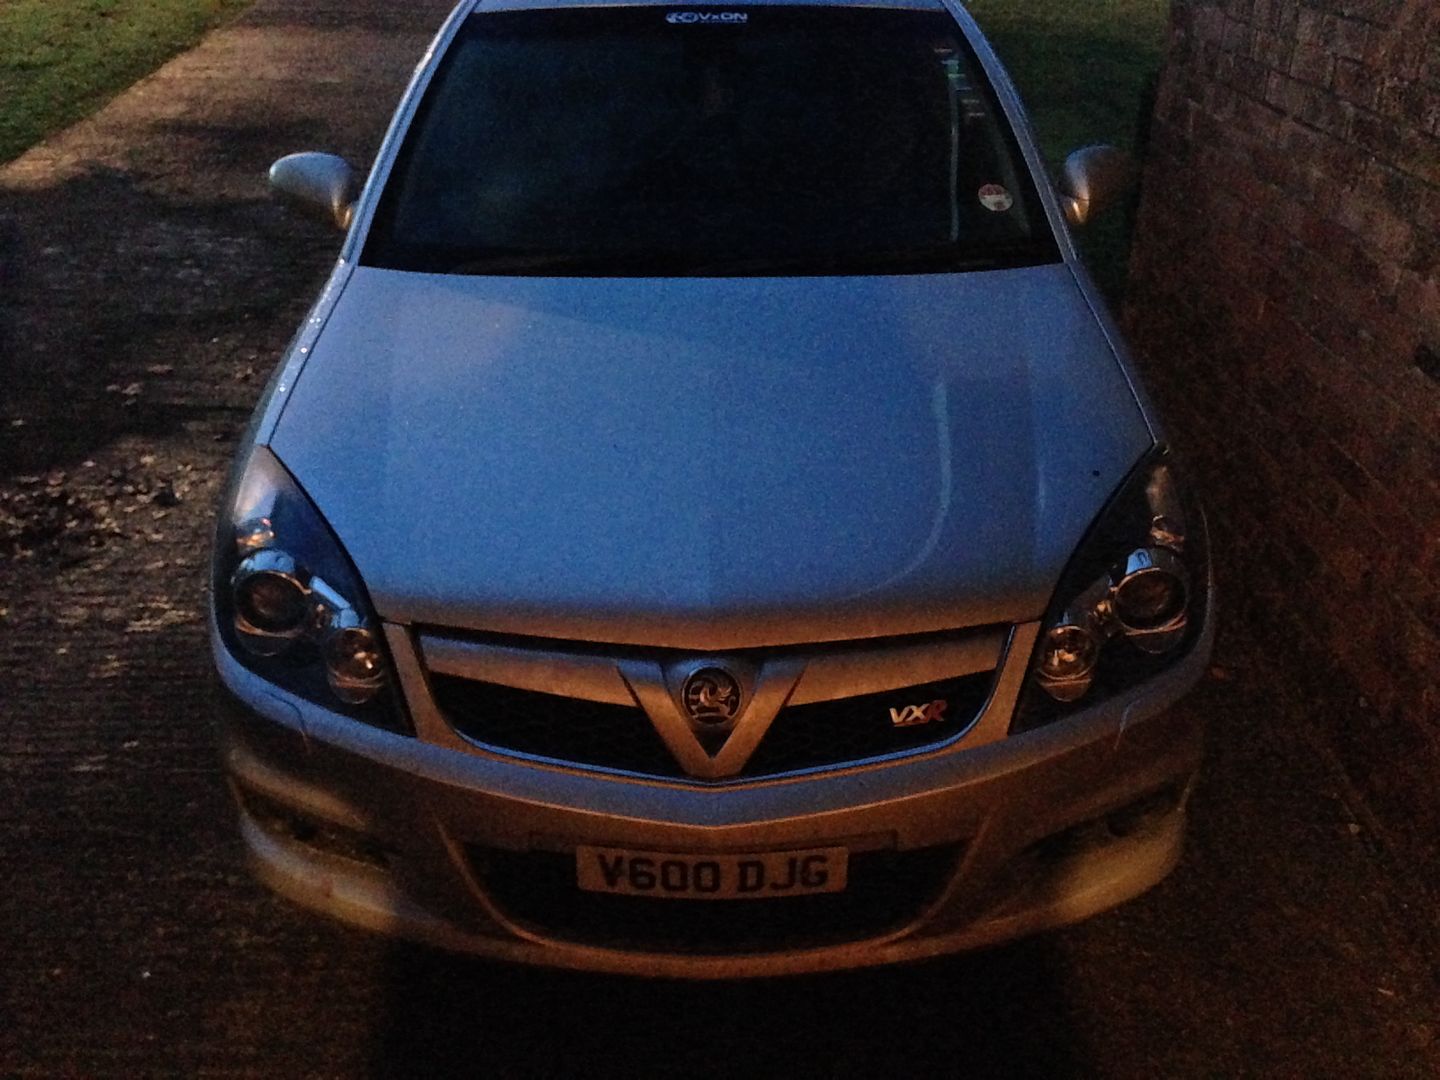
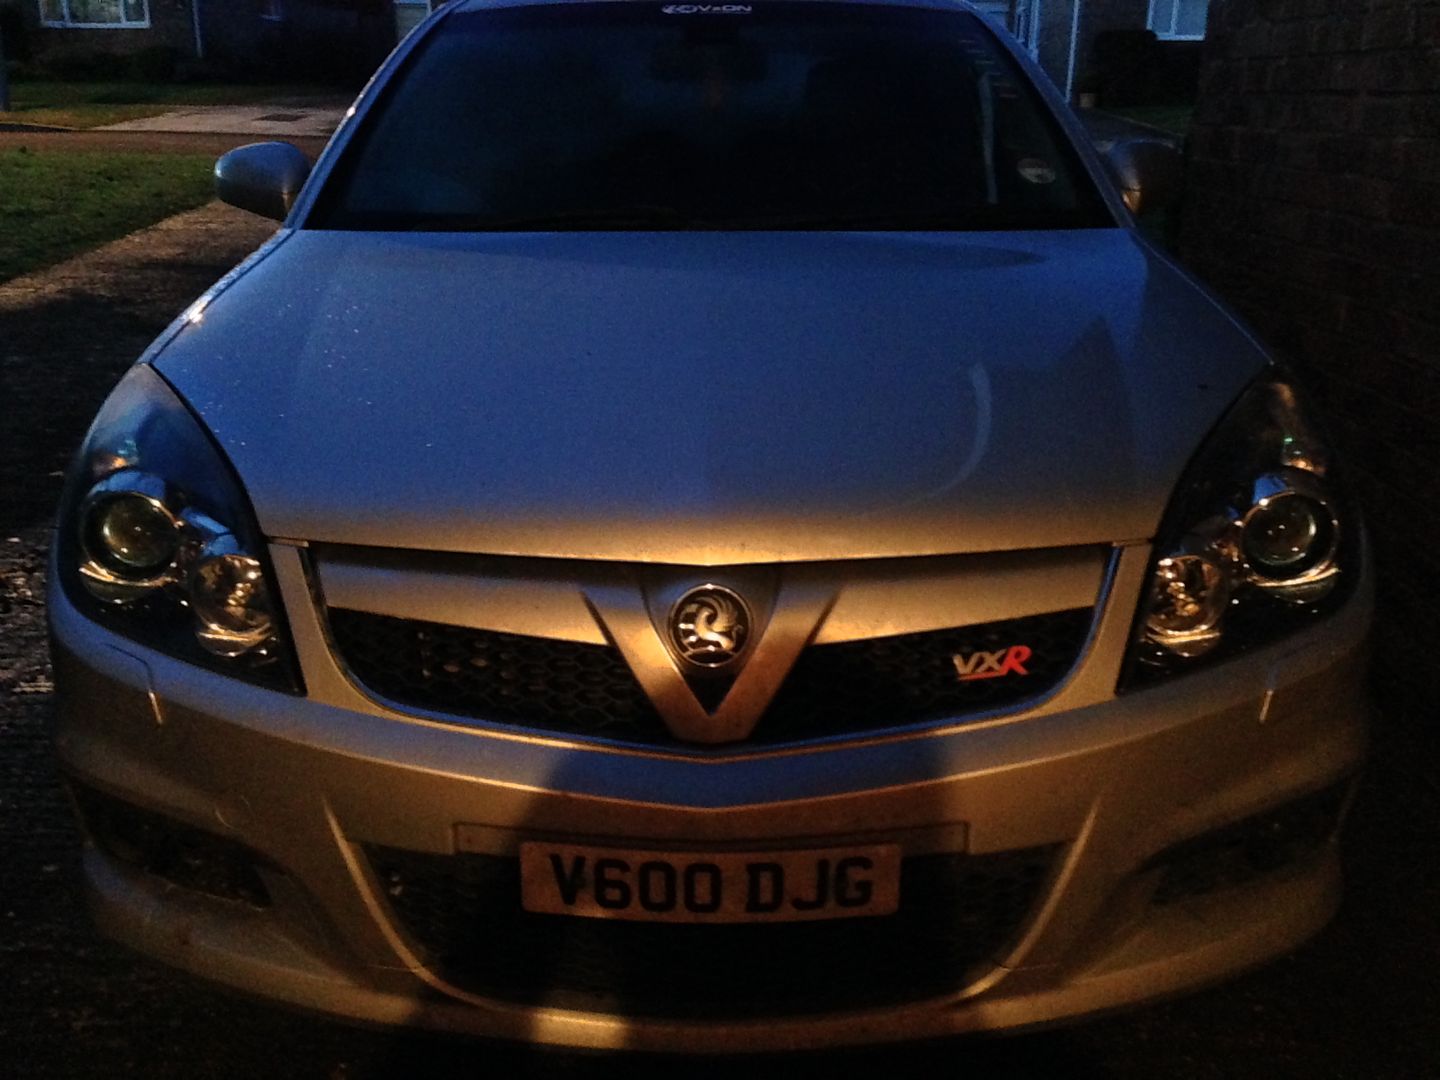
I took the car out this evening - I had, unknowingly, initally aligned the headlight aim too high, and found I as being flashed as if I was on main beam a lot, and also noticed i was lighting up car interiors and Rear View mirrors a lot, so pulled over and lowered the aim, now they are much better.
The AFL side is working, with the Bi-Xenon setup fully operating, which are a MASSIVE improvement over the original Lamps. There are cornering lamps which operate at low speeds and when indicating in the relevant direction, which both work really well. The Headlights do both turn left & right as I corner too, although the movement isn't anywhere near as obvious as it is in my Mazda.
As mentioned, some Tech2 work will be required to allow the system to show any Faults, but this isn't urgent.
Overall, very happy, and glad it was quite a simple conversion. 
|
corsadonk
Premium Member
Registered: 4th Jul 09
Location: Marlborough, Wiltshire
User status: Offline
|
Proper job. 
|
djgritt
Premium Member
 Registered: 1st Nov 07
Location: Dorset Drives: Focus ST / Hyundai i20N
User status: Offline
|
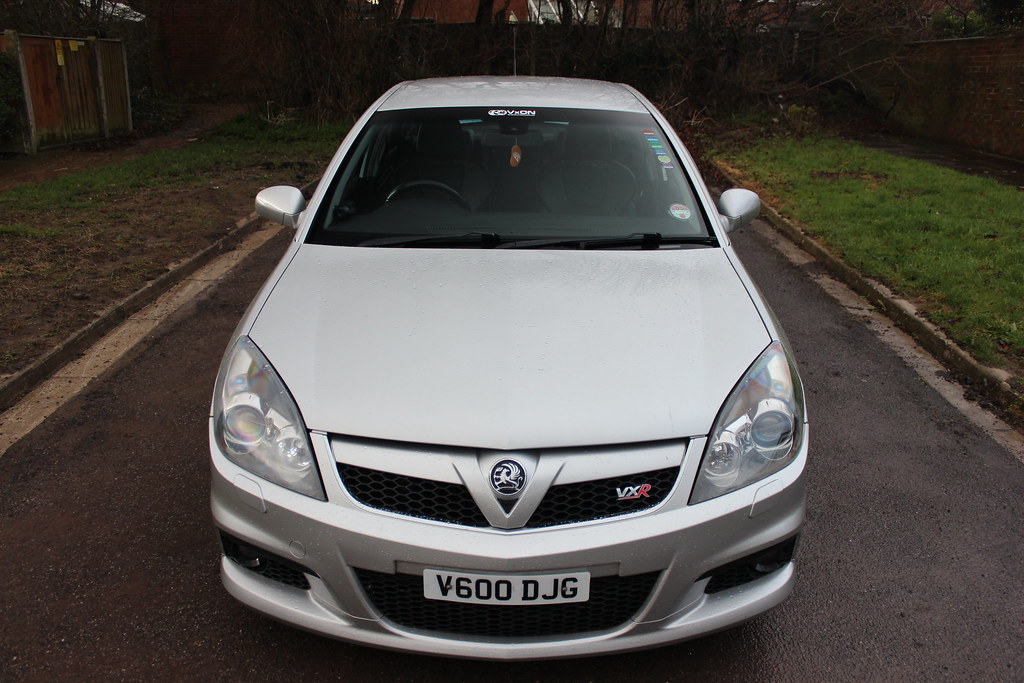
Updated pictures in daylight since the AFL Conversion.
The lamps have a little misting/condensation, so I've put a sachet of Silica Gel into each lamp to see if it helps, otherwise I'll have to try to get some heat into them.
Also, I've taken a couple of closer images of the blemished surface of the Driver side lamp especially. They should sand out as they can be felt on the outside when rubbing a fingernail across the surface.
Also, Original Chrome Foglights are back in, and I'm not sure on them, so will keep an eye out for another set of Smoked ones in the near future.
I also washed the car during some heavy rain showers as it was properly minging, got some strange looks from my neighbours as a result though. Ha.
Anyway...
Old - Single Xenon, non AFL Headlamps fitted:
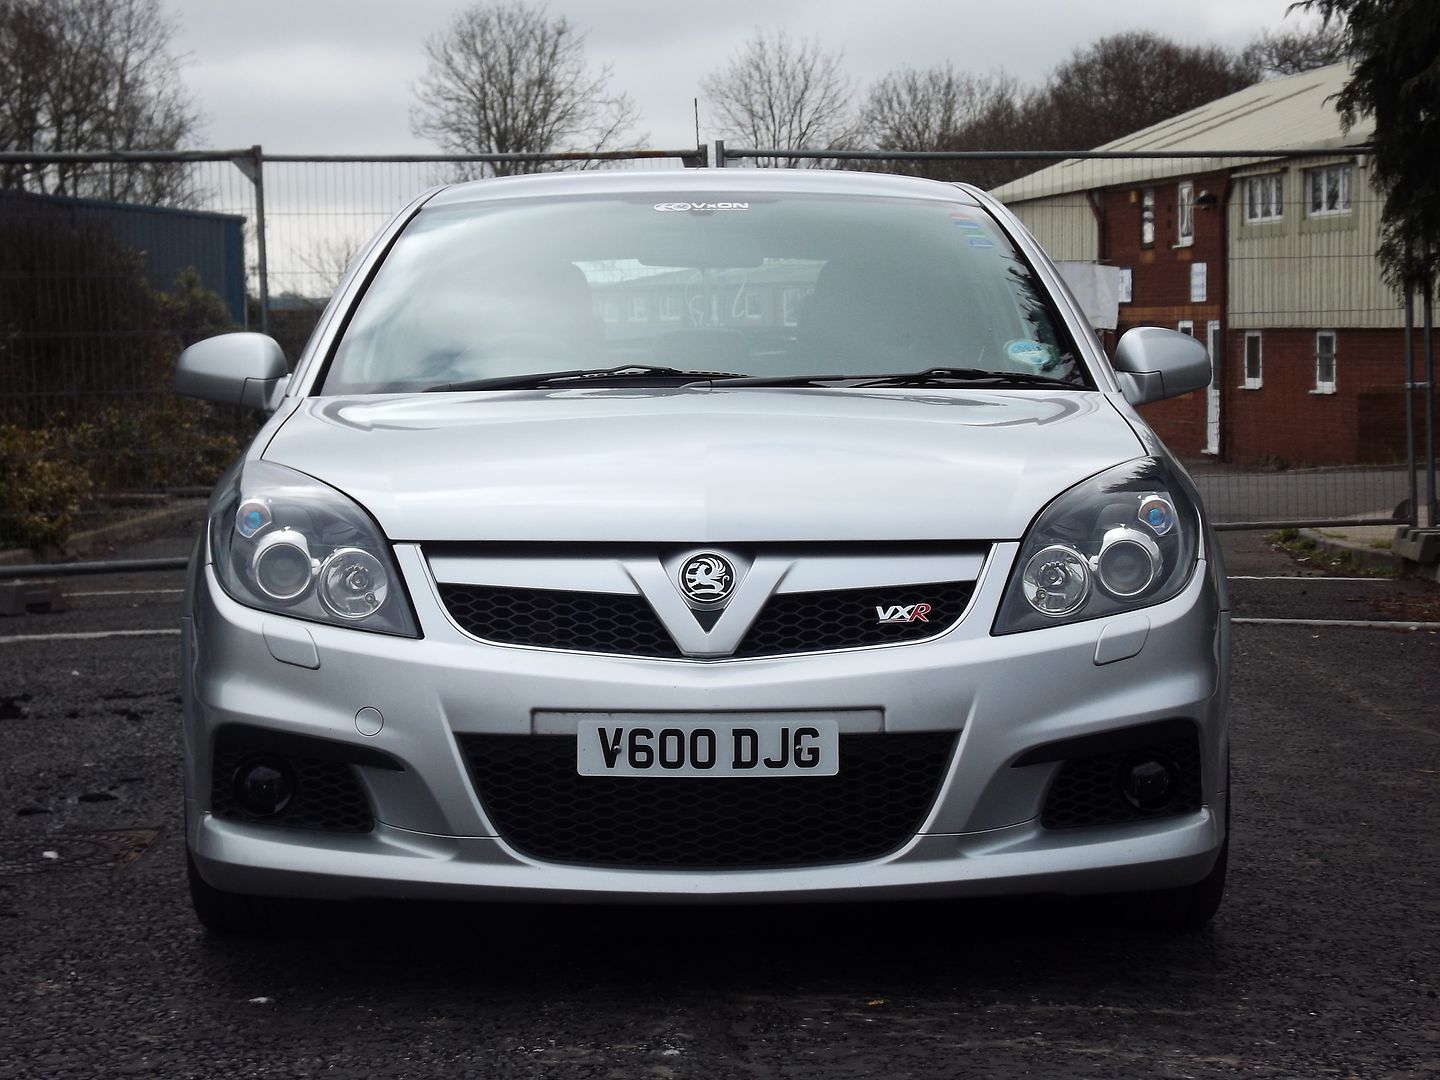
New - Bi-Xenon, AFL Headlamps fitted:

IMG_4319 by djgritt, on Flickr
Old - Xenon Headlamp:
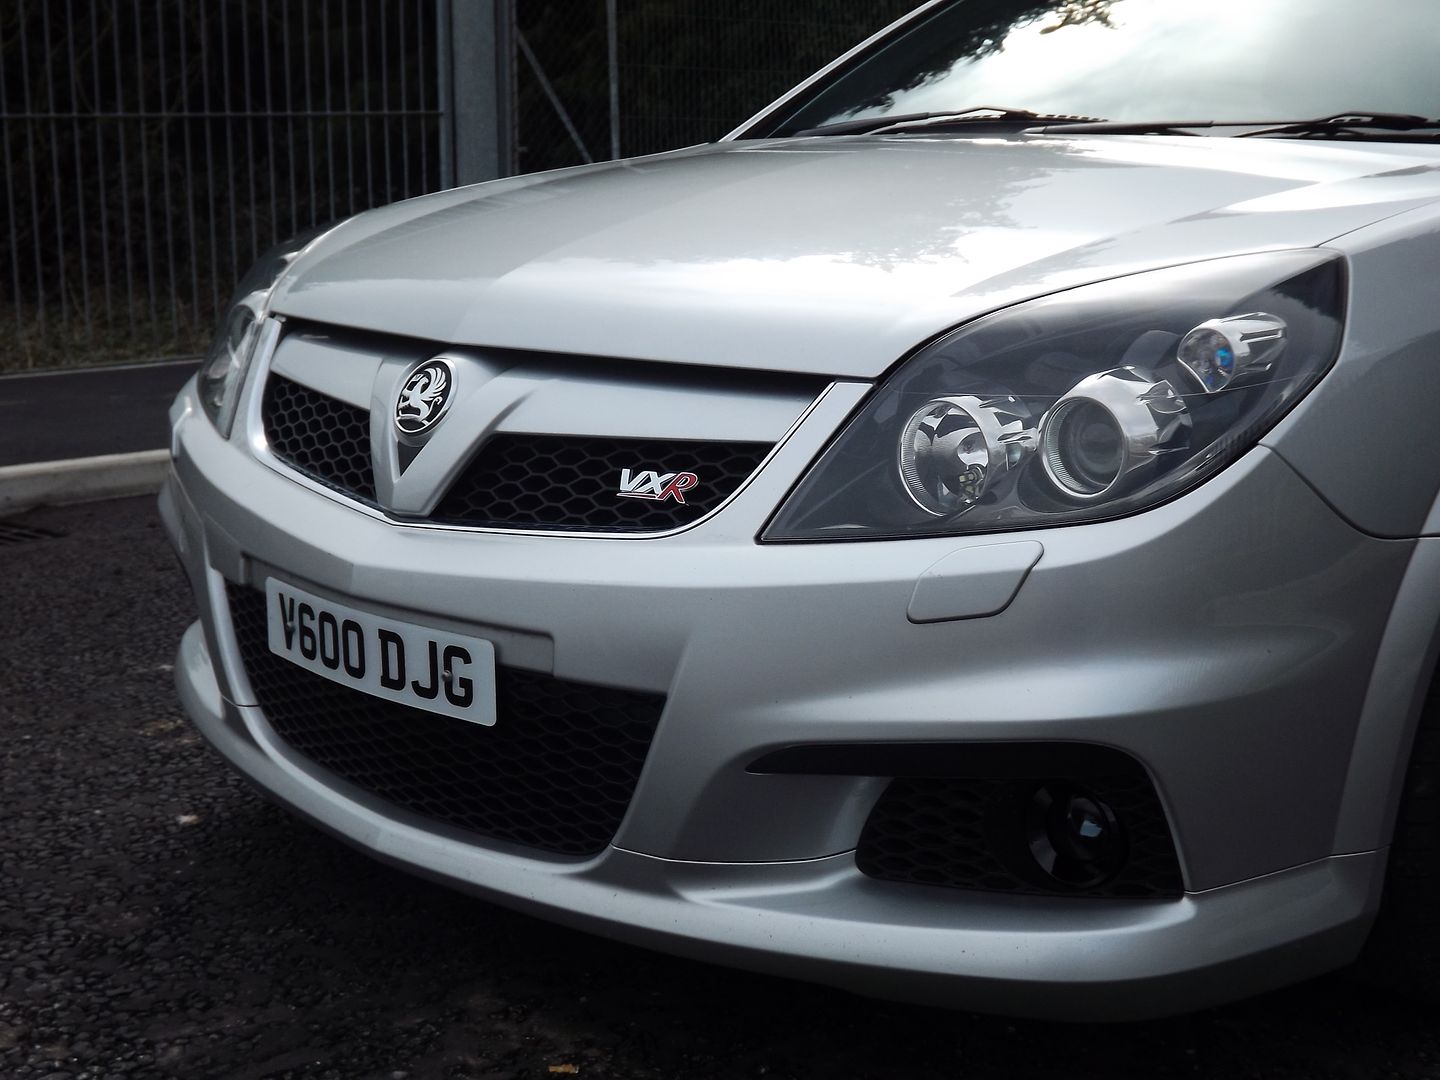
New - AFL Headlamp:
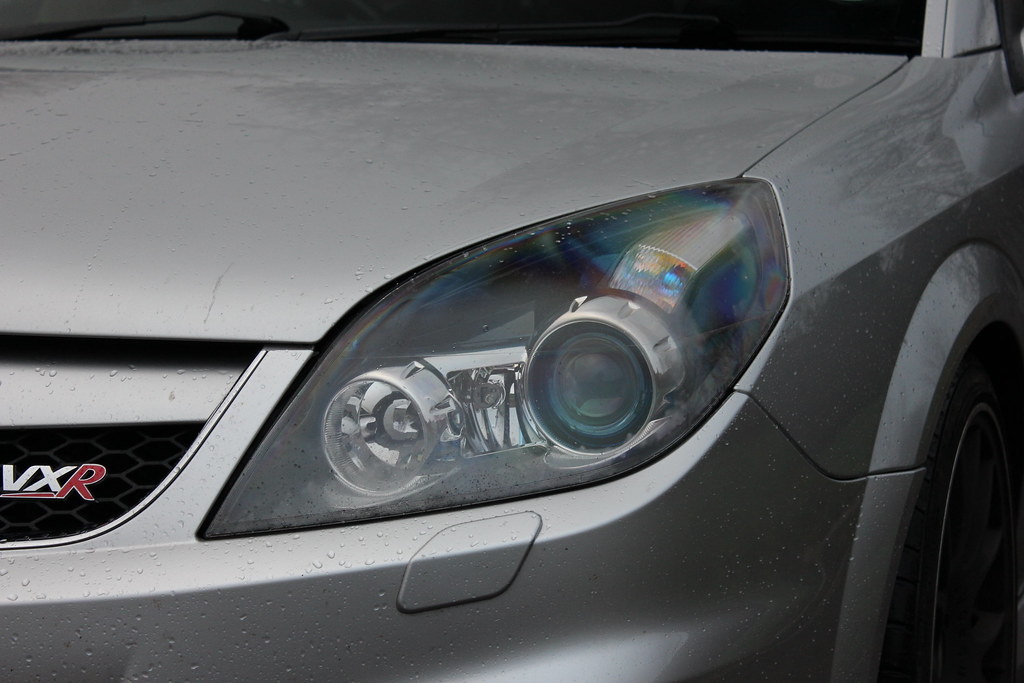
IMG_4320 by djgritt, on Flickr
Note, from R-L, reshaped Indicator housing, larger Xenon Projector casing (to accomodate for lamp movement), Low speed Cornering lamp (between Projector and next lamp 'bowl), and Auxiliary Main Beam lamp.
- Xenon will work on both Dip & Main Beam when moving, and also swivel appropriate to Steering input.
- Cornering Lamp illuminates at Kerb level under 30ish mph appropriate to Steering input, and also when indicating
- Auxiliary Main Beam, used for flashing when Xenon lamps aren't on.
Surface Blemishing:
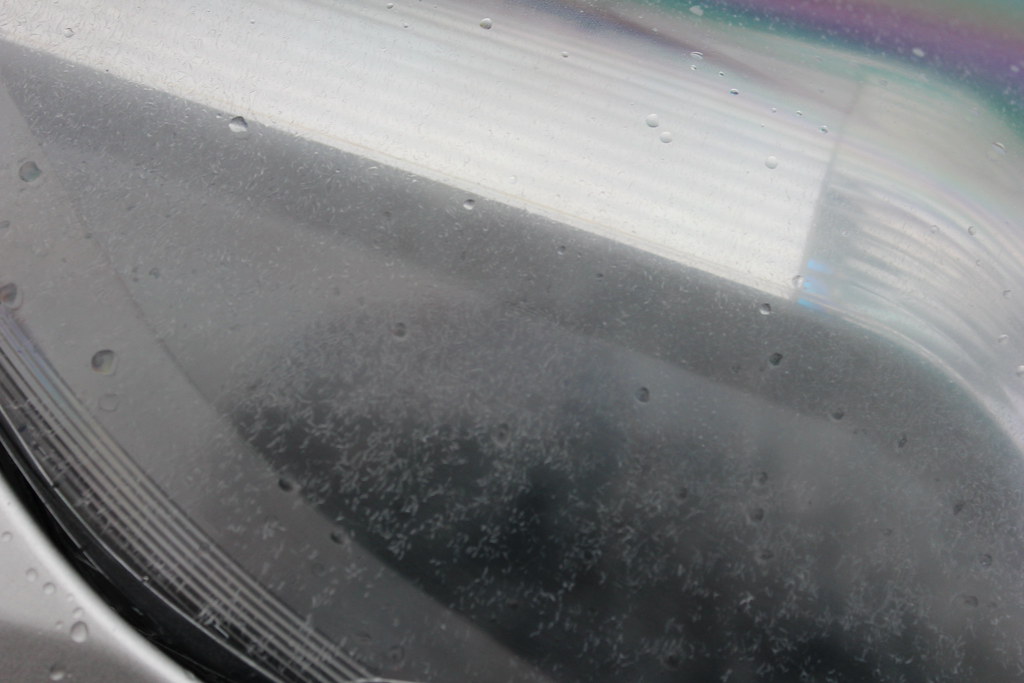
IMG_4322 by djgritt, on Flickr
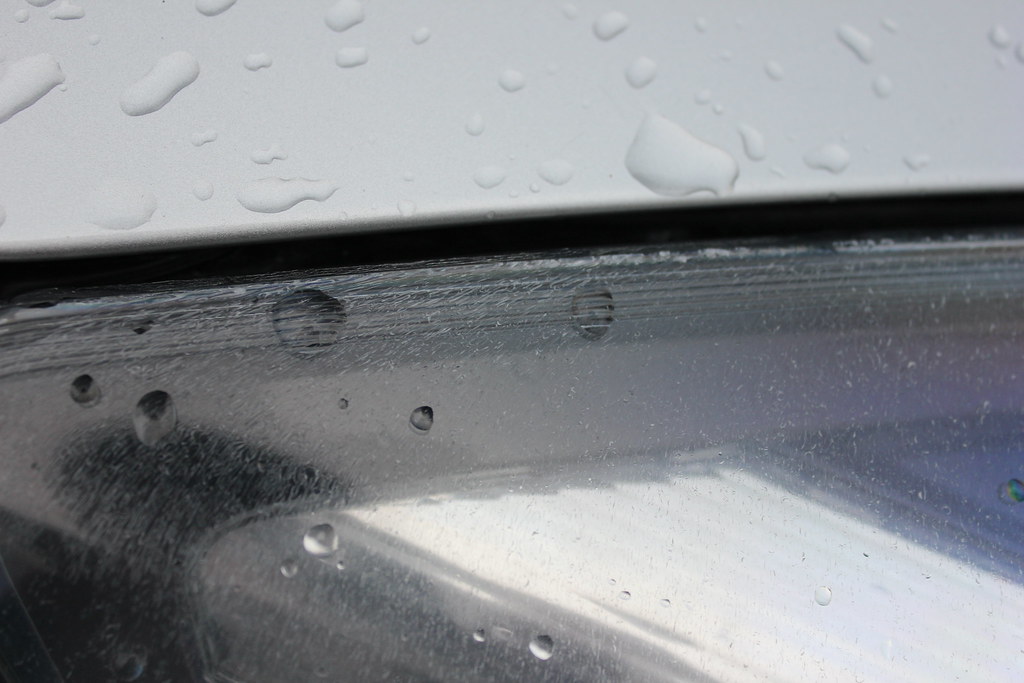
IMG_4323 by djgritt, on Flickr
Updated images:
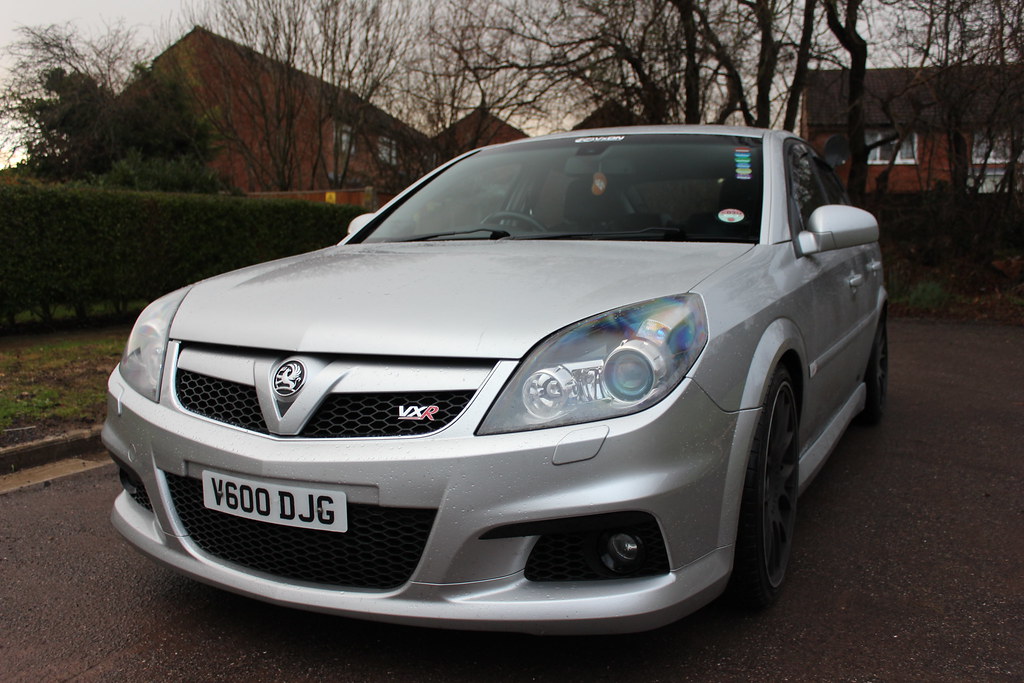
IMG_4321 by djgritt, on Flickr

IMG_4324 by djgritt, on Flickr
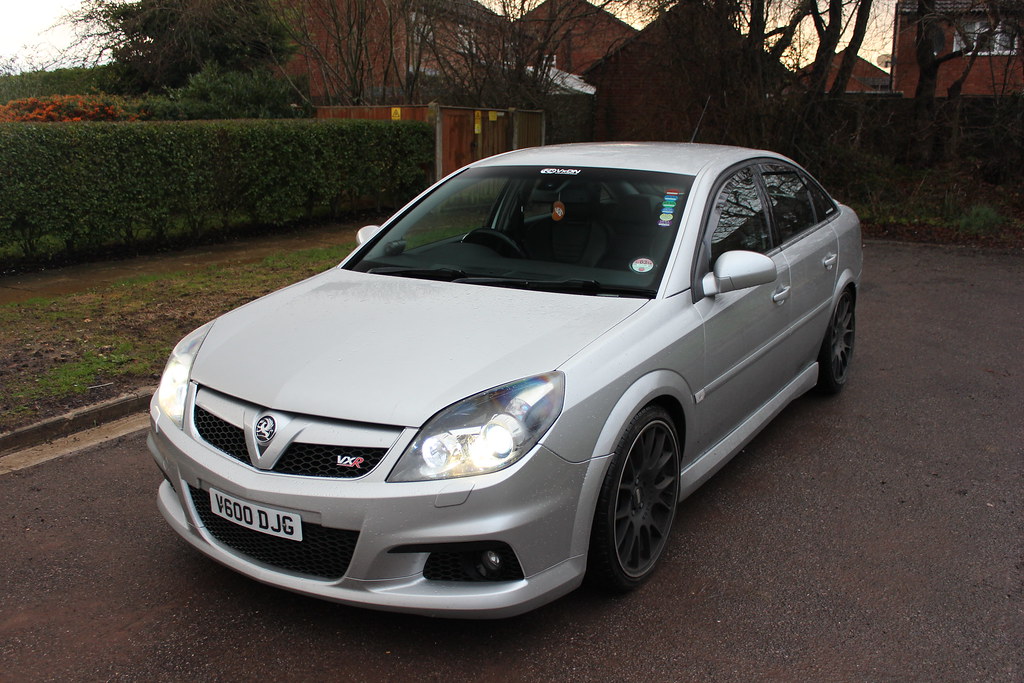
IMG_4329 by djgritt, on Flickr
IMG_4330 by djgritt, on Flickr
|
Jambo
Member
Registered: 8th Sep 01
Location: Maidenhead, Drives: VXR Arctic
User status: Offline
|
Lovely
|
taylorboosh
Member
Registered: 3rd Apr 07
User status: Offline
|
Yea i agree, very smart
|
djgritt
Premium Member
 Registered: 1st Nov 07
Location: Dorset Drives: Focus ST / Hyundai i20N
User status: Offline
|
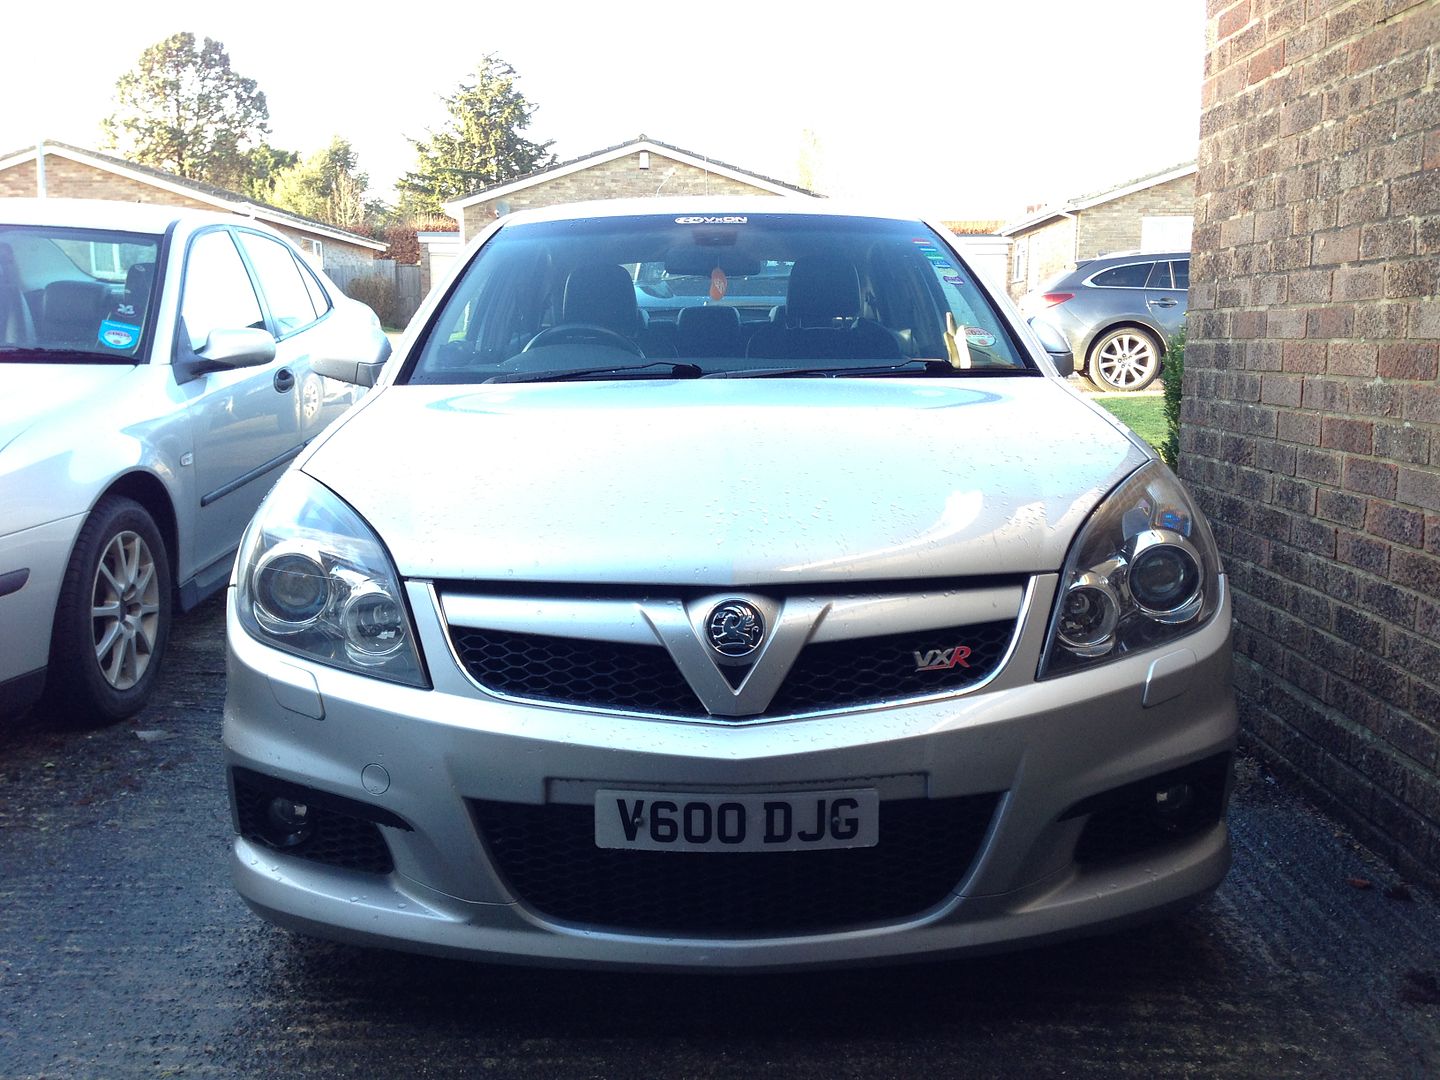
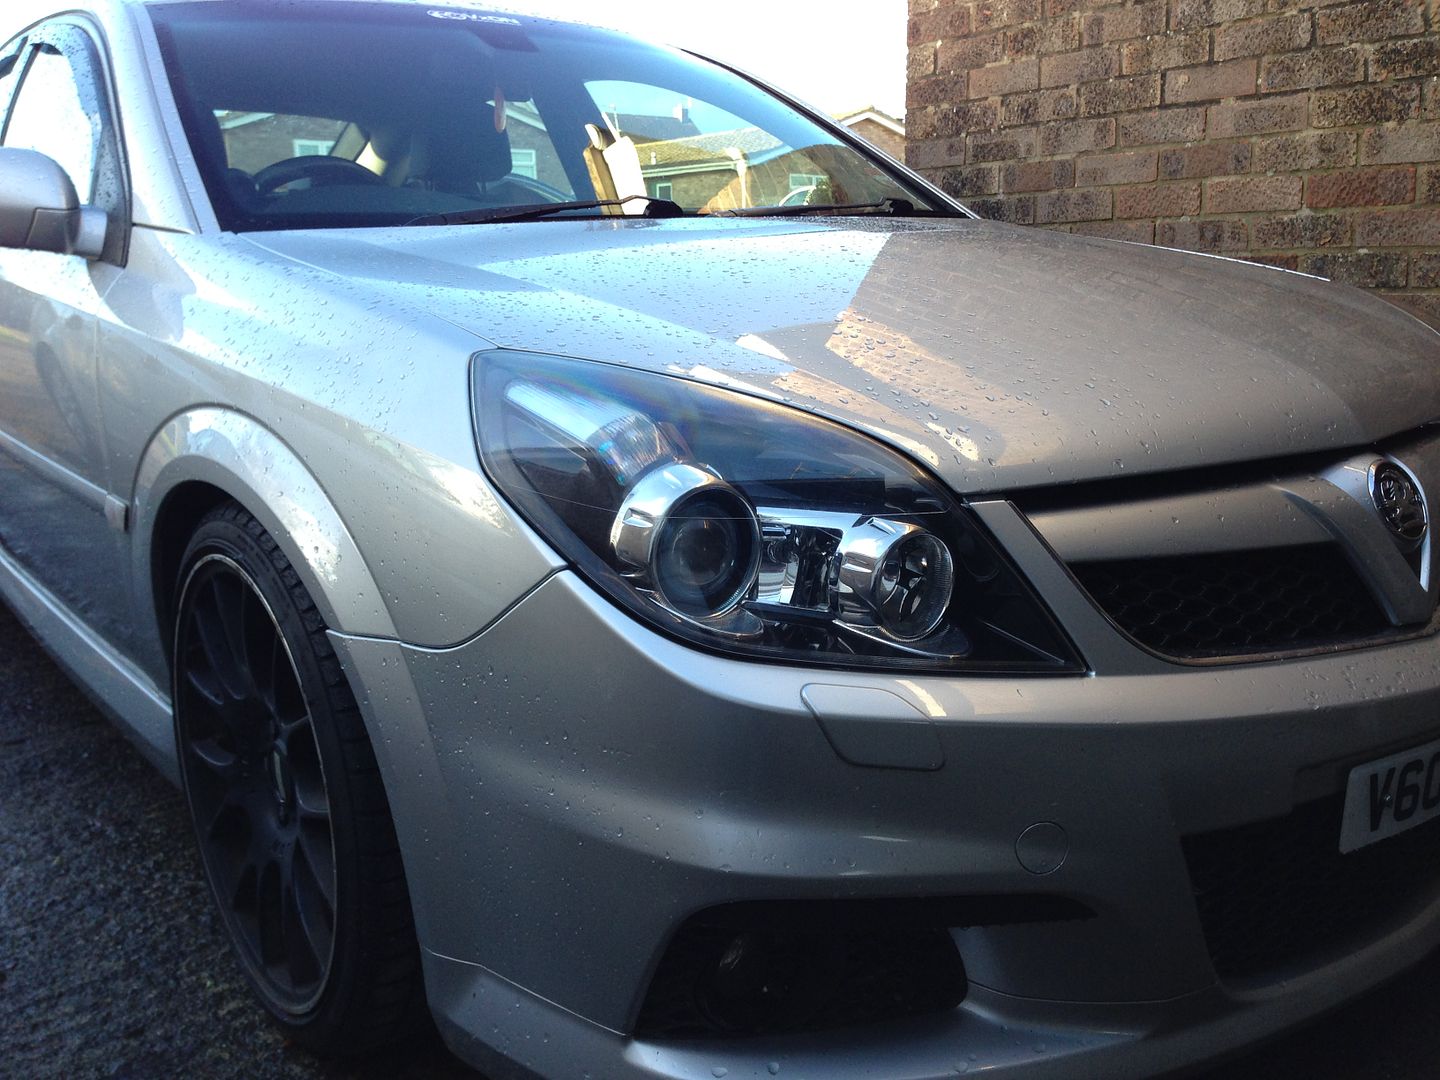
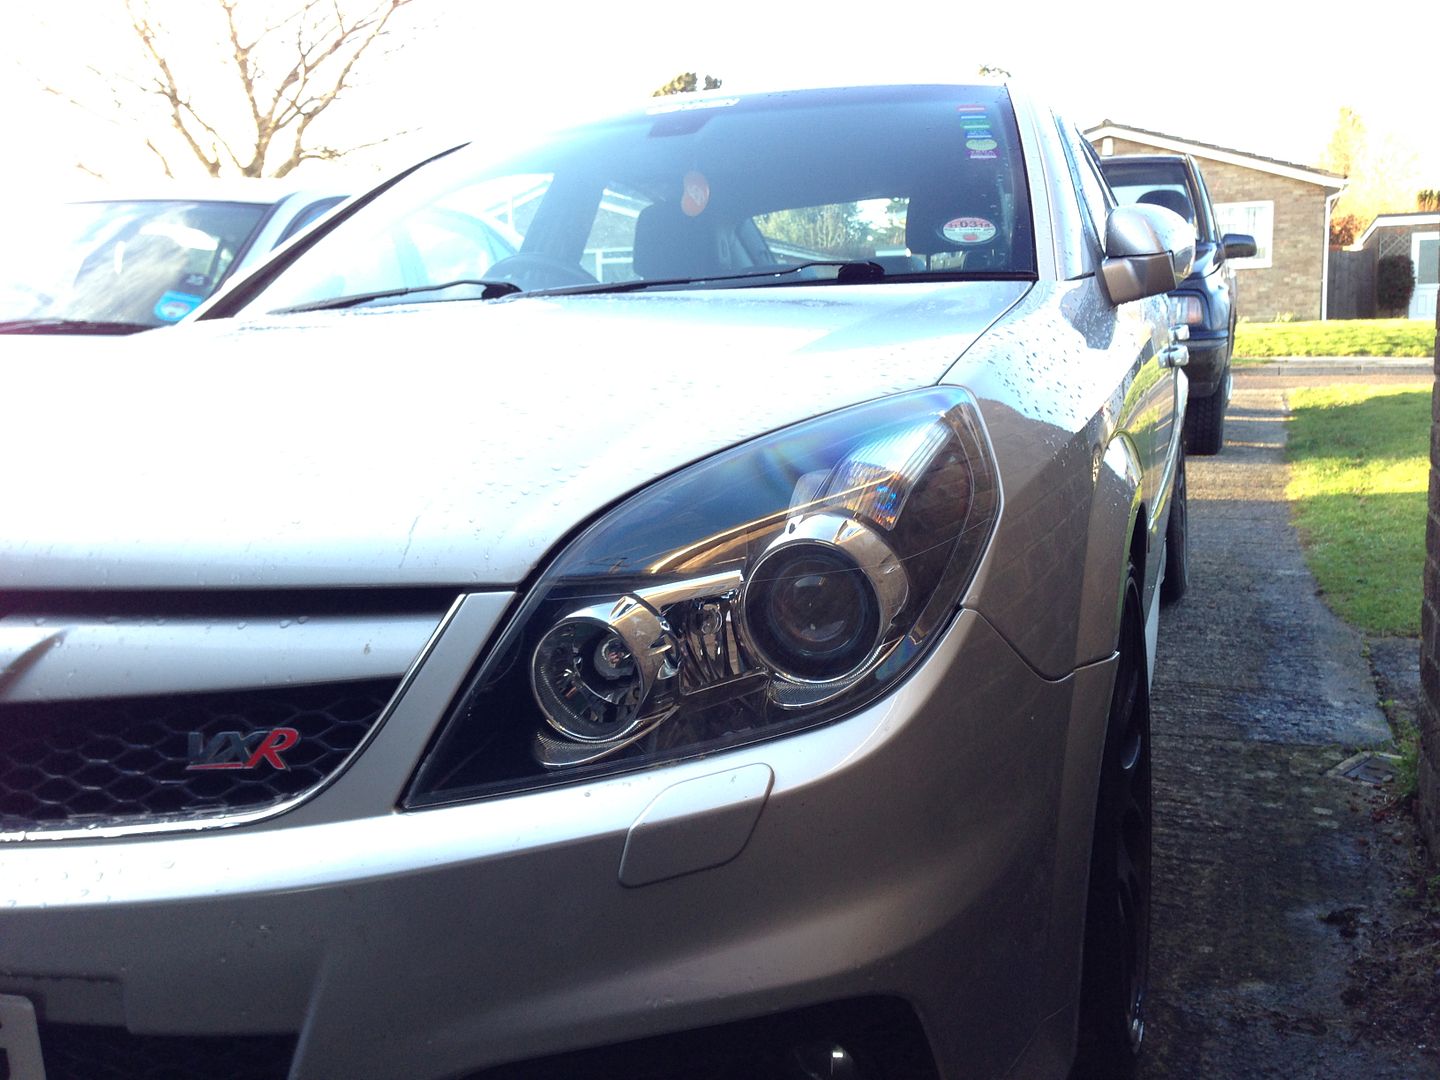
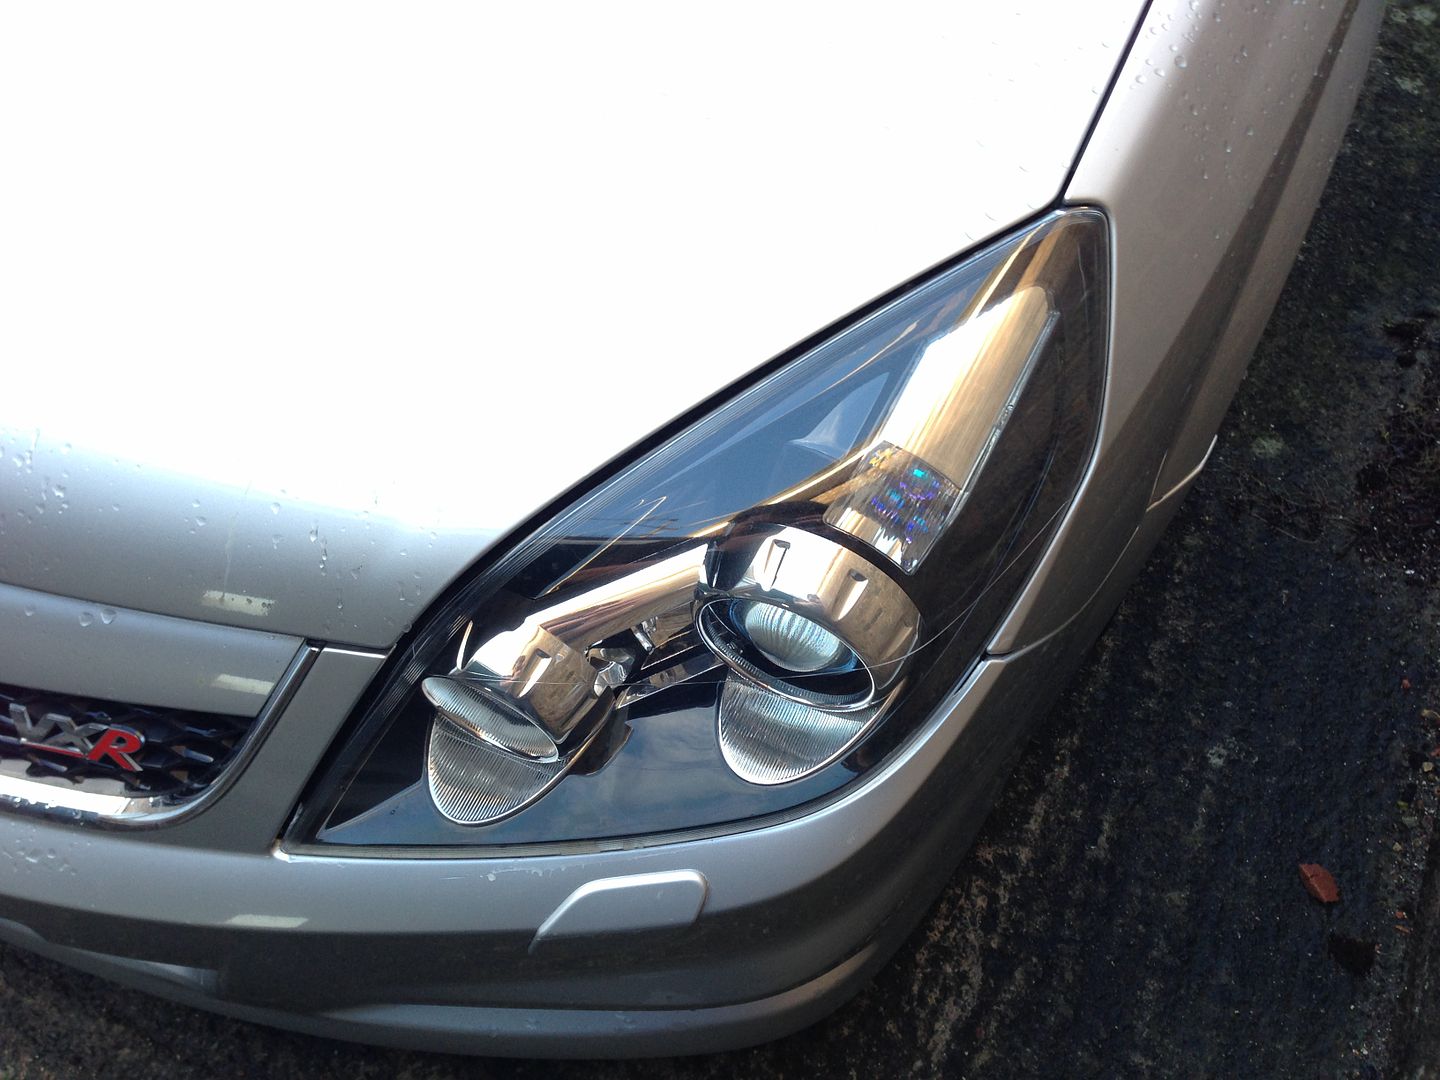
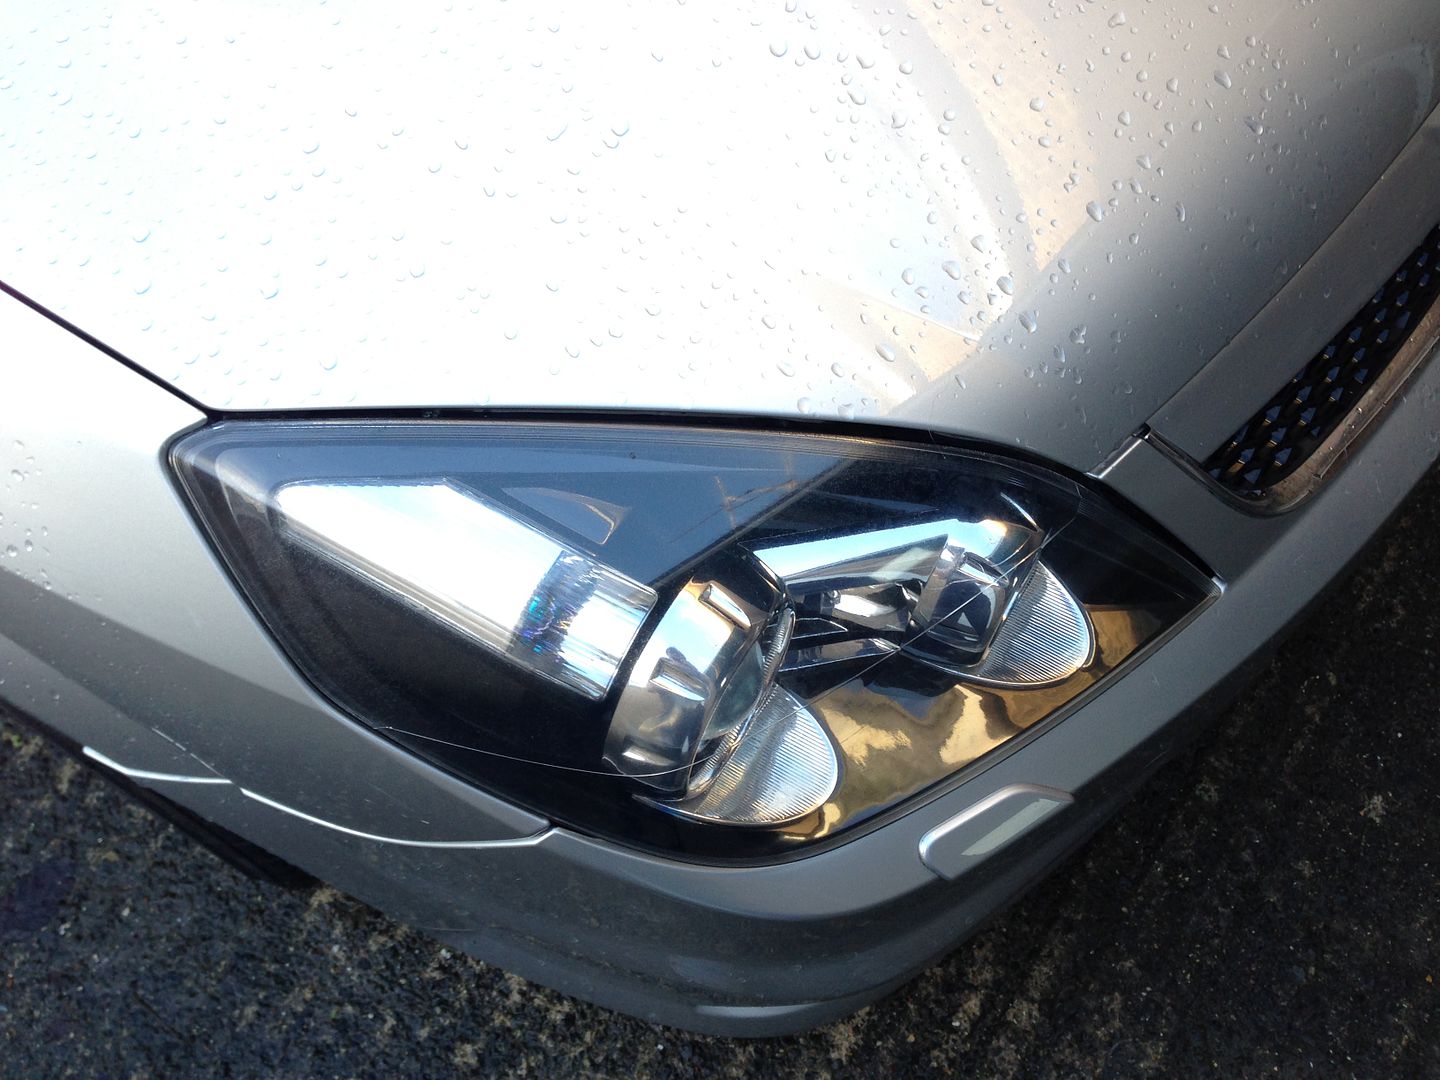
Wasn't overly happy with the attempts to tidy up the Headlight blemishing in the past, so ordered another polishing kit (as the 3M Sanding/Polishing kit seems to be a bit harder to get hold of without spending silly money recently)
The Drivers lamp is worst, so concentrated on that one.
I sanded it from 600 - 2500 Grit Papers by hand, and dry instead of wet as before as i wanted it to try to cut as much back as possible. I then finished over them with an Ultra-Fine pad by hand (I think it's believed to be around 3000 Grit)
Finally, I used the rotary polishing pads in my drill and did 5 polishing routines on each headlamp. They are now significantly better, albeit still not 100% sorted, but I am much happier with them now.
Also, I'm glad to see my Silica gel packs in the Lamps has helped with sorting the condensation I had when they were first fitted.
Pics after everything was finished today;
|
basslinecorsa
Premium Member
 Registered: 15th Jul 09
Location: Gravesend
User status: Offline
|
mate, they look ace in the picture. Just shows what a bit of elbow grease can do. nice work 
Project Scarlett - http://www.corsasport.co.uk/board/viewthread.php?tid=661417
|
whitter45
Member
Registered: 15th Nov 02
Location: Norton
User status: Offline
|
Looking awesome
|
Mark.W
Member
Registered: 3rd Jan 07
Location: County Durham
User status: Offline
|
Love the xenon lights,makes a huge difference to the car.
|
Ben G
Member
Registered: 12th Jan 07
Location: Essex
User status: Offline
|
My drivers side headlamp is the same, looks awful. Passenger side is fine, weirdly.
I don't have the balls to attack mine with sandpaper though  might have to pay someone to do it. might have to pay someone to do it.
|
j10E W
Member
Registered: 30th Sep 04
Location: maidstone
User status: Offline
|
Sick
|


